This guide explains how to set up MAG and Aura HD boxes for TVClub: portal URL, time synchronization, streaming server, channels, EPG, catch-up, Favorites, recording, TimeShift, media browser and system settings.
Portal setup
Attention. In newer Infomir firmware versions, access to some third-party services may be blocked. If the portal shows “Page loading error” and rollback is unavailable from the menu, install an earlier firmware version through the box BIOS from a USB drive. The BIOS procedure is described below.
Time synchronization. Older MAG and Aura HD models, especially in Israel, may be unable to access the portal if system time is not synchronized. Try another NTP server. In Israel, first try il.pool.ntp.org; if the regional pool is unavailable, try timeserver.iix.net.il, the IL-IX time server. If changing NTP does not help, use the alternative portal http://old.tvclub.us. If time sync works normally, use http://iptv.tvclub.us.
- During startup, wait for “Loading portal …”, press and hold SETUP or SET on the remote, then release it when “Loading internal portal …” appears.
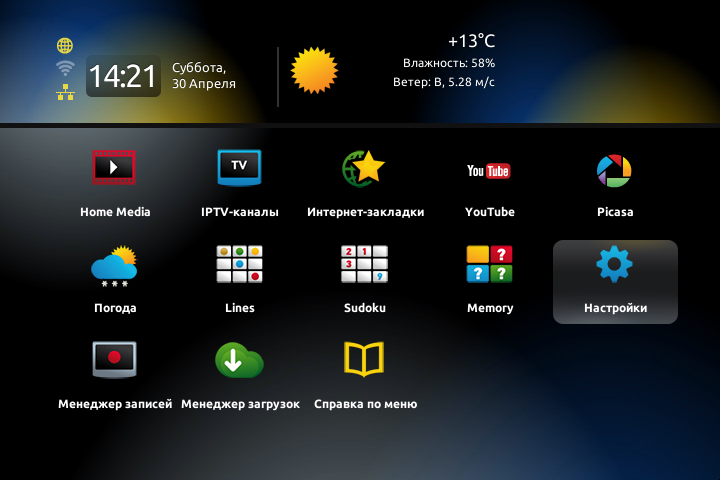
Internal portal: Settings item. - In the internal portal, open Settings.
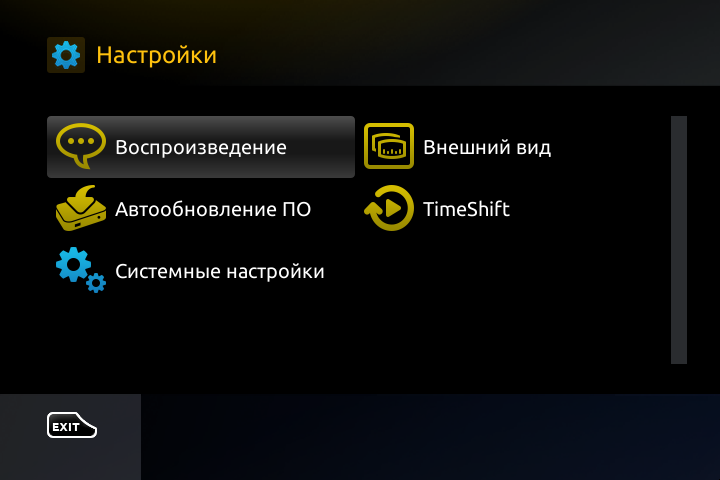
Internal portal settings menu. - Choose System settings.
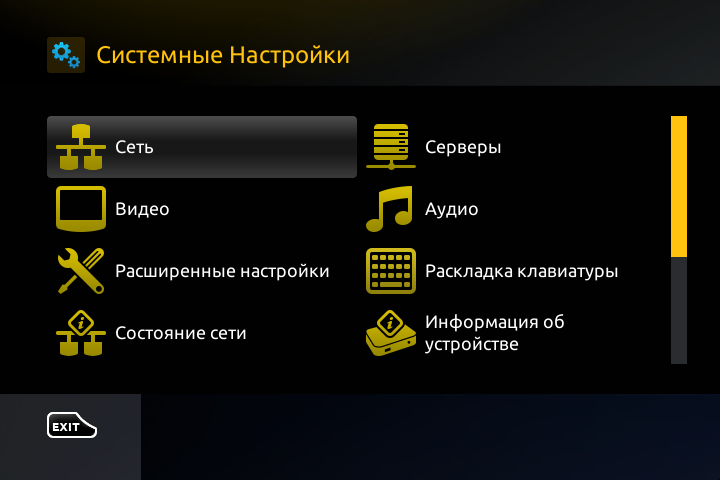
System settings on the box. - Open Servers.
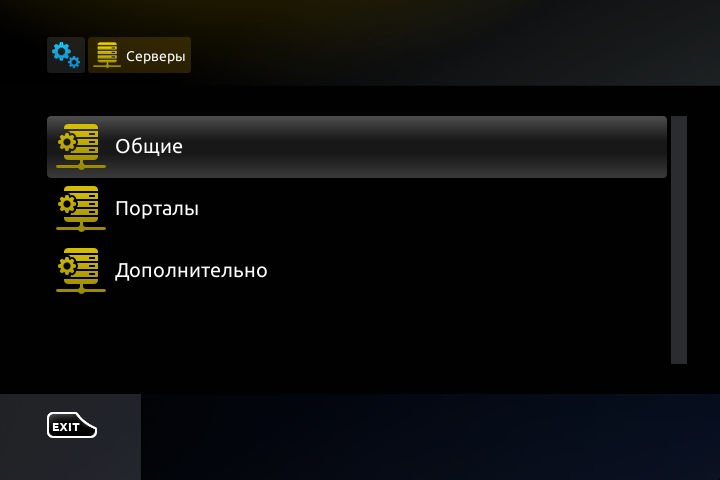
Servers section. - Choose Portals.
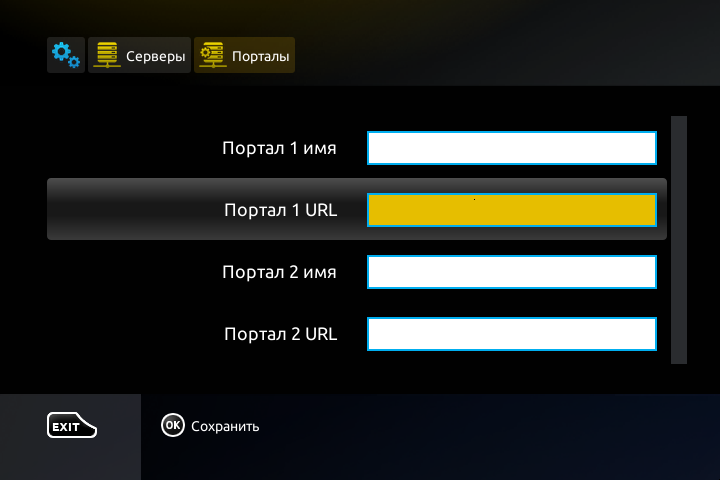
TVClub portal URL field. - In Portal 1 URL, enter http://iptv.tvclub.us. If time synchronization is a problem, use http://old.tvclub.us. Use the on-screen keyboard: KB opens it and F4 changes the language.
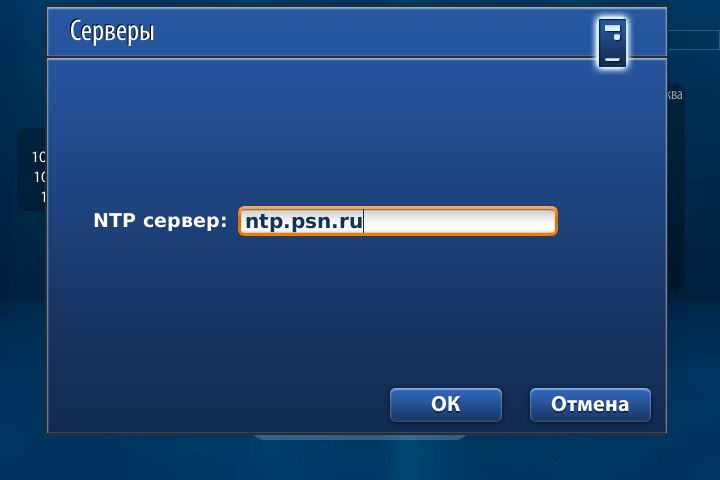
- Return to Servers, open General and enter pool.ntp.org as the NTP server. If a box in Israel still cannot synchronize its clock, try il.pool.ntp.org and then timeserver.iix.net.il.
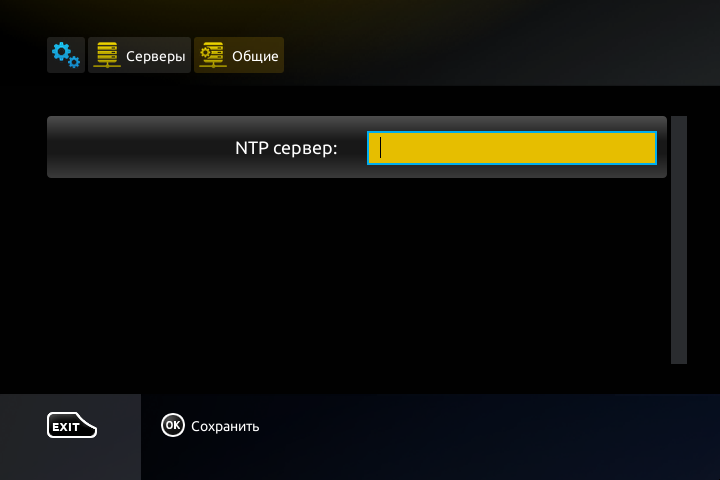
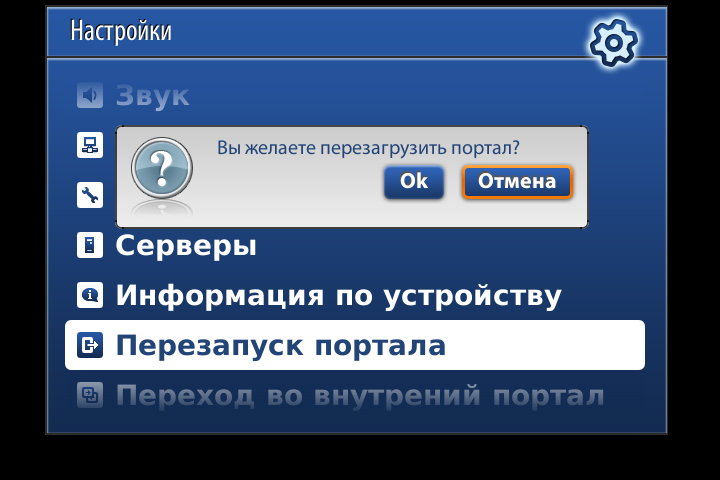
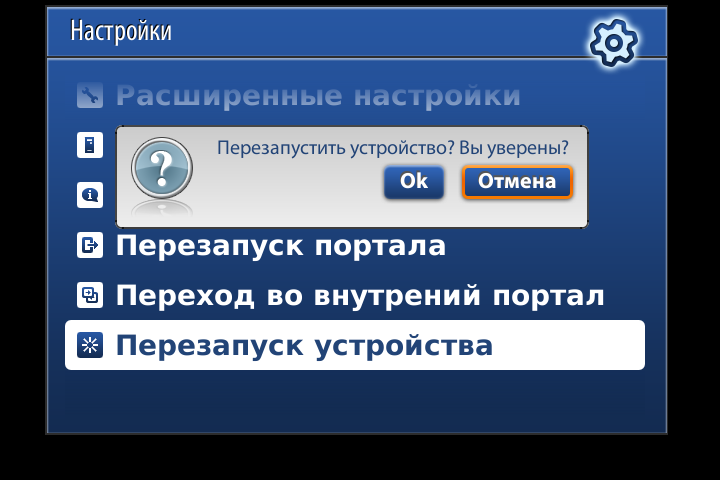
NTP server setup. - After entering the portal URL and NTP server, reboot the box through System settings → Restart device.
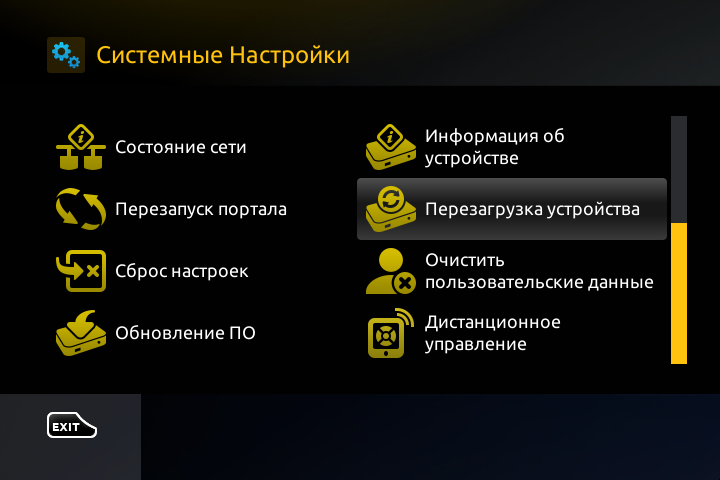
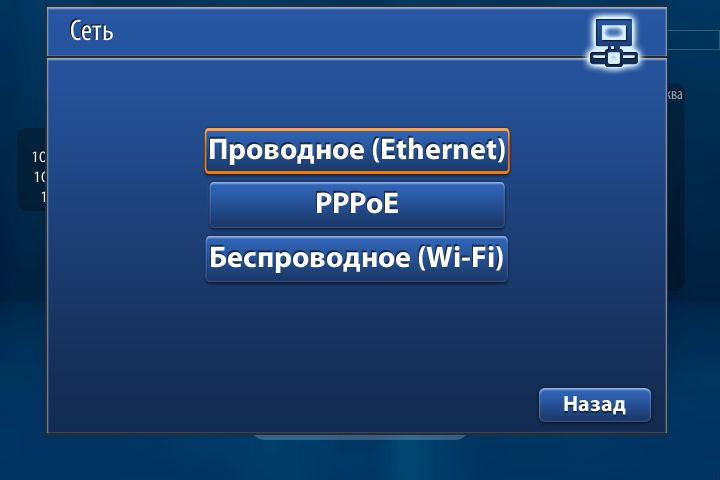
Device reboot after setup. - If “Page loading error” appears, return to the internal portal and open Settings → System settings → Network.
Opening Network from the system settings menu. - Choose wired or wireless connection and open Auto (DHCP), manual DNS.
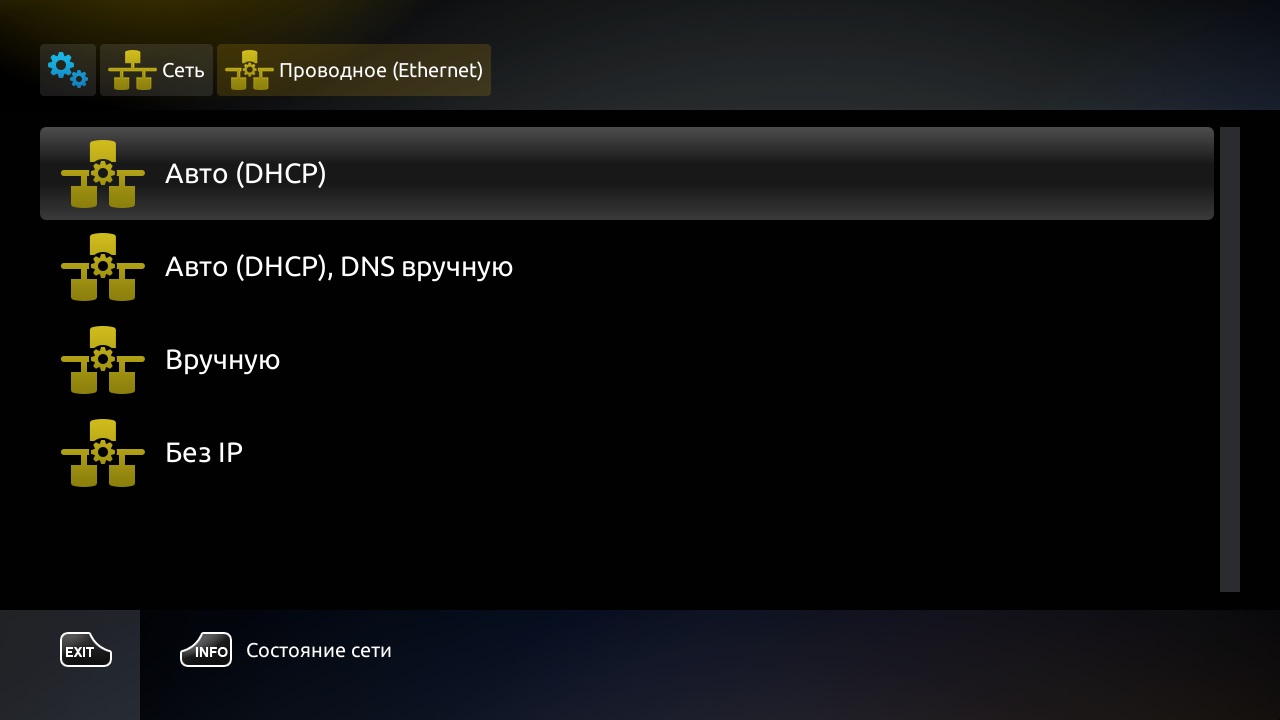
Network connection and manual DNS mode. - Set DNS to 8.8.8.8, then reboot the box.
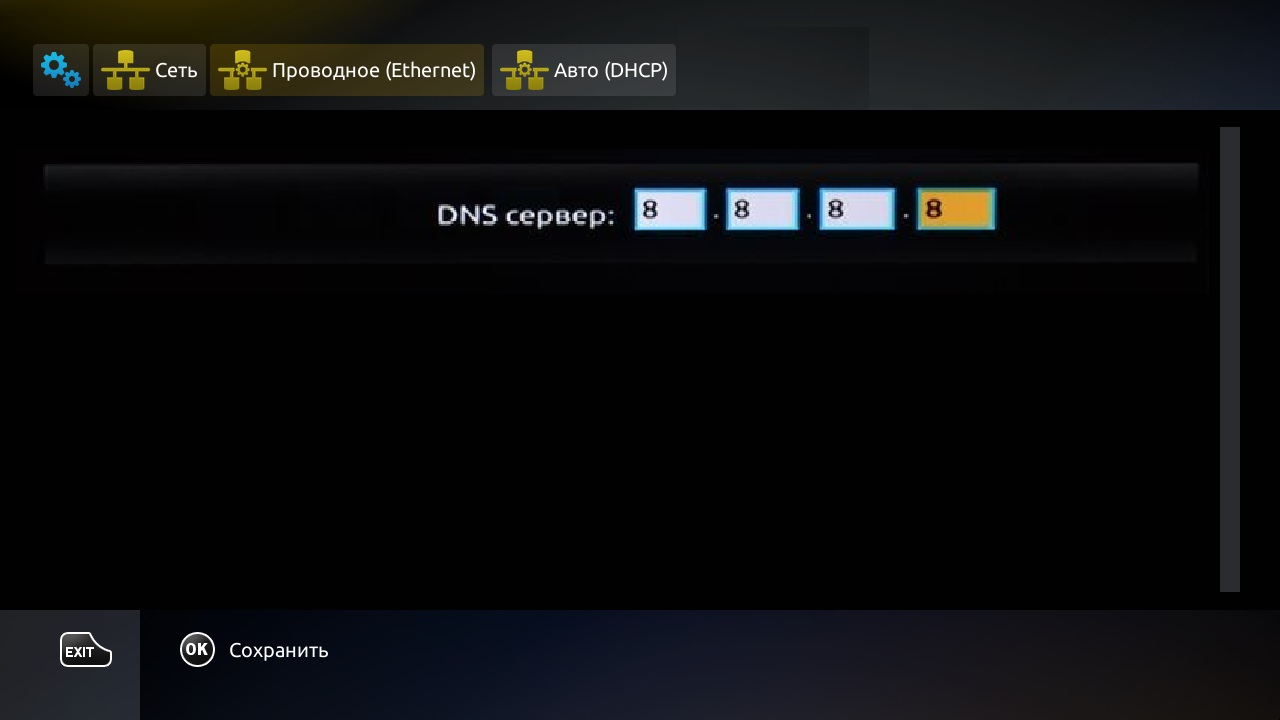
DNS server field. - After reboot, enter your TVClub login and password and press OK. For Multiroom, you can use the additional-device login from the personal account.
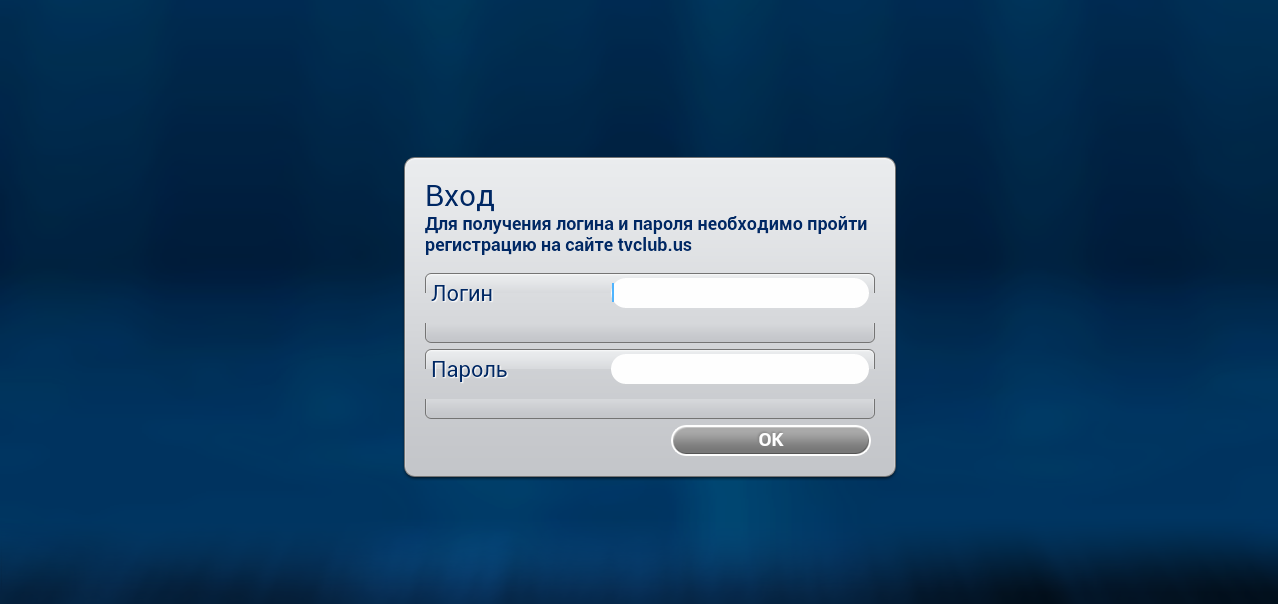
TVClub login and password window. - Wait until the portal loads and the TVClub client portal main menu appears.

TVClub client portal loading. 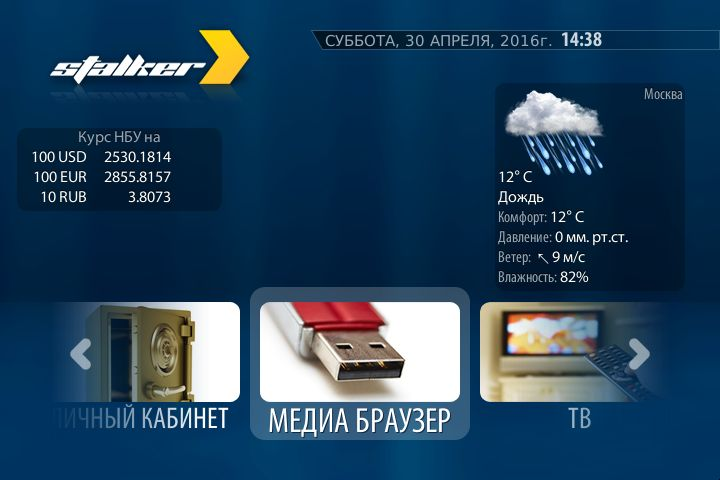
TVClub client portal main menu.
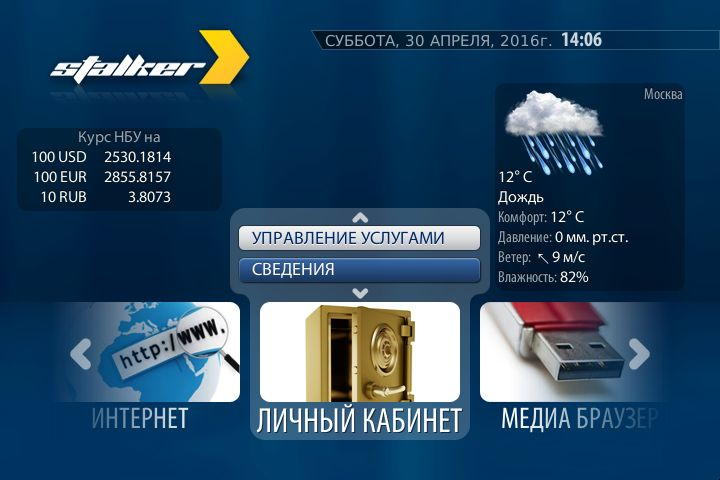
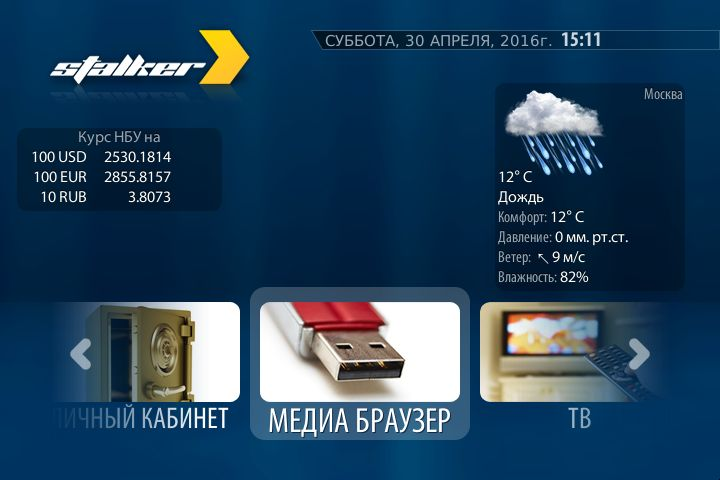
The main menu includes TV, Media Browser, Personal account, Settings, Recordings and other sections.
Choosing a streaming server
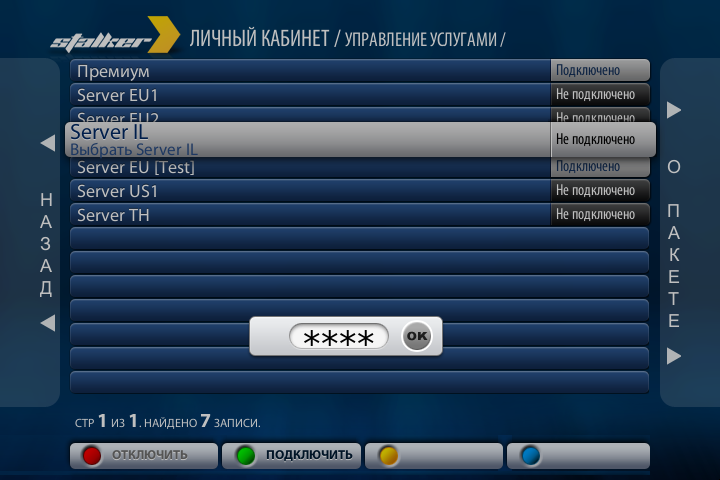
In the client portal, open Personal account → Service management. To choose the best server, run a speed test at tvclub.cc/test, select the server with up/down, select Connect and enter the password. The default PIN for connecting and disconnecting is 0000. F1 disconnects a server, F2 connects a server.
Watching channels, EPG and catch-up
Watching channels
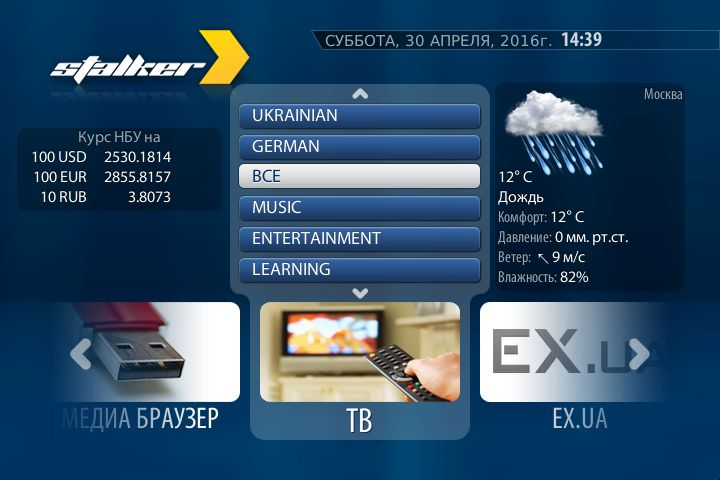
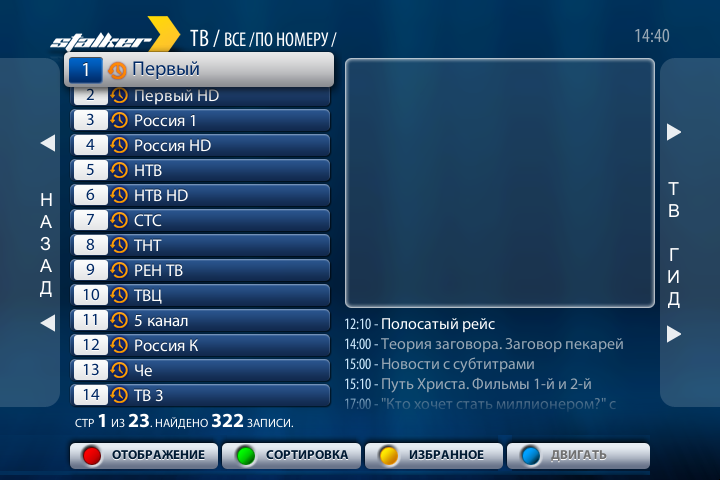
In the main menu, choose TV, then select a channel group and a channel. Switch channels with up/down, Channel +/− or number buttons. Preview and the selected channel program are shown on the right. OK toggles full-screen mode.
Viewing the program guide
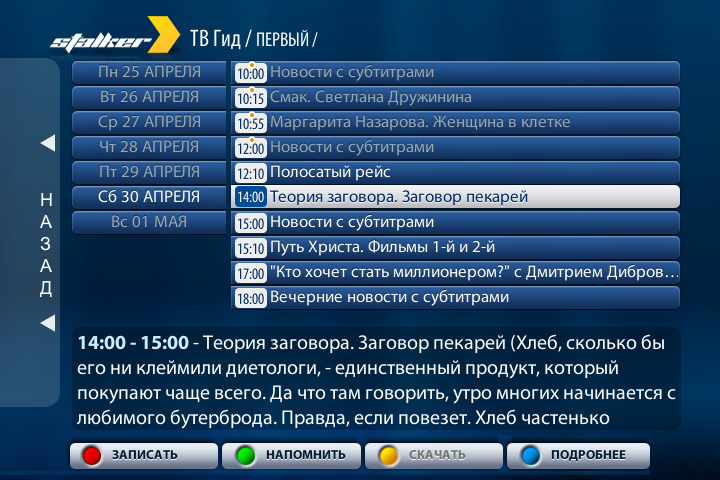
In the channel list, press right to open TV Guide. Use up/down to select programs and the date list on the left to choose a day. Press left again to return to the channel list.
Watching catch-up recordings
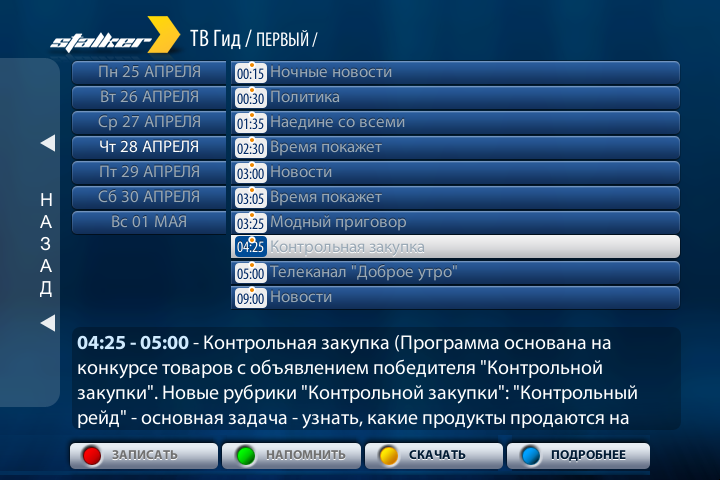
Channels marked with  have catch-up recordings. Open TV Guide, choose the day and the program marked with a dot, then press OK.
Use the  to rewind catch-up playback, press the
  to pause or resume, and press the
  or EXIT to leave catch-up playback.
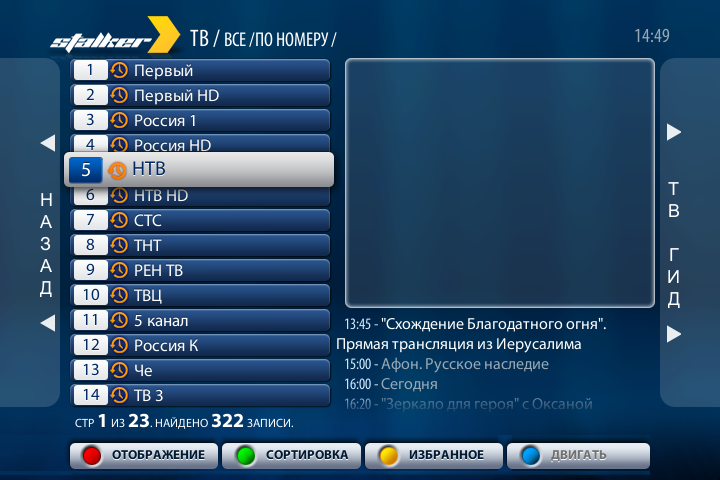
In the channel list, F1 changes list view, F2 sorts the list, F3 adds or removes a channel from Favorites, and F4 moves a channel inside the Favorites list.
Creating a Favorites list
Open the channel list, mark channels with the yellow F3 button and check that the channel is marked  . Then press the green F2 button, choose Favorites only and open the saved channel list. Channels in this list can be reordered with F4.
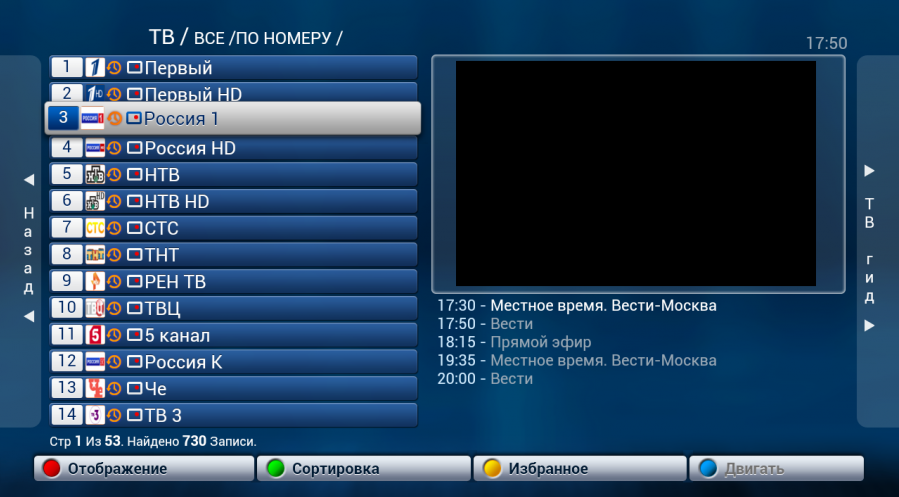
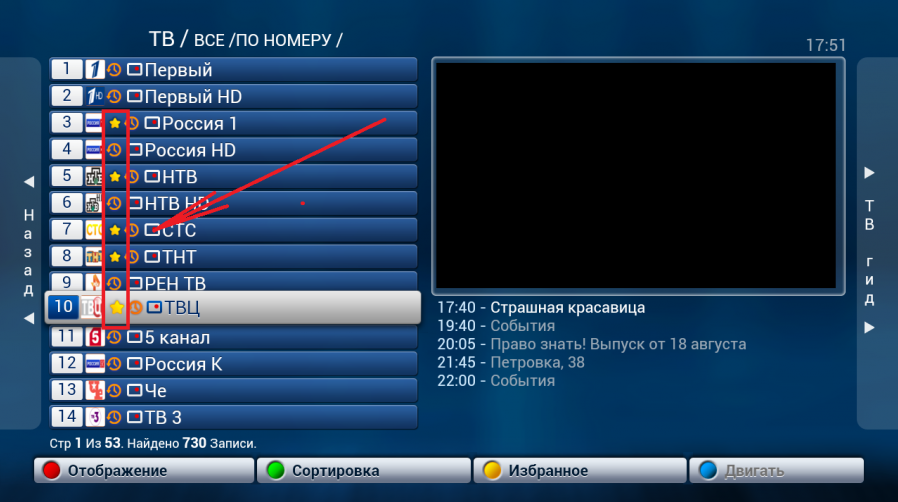
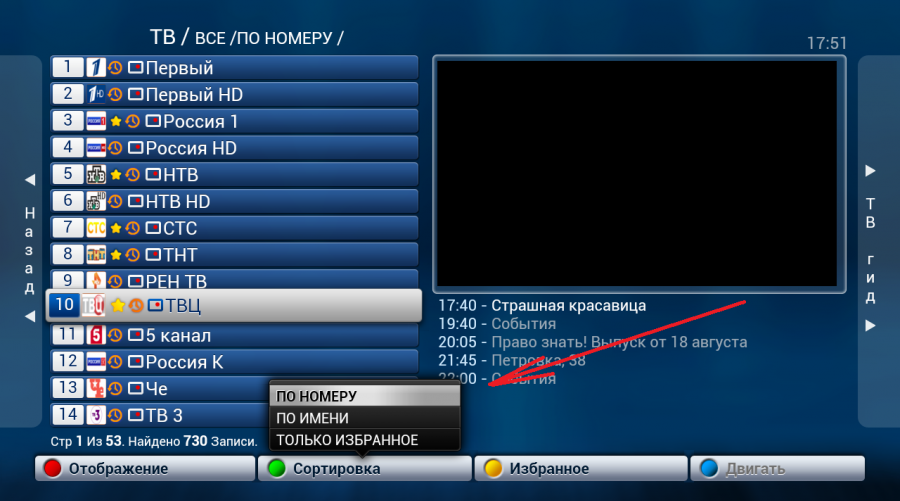
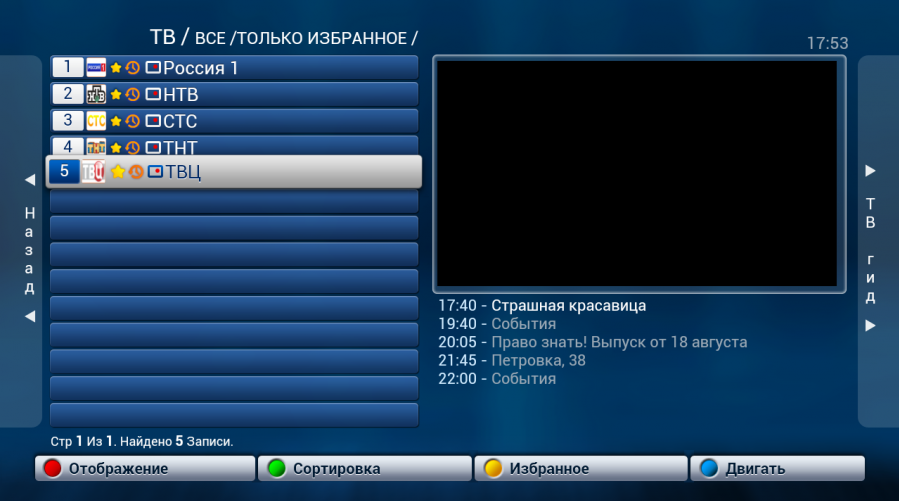
Moving channels in Favorites
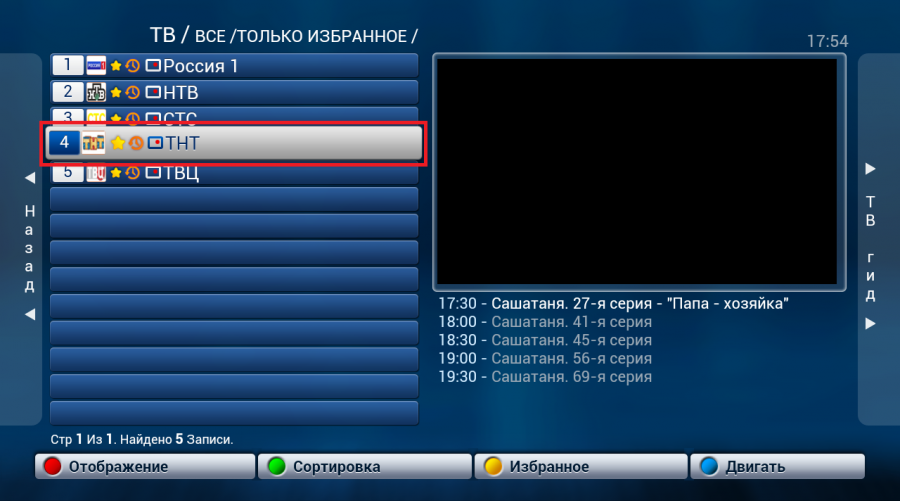
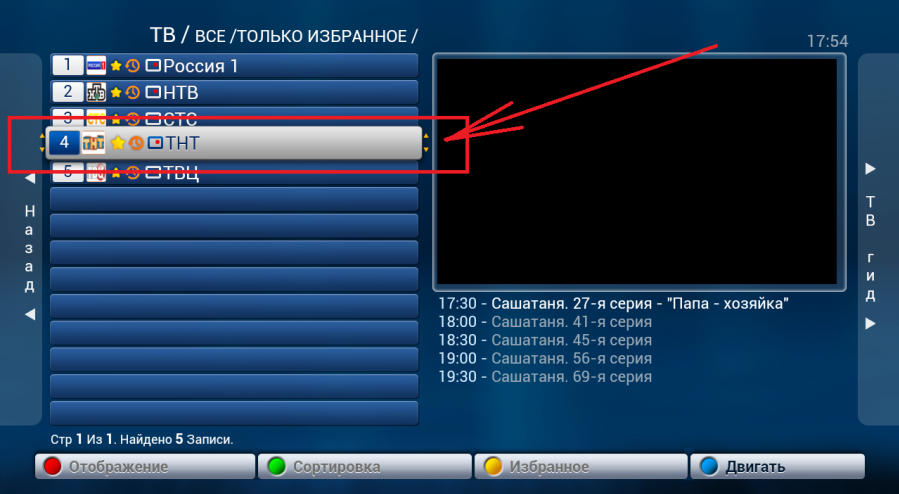
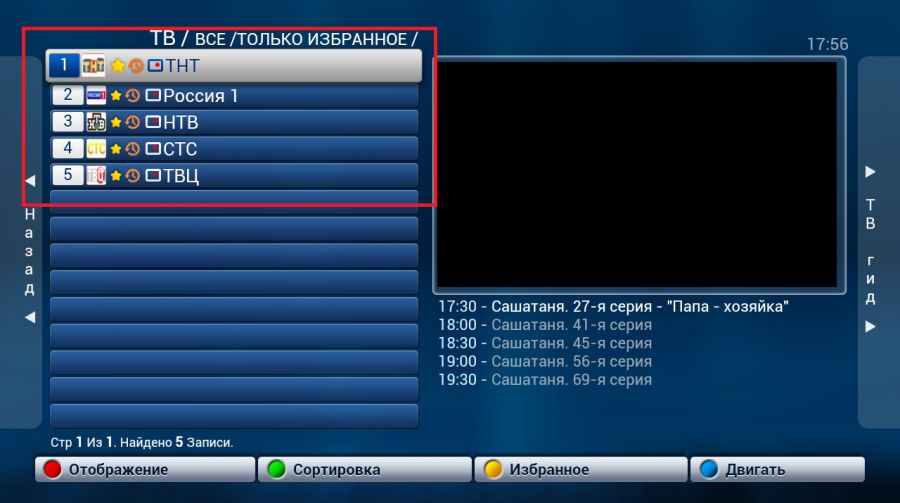
To move a channel, select it in Favorites, press F4 Move, move the channel up or down and press F4 again to save the position.
Recording, TimeShift and reminders
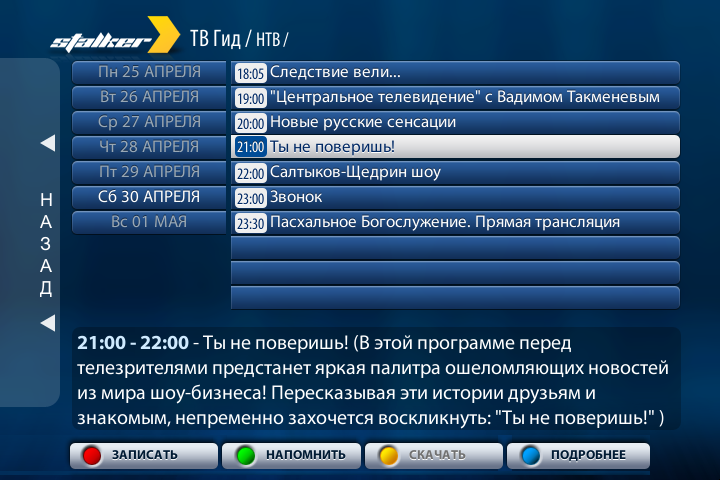
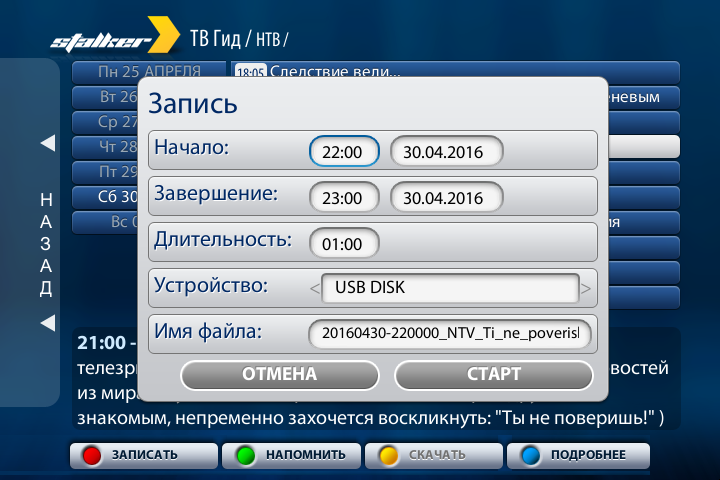
To schedule a recording, open TV Guide, choose a channel and a program, then press red F1. In the Recording menu, press Start or adjust start time, finish time, device and file name. Recordings are saved to a USB drive and require that drive to be connected.
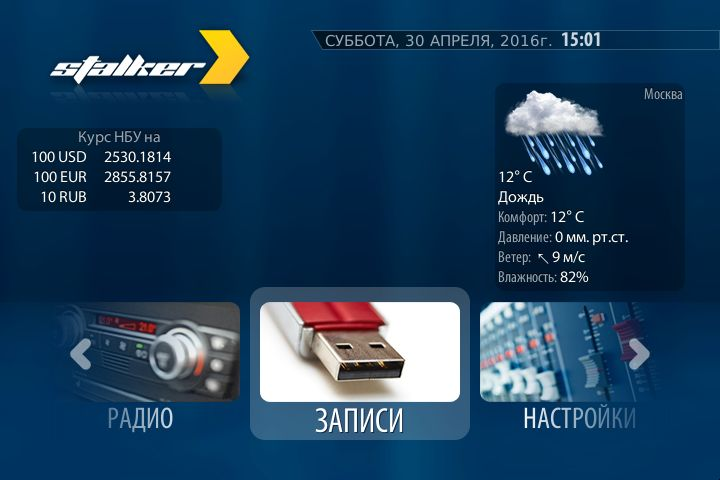
The Recordings section shows statuses: Recorded means the file is ready to play; Recording means recording is in progress; Scheduled means the recording is waiting to start.
Live pause (TimeShift)
For TimeShift, connect a USB drive and open Main menu → Settings → Local TimeShift. Enable the feature, set the options and press OK. You can then pause live TV with the and resume it by pressing the button again.
Program reminder
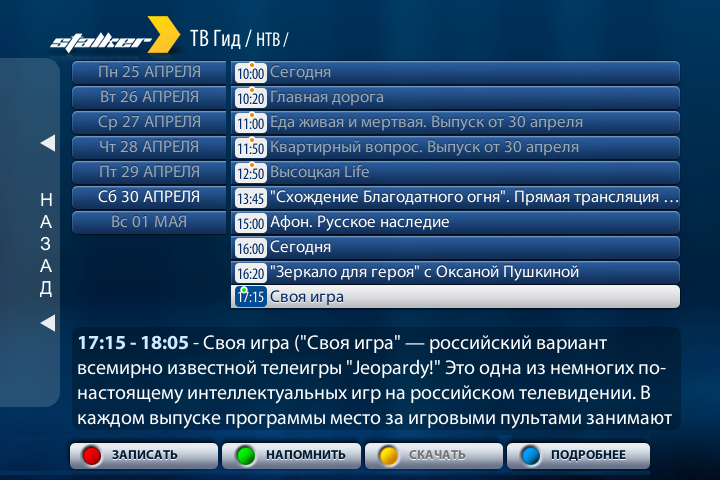
To set a reminder, find a program in TV Guide and press green F2. A green dot appears above the program time. To remove the reminder, select the same program and press F2 again.
Media Browser
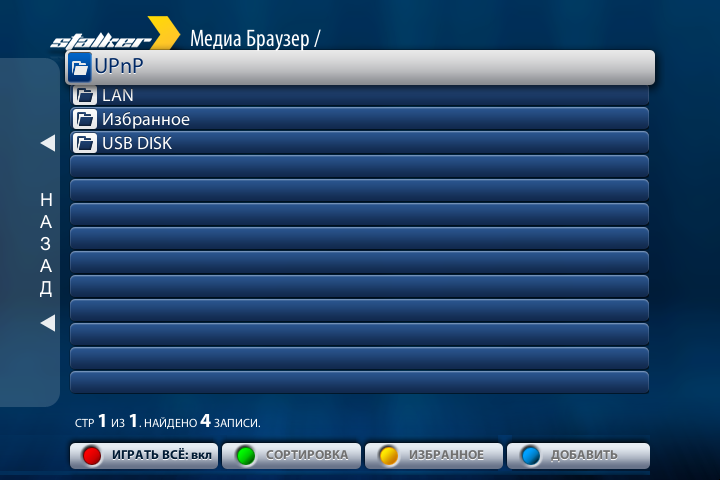
In the main menu, choose Media Browser. Here you can play videos and audio files and view images from a USB drive, LAN network share or UPnP server.
Settings
The Settings menu contains system and portal options. Change network settings carefully: incorrect values can make IPTV unavailable.
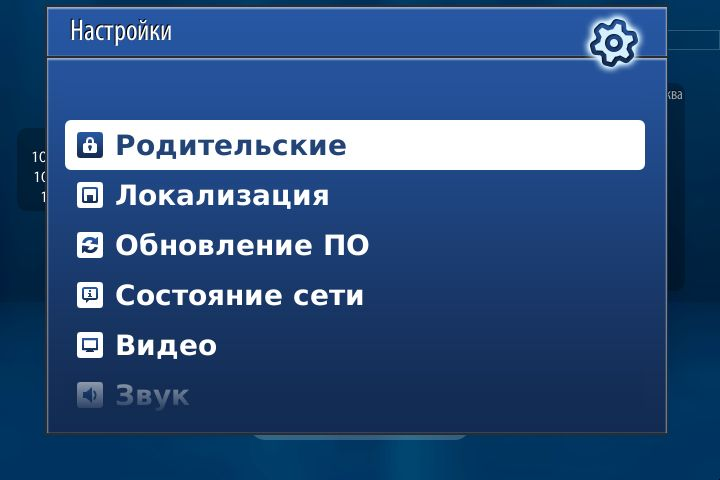
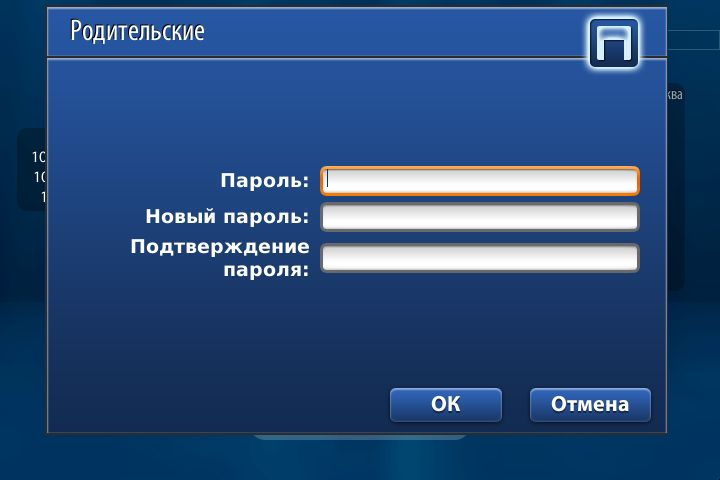
Parental: change the password for locked channels. Enter the current password, new password and confirmation, then press OK.
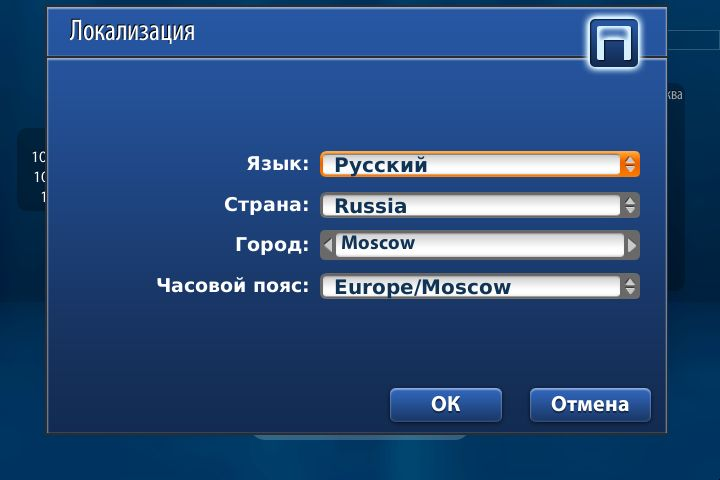
Localization: interface language, country, city and time zone.
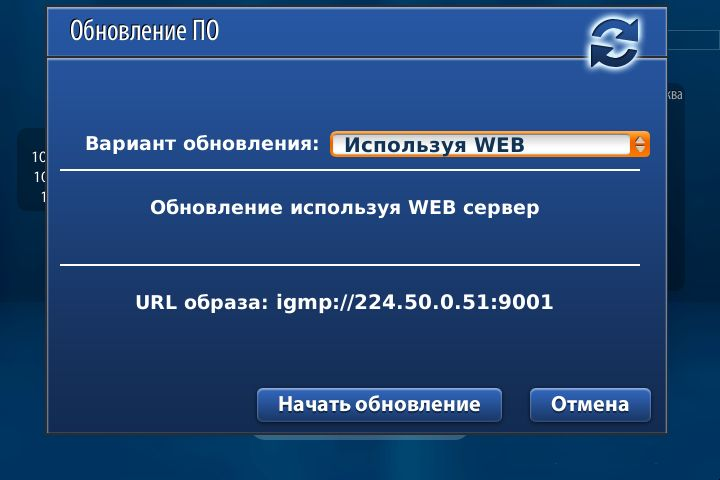
Software update: update the box software, including from a USB drive.
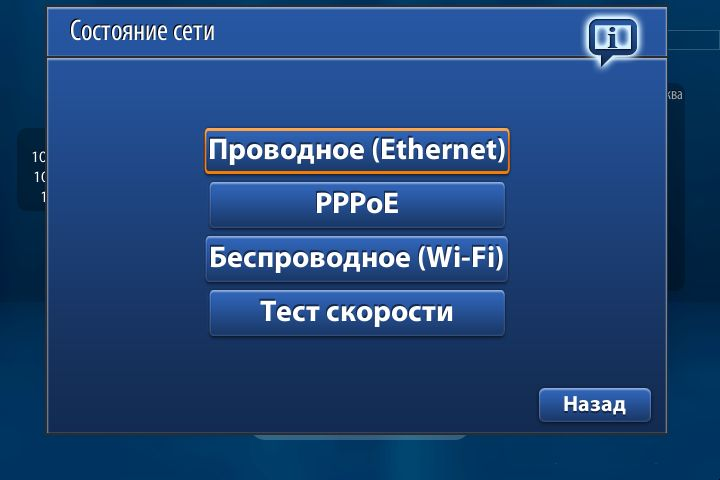
Network status: current network connection information.
Video: video output mode, graphics resolution, frame-rate matching, DVI and HDMI-event behavior. Enable DVI only for HDMI-DVI connections; when DVI is enabled, HDMI audio is not output.
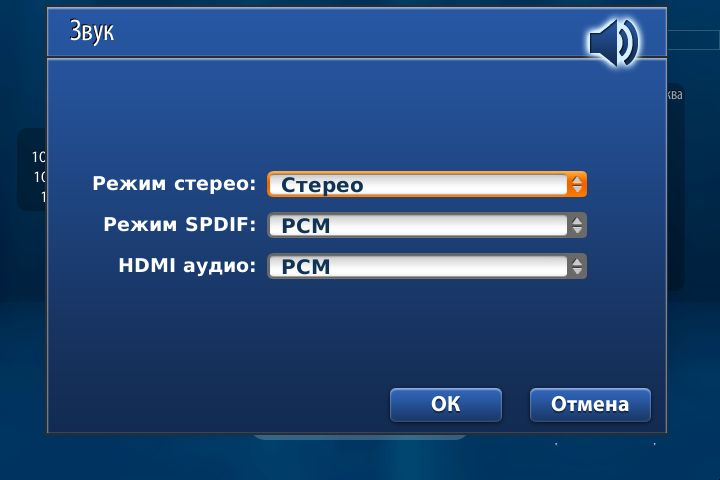
Sound: audio settings for the selected TV connection type.
Playback: primary and secondary audio-track languages and subtitles.
Portal: internal portal behavior after startup and menu theme.
Network: network connection parameters.
Remote control: remote-control permission, device and password.
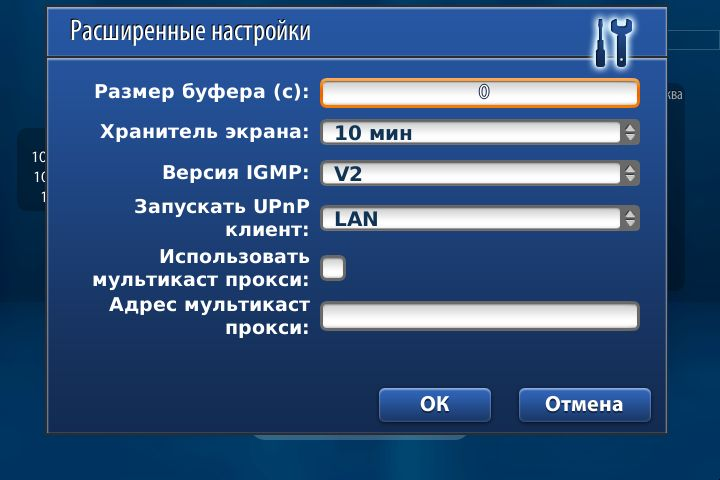
Advanced settings: audio and buffer size in seconds.
Local TimeShift: live-pause setup.
Servers: NTP server for correct time.
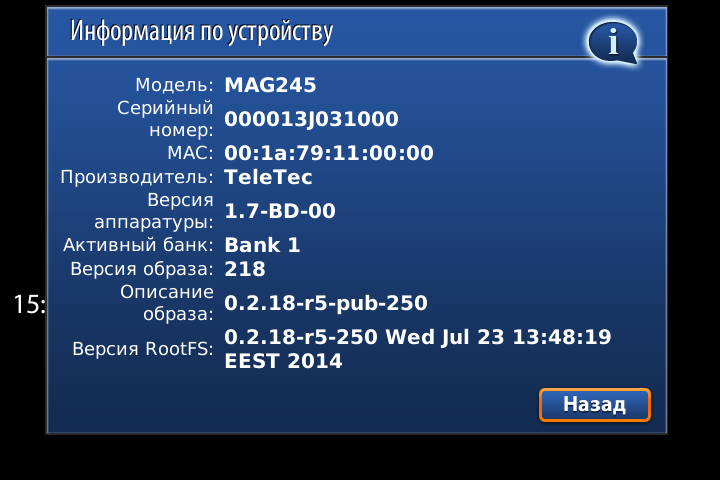
Device information: technical information about the box.
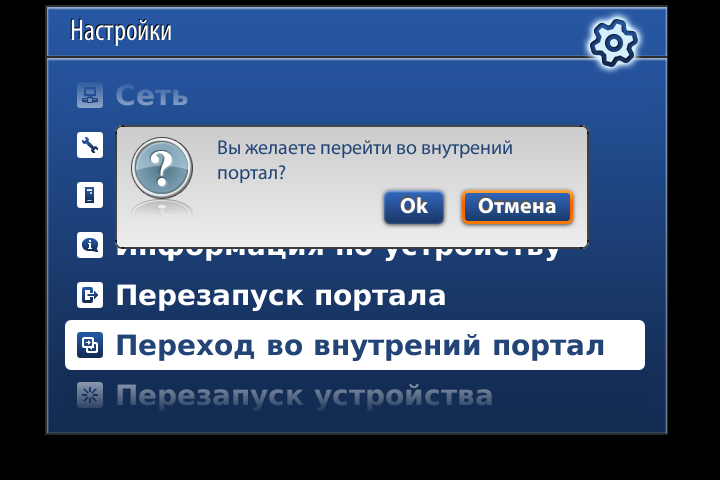
Restart portal, Go to internal portal and Restart device: service actions for restarting and opening system menus.
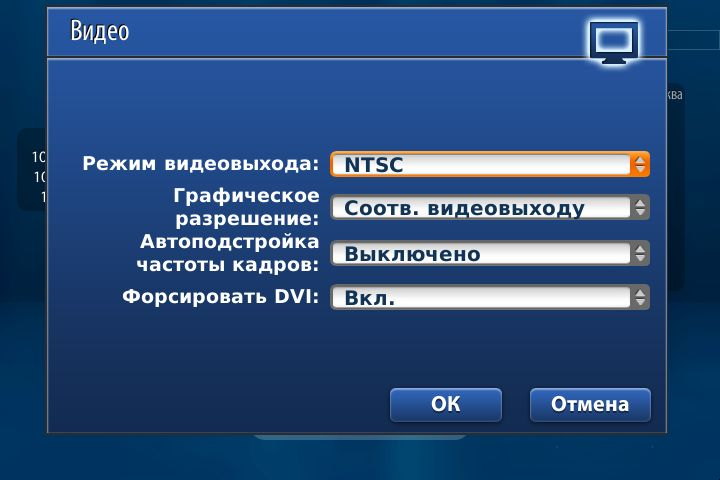
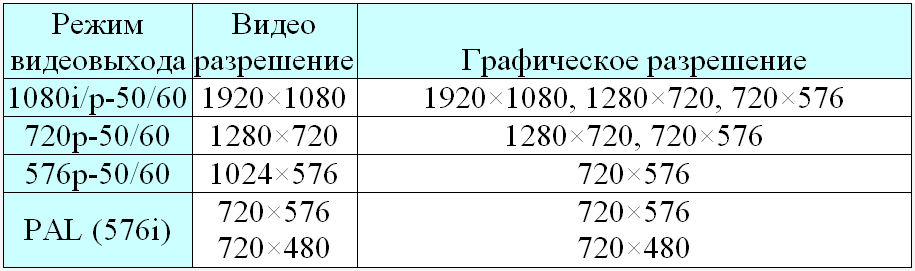
PAL 720×576 is usually used for composite AV. HDMI TVs can use 720p-50 or 1080p-50. Graphics resolution affects only the menu and does not change video quality.
Firmware update through BIOS
Attention. Disconnect the box from the internet before updating. After the update, open the internal portal, go to Settings → Software update and disable automatic updates.
- Download the firmware to a USB drive. For MAG250 use tv.tenet.ua/firmware/mag250/; for MAG254 use tv.tenet.ua/firmware/mag254/. Download bootstrap and imageupdate, then rename bootstrap_250 or bootstrap_254 to bootstrap.
- Use firmware r18 or earlier. The USB drive must be FAT32 and up to 4 GB. Create a mag250 or mag254 folder and put imageupdate and bootstrap inside it.
- Insert the USB drive into the rear USB port of the box.
- Power off the box, hold Menu on the remote and power it on while holding the button.
- In the BIOS menu, select Upgrade Tools and press Right on the remote.
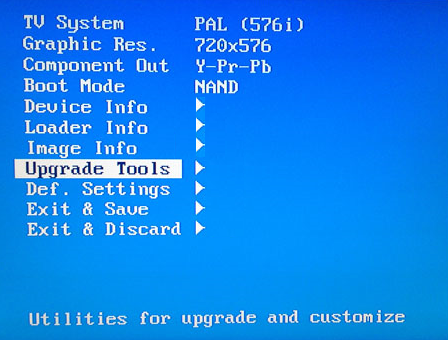
BIOS menu with Upgrade Tools selected. - In the update menu, select USB Bootstrap and press Right on the remote.
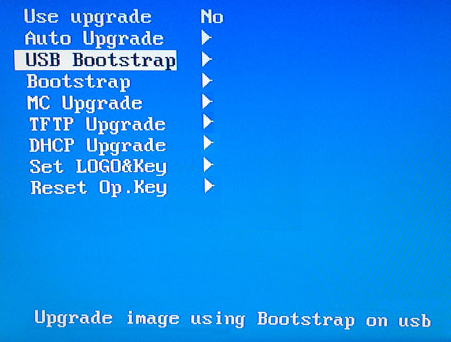
Update menu with USB Bootstrap selected. - Confirm the firmware update by pressing OK.
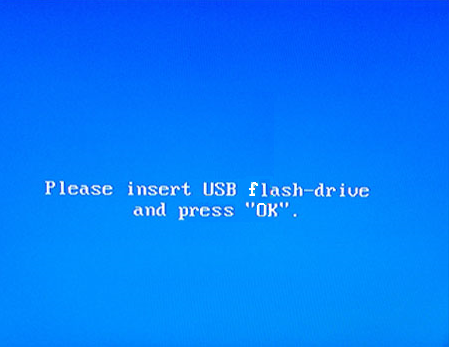
Confirmation before starting the USB firmware update. - Wait until the update finishes and the device reboots.
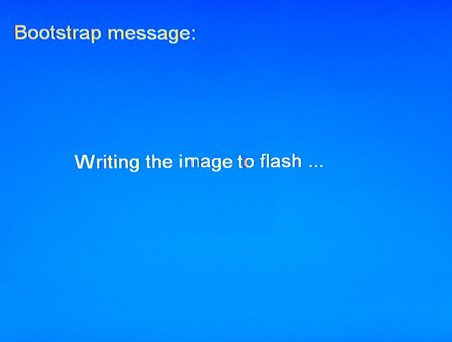
USB firmware update in progress.
Remote control
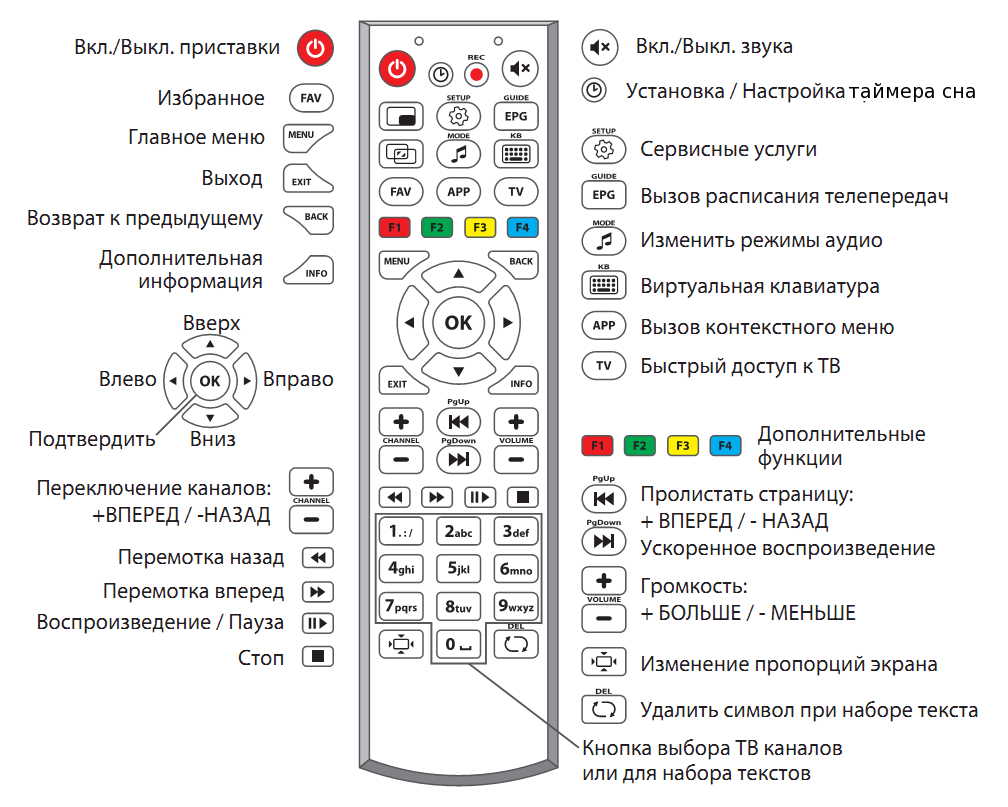
MAG250 overview
MAG250 supports HD video playback, multicast streams, a media player for USB files and common formats: MPEG-TS, MPEG-PS, MPEG2, H.264, VC-1, WMV9, AVI, MKV, MOV, MP4, WMV, MP3, WAV and JPG.
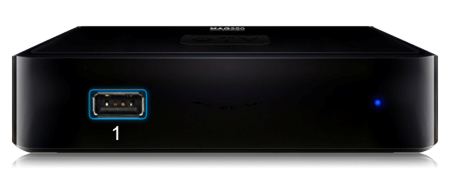
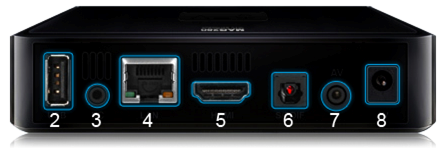
MAG250 connector numbering:
- 1, 2 — universal USB ports.
- 3 — RC connector for an external IR receiver; it is not present on every model.
- 4 — 10/100 Mbit/s Ethernet port for network connection.
- 5 — HDMI: digital audio/video output for an HD TV; HDMI cable is purchased separately.
- 6 — S/PDIF: optical digital audio output for a home theater system; it is not present on every model.
- 7 — AV: composite analog audio/video output with RCA cable: yellow for video, red and white for audio.
- 8 — power-supply connector.
Connector descriptions
- USB. Use it for a flash drive with videos, photos and music, a wireless Wi-Fi adapter, keyboard or mouse.
- RC. The external IR receiver connector is useful when the box is placed inside a cabinet or another hard-to-reach location.
- LAN / Ethernet. 10/100 Mbit/s RJ-45 network port.
- HDMI. Digital audio/video output for HD and Full HD TVs. If your TV has HDMI, this connection is recommended for the best picture quality.
- S/PDIF. Optical digital audio output for a home theater system with Dolby 5.1/7.1 or DTS.
- TRRS AV. Analog audio/video output from 3.5 mm to three RCA connectors: yellow for composite video, white and red for left and right audio. This cable is suitable for older TVs and is included with the box.
- Power. The rightmost connector is used for the included 5 V DC power supply.