About the TVClub app for Android
The TVClub app lets you watch live channels, browse the programme guide, and use catch-up on phones, tablets, and TVs running Android 5.0 or later.
The APK is about 90 MB; installation requires additional free storage.
The app is developed by TVClub.
For help or to report a problem, email [email protected].
What changed
2026-07-09 — version 0.9.2
- Minor fixes.
2025-12-30 — version 0.9.1
- Added German to the app settings.
- Added a buffering setting for the built-in player.
2025-10-10 — version 0.9.0
- Built-in player updated.
- Minor fixes and improvements.
2024-06-10 — version 0.8.4.356
- Android 14 support: the app is compatible with the current Android version at the time of release.
- Universal build for ARM and x86 architectures: one APK for all supported devices.
- Switching between TV and mobile interface modes.
- Minor fixes and improvements.
Available app versions
Install the app manually by downloading the APK file to your device.
Current version: 0.9.2. Universal APK for ARM and x86 devices: download APK 0.9.2.
- Minor fixes.

Previous versions
Version 0.9.1: universal APK for ARM and x86 devices — download APK 0.9.1.
Version 0.9.0: universal APK for ARM and x86 devices — download APK 0.9.0.
Version 0.8.4.356: universal APK for ARM and x86 devices — download APK 0.8.4.356.
Important! The app is still being developed and tested, so some features may not work reliably yet. Send feedback and suggestions to [email protected].
Installing the app
Installing from an APK file
- Download the APK file to your Android device.
Download the APK from the Available app versions section of this guide.
- If Android asks for permission, allow installs from this source for the app used to open the APK. On older Android versions, the setting may be called “Unknown sources”.
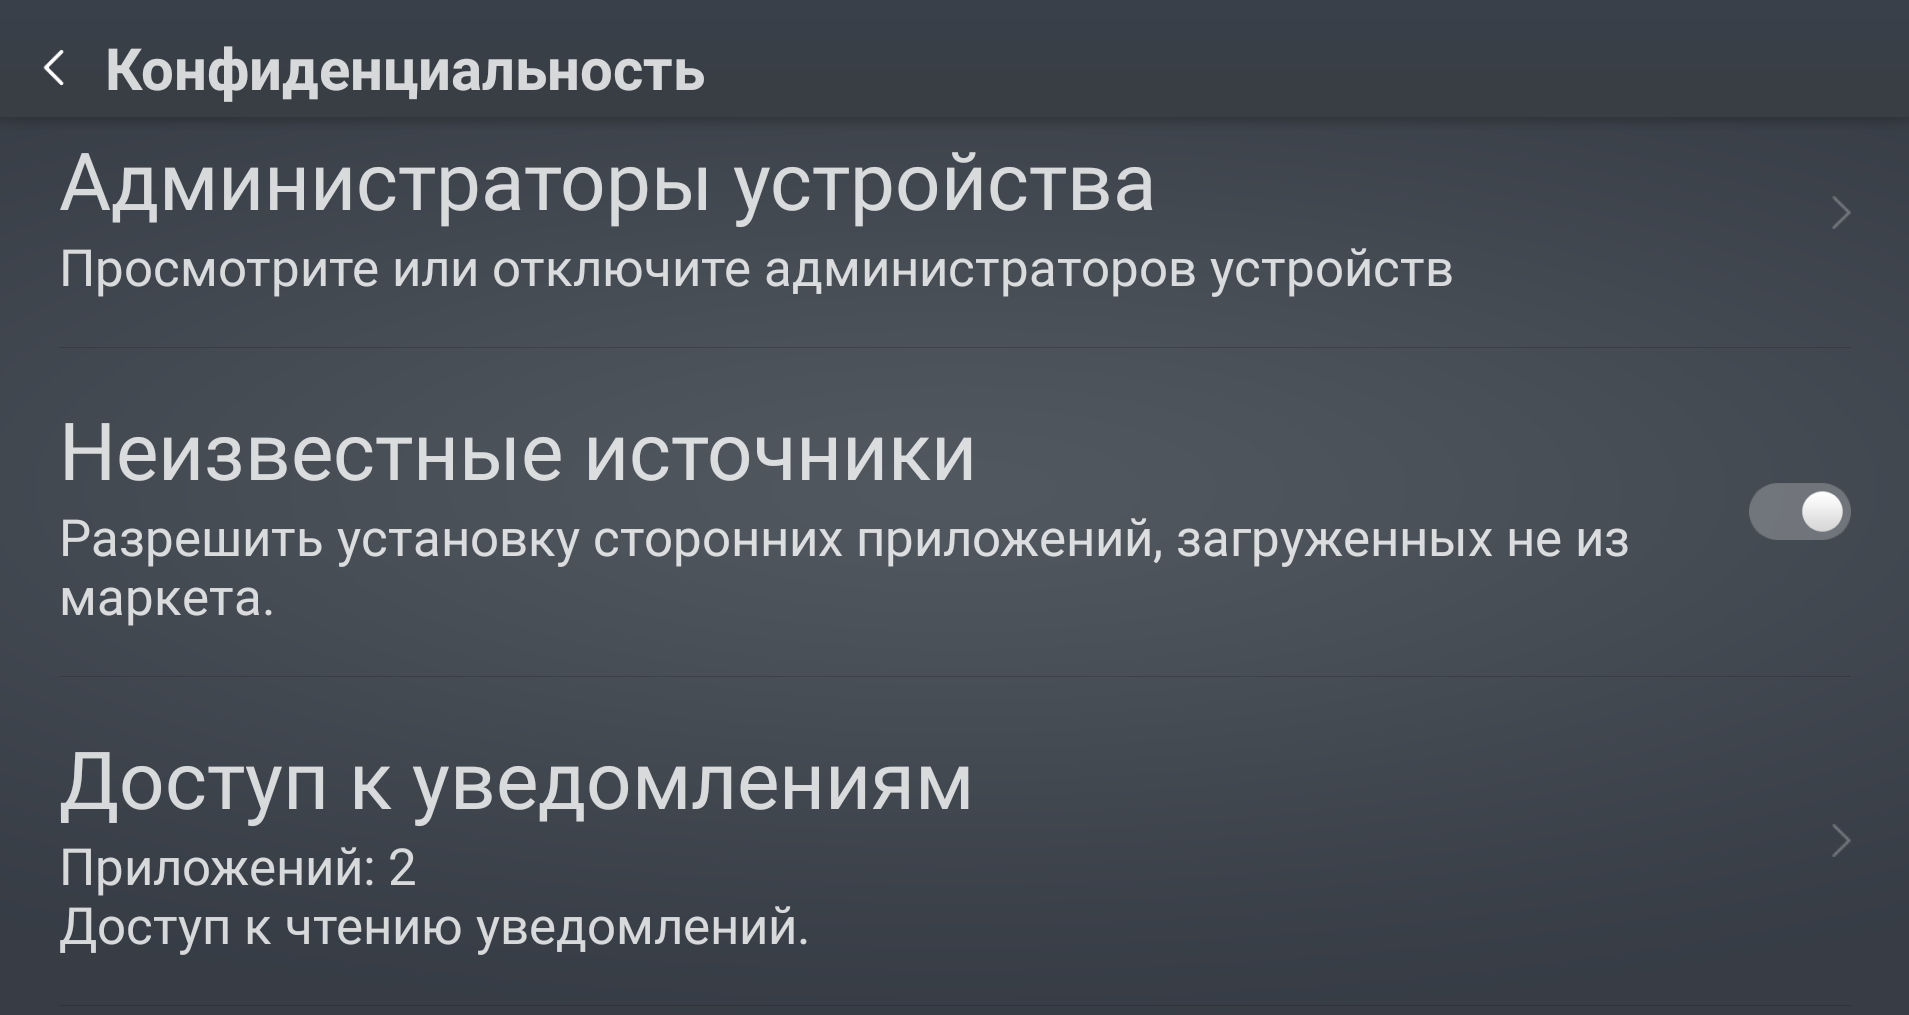
Permission to install APK files from unknown sources. - Open the downloaded file for installation.
- If Android asks for permission to install from this source, grant it to the file manager. Then open the APK again and select “Install”.
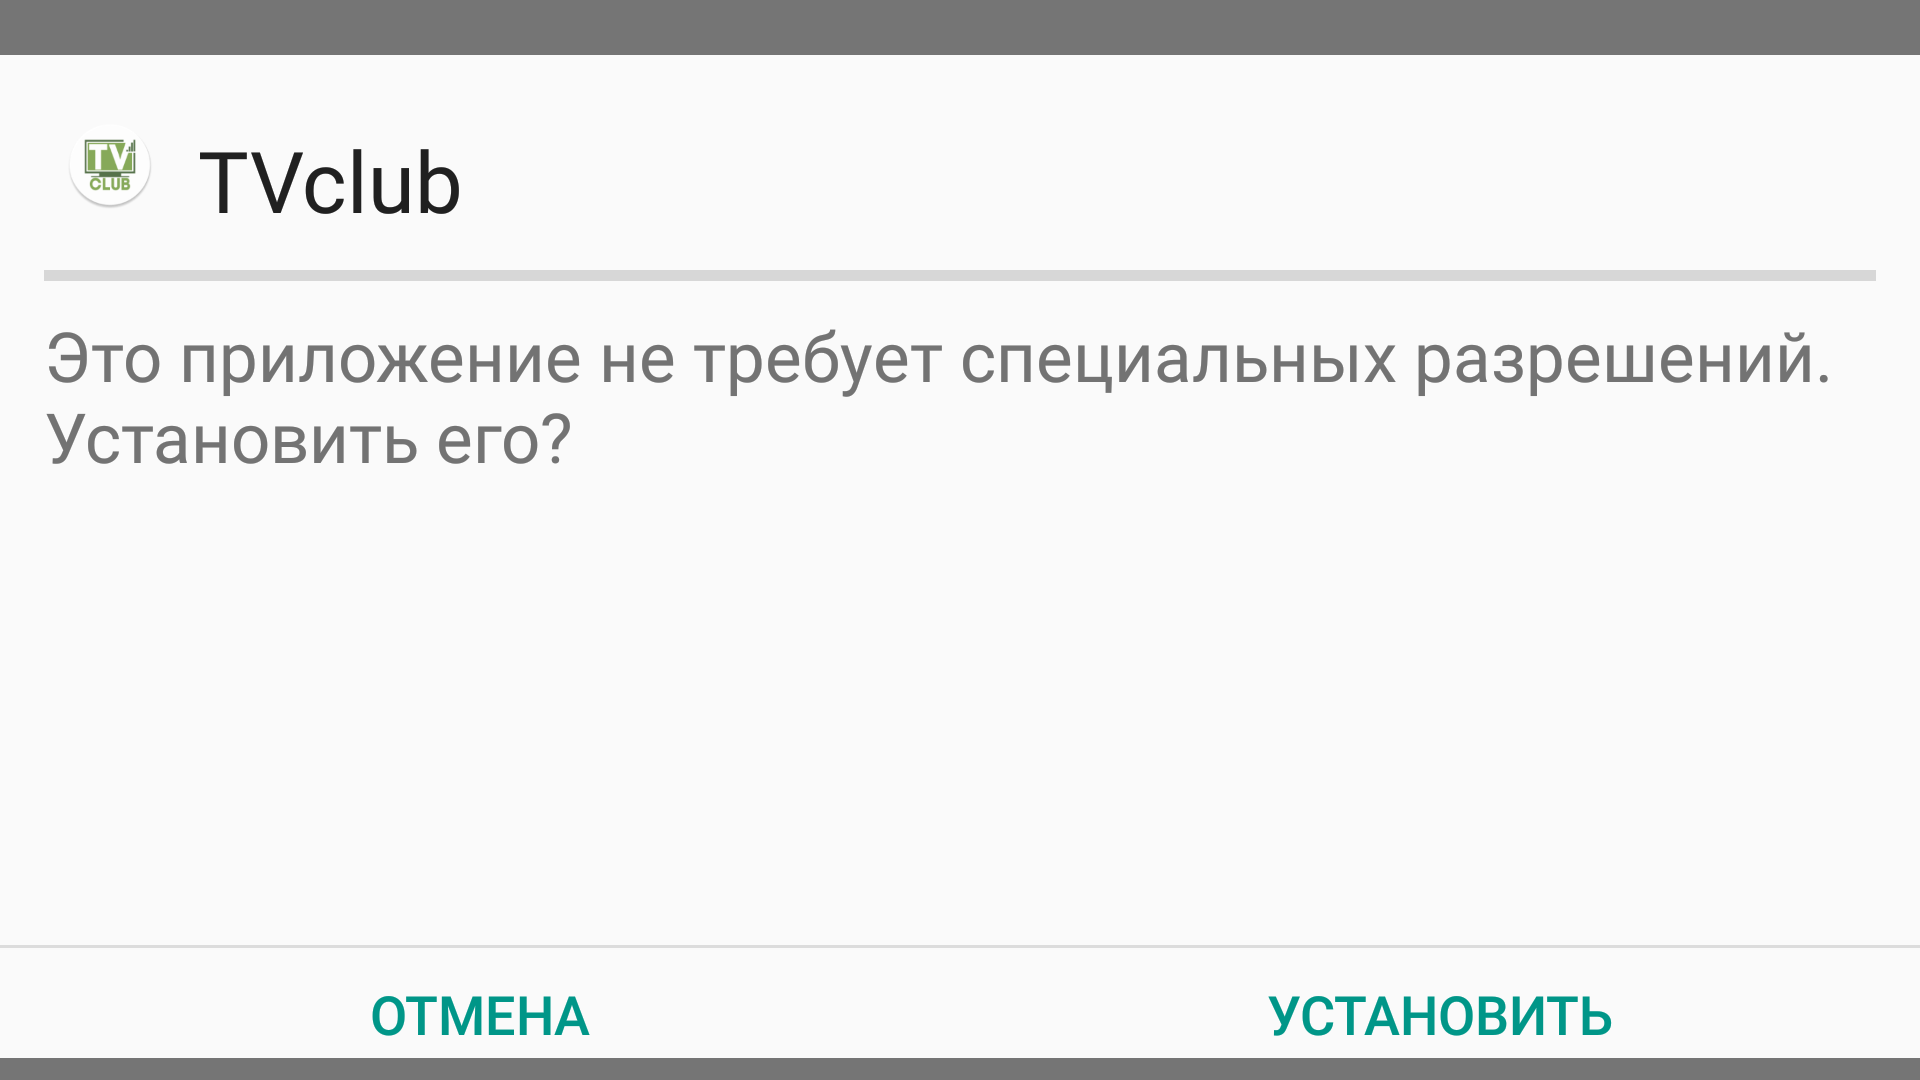
Android installation screen with the “Install” button. - Android starts installing TVClub.
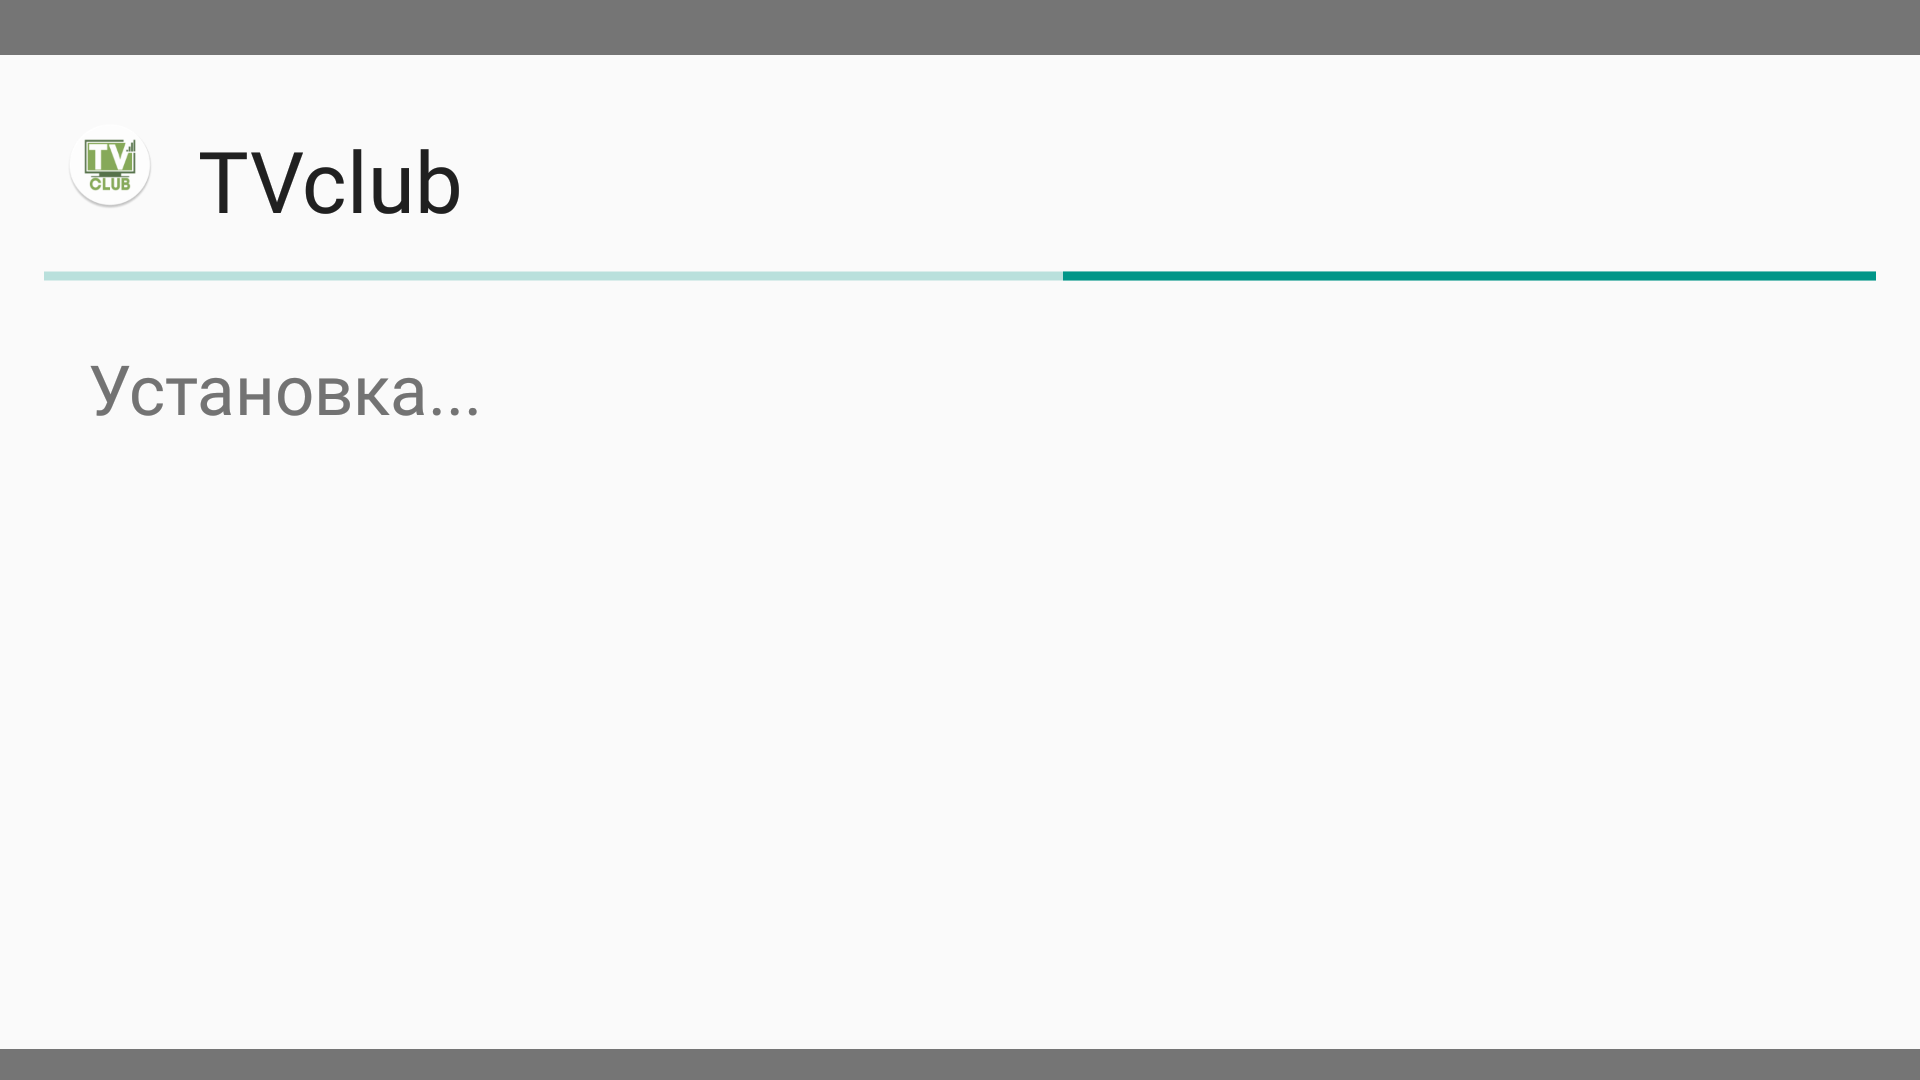
TVClub installation in progress. - When installation is complete, Android displays “App installed”.
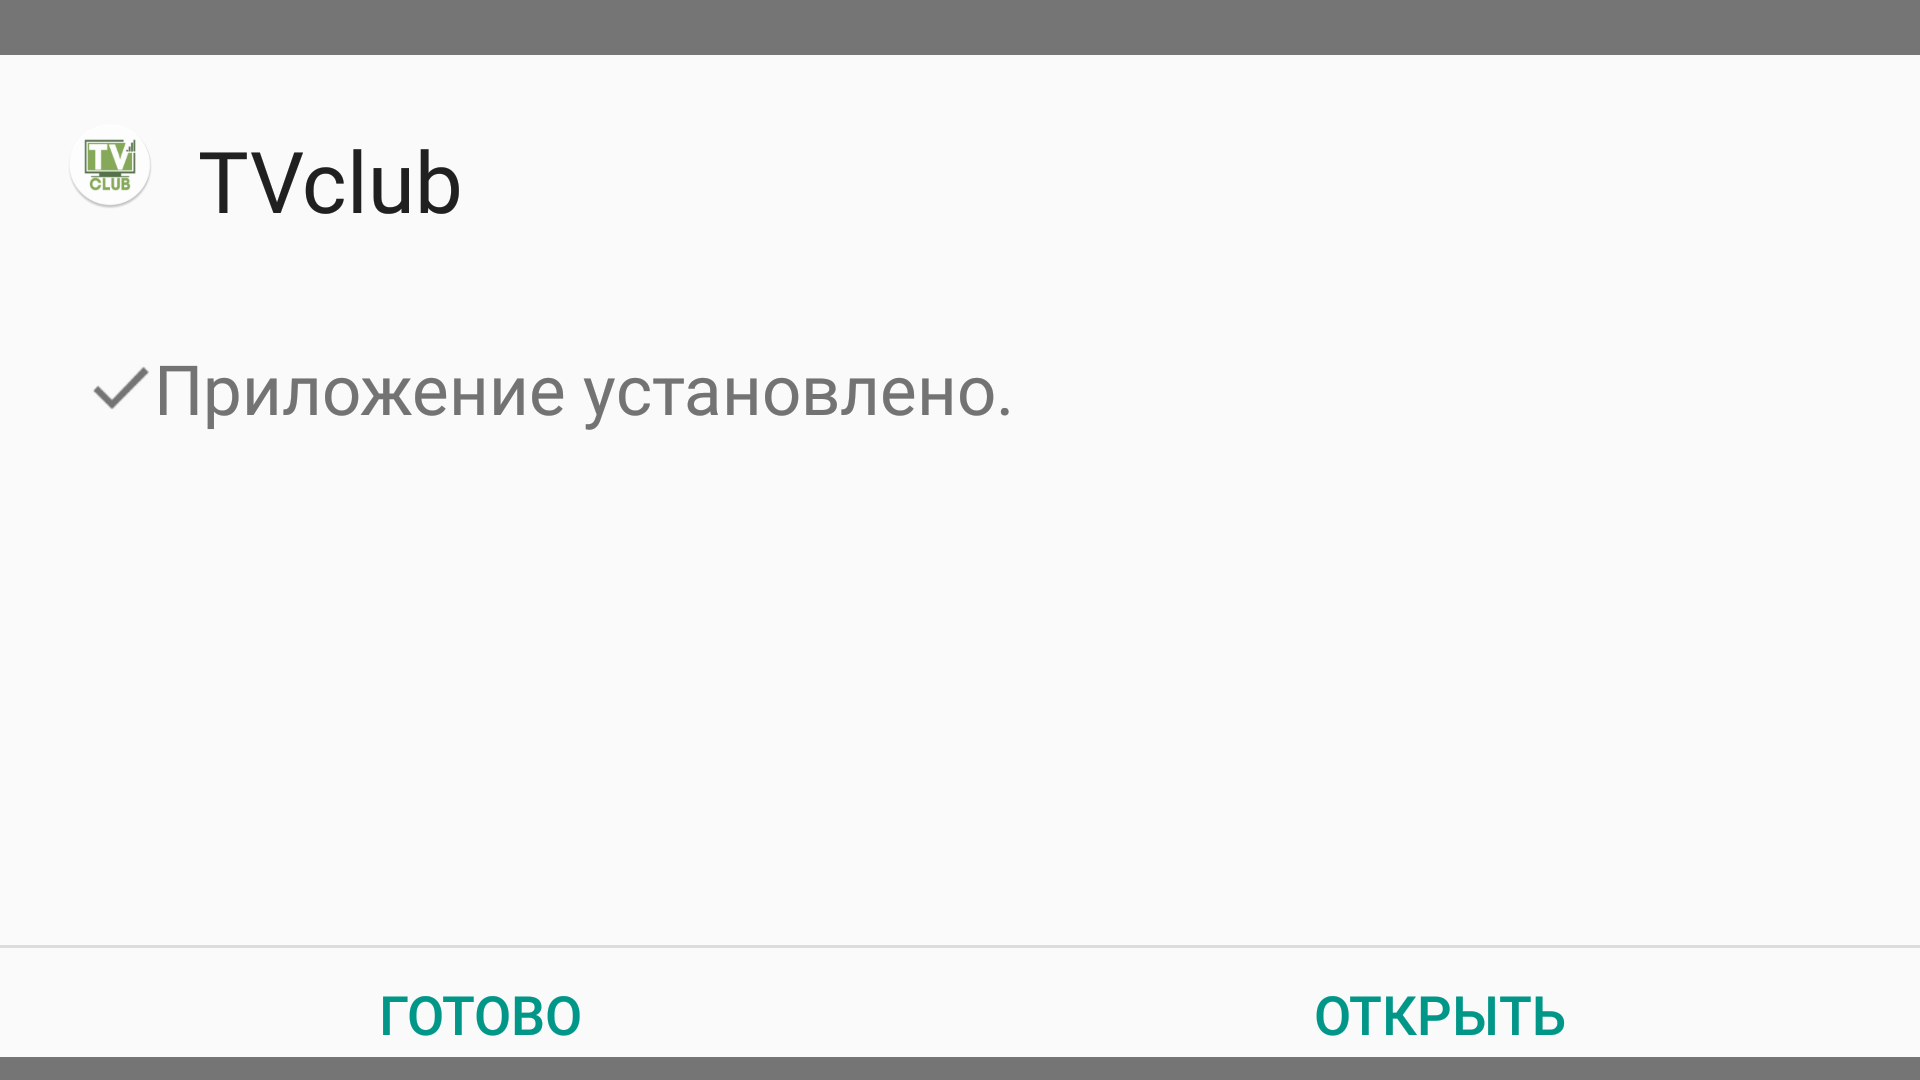
Android “App installed” confirmation.
Installing from a USB drive
- Download the APK file to a USB drive, then connect the drive to your device.
Download the APK from the Available app versions section of this guide.
- Go to USB storage.
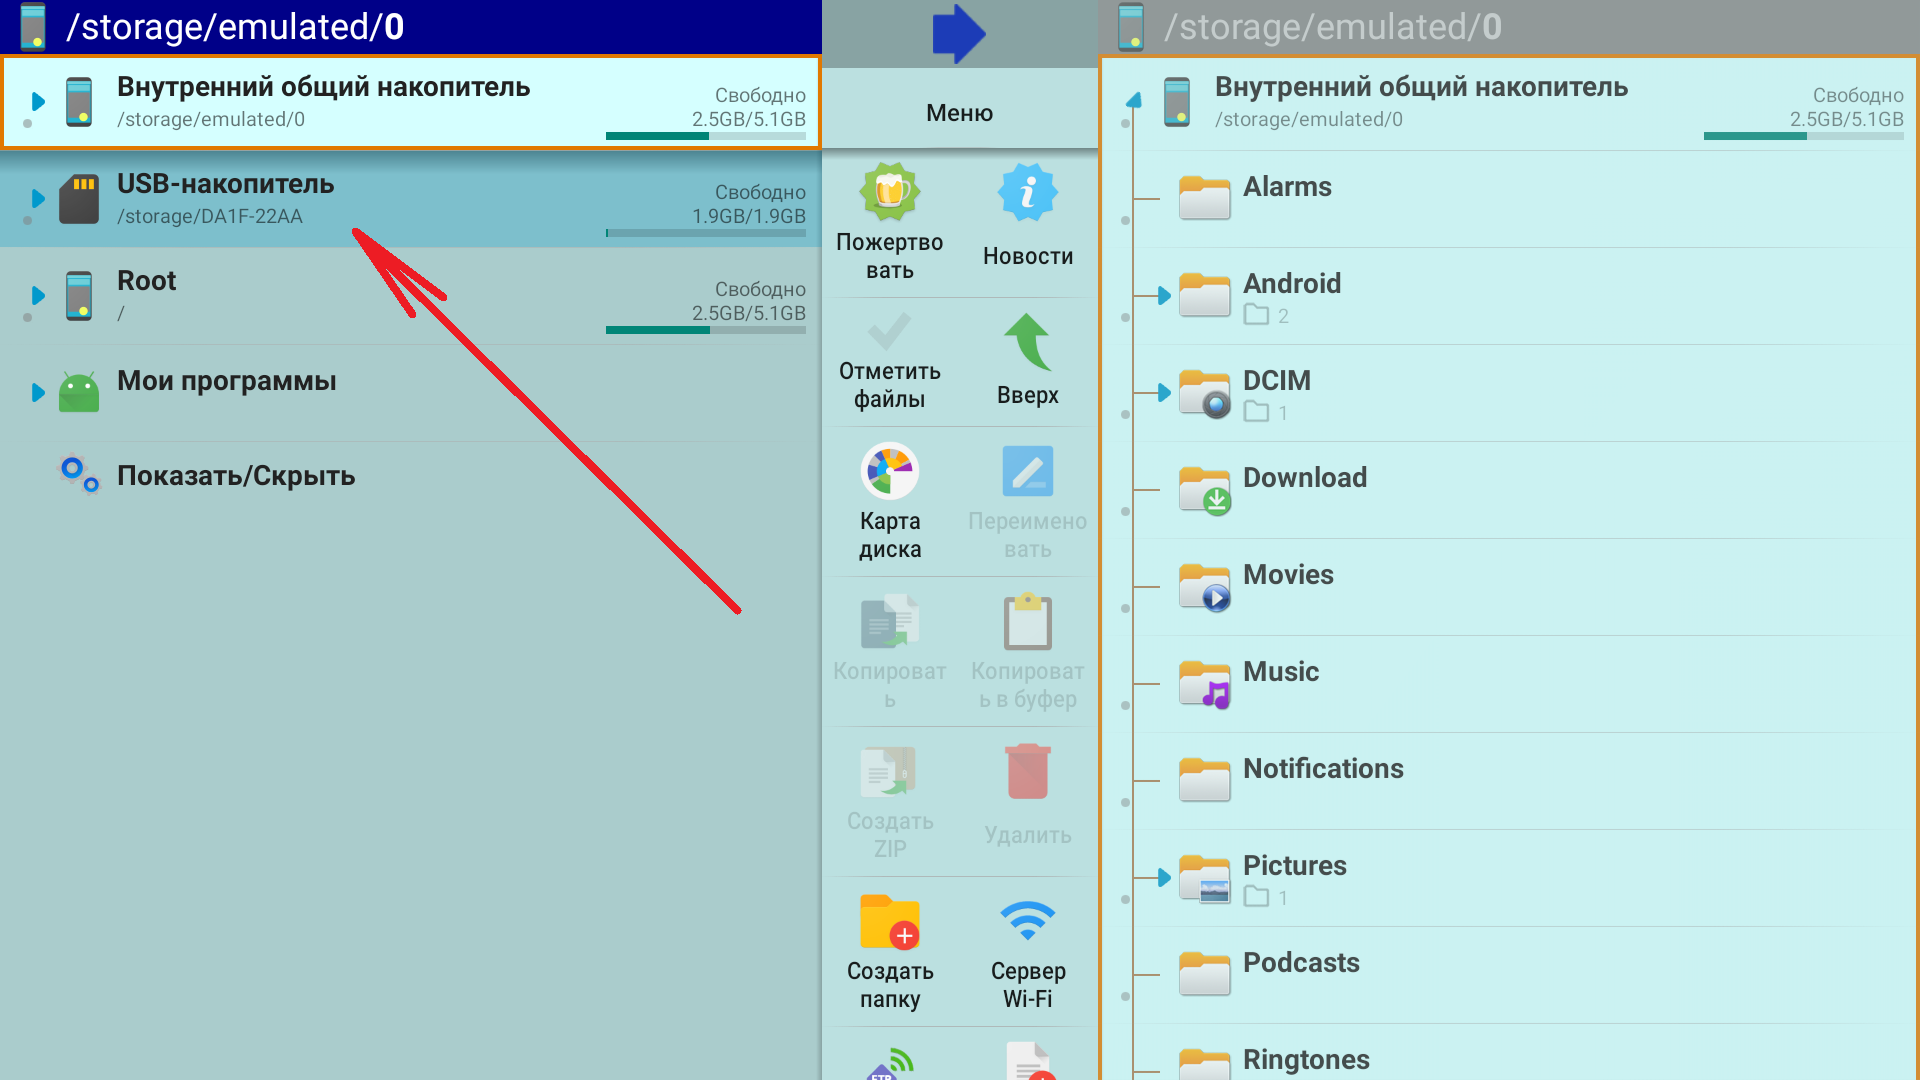
USB storage available in the file manager. To navigate, you can use the built-in explorer on the device or any file manager, for example X-plore File Manager.
You can install X-plore File Manager from the app store.
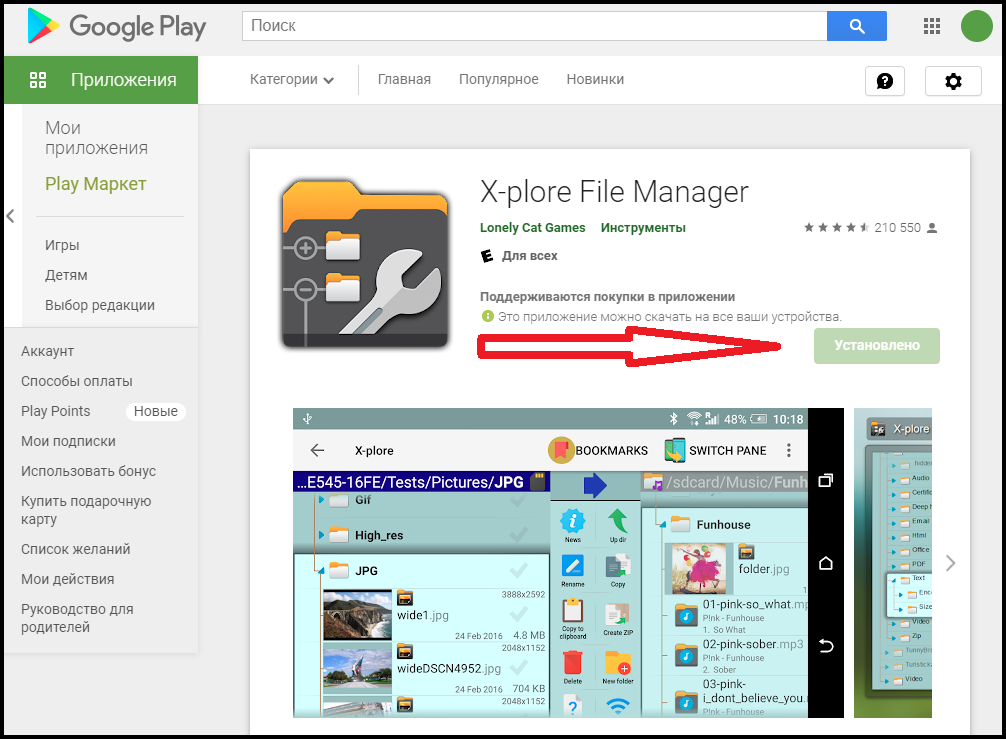
X-plore File Manager in the app store. - The contents of the USB storage device will open. Select the installation APK file.
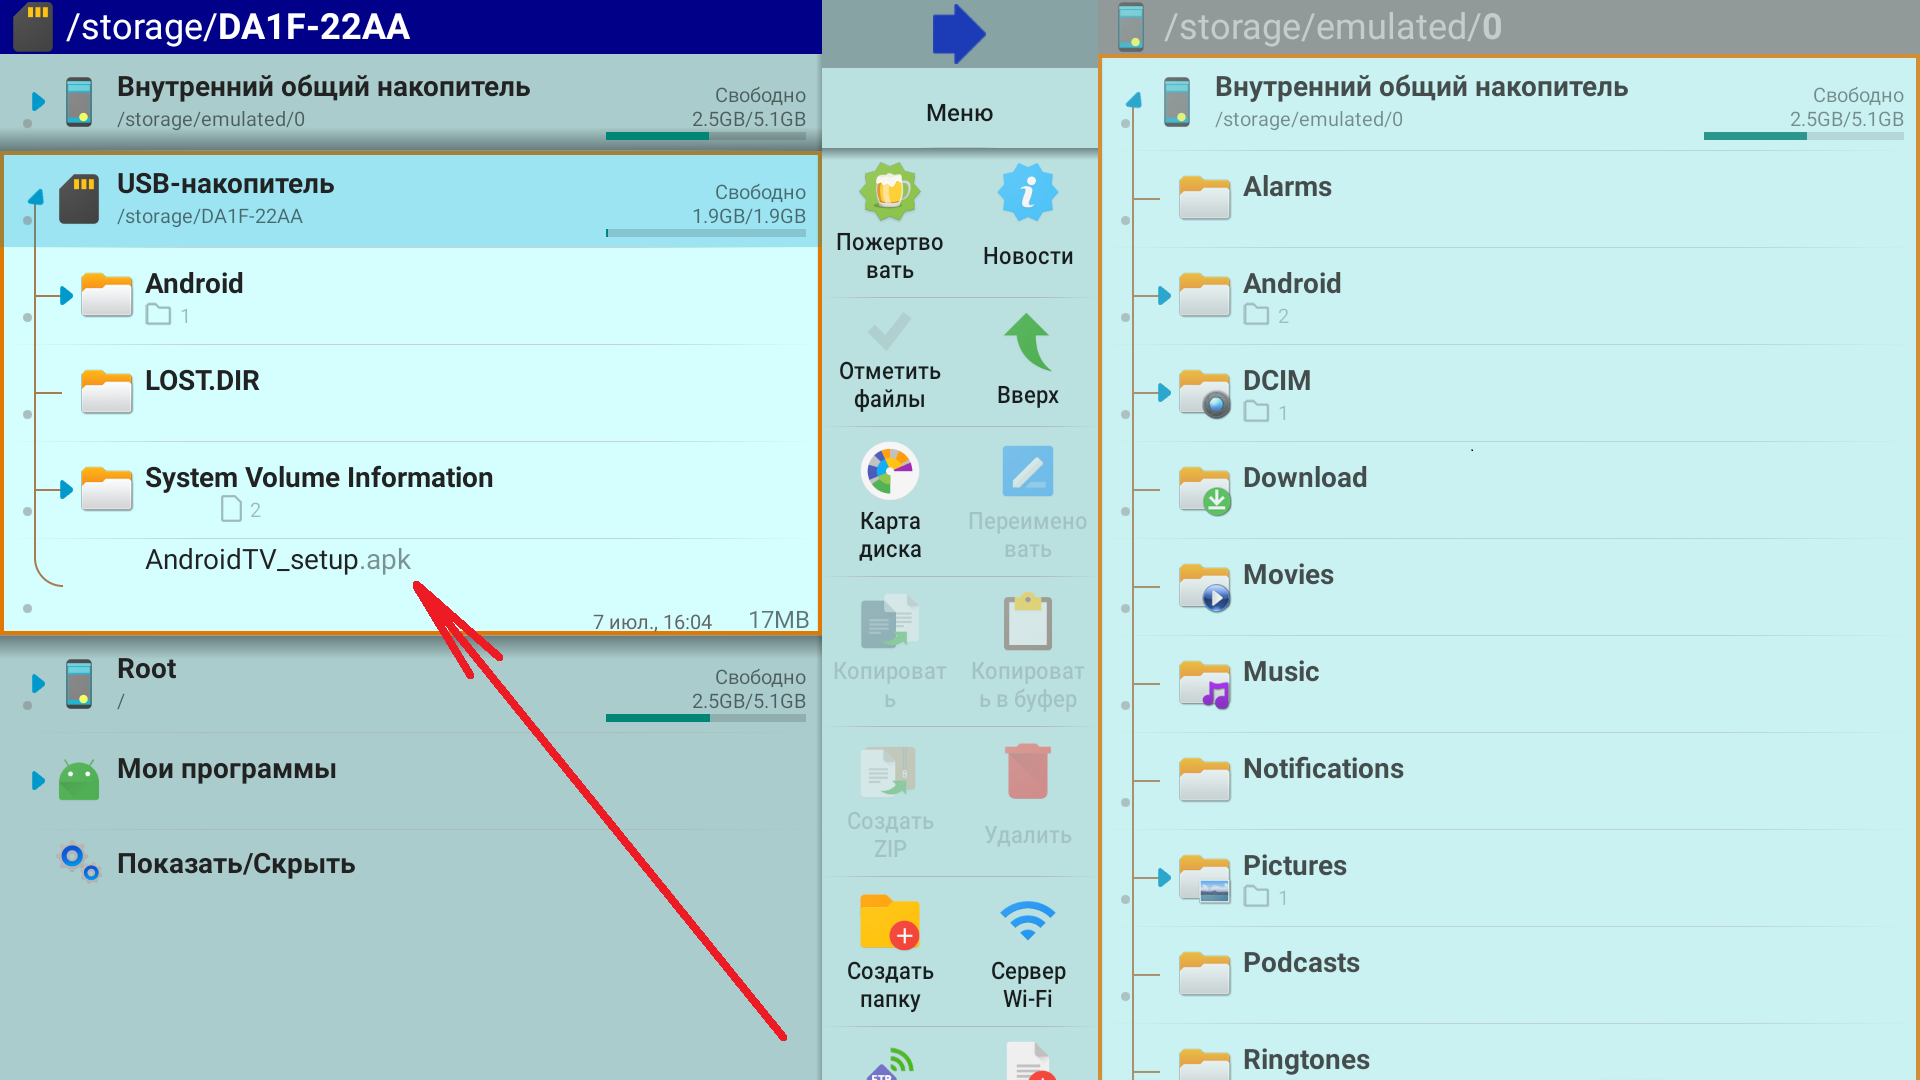
TVClub APK stored on the USB drive. - The app installation screen opens. Select “Install”.
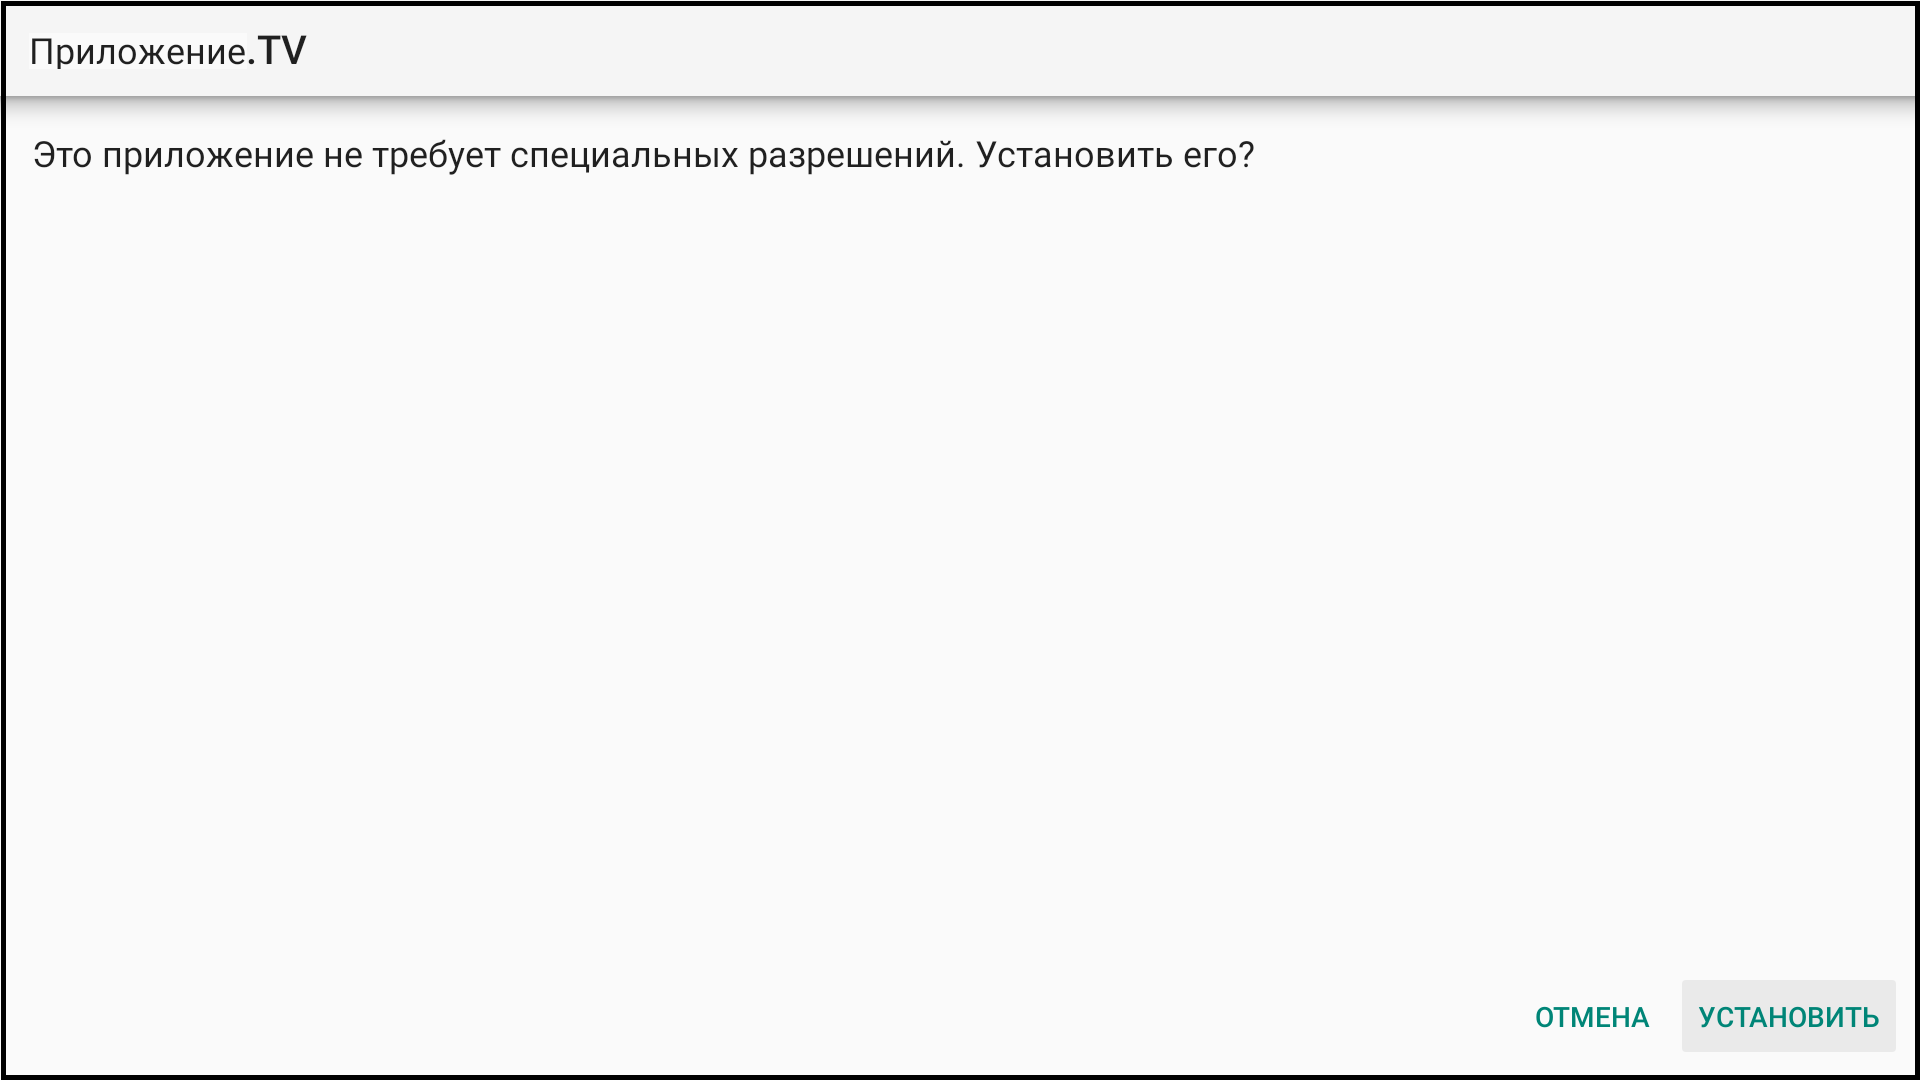
Android installation screen with the “Install” button. - Android displays “App installed”. Select “Done” to close the installer or “Open” to launch TVClub.
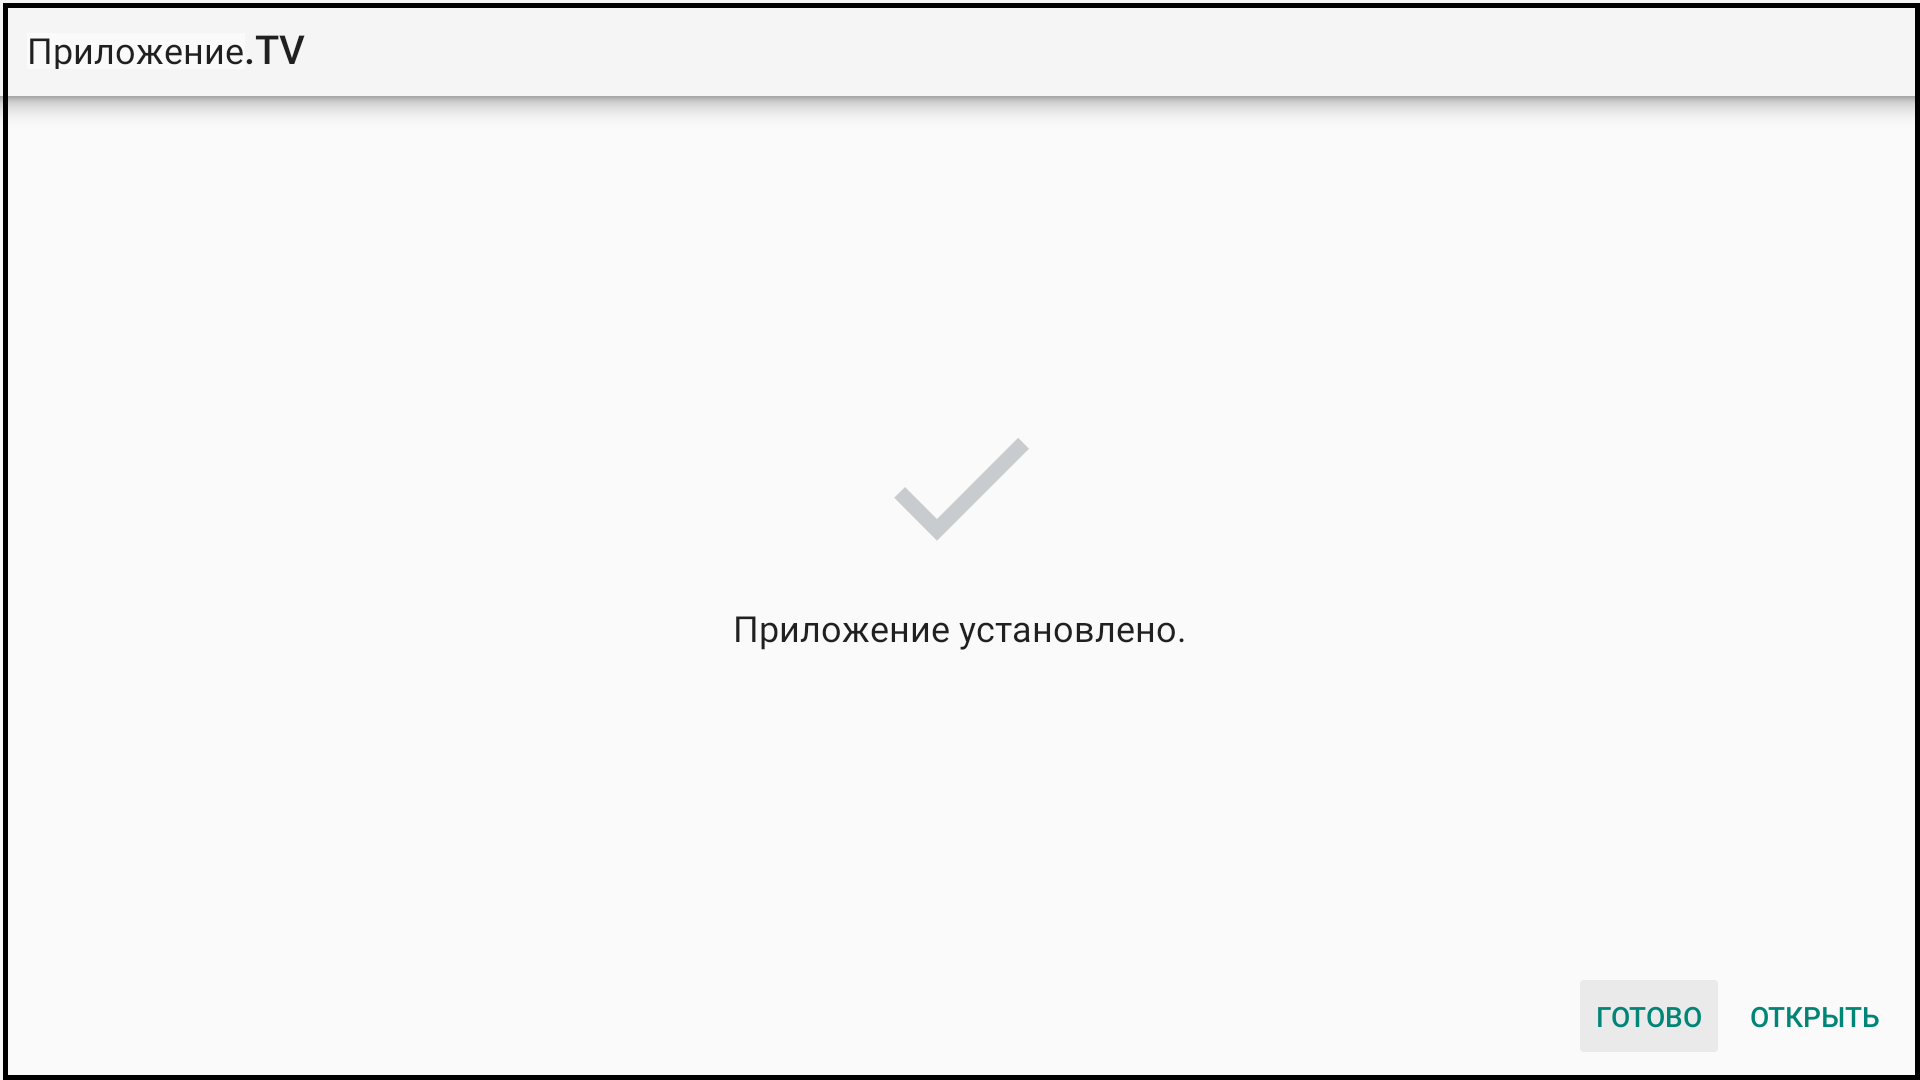
Android “App installed” confirmation.
Installing the app via cloud storage
Use this method on devices without a USB port, such as Amazon Fire TV Stick or Xiaomi Mi TV Stick.
You need a cloud-storage account, such as Google Drive, Dropbox, or Yandex Disk. Before starting installation, upload the installation APK file to your cloud storage.
Download the APK from the Available app versions section of this guide.
- Install a file manager on your device, for example X-plore File Manager.
You can install it from the app store.
X-plore File Manager in the app store. - Open your file manager. Select Cloud Drives.
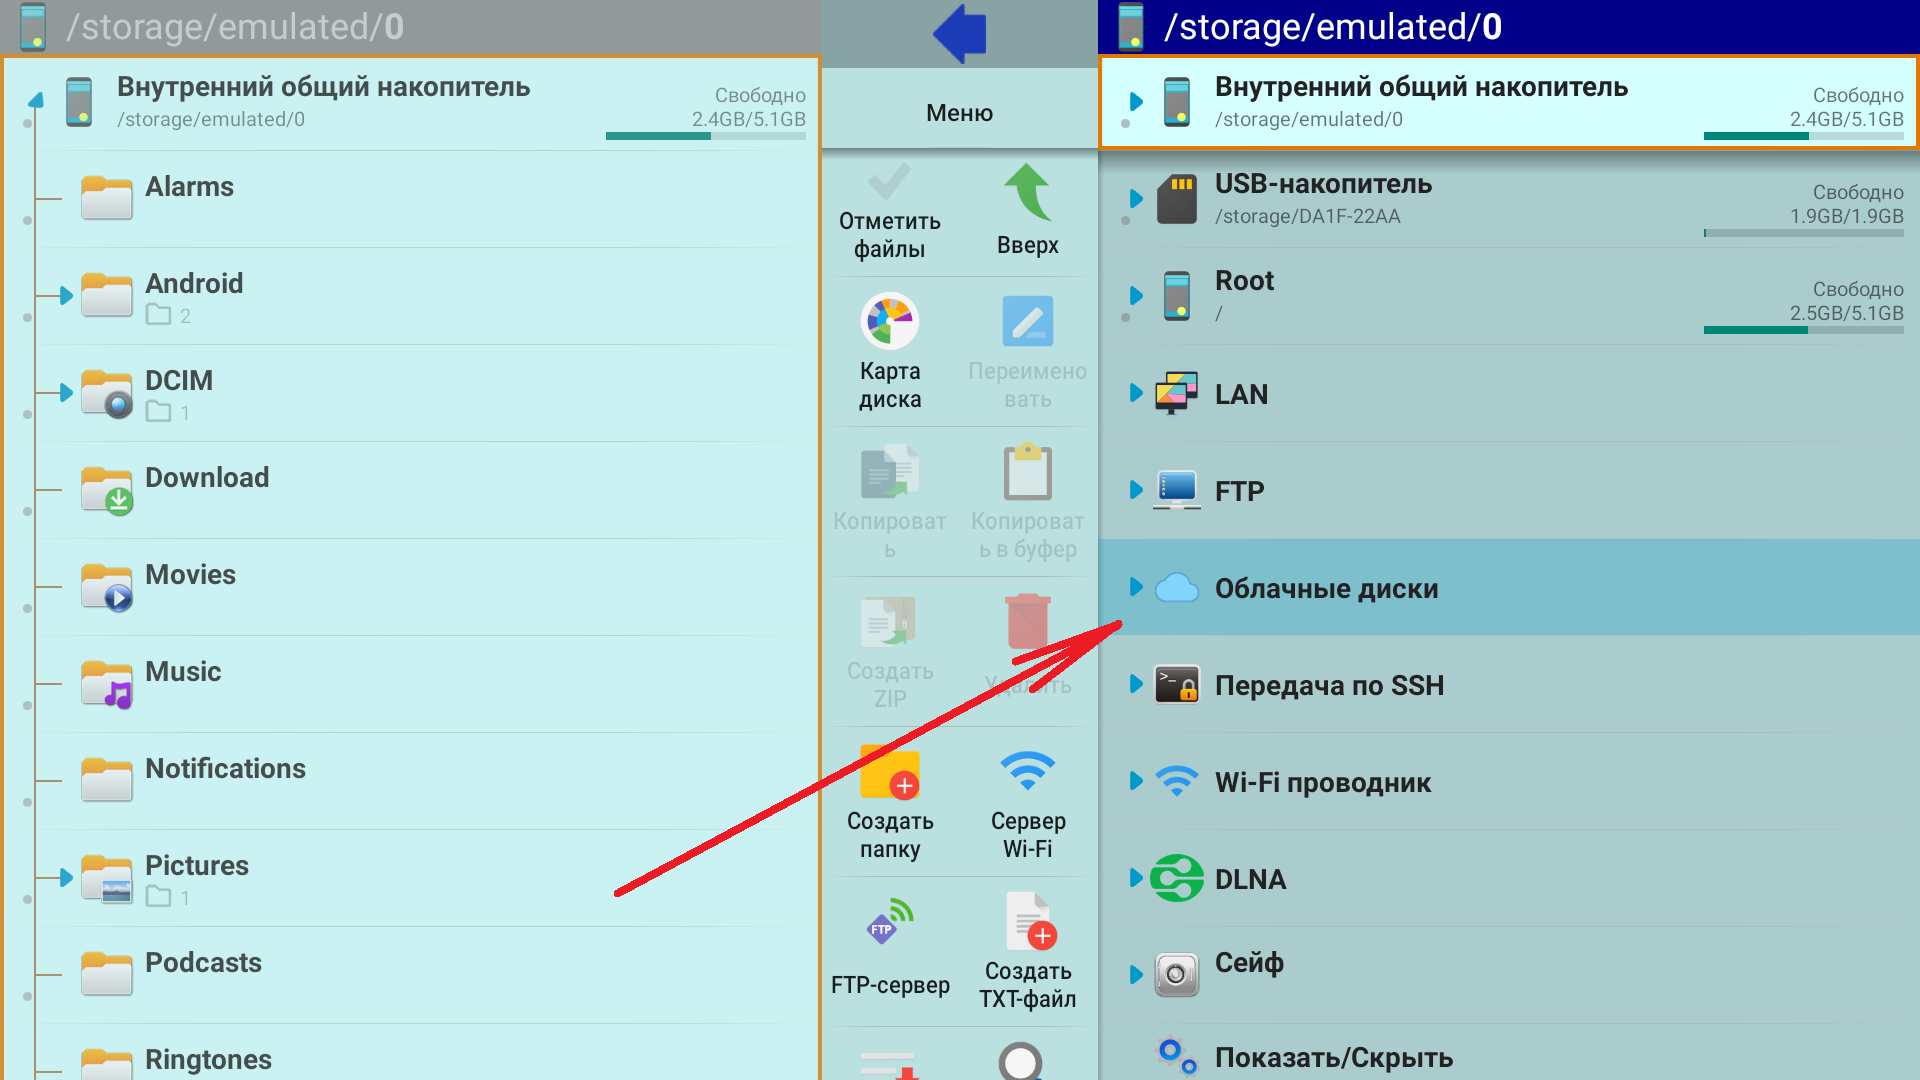
Cloud storage section in X-plore File Manager. - In the menu that opens, select “Add server”.
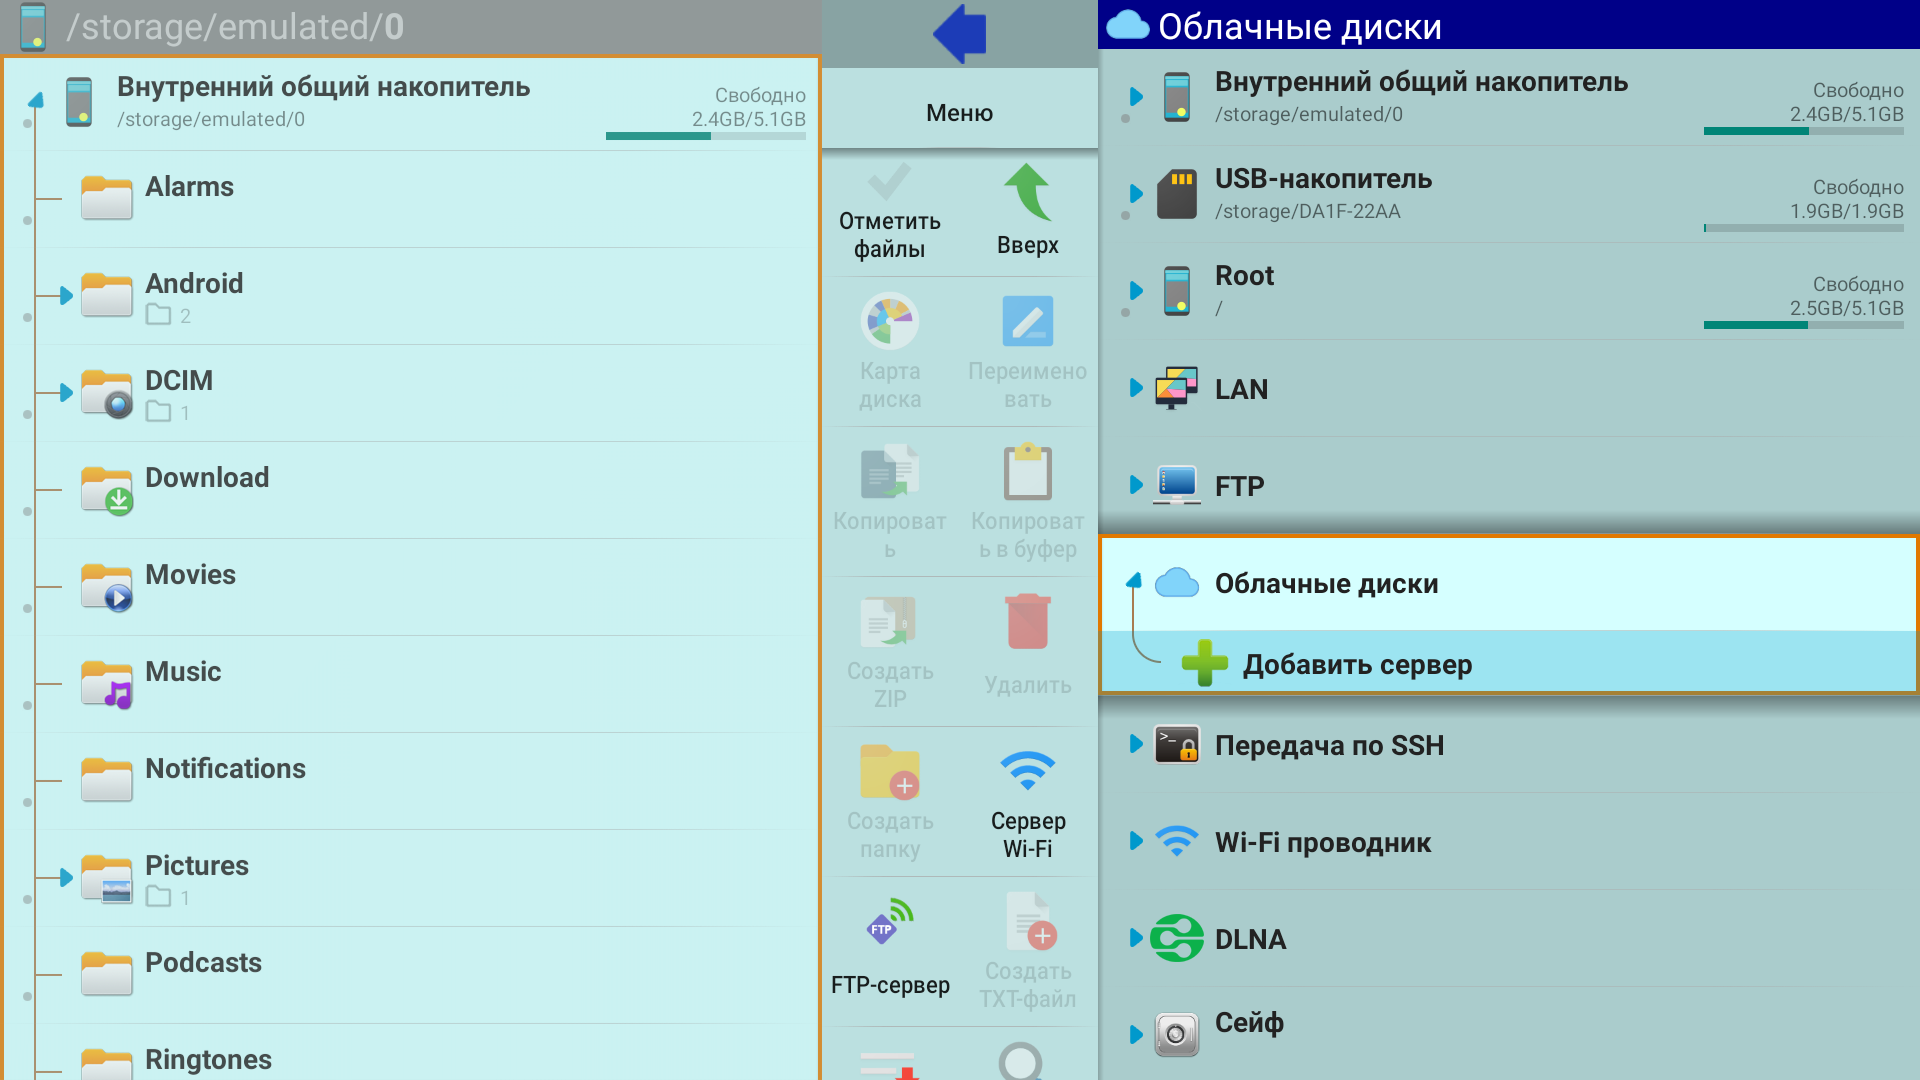
“Add server” in the cloud-storage menu. - A list of cloud-storage providers opens. Select your provider.
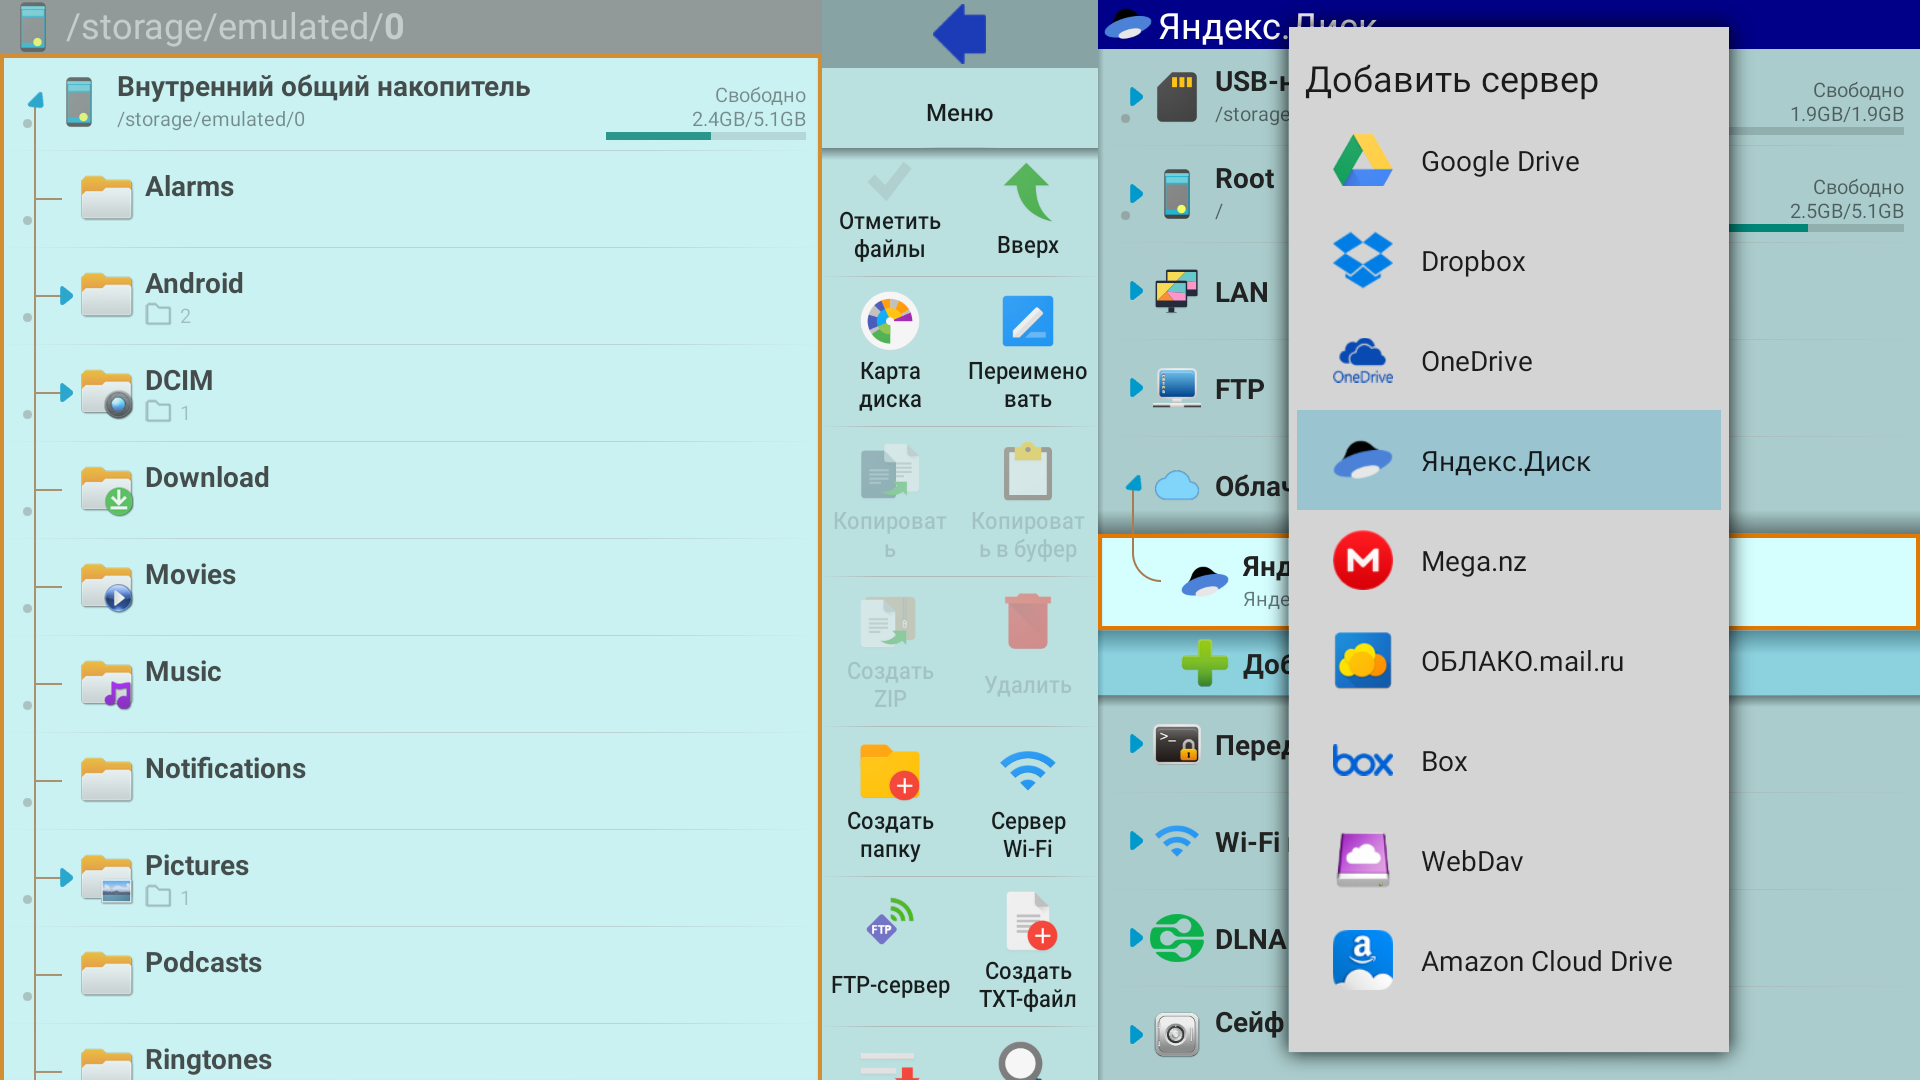
Available cloud-storage providers. Sign in to the selected cloud-storage account and allow the file manager to access it.
- After signing in, select the connected storage account in the file manager.
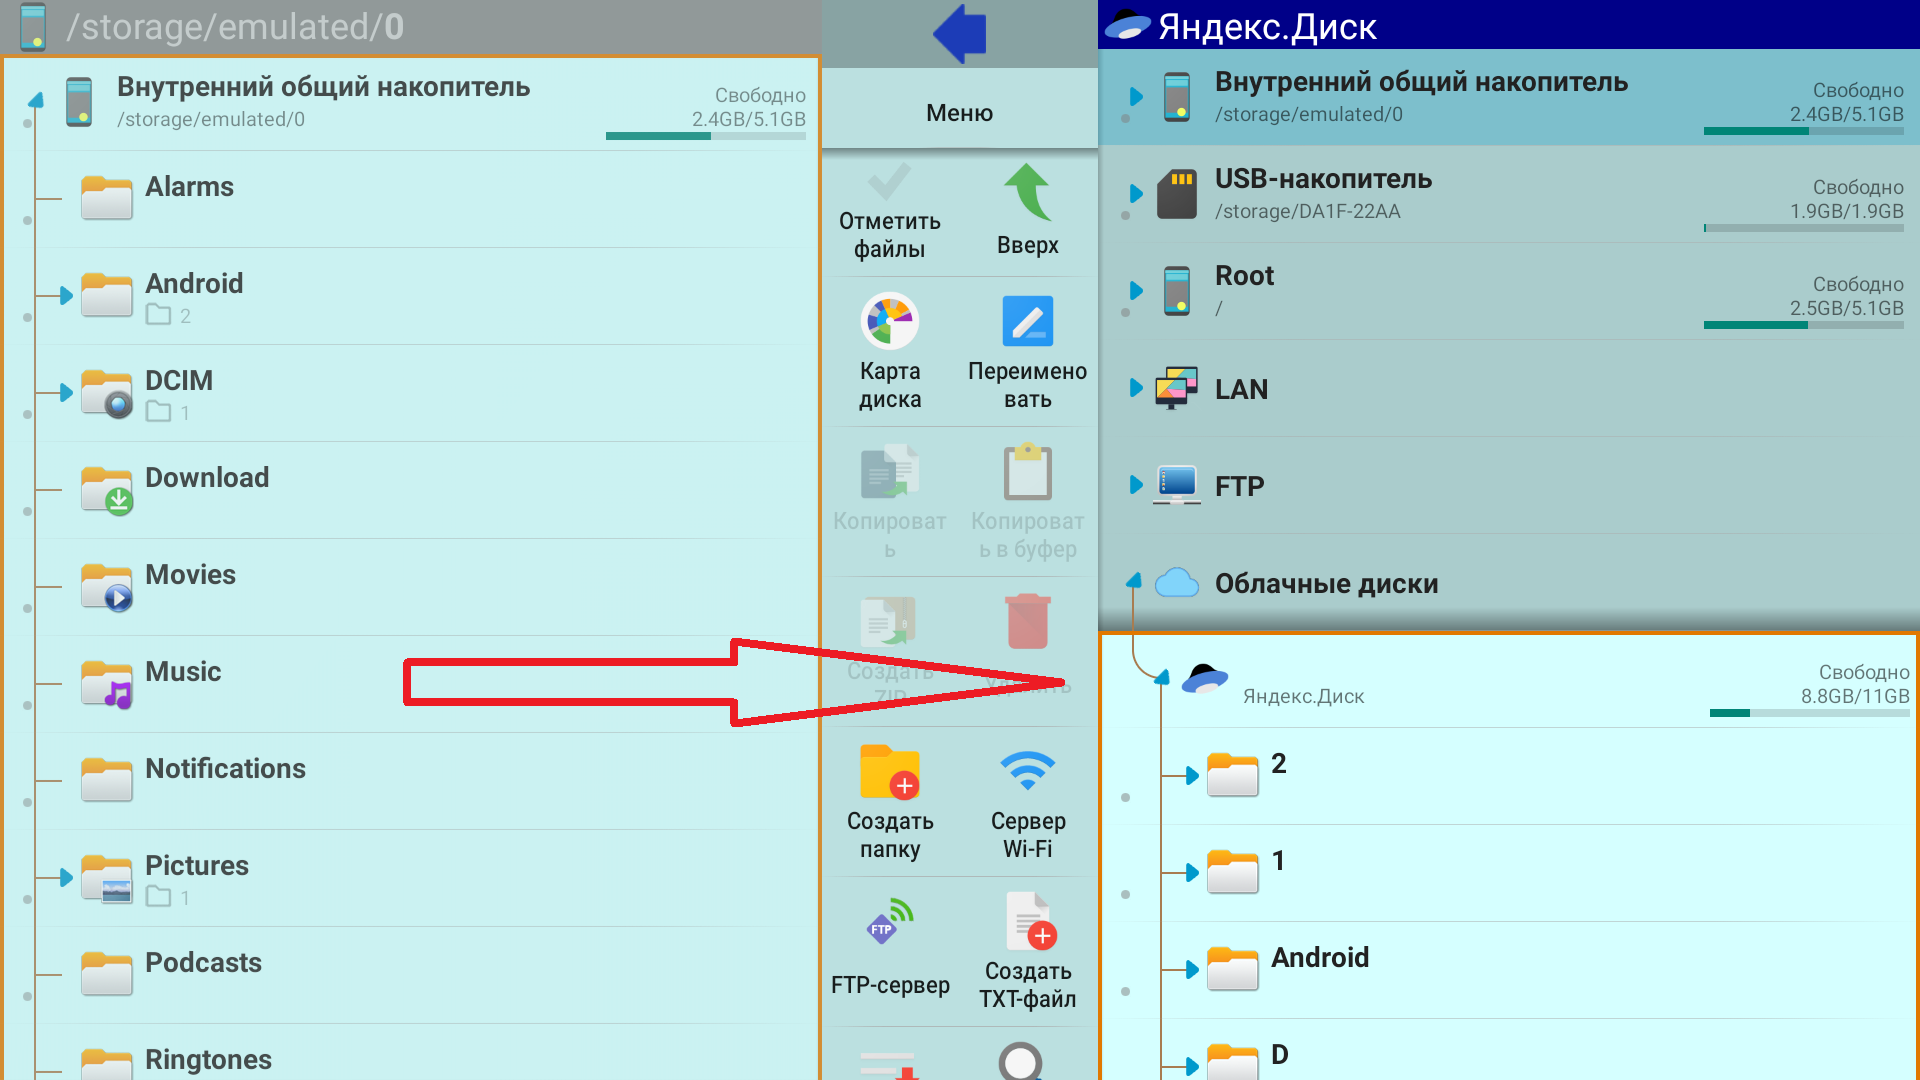
Cloud storage connected to the file manager. - The storage contents open. Select the APK file you uploaded earlier.
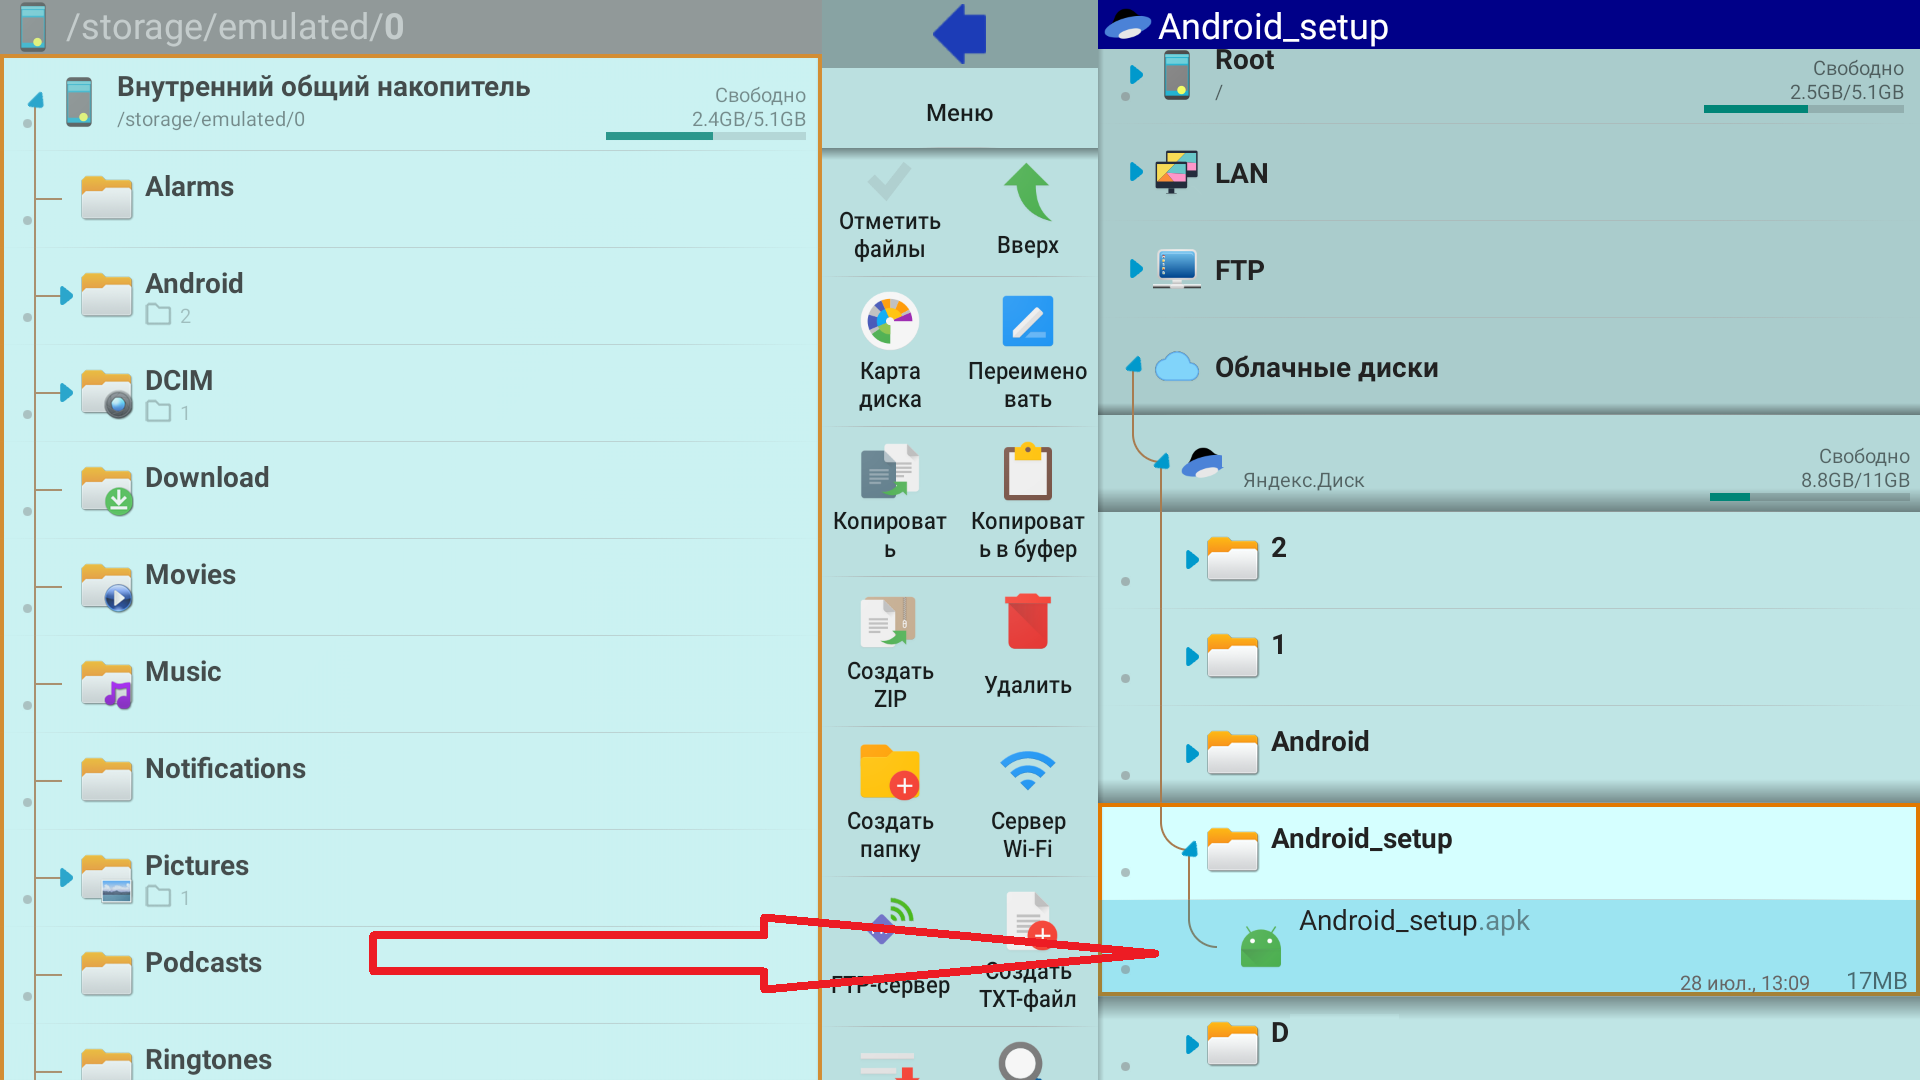
TVClub APK stored in the cloud account. - The app installation screen opens. Select “Install”.
Android installation screen with the “Install” button. - Android displays “App installed”. Select “Done” to close the installer or “Open” to launch TVClub.
Android “App installed” confirmation.
Sign in to the mobile app
- Launch TVClub. The sign-in form opens.
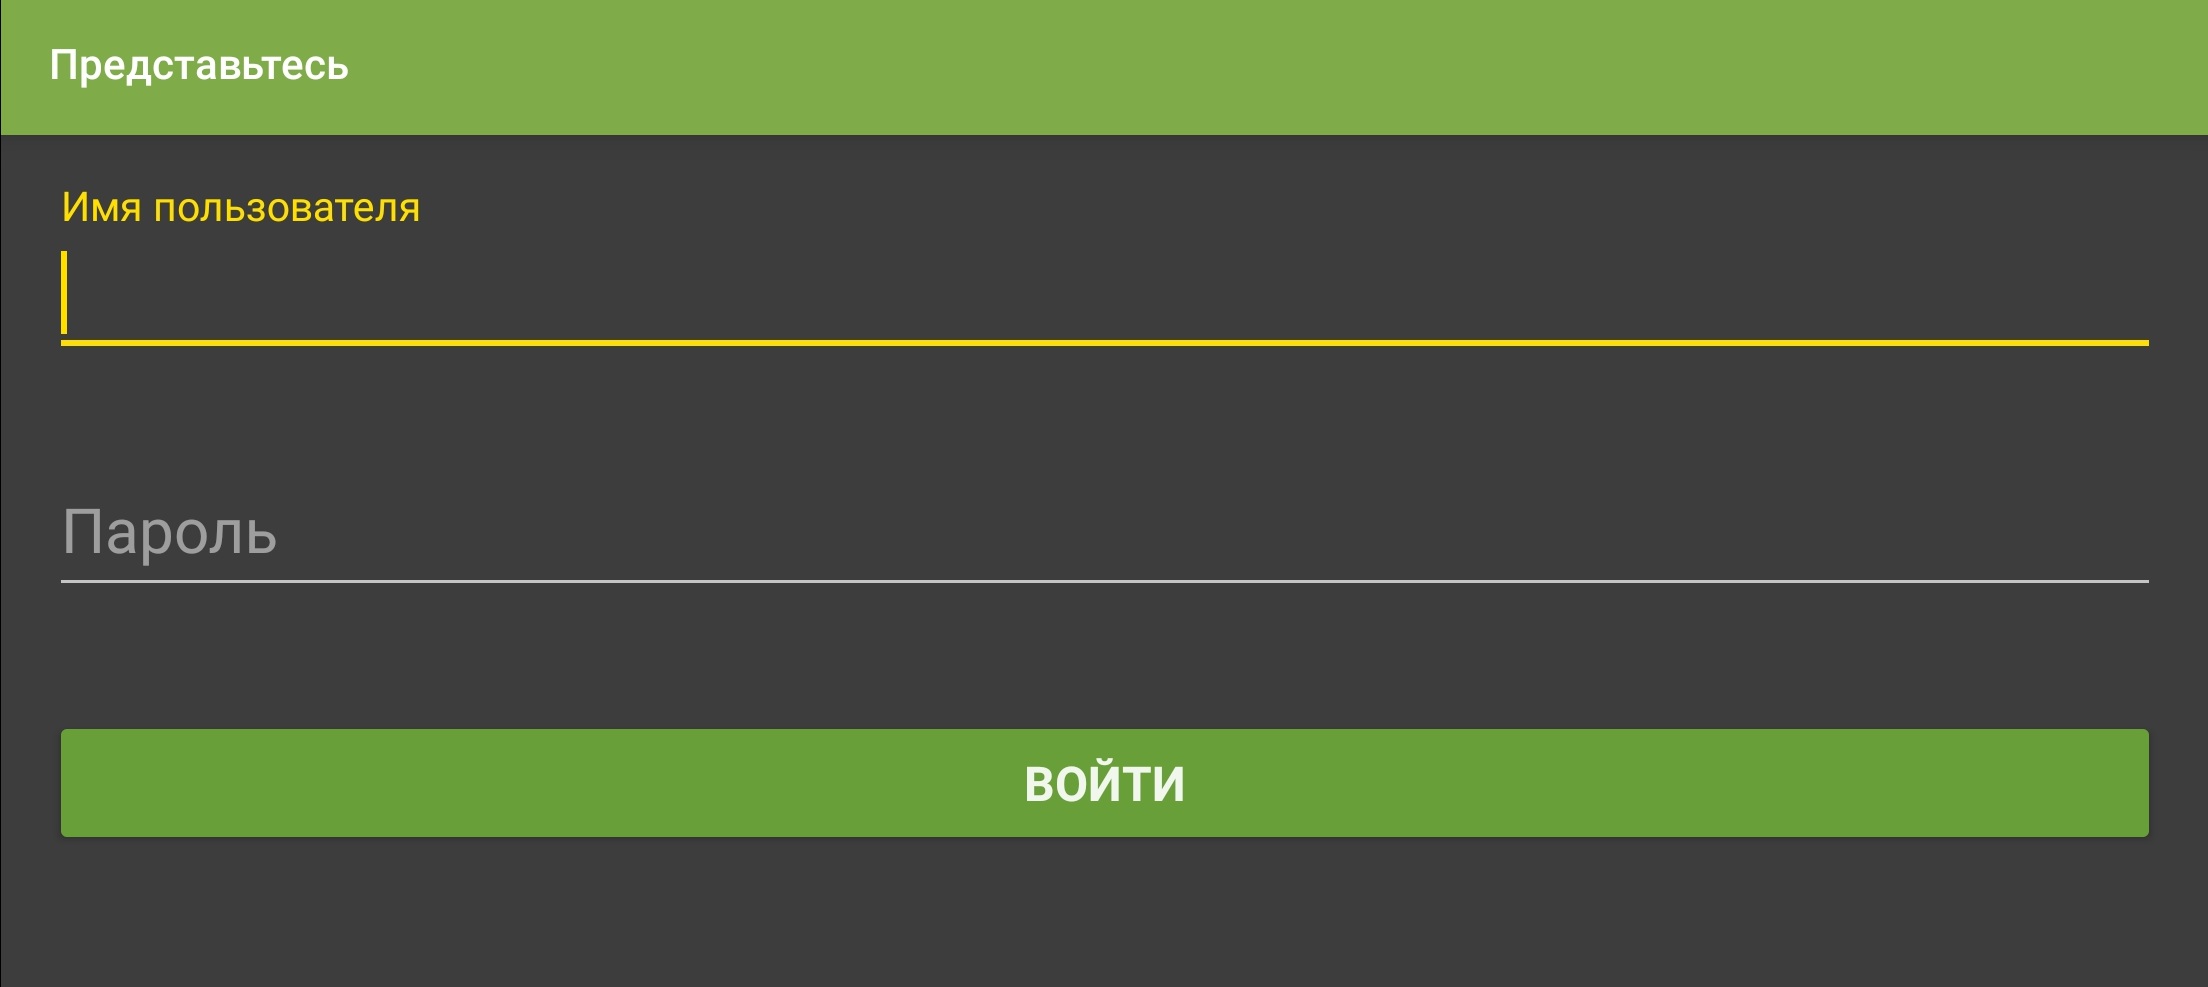
The mobile app opens with the sign-in form. - Enter the username and password used during registration, then select “Sign in”.
Use your primary username to sign in. The username and password are case-sensitive; enter both exactly as you did during registration.
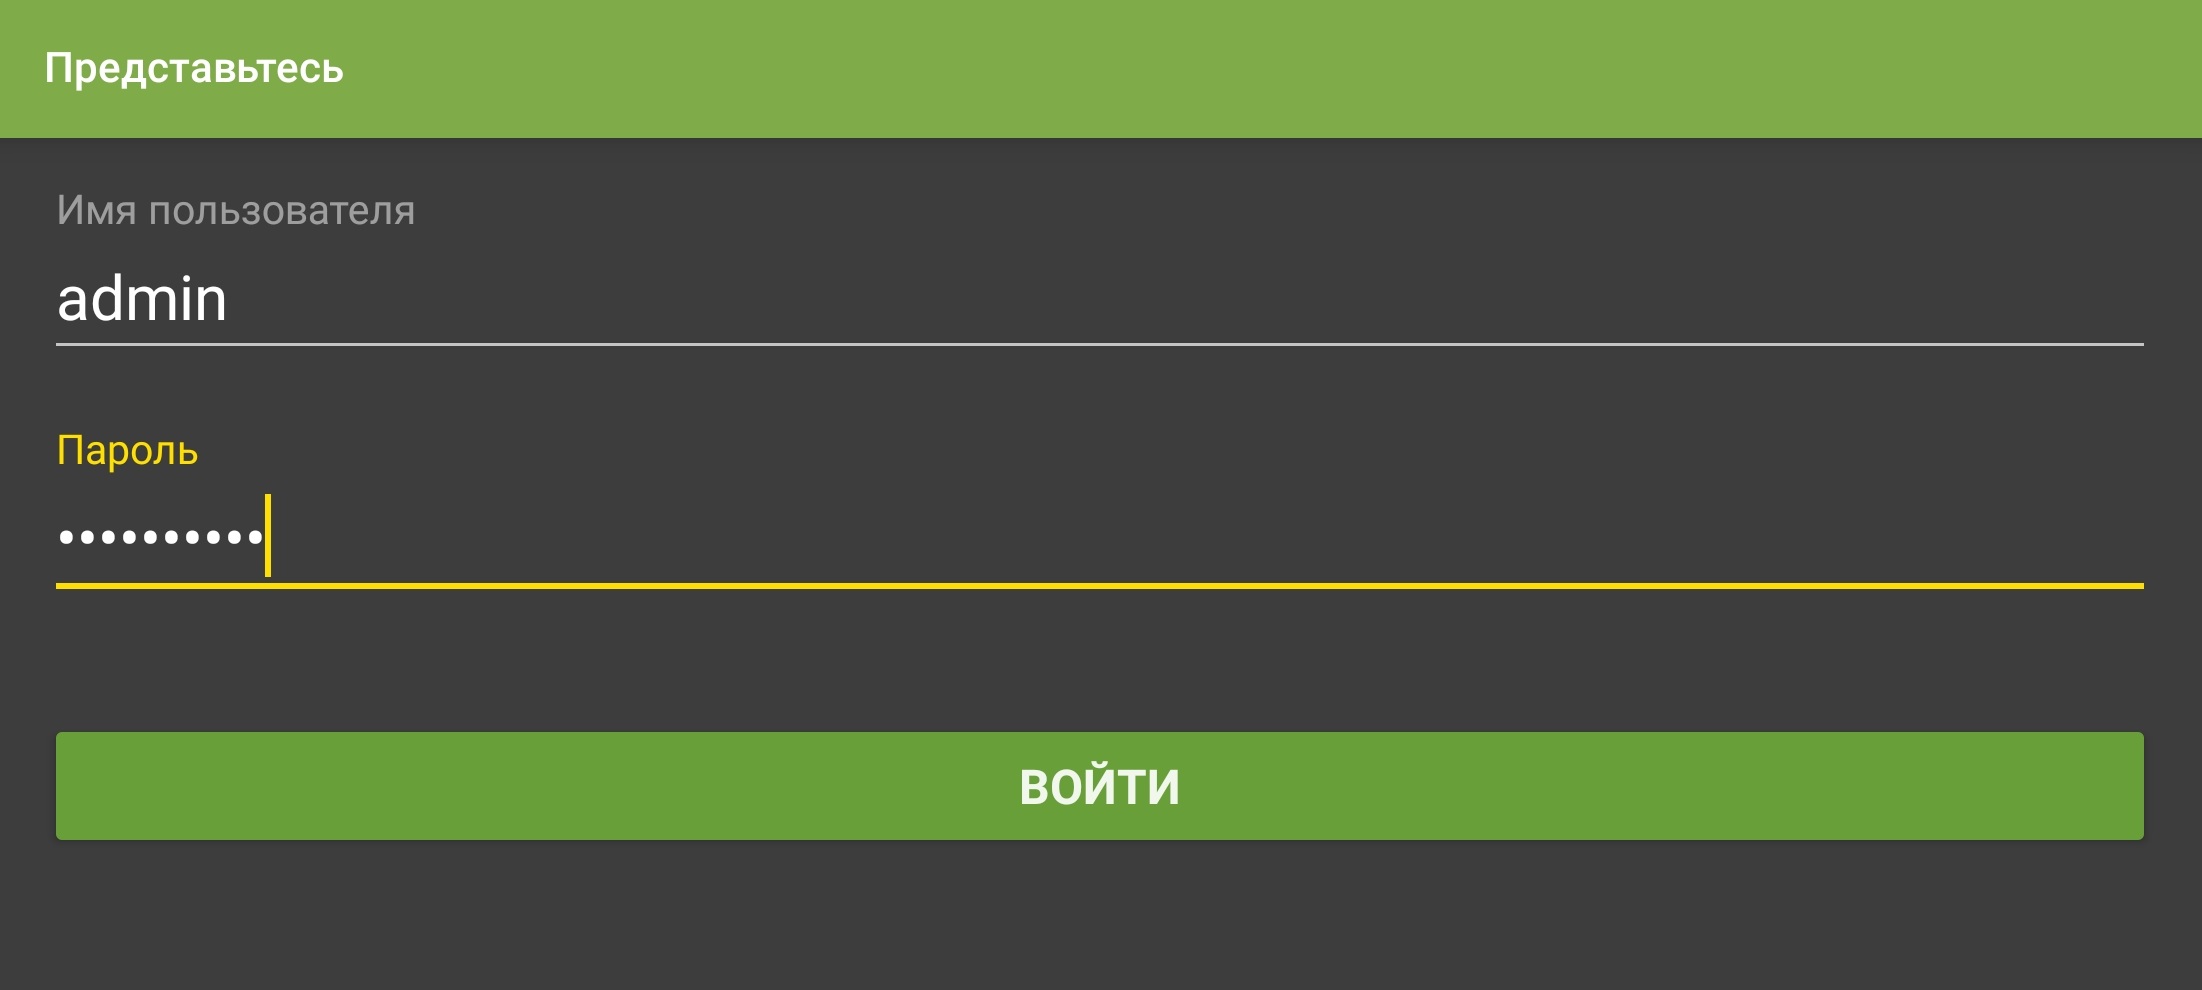
Completed sign-in form with the “Sign in” button. - The TVClub app opens.
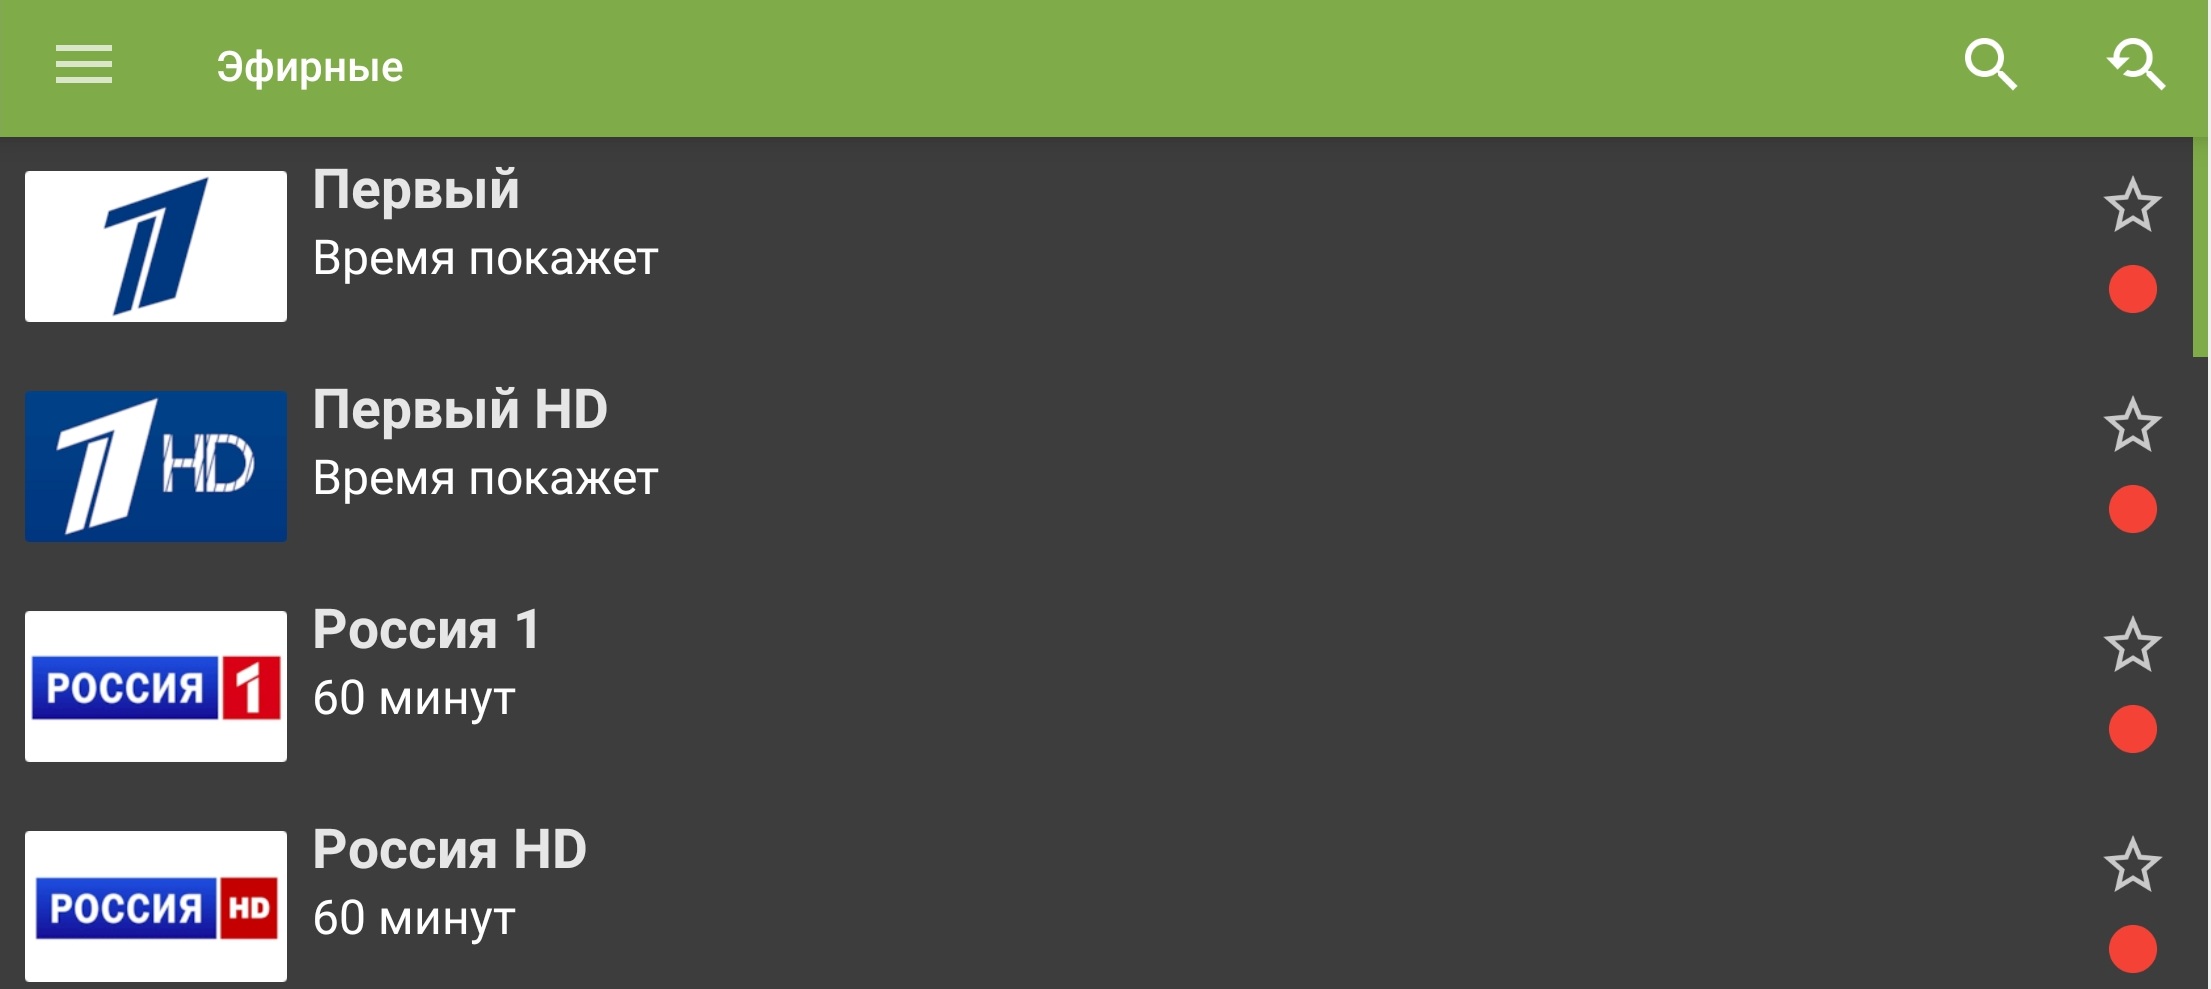
The channel list opens after a successful sign-in.
Attention! If “Wrong login or password” appears, check the following:
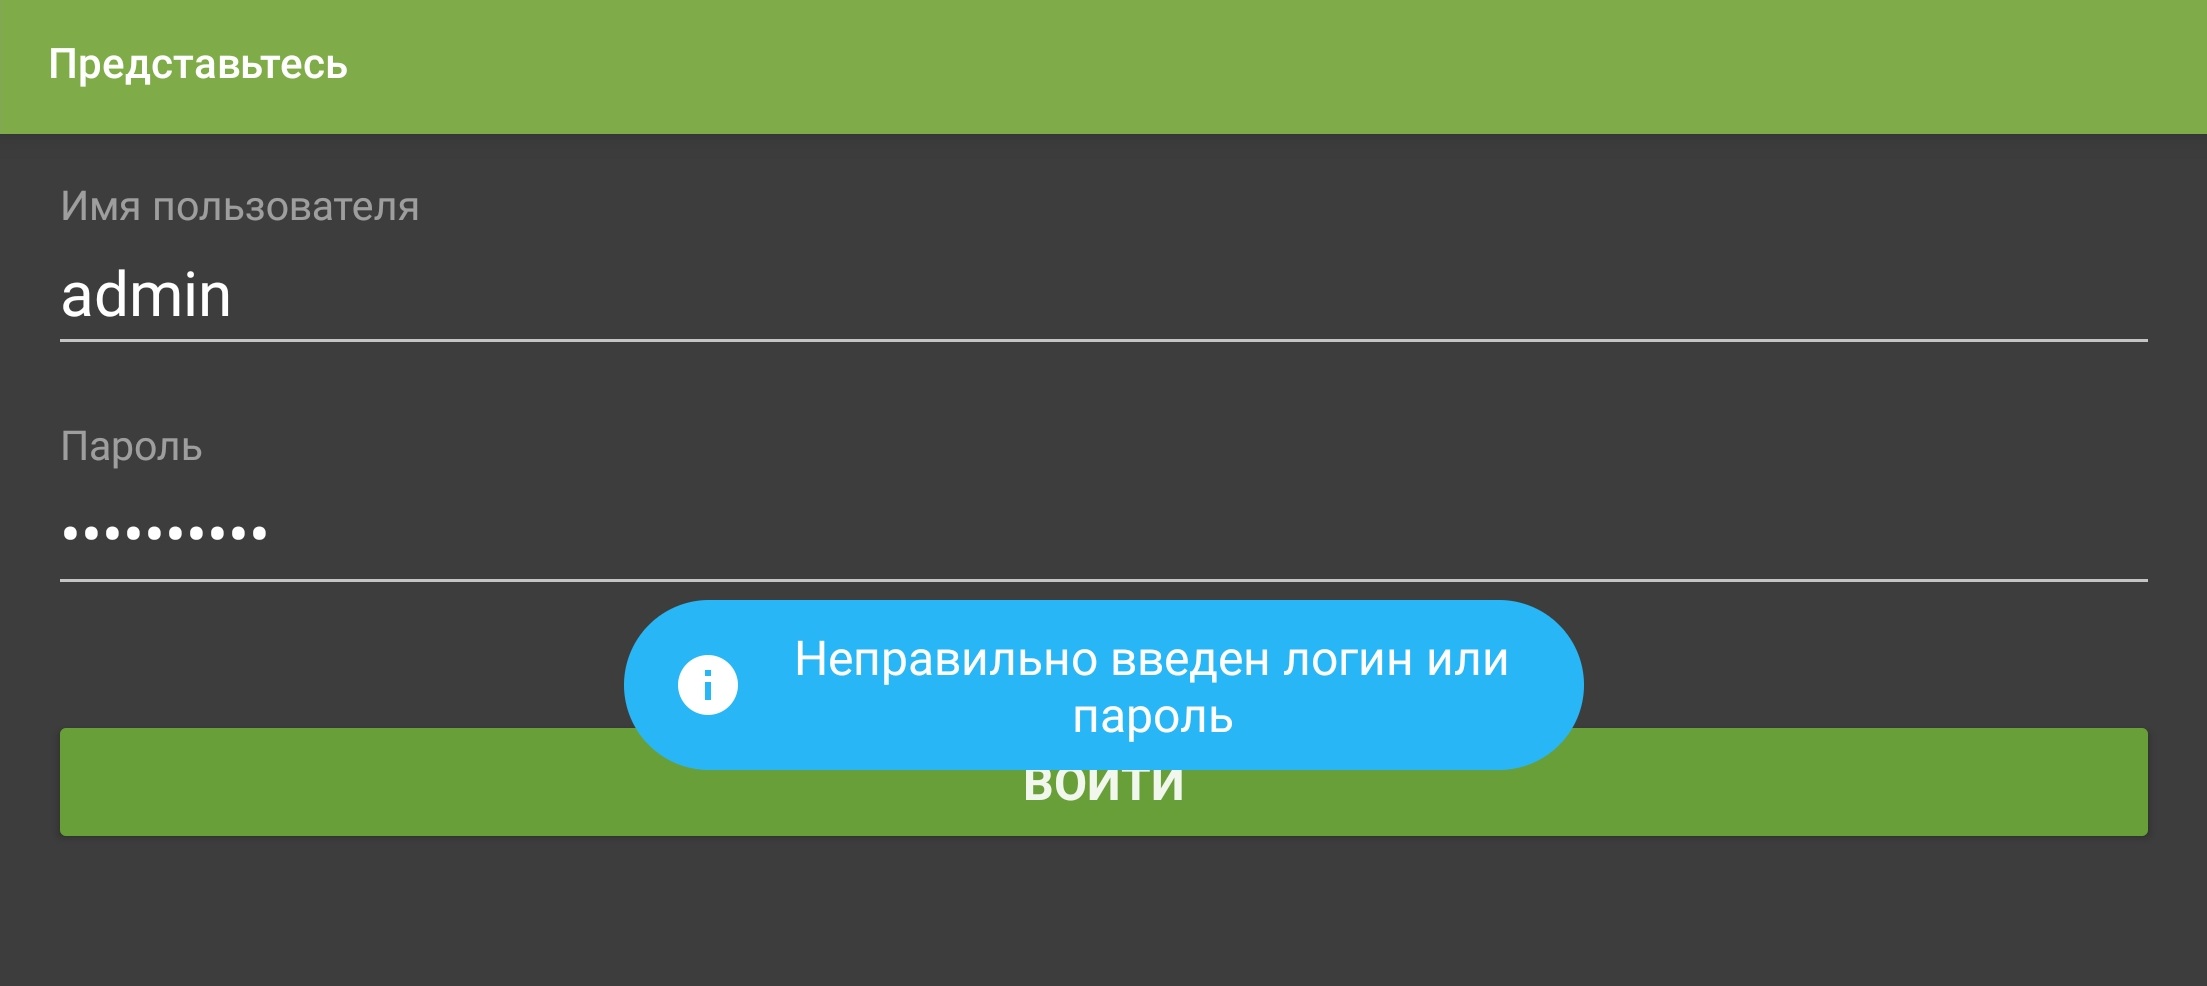
- check the keyboard layout and enter every letter, number, and symbol exactly;
- use the same capitalization as in your registration details;
- make sure autocorrect has not changed the details you entered.
Mobile app settings
Change sign-in details
- Select
 , then select “Profile”.
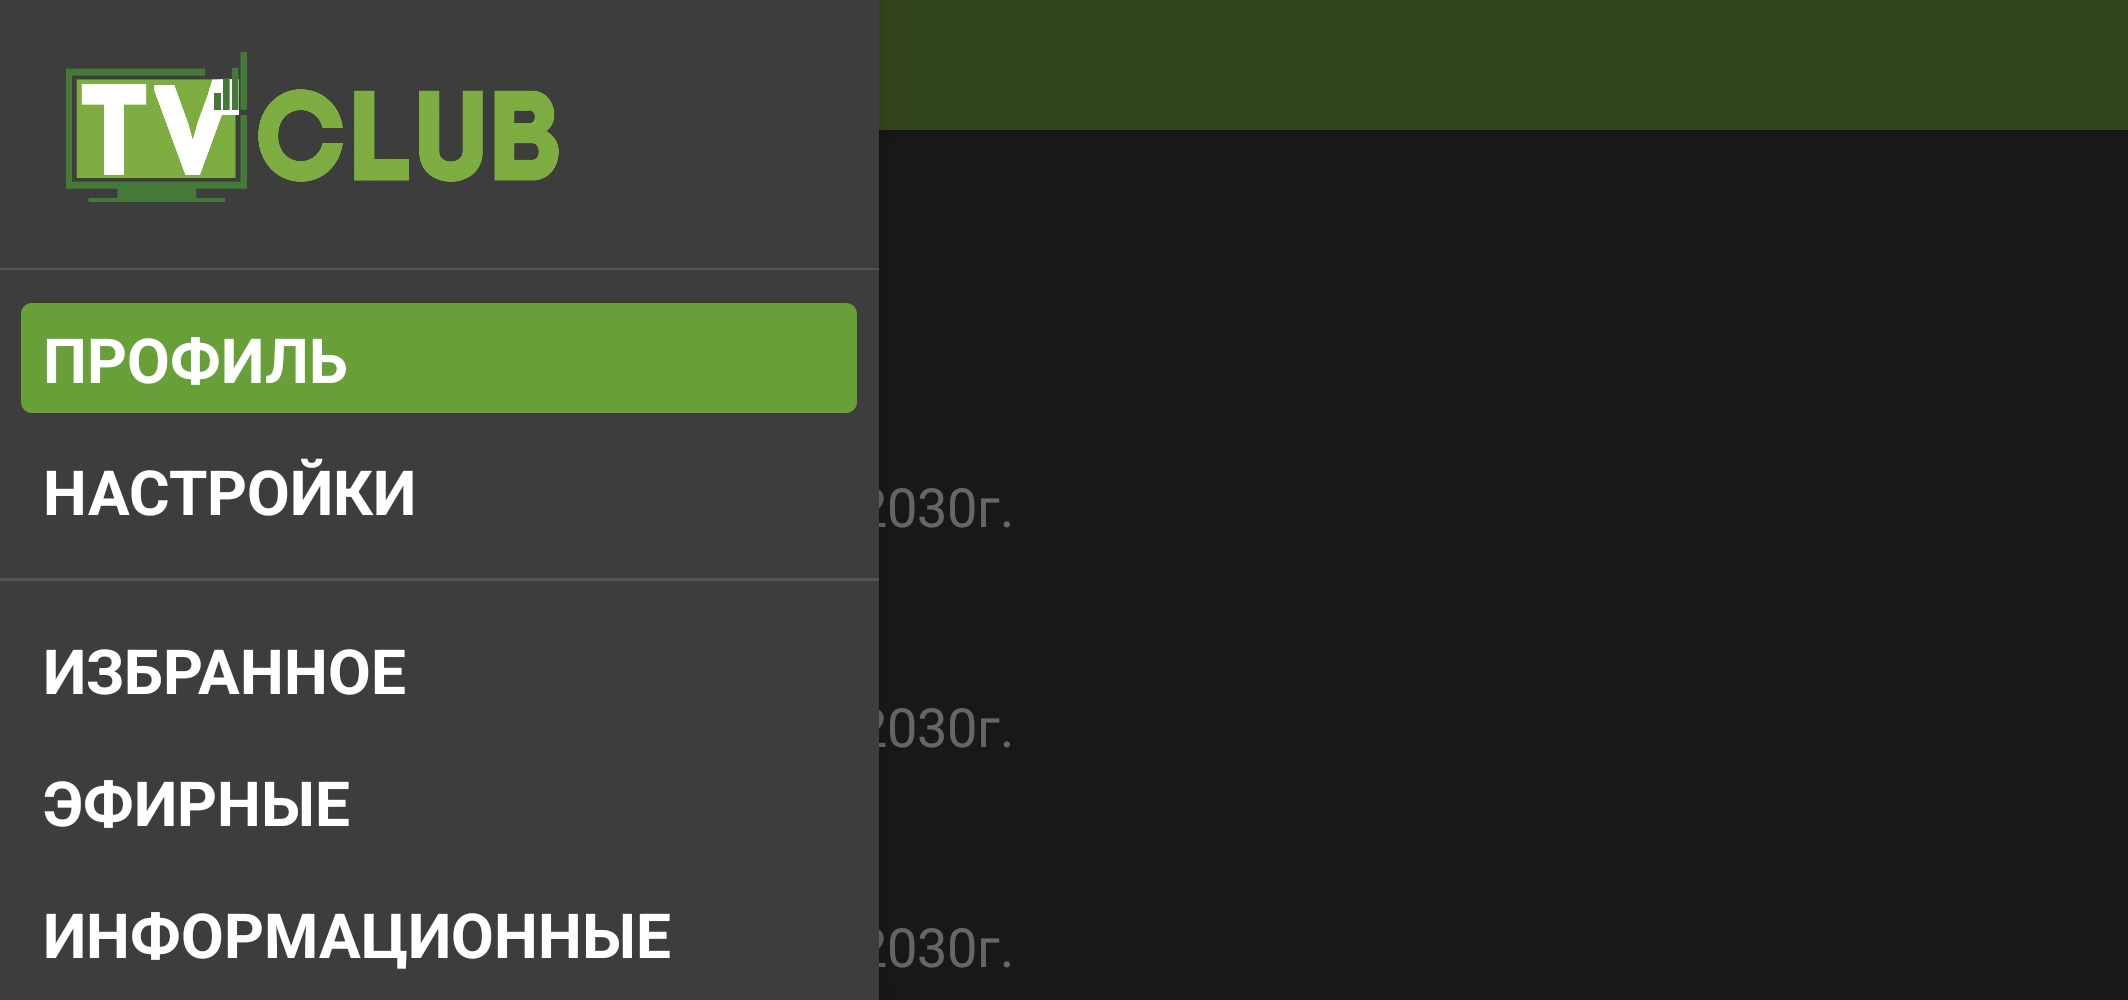
Change sign-in details: profile button in the app interface. - Your profile opens with the connected services. Select “Log out”.
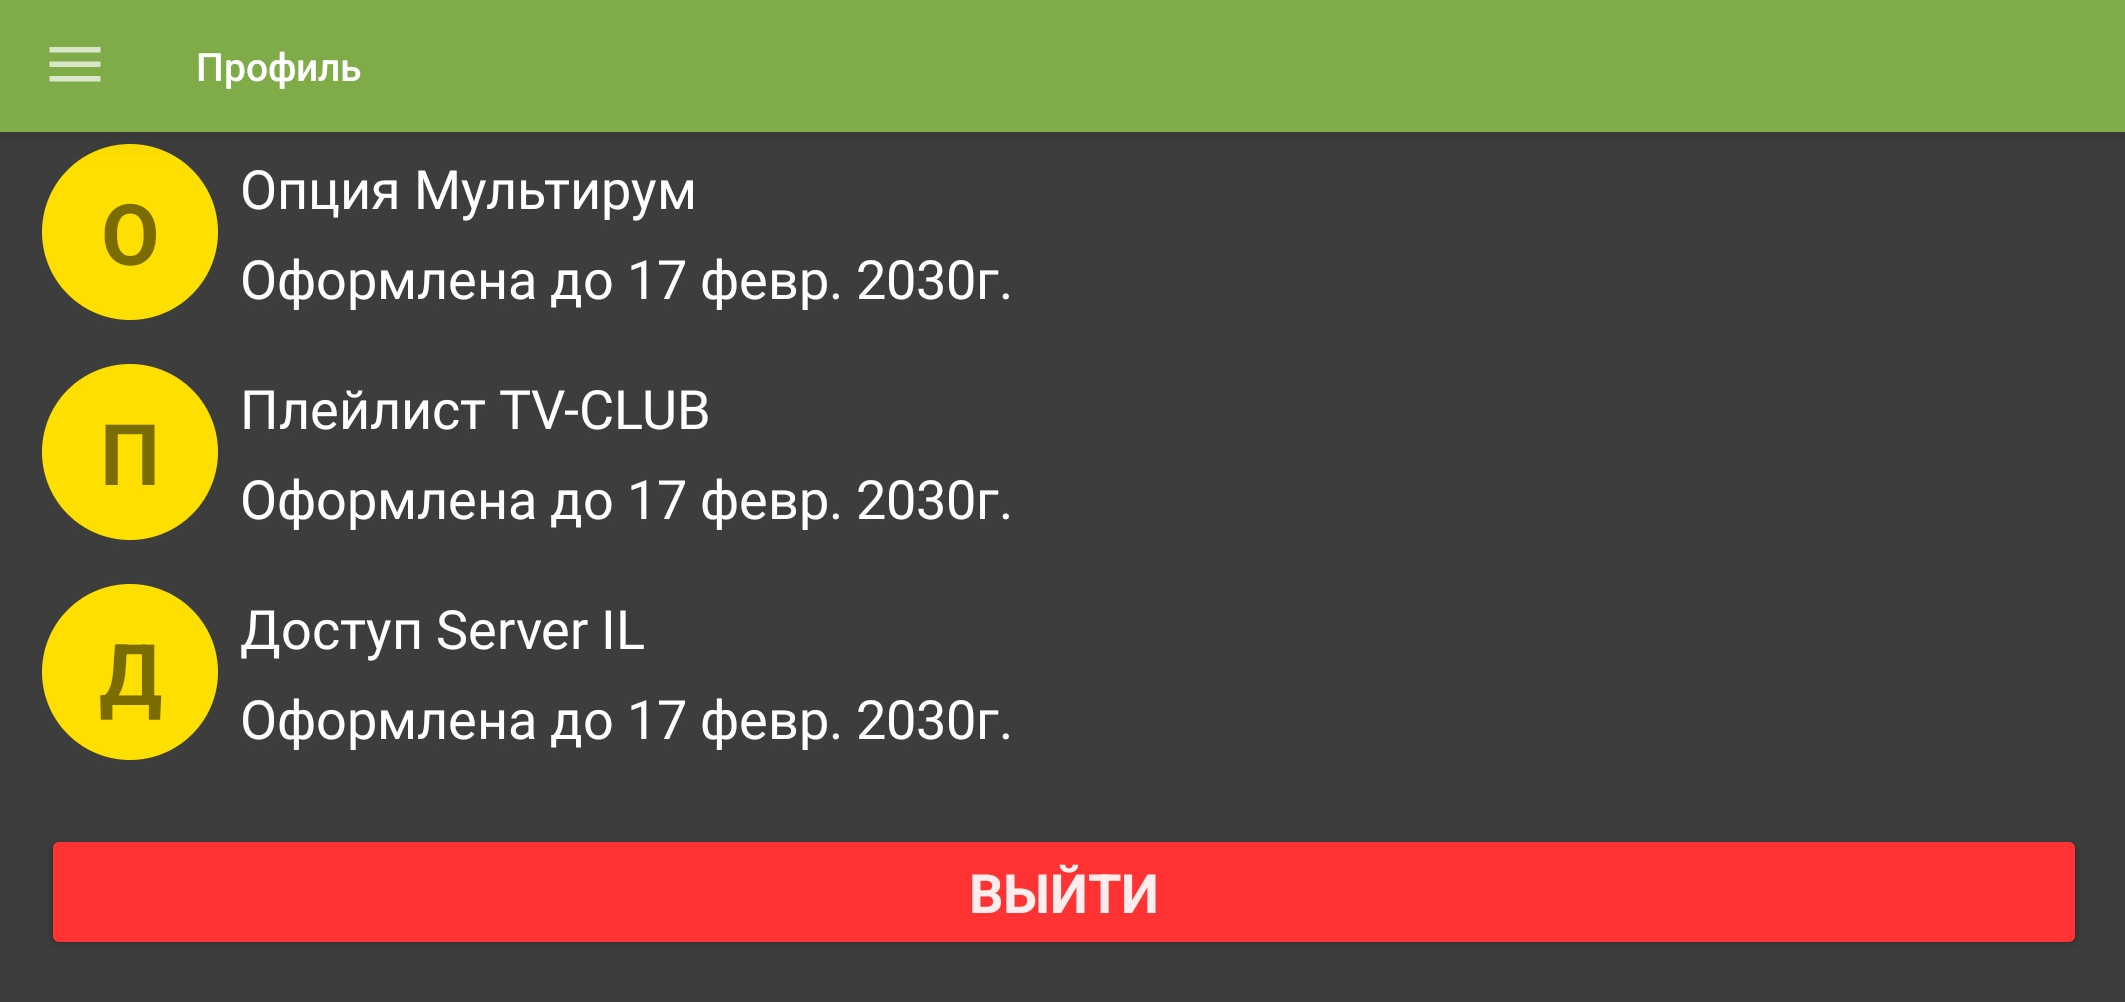
Changing login: profile menu in the mobile Android app. - Enter the new credentials, then select “Sign in”.
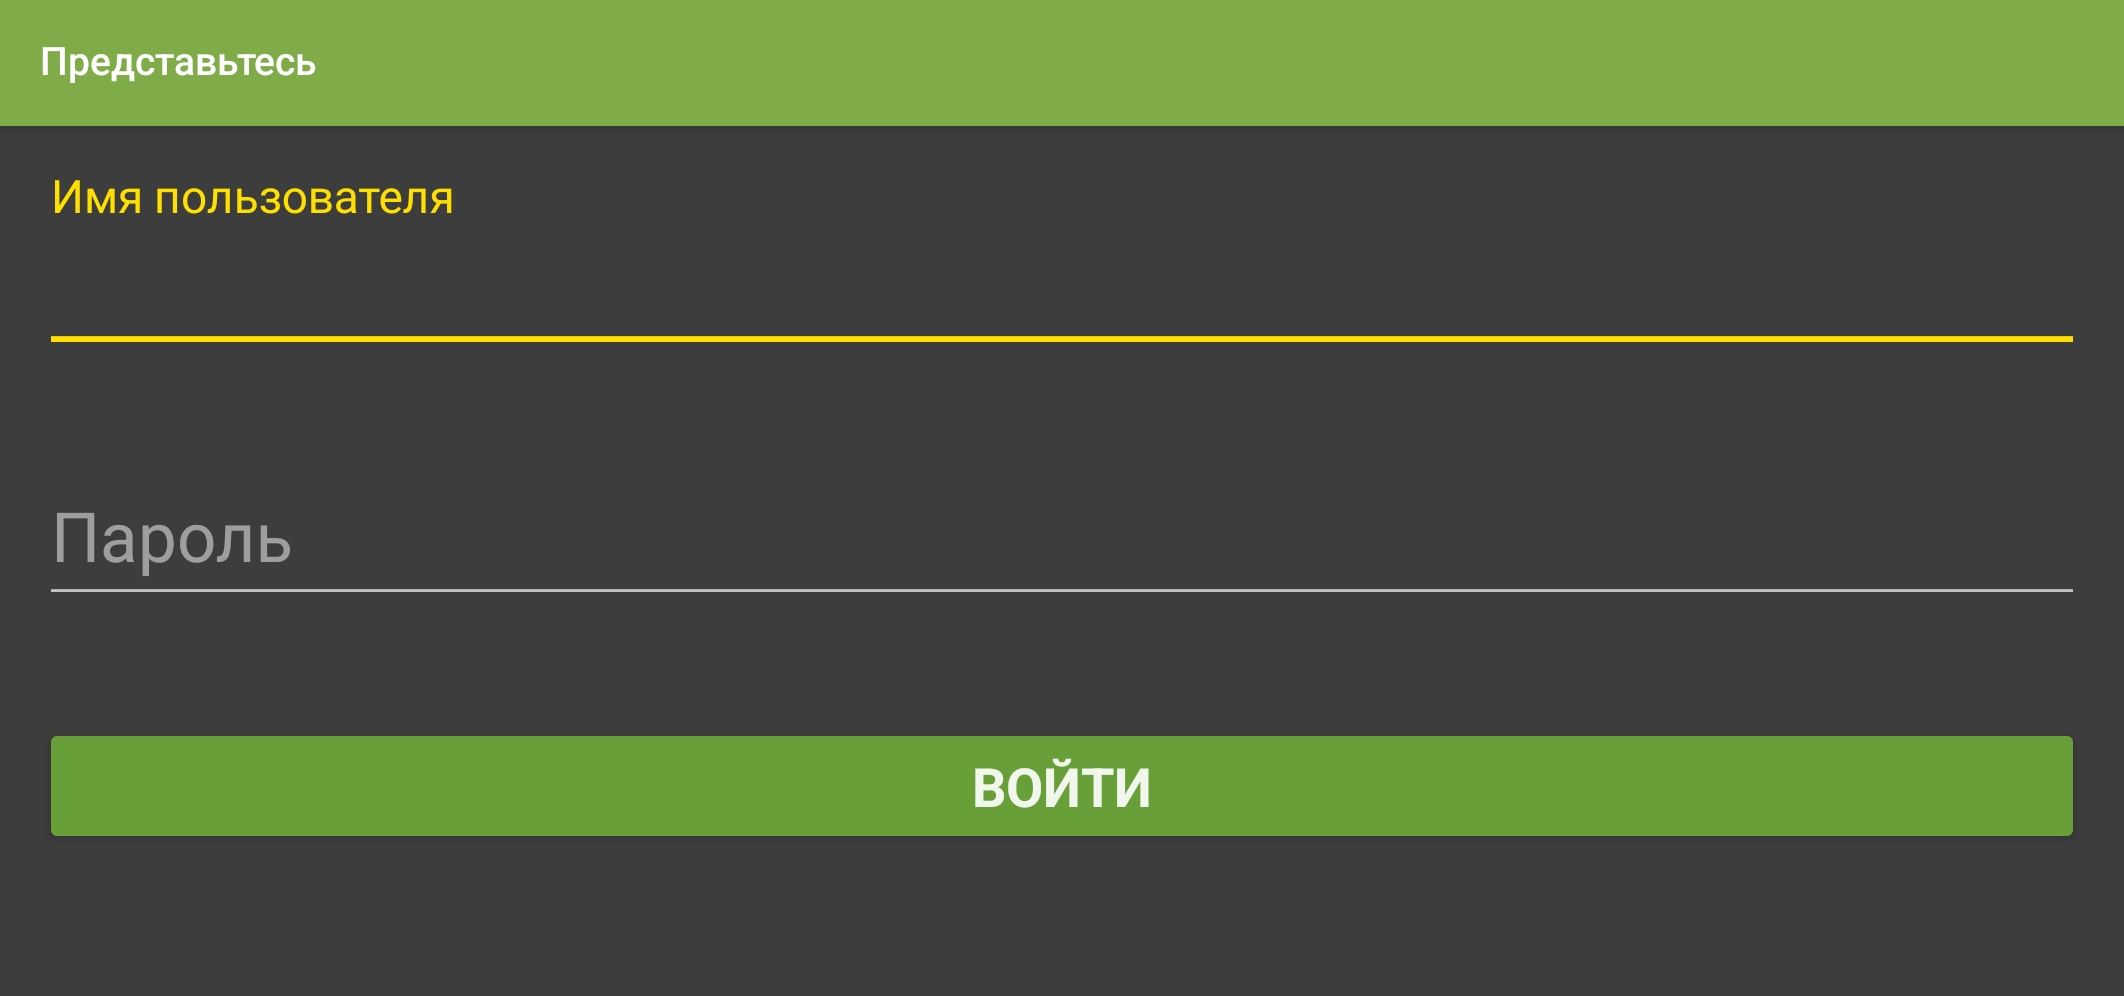
Changing login: login and password form in the mobile Android app.
Change streaming server
- Select , then select “Settings”.
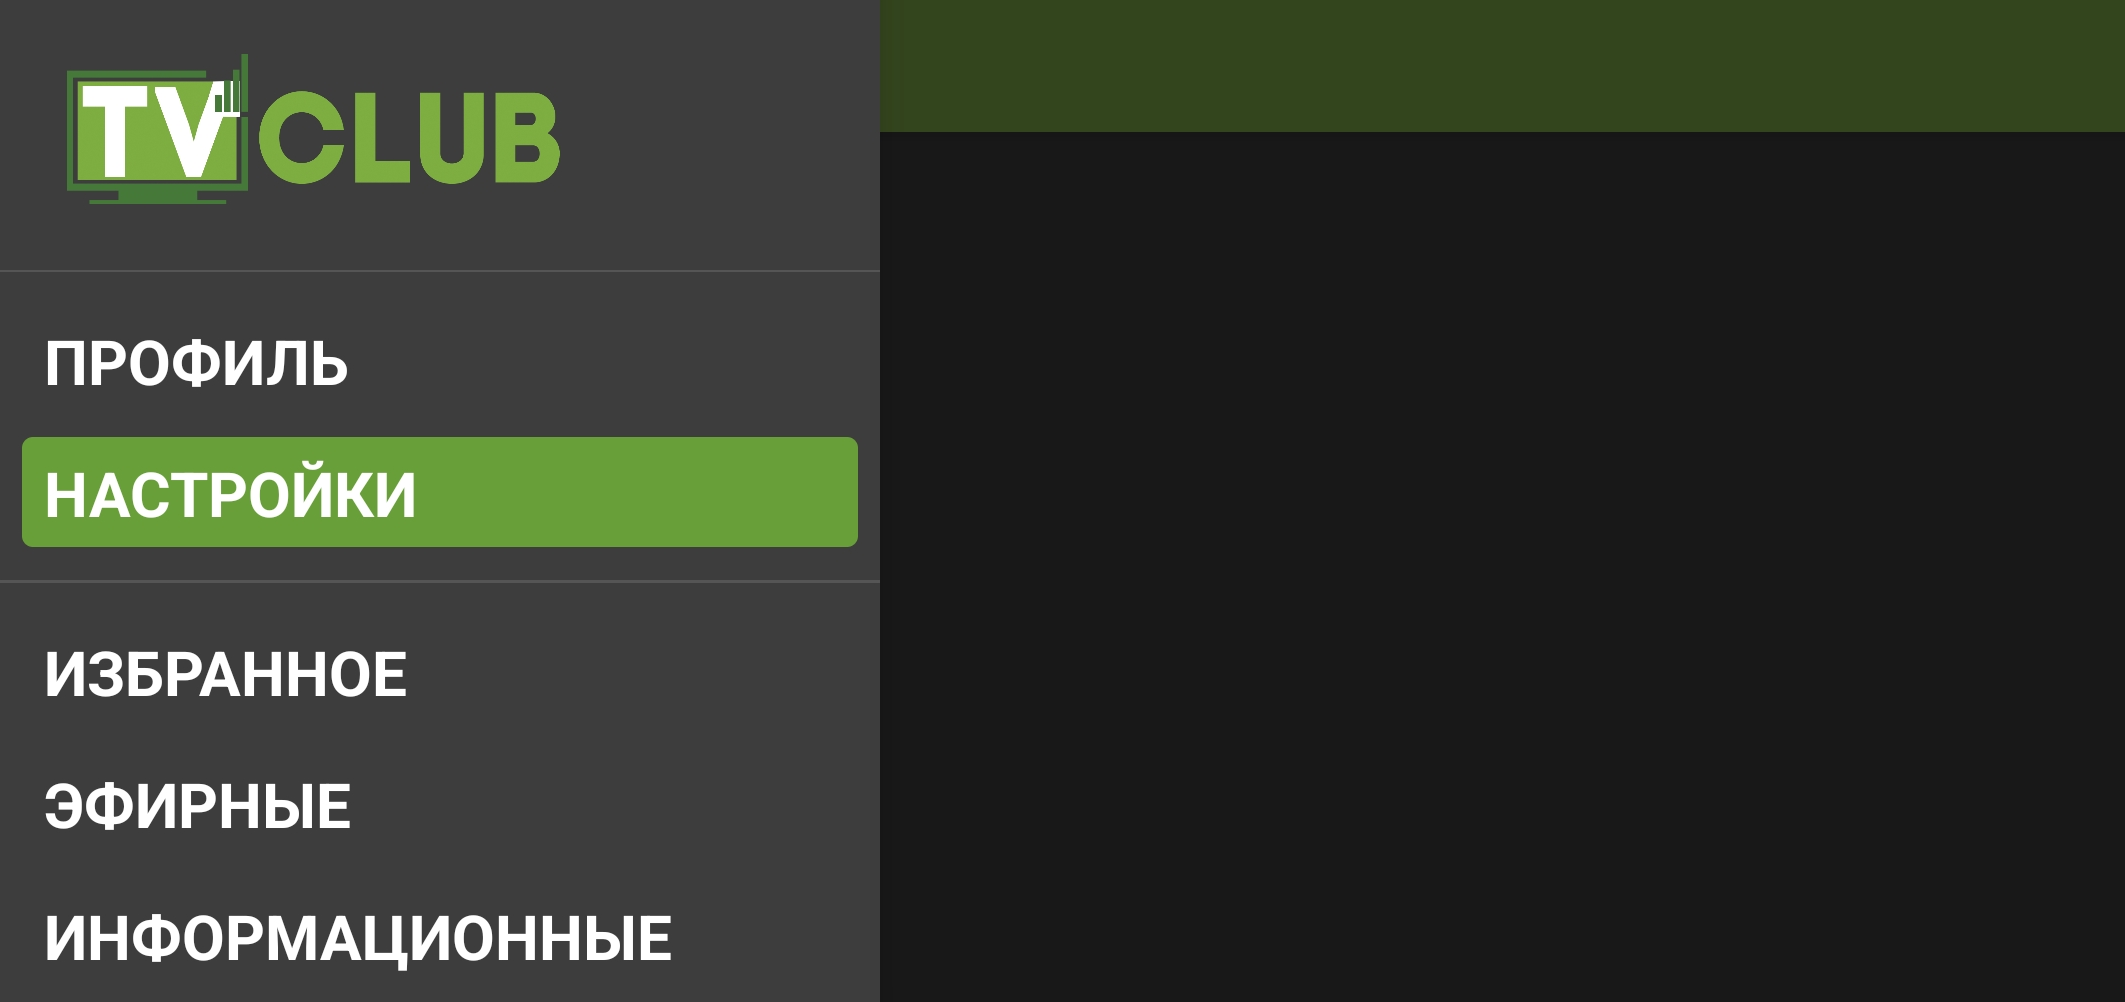
“Settings” in the navigation menu. - Under “Service”, select the current streaming server.
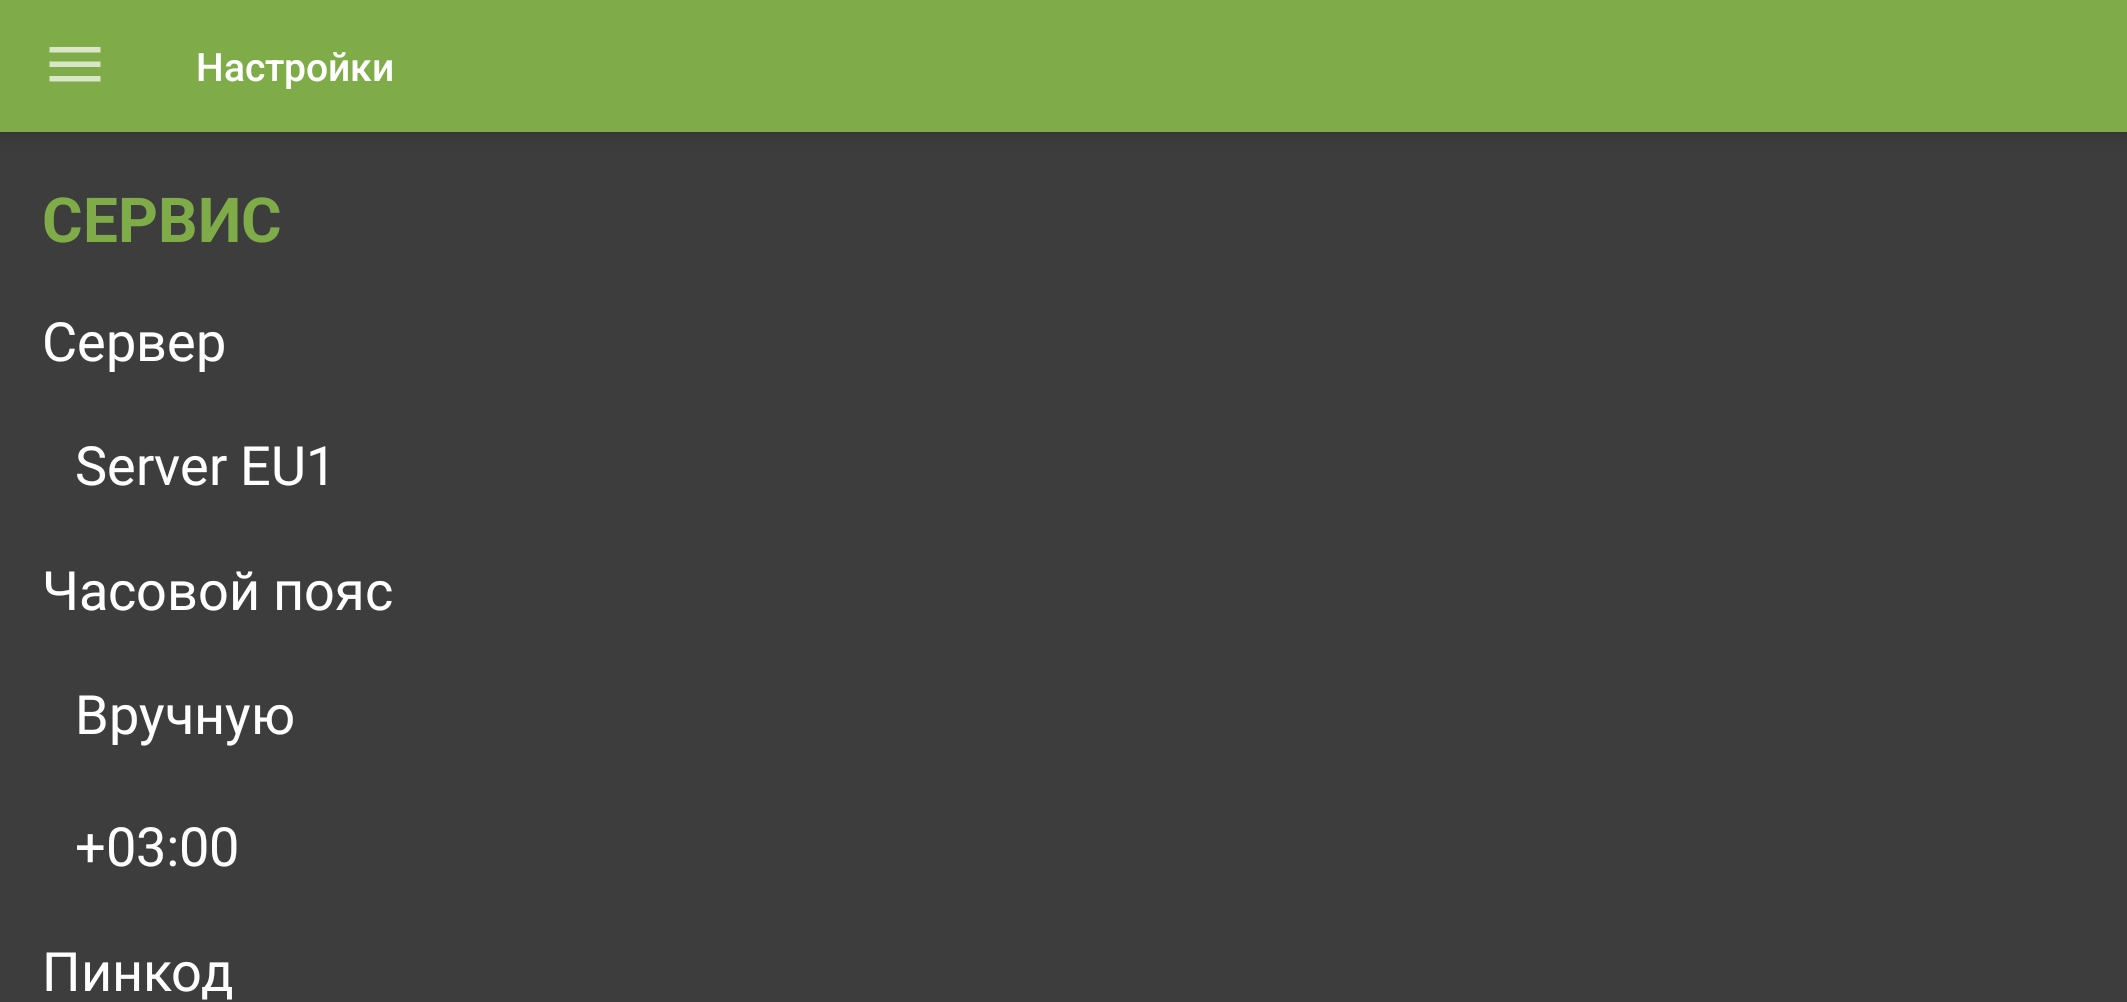
Current streaming server under Service. - A menu will open to select a server. Select the desired server.
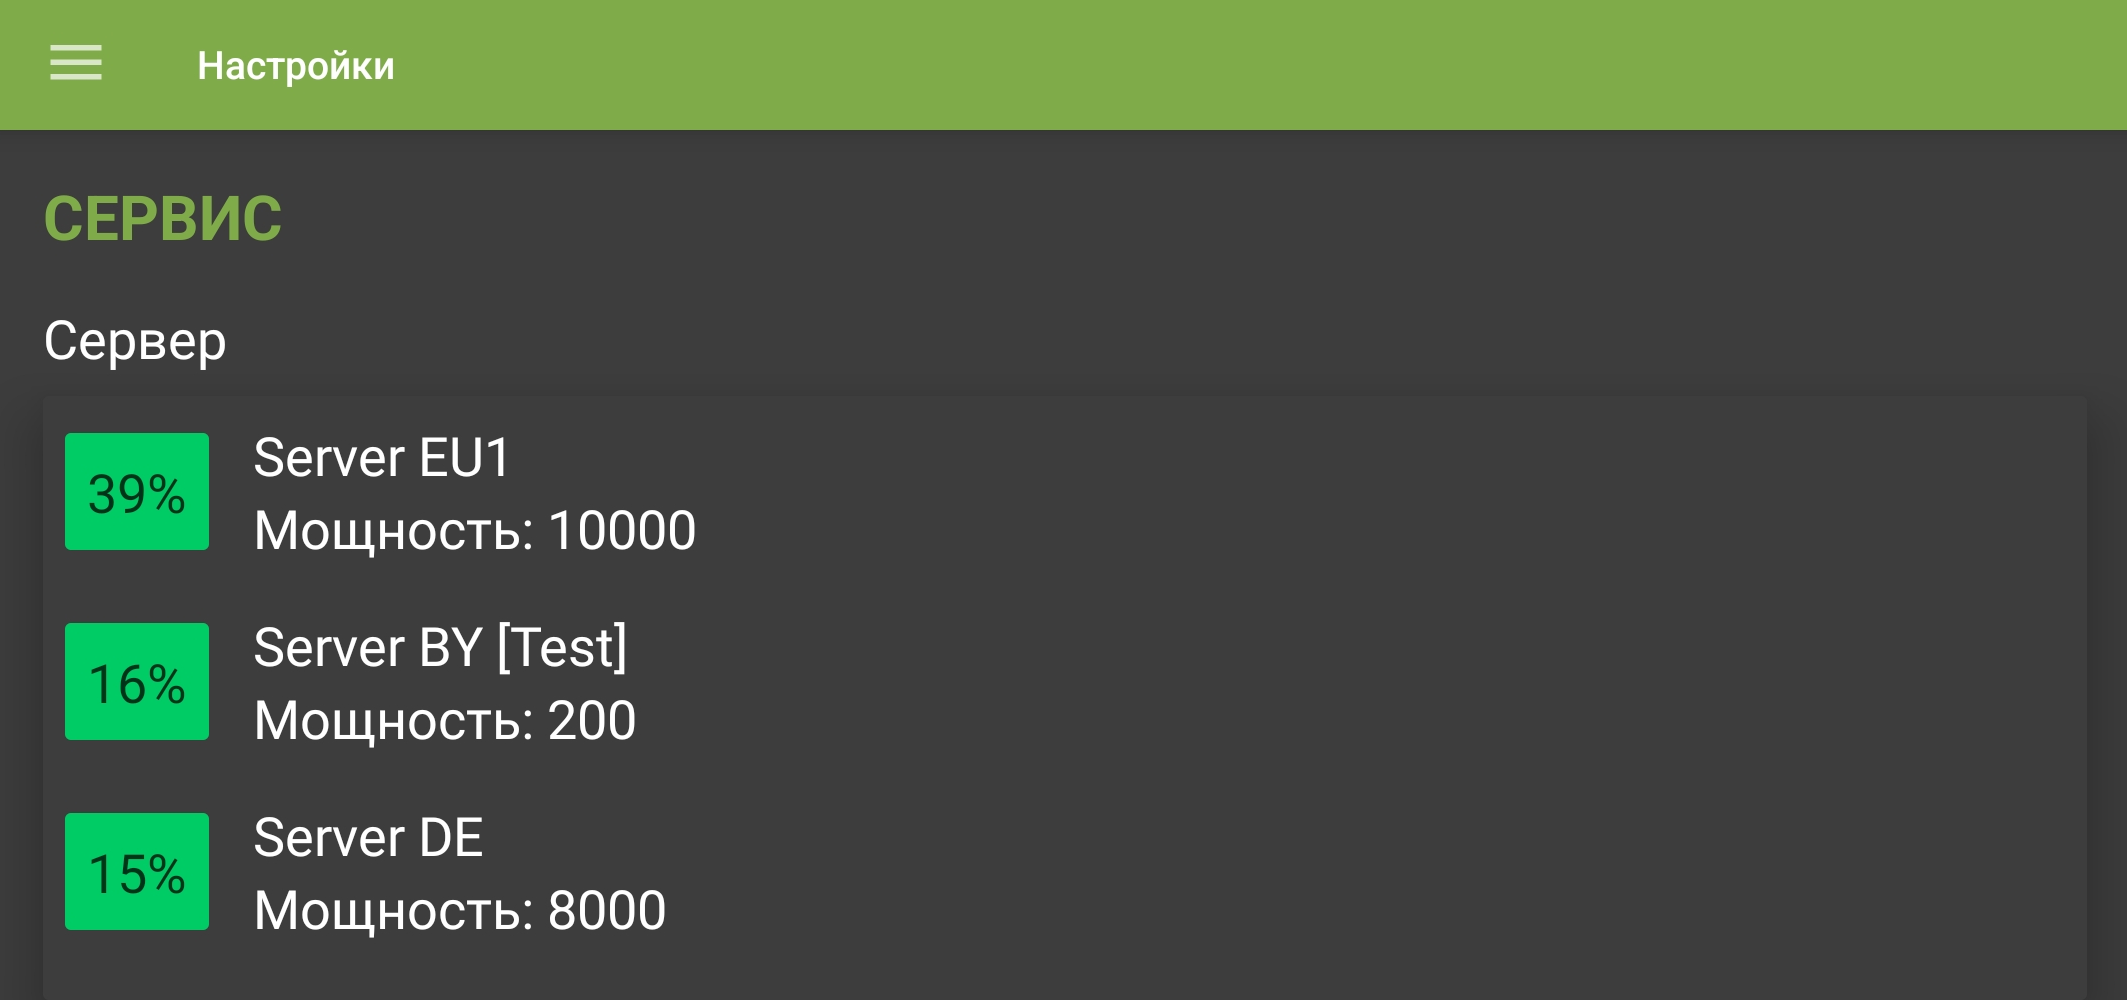
Changing streaming server: server selection menu in the mobile Android app.
Change time zone
- Open the menu with , then select “Settings”.
“Settings” in the navigation menu. - Under “Service”, select “Time zone”.
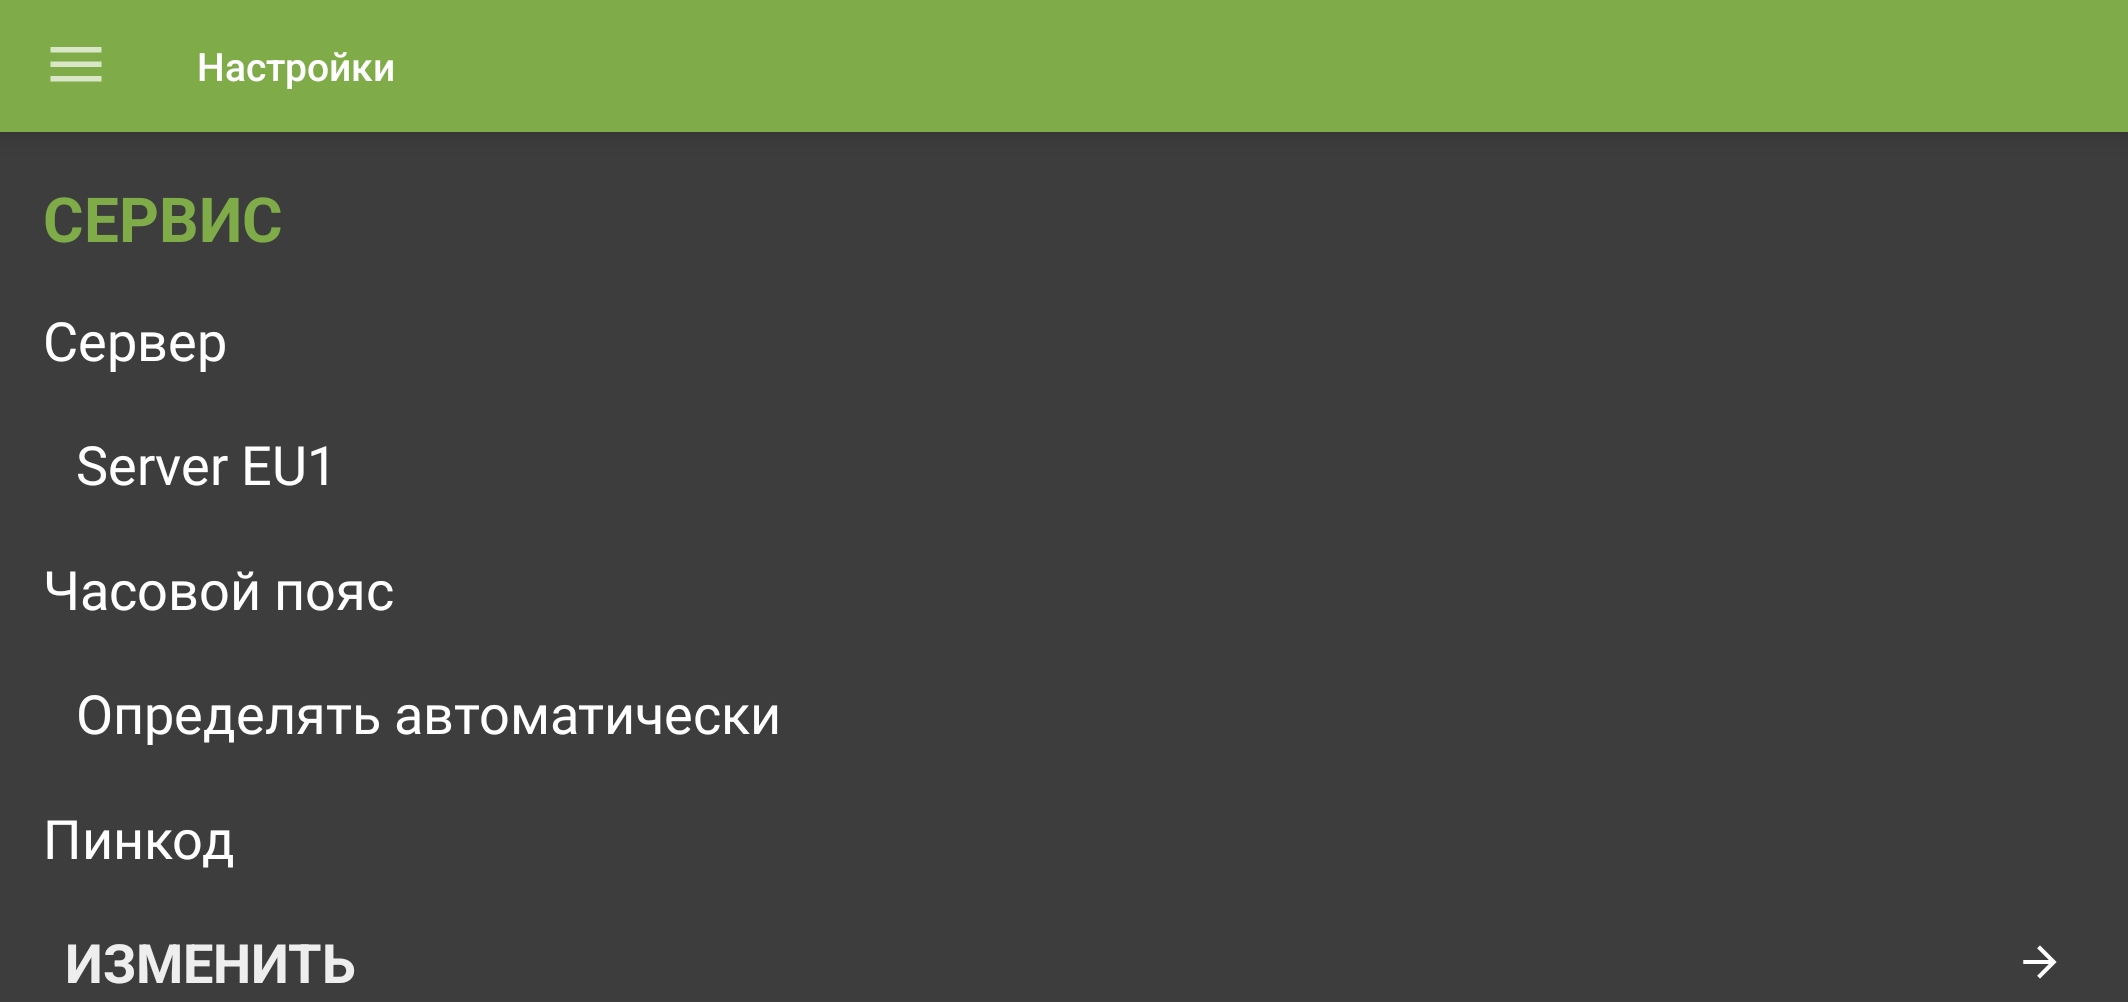
Time-zone settings are located under “Service”. - Choose “Manual”.
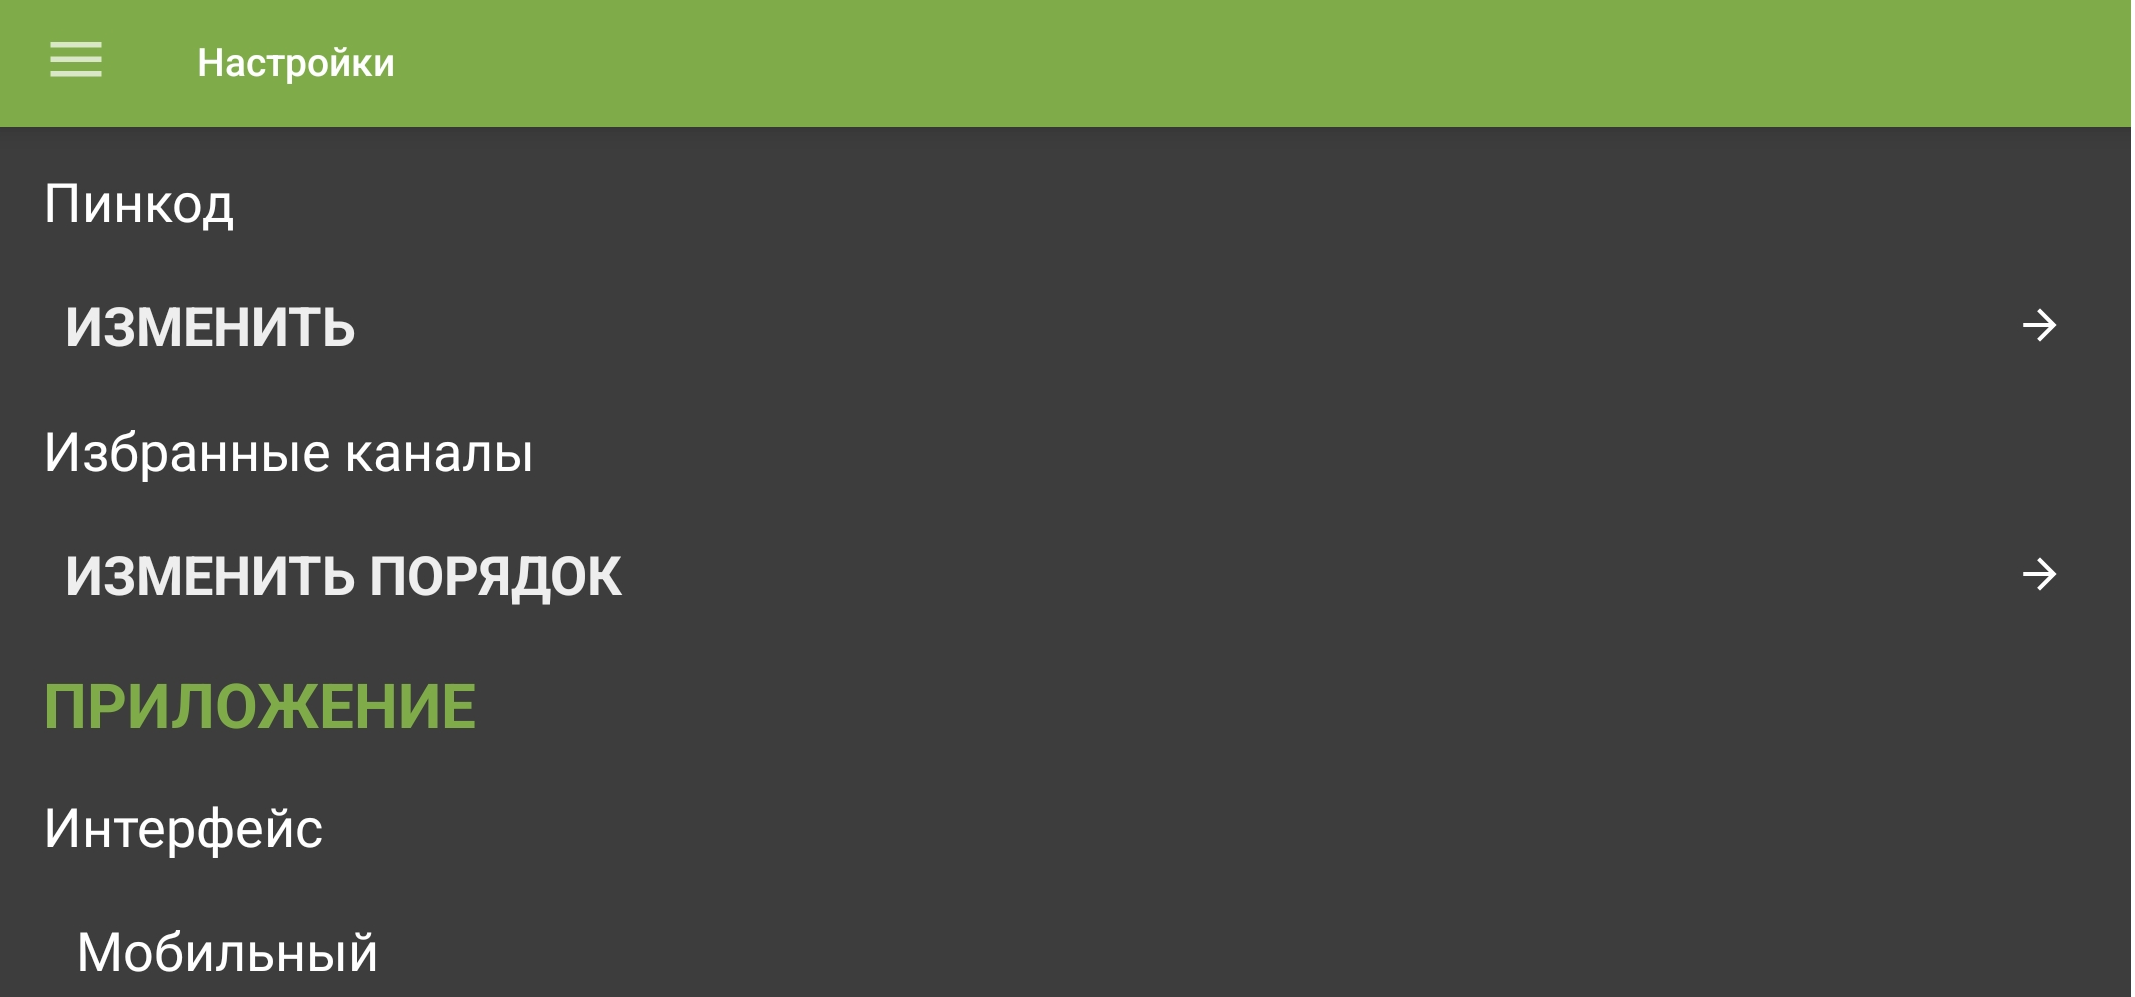
The screen contains controls for changing the PIN and reordering favourite channels. - Open the time zone now shown in the settings and select the required value.
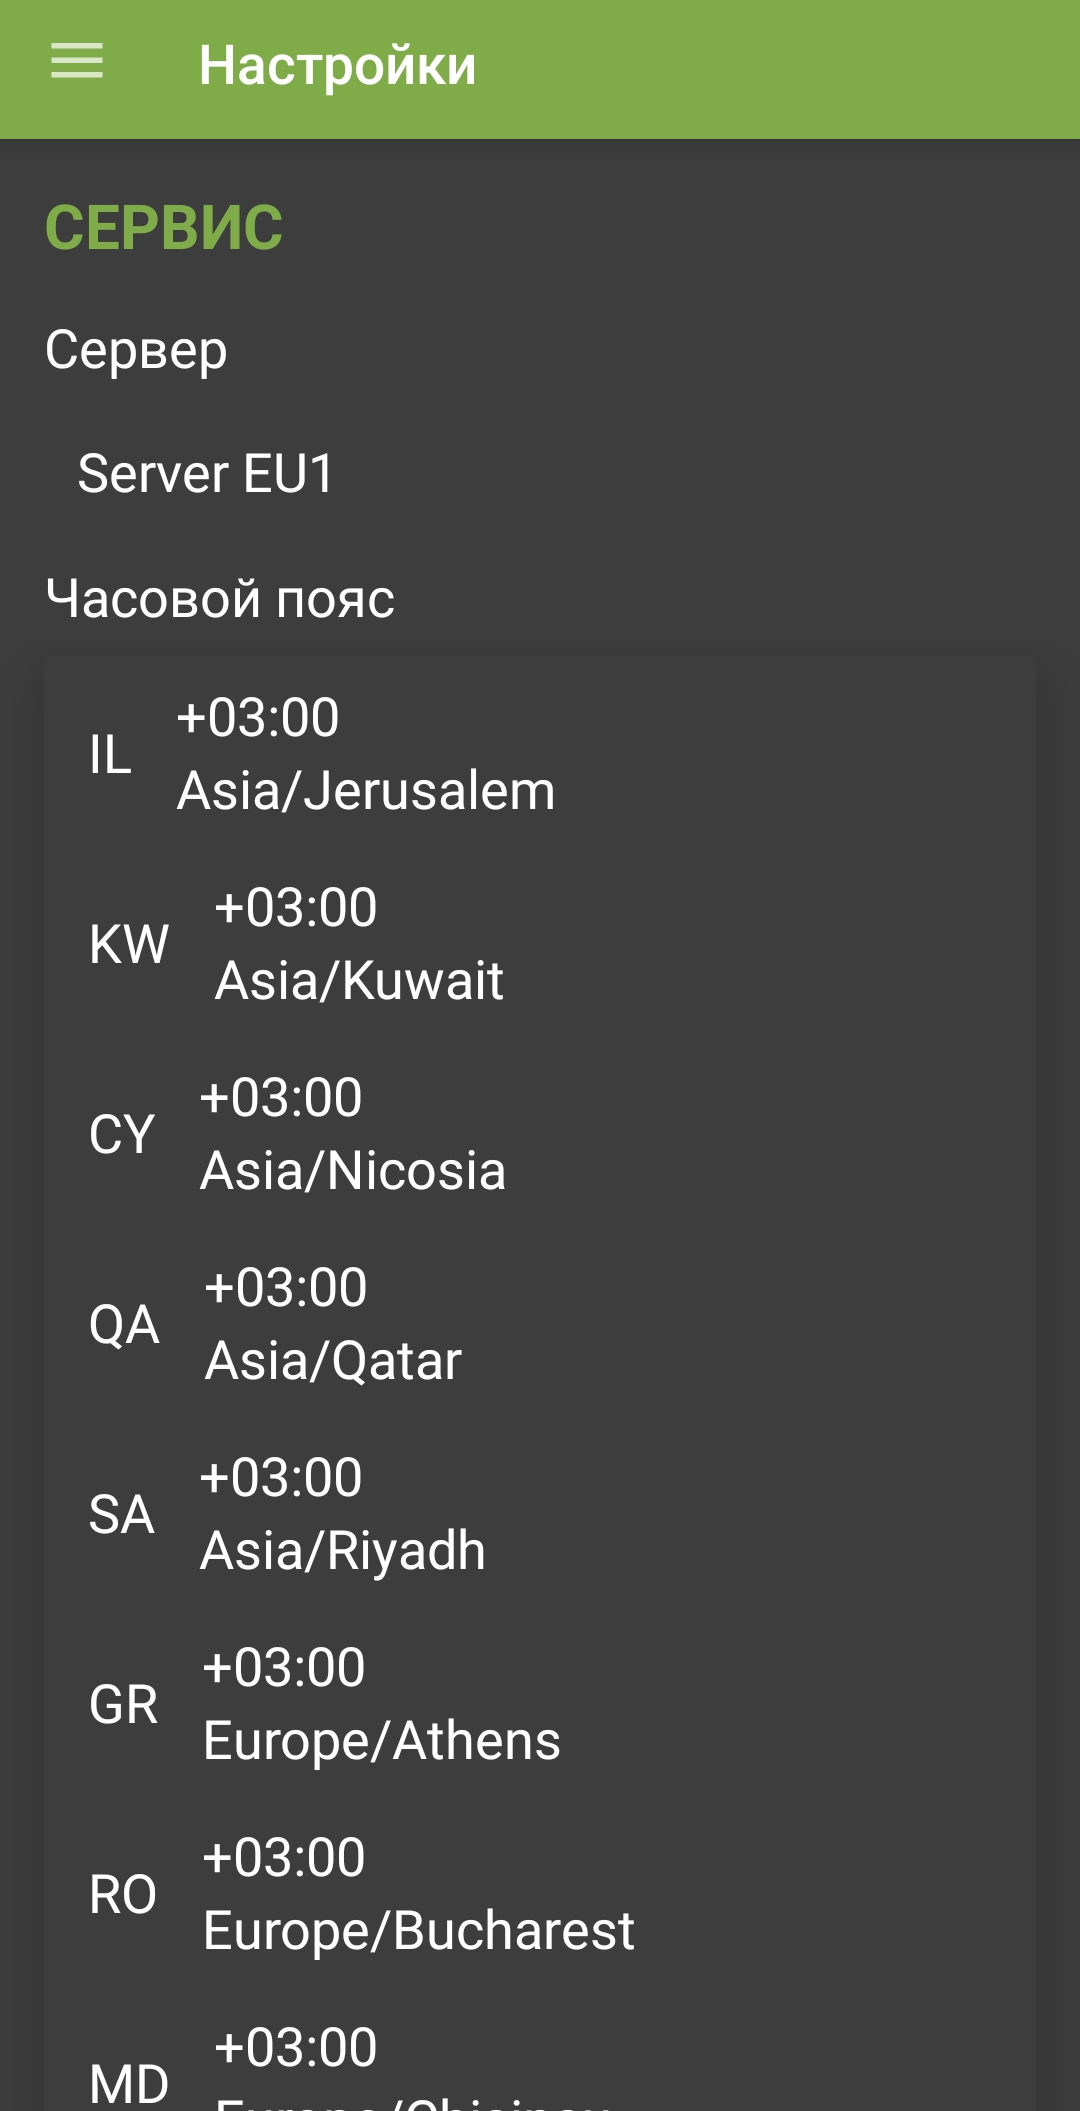
Time-zone list.
Change PIN code (parental control)
- Open the menu with , then select “Settings”.
“Settings” in the navigation menu. - Under “Service”, select “Change” below “PIN”.
The screen contains controls for changing the PIN and reordering favourite channels. - Enter the existing and new PINs in the corresponding fields, then select “Change”.
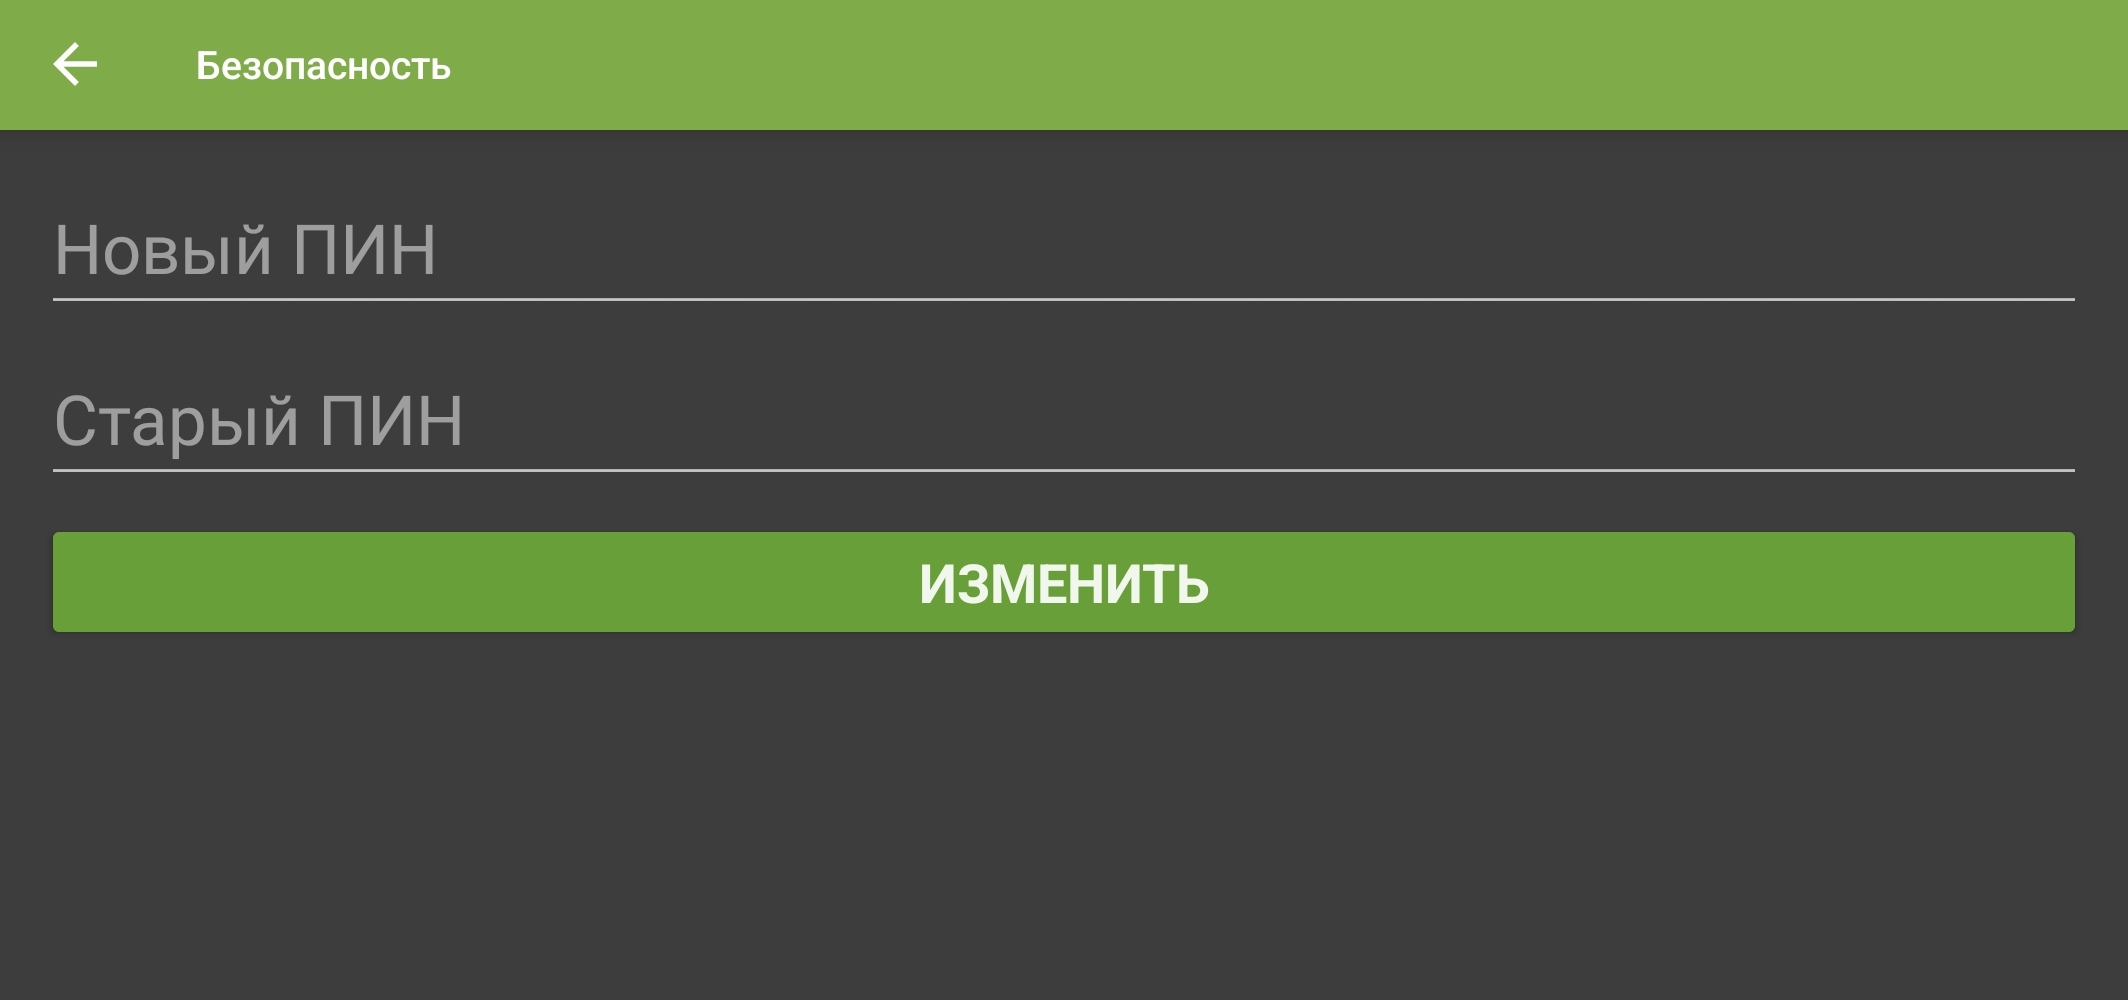
Current and new parental PIN fields.
Select player
- Select , then select “Settings”.
“Settings” in the navigation menu. - Under “Application”, select “Playback application”.
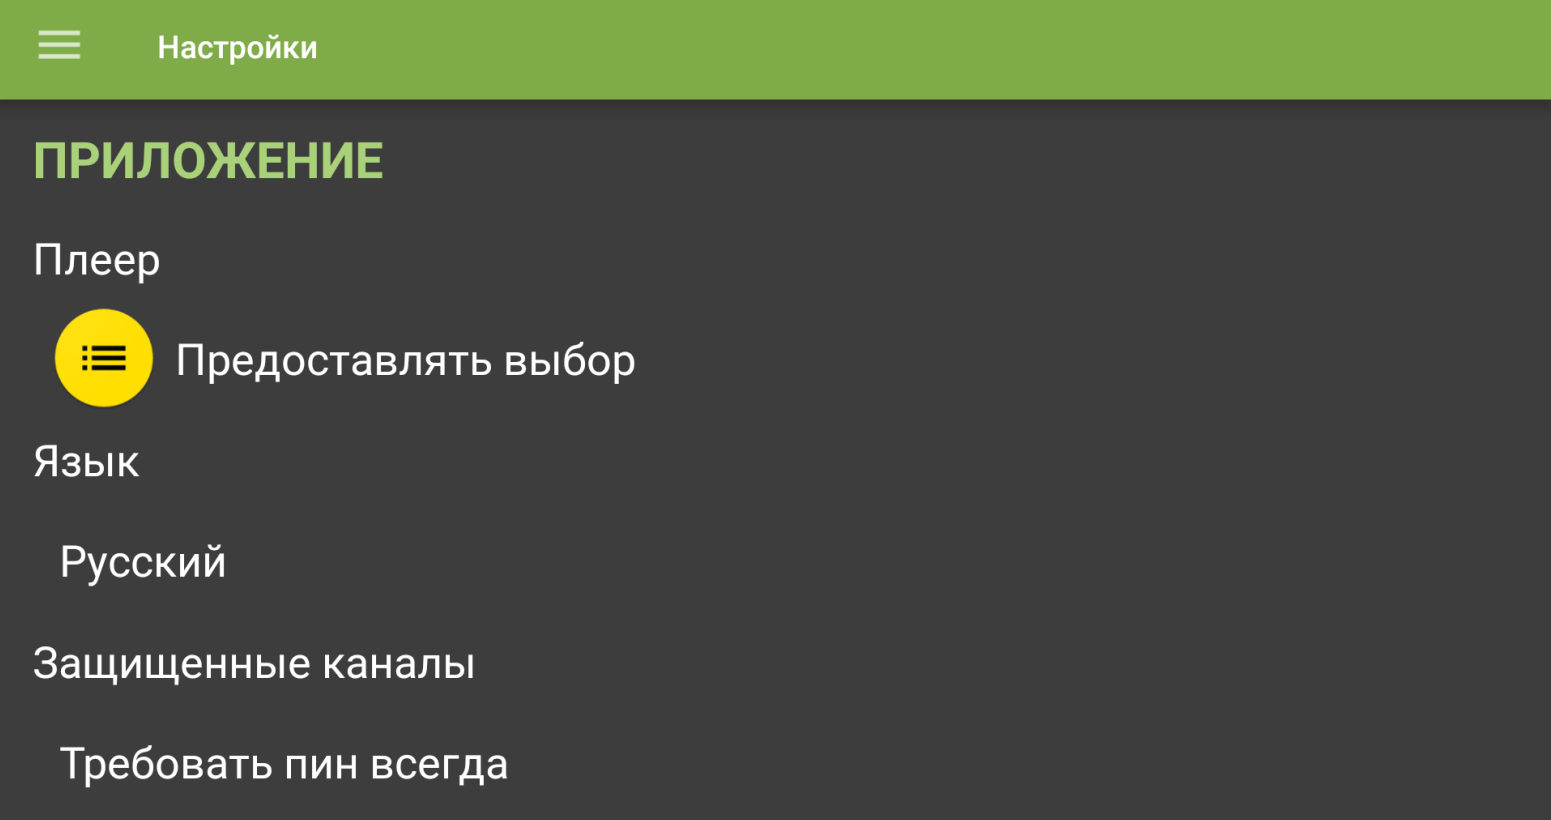
Select the app used for playback. - A list of available players will open. Select the desired player.
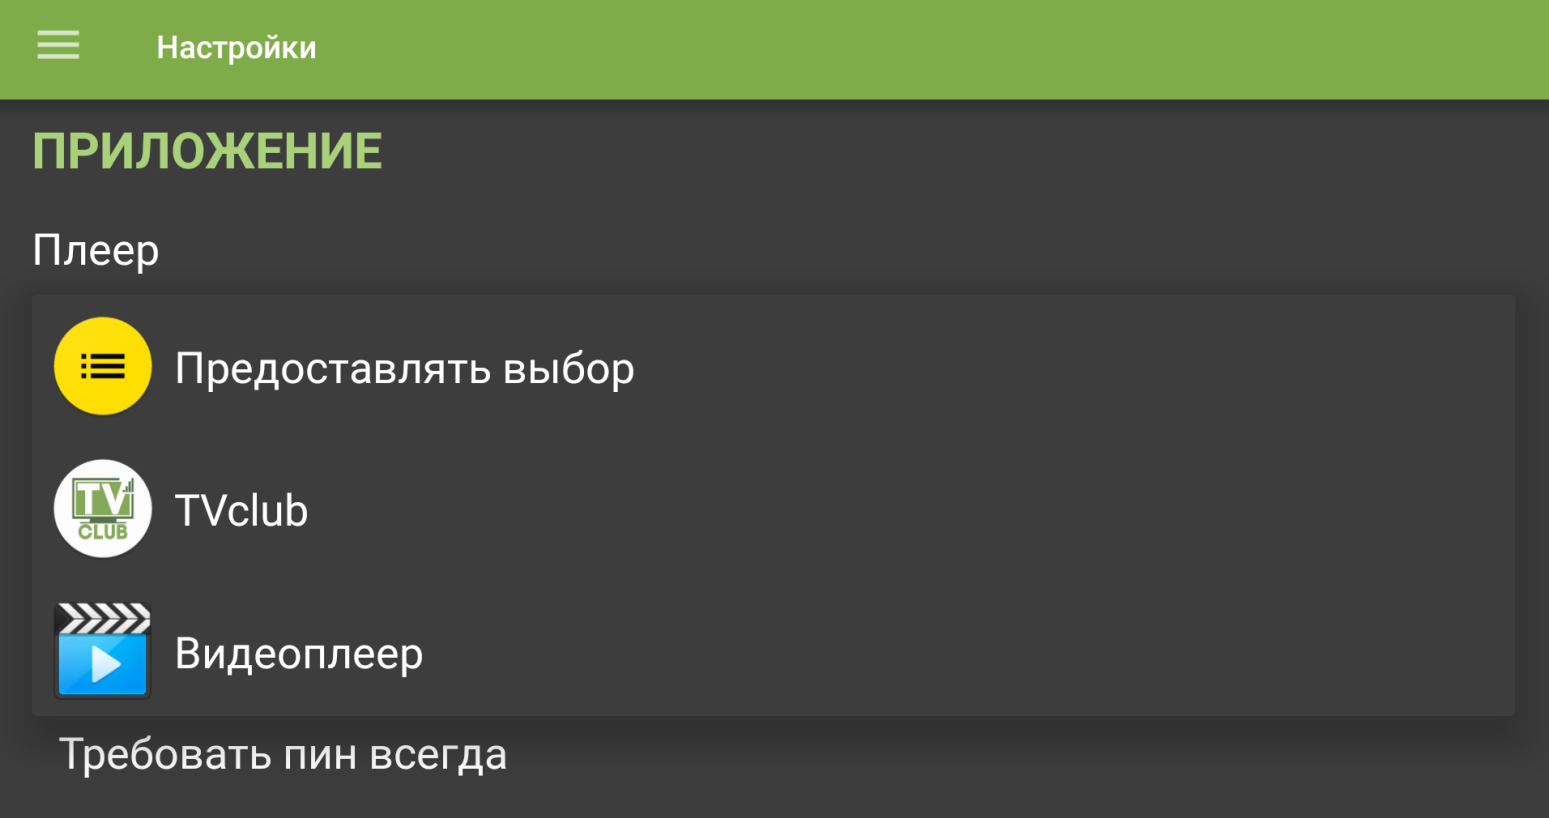
Choosing player: available player list in the mobile Android app.
Select language
- Select , then select “Settings”.
“Settings” in the navigation menu. - Under “Application”, select “Language”.
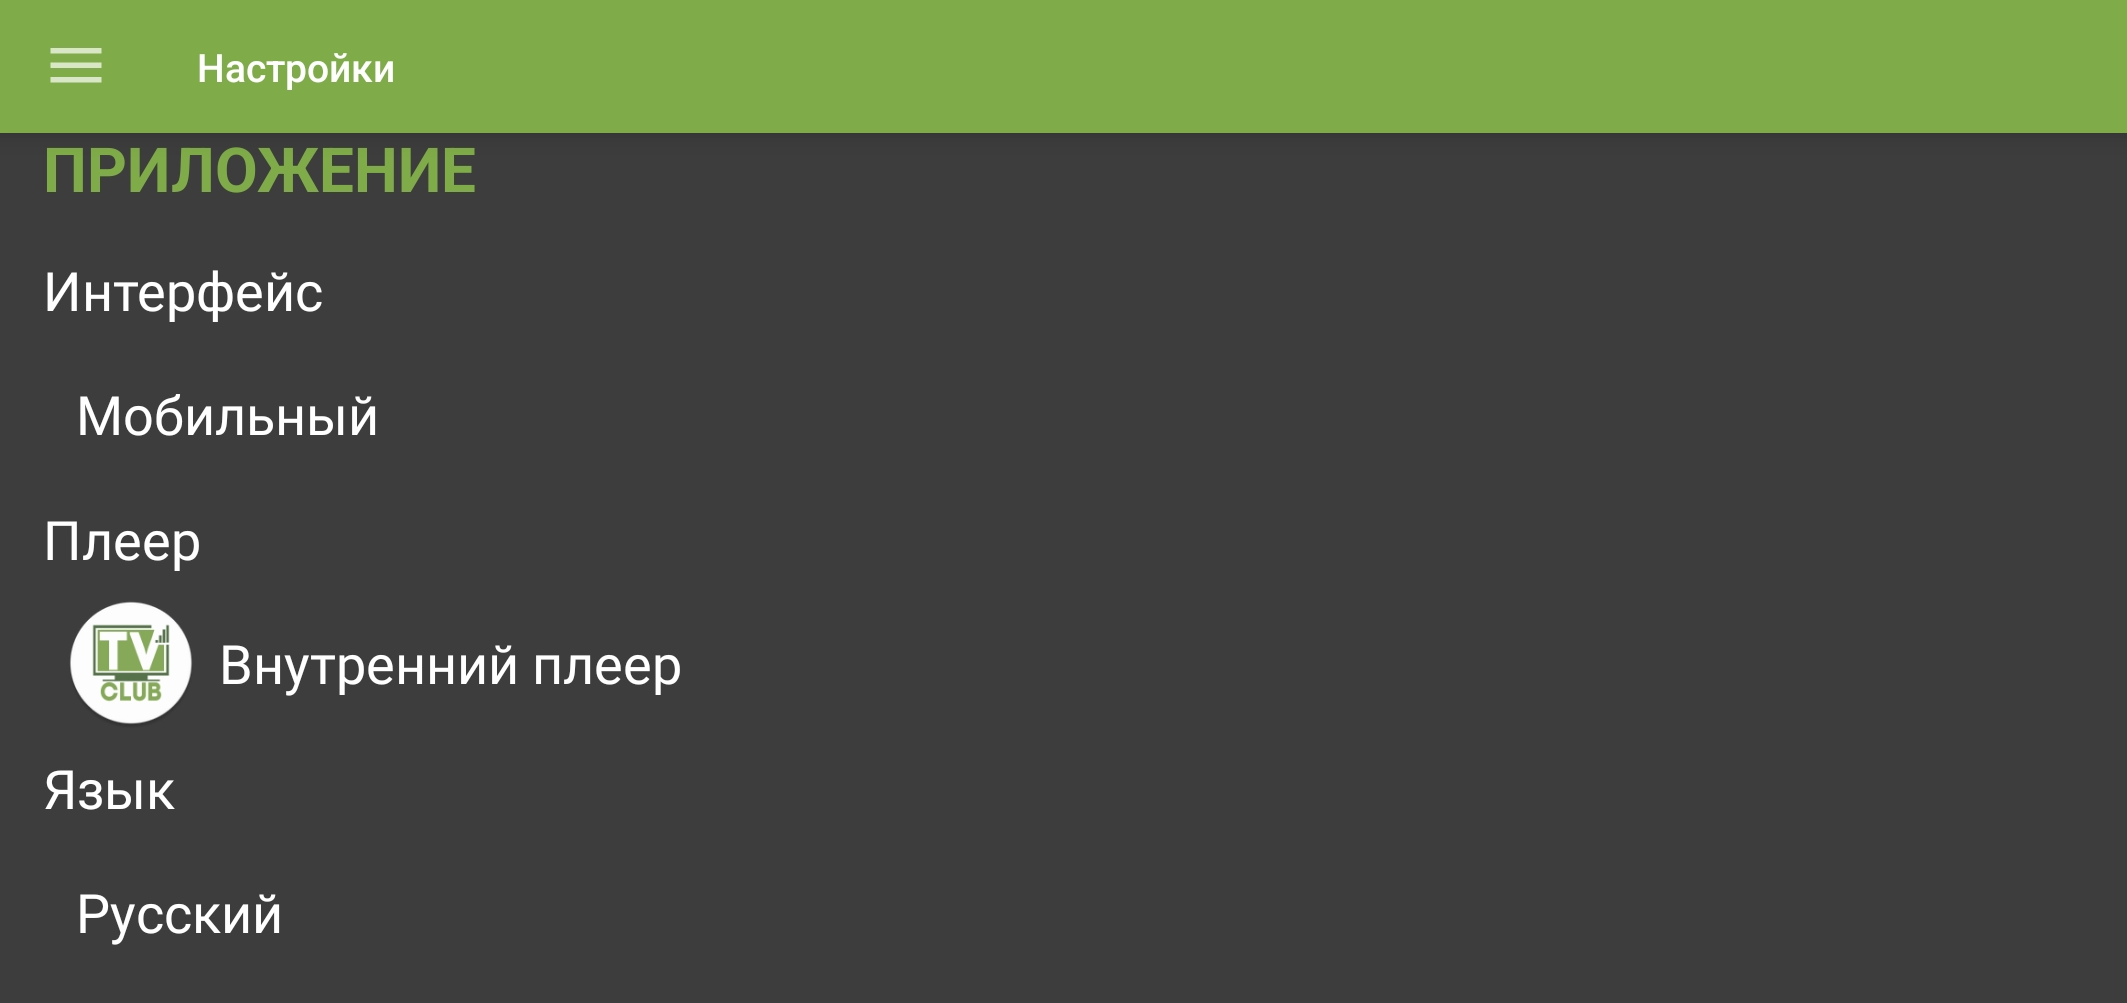
Select the app interface language. - A list of available languages will open. Select the desired language.
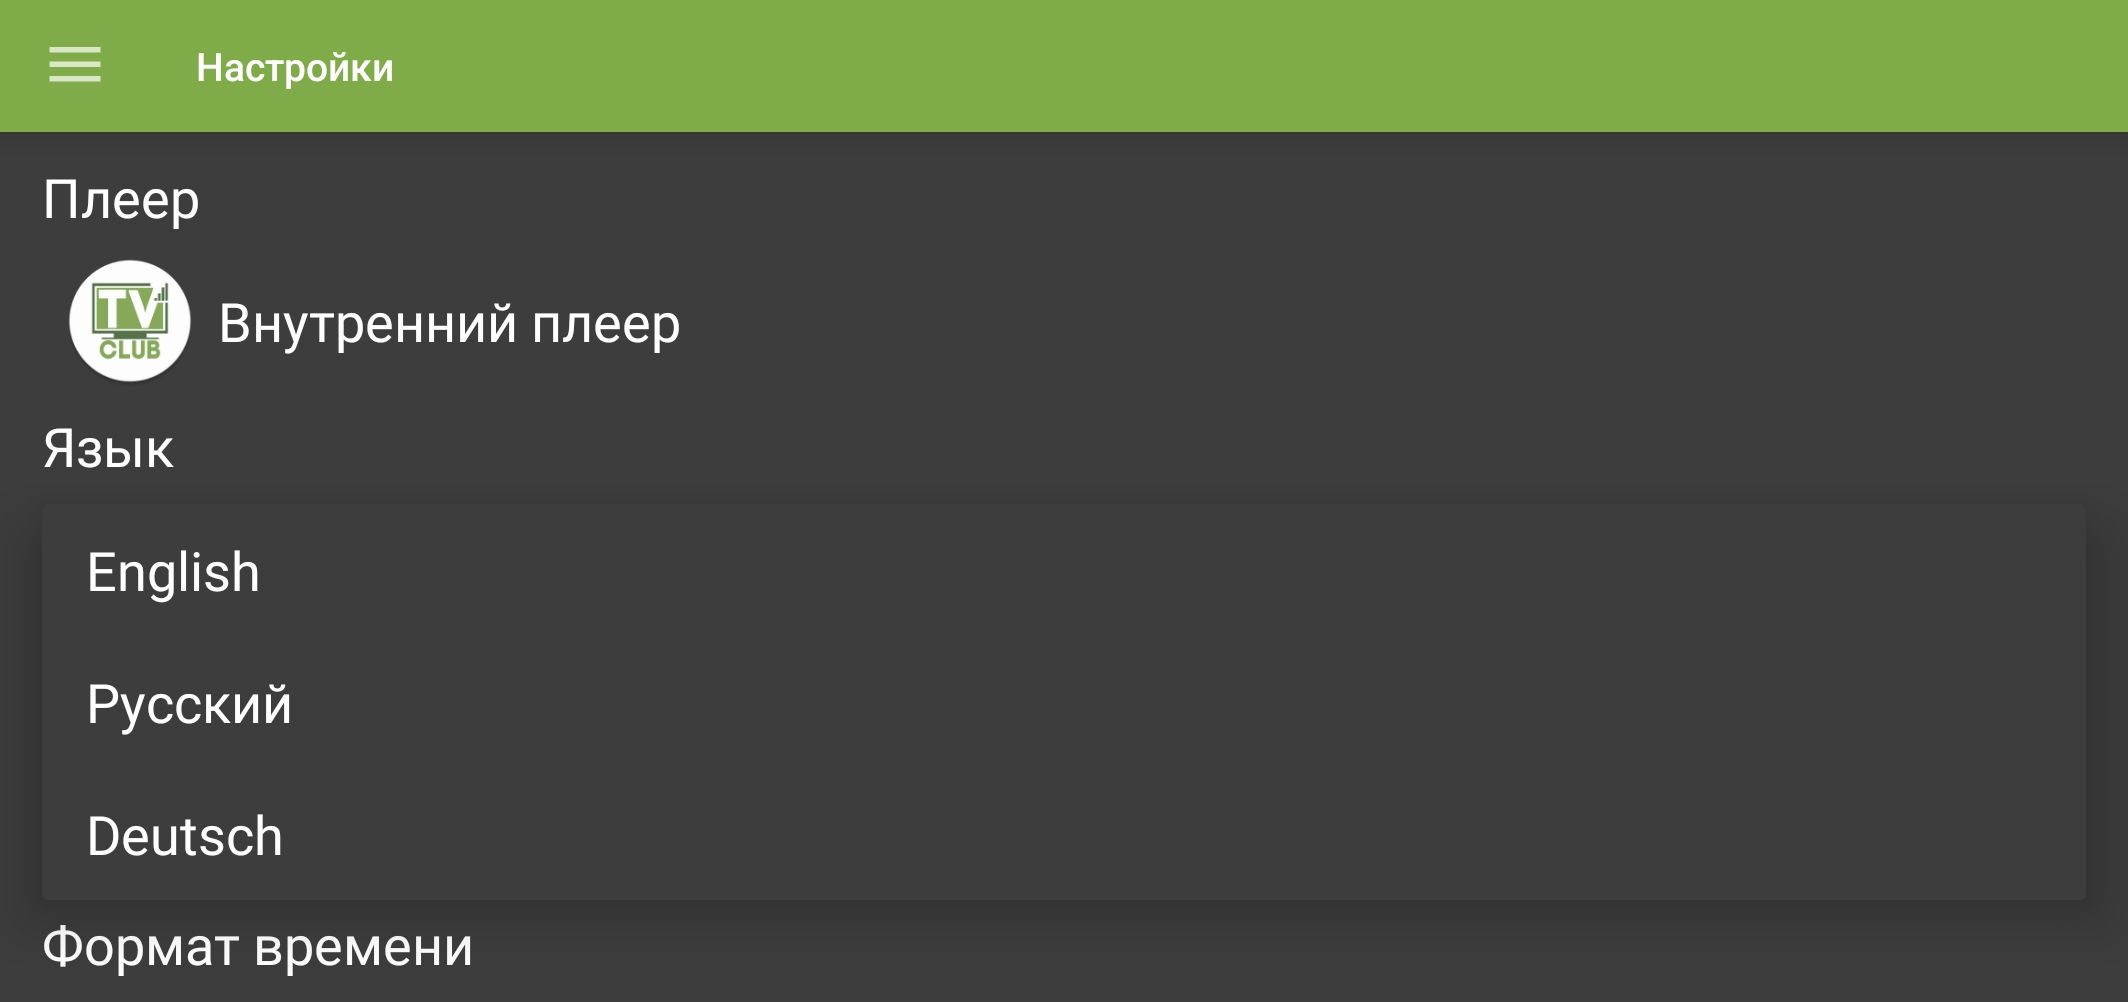
Choosing language: available language list in the mobile Android app.
Attention! For the changes to take effect, restart the application.
Protected channels
- Open the menu with , then select “Settings”.
“Settings” in the navigation menu. - Under “Application”, select “Protected content”.
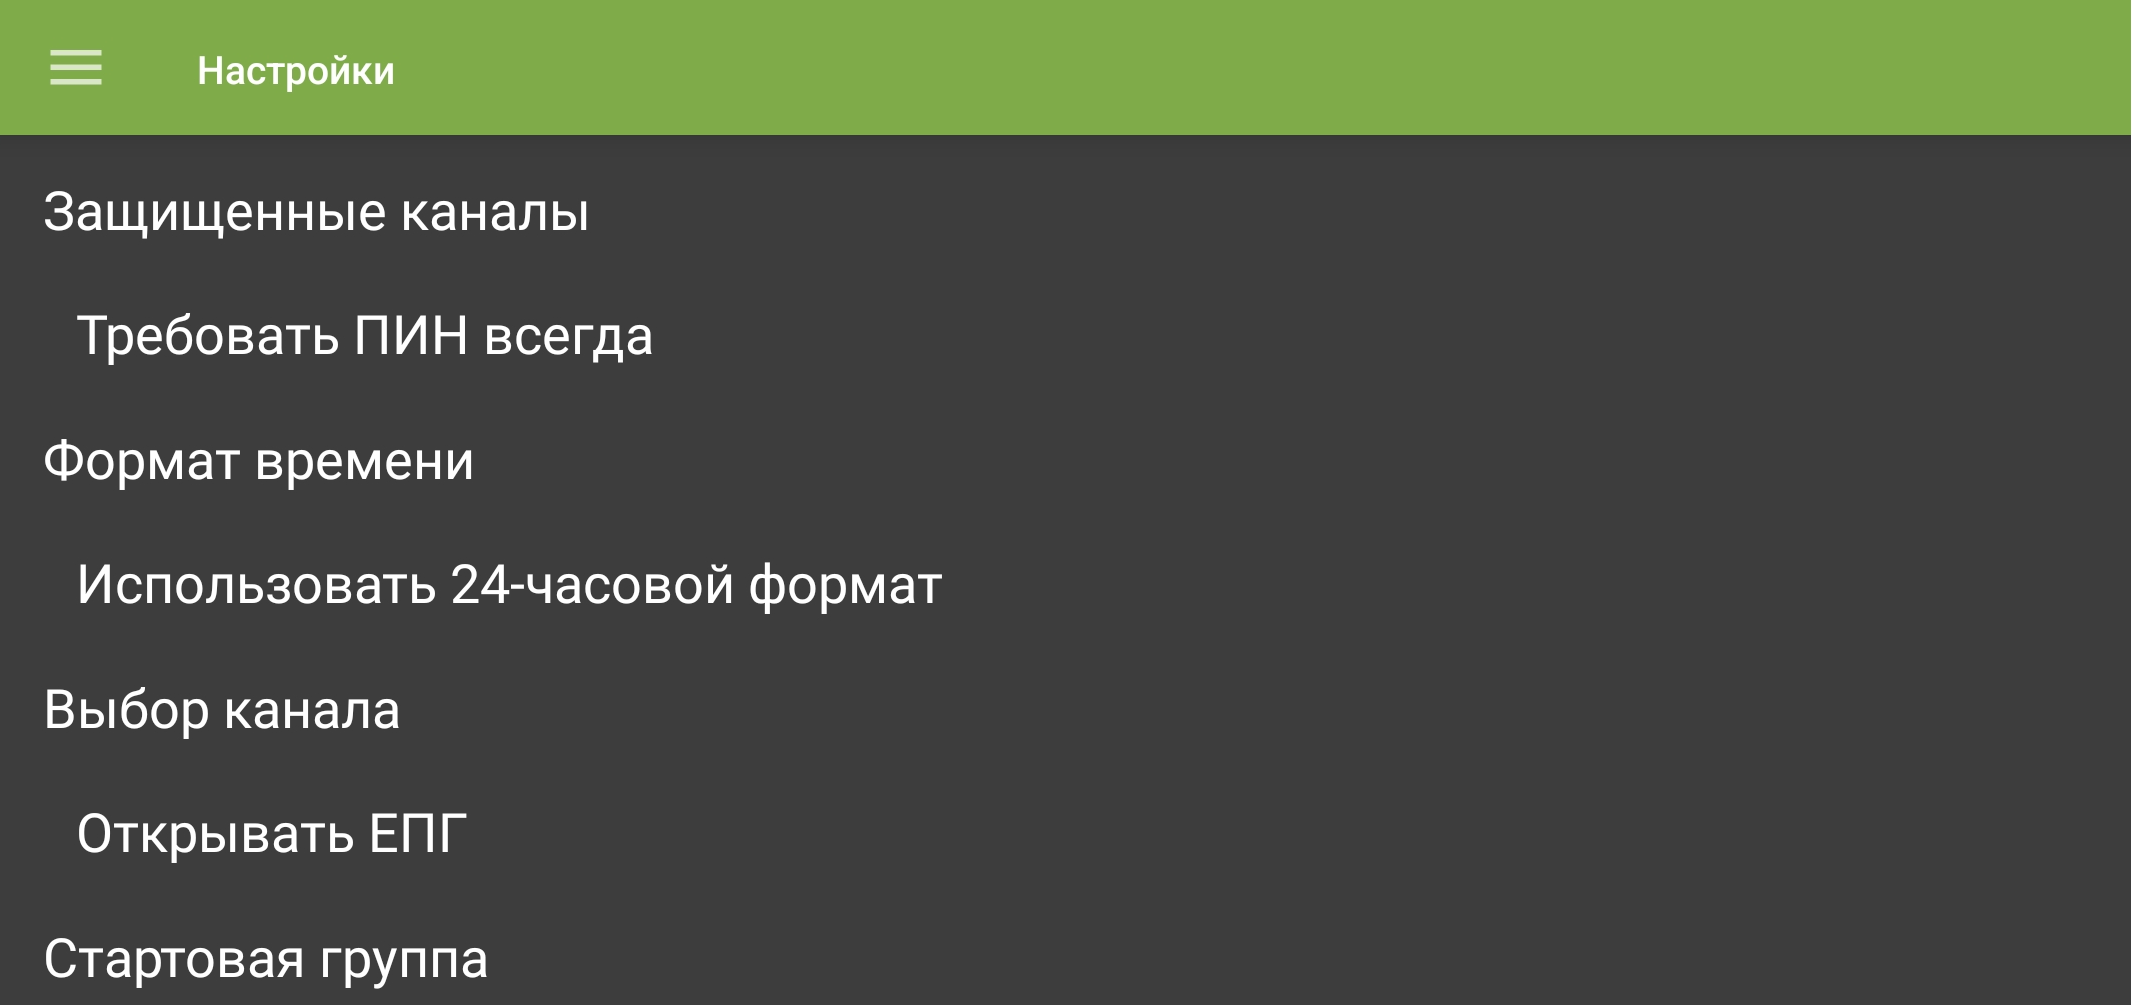
Protected-channel PIN setting. - Choose whether the app should request the PIN every time or only once.
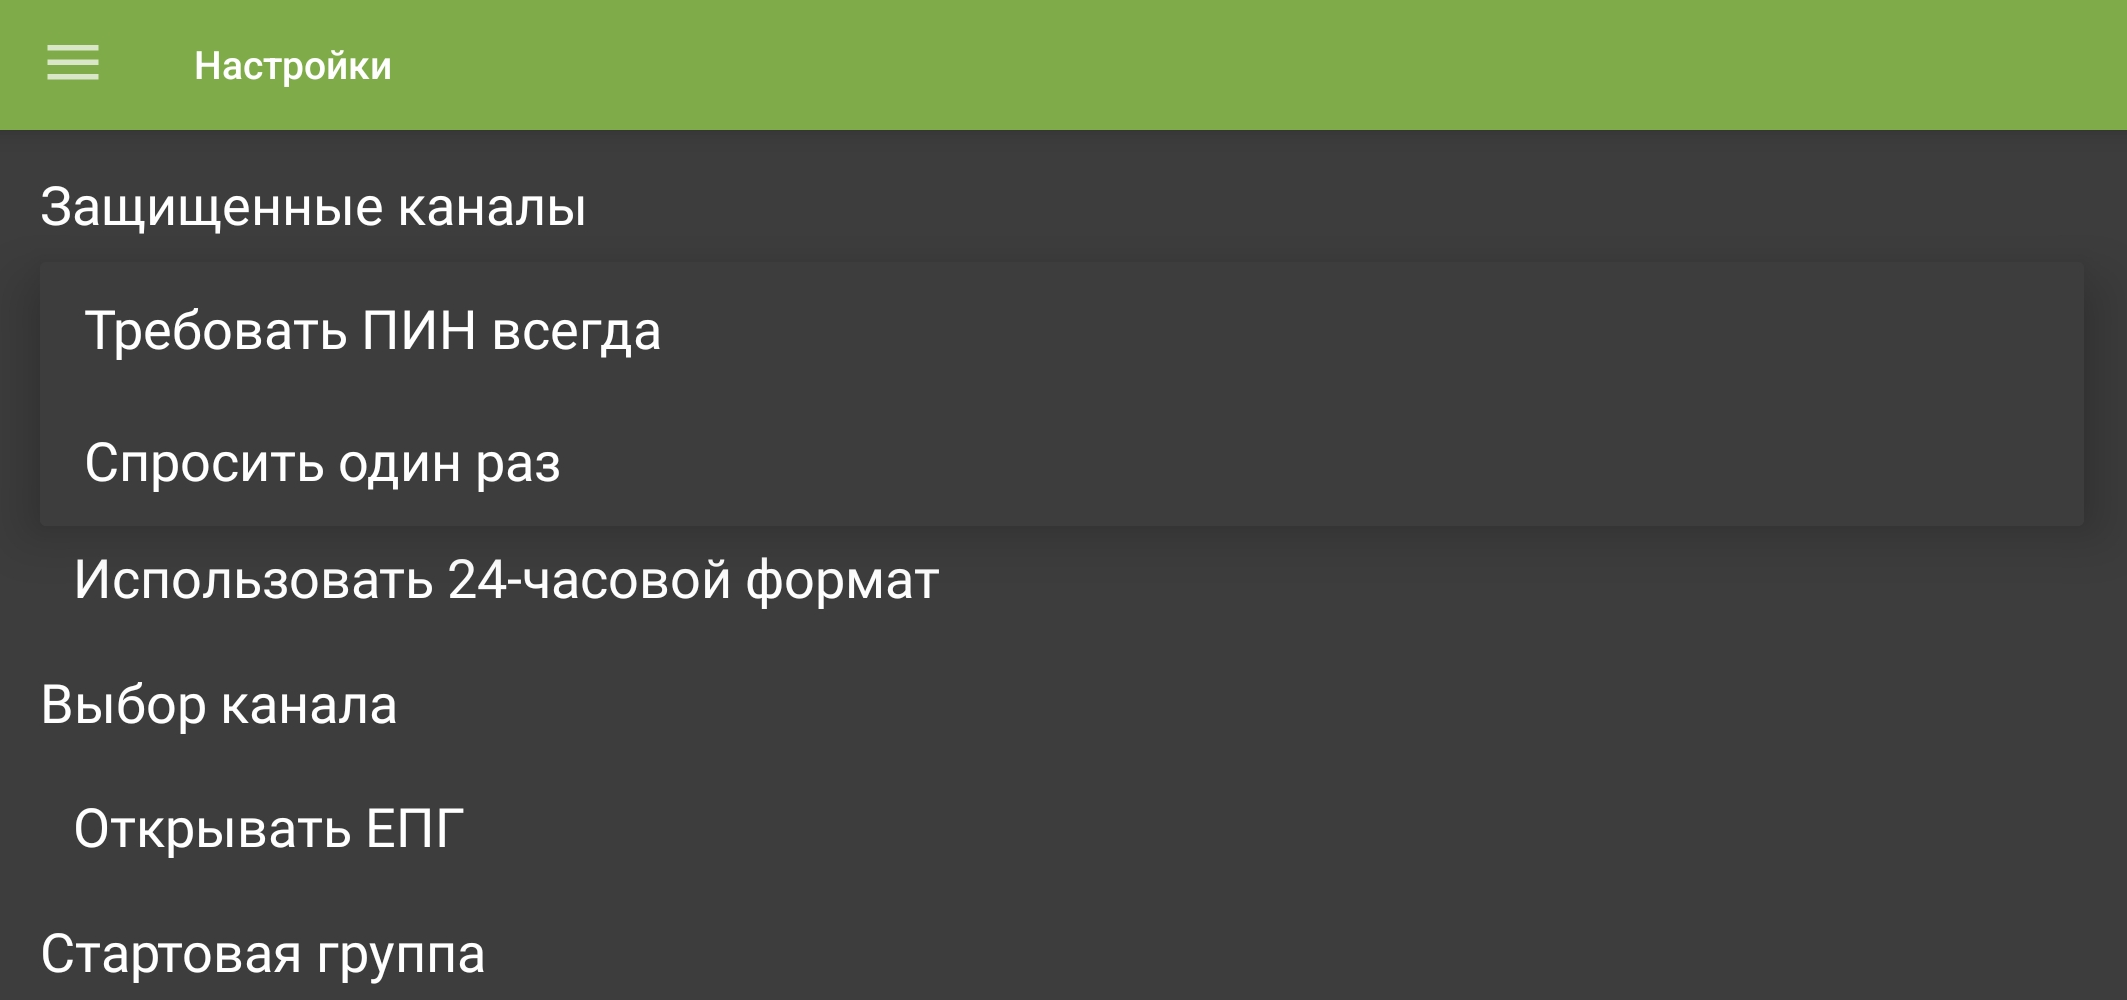
PIN request modes for protected channels.
Time format
- Open the menu with , then select “Settings”.
“Settings” in the navigation menu. - Under “Application”, select “Time format”.
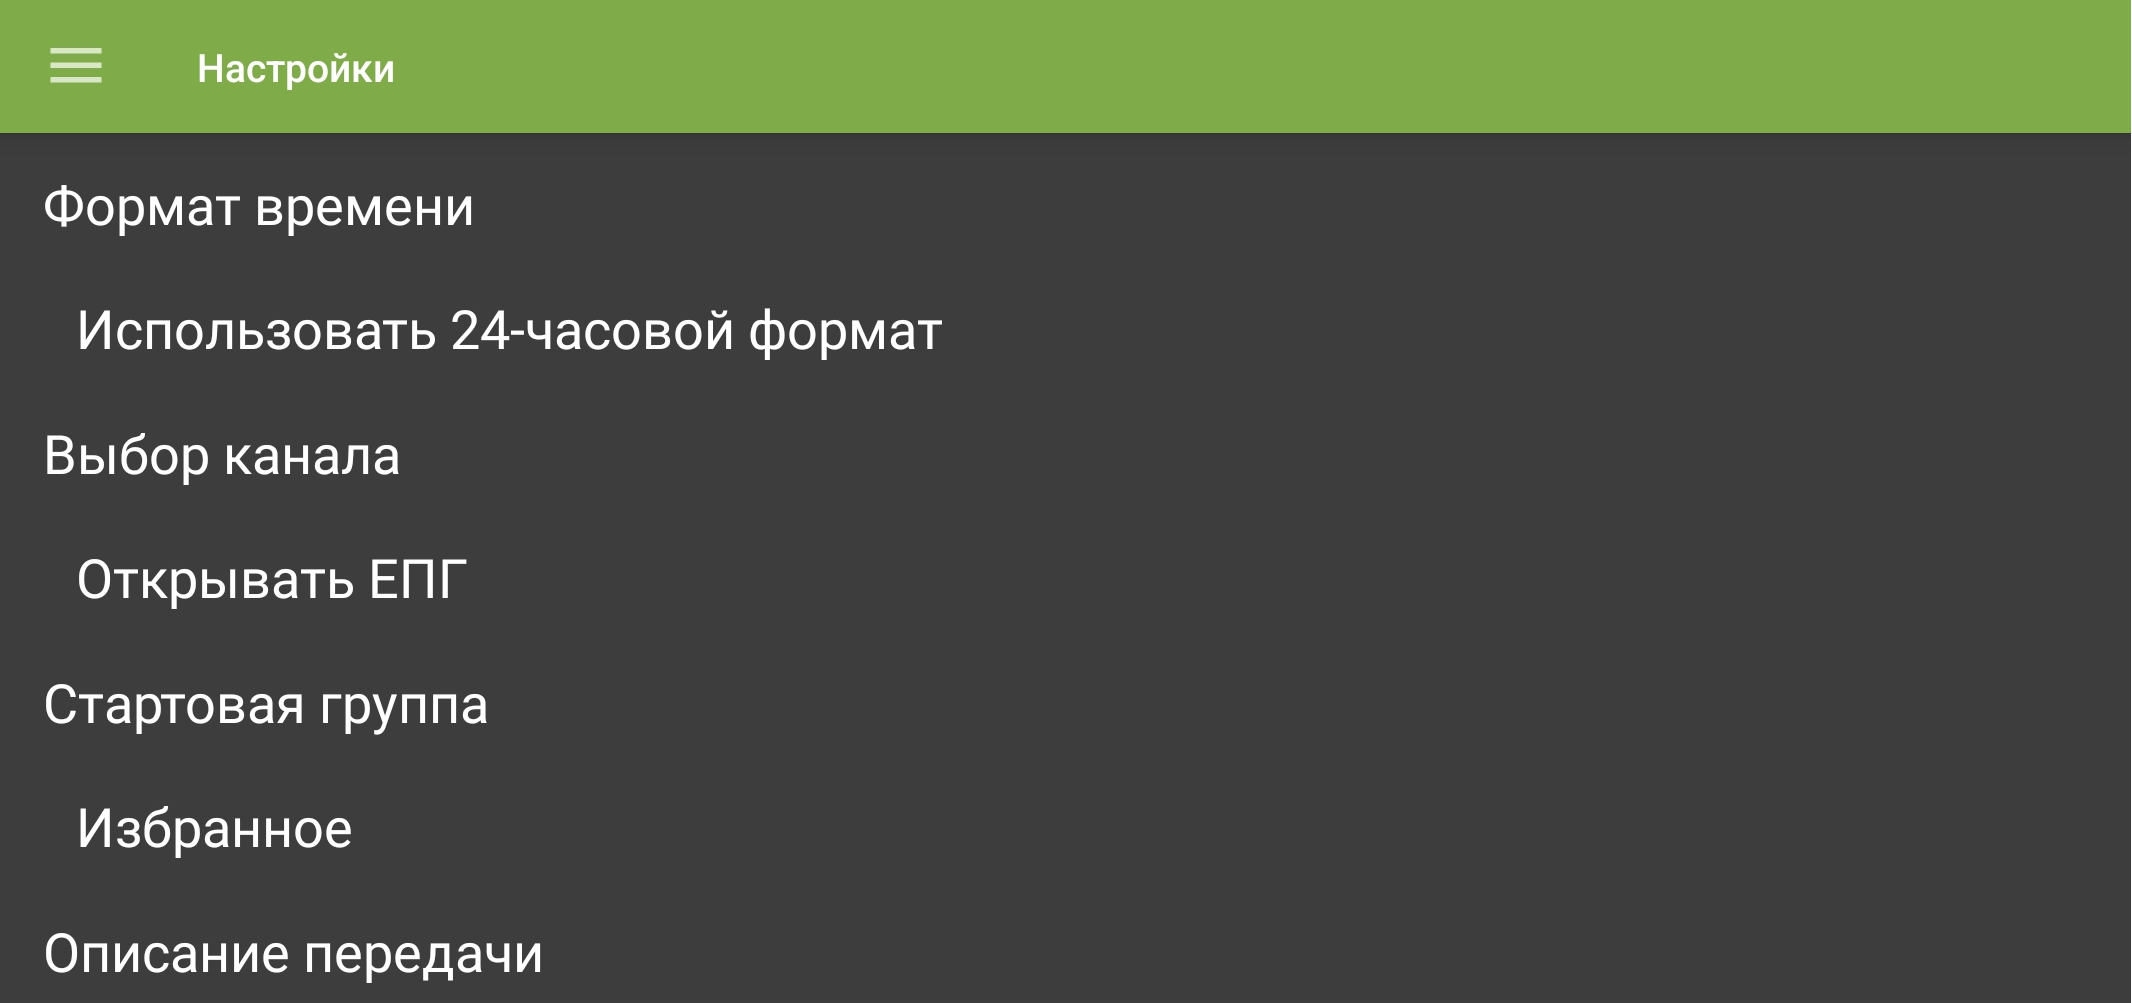
Time-format setting. - Choose “Use 24-hour format” or “Use 12-hour format”.
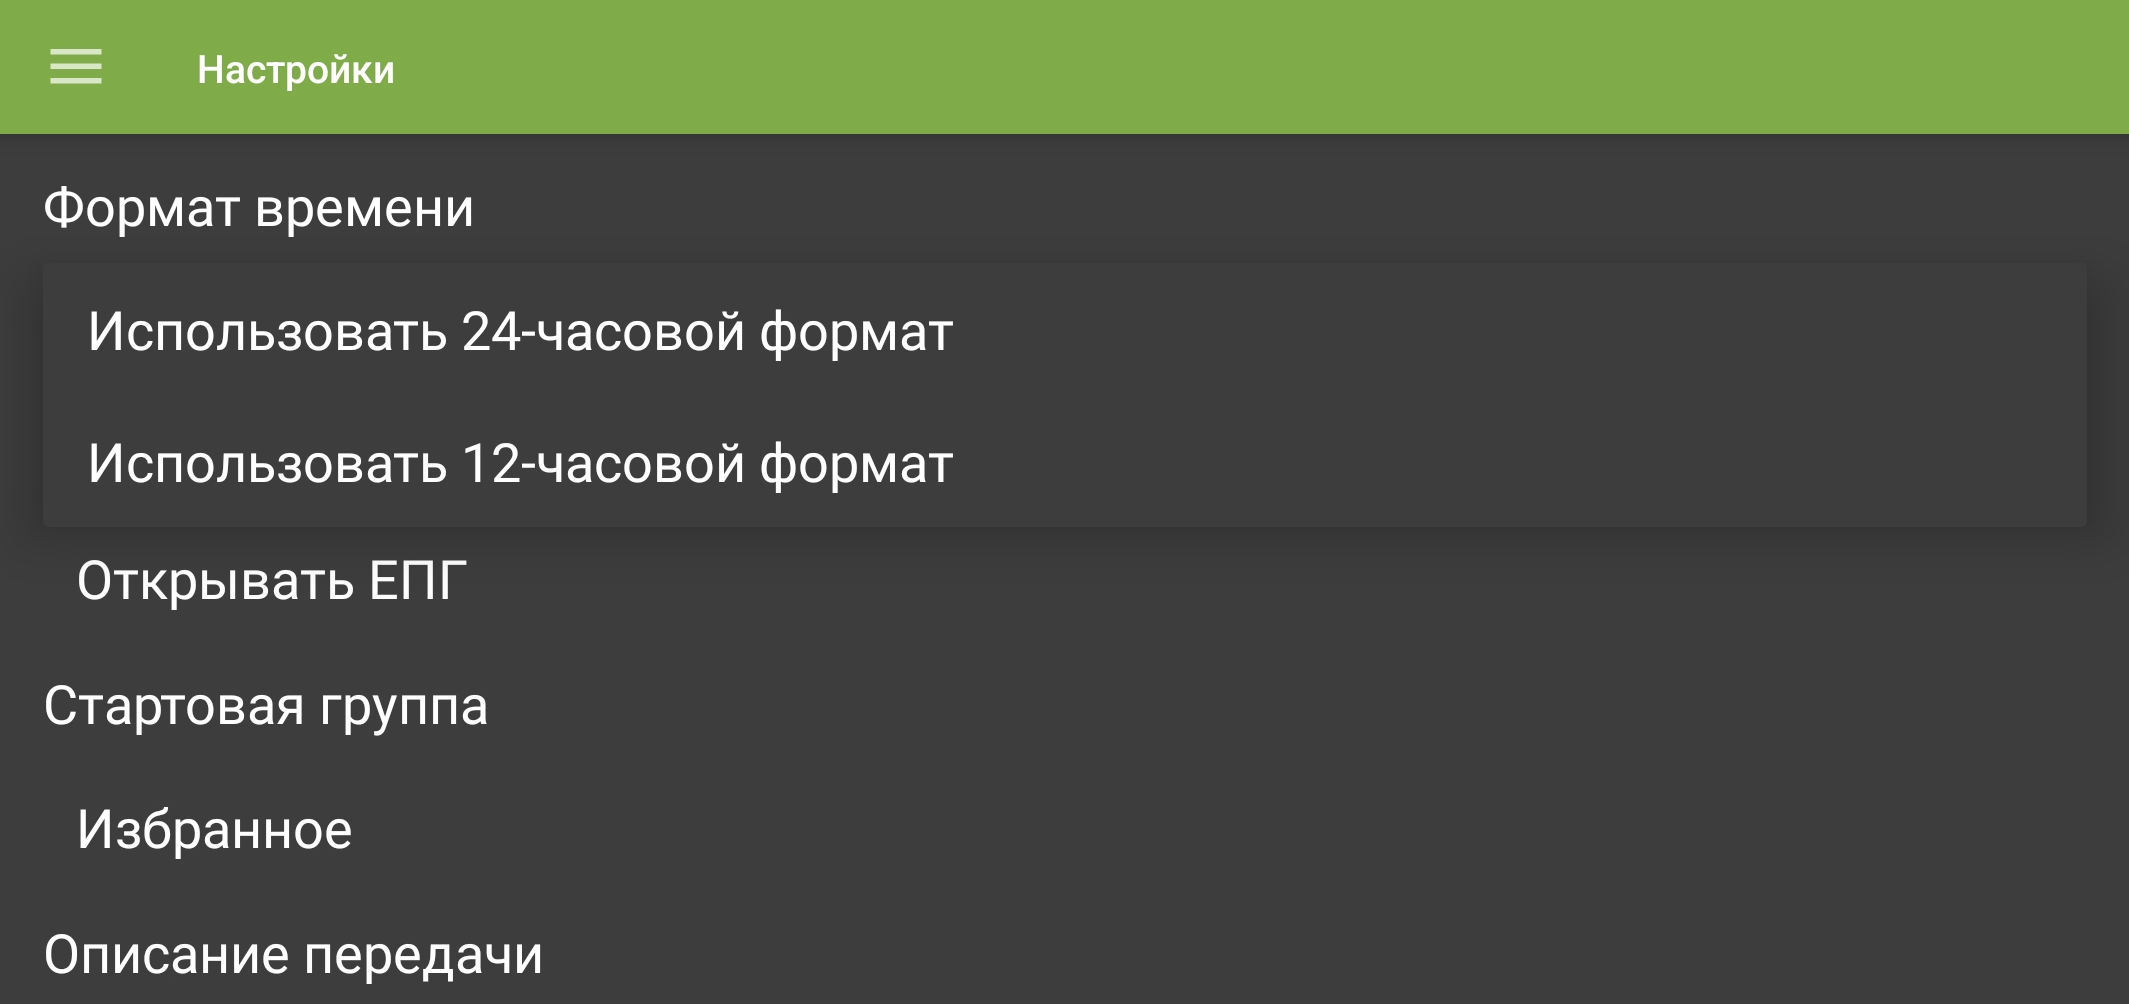
12- and 24-hour time-format options.
Action when selecting a channel
- Open the menu with , then select “Settings”.
“Settings” in the navigation menu. - Under “Application”, select “Channel selection action”.
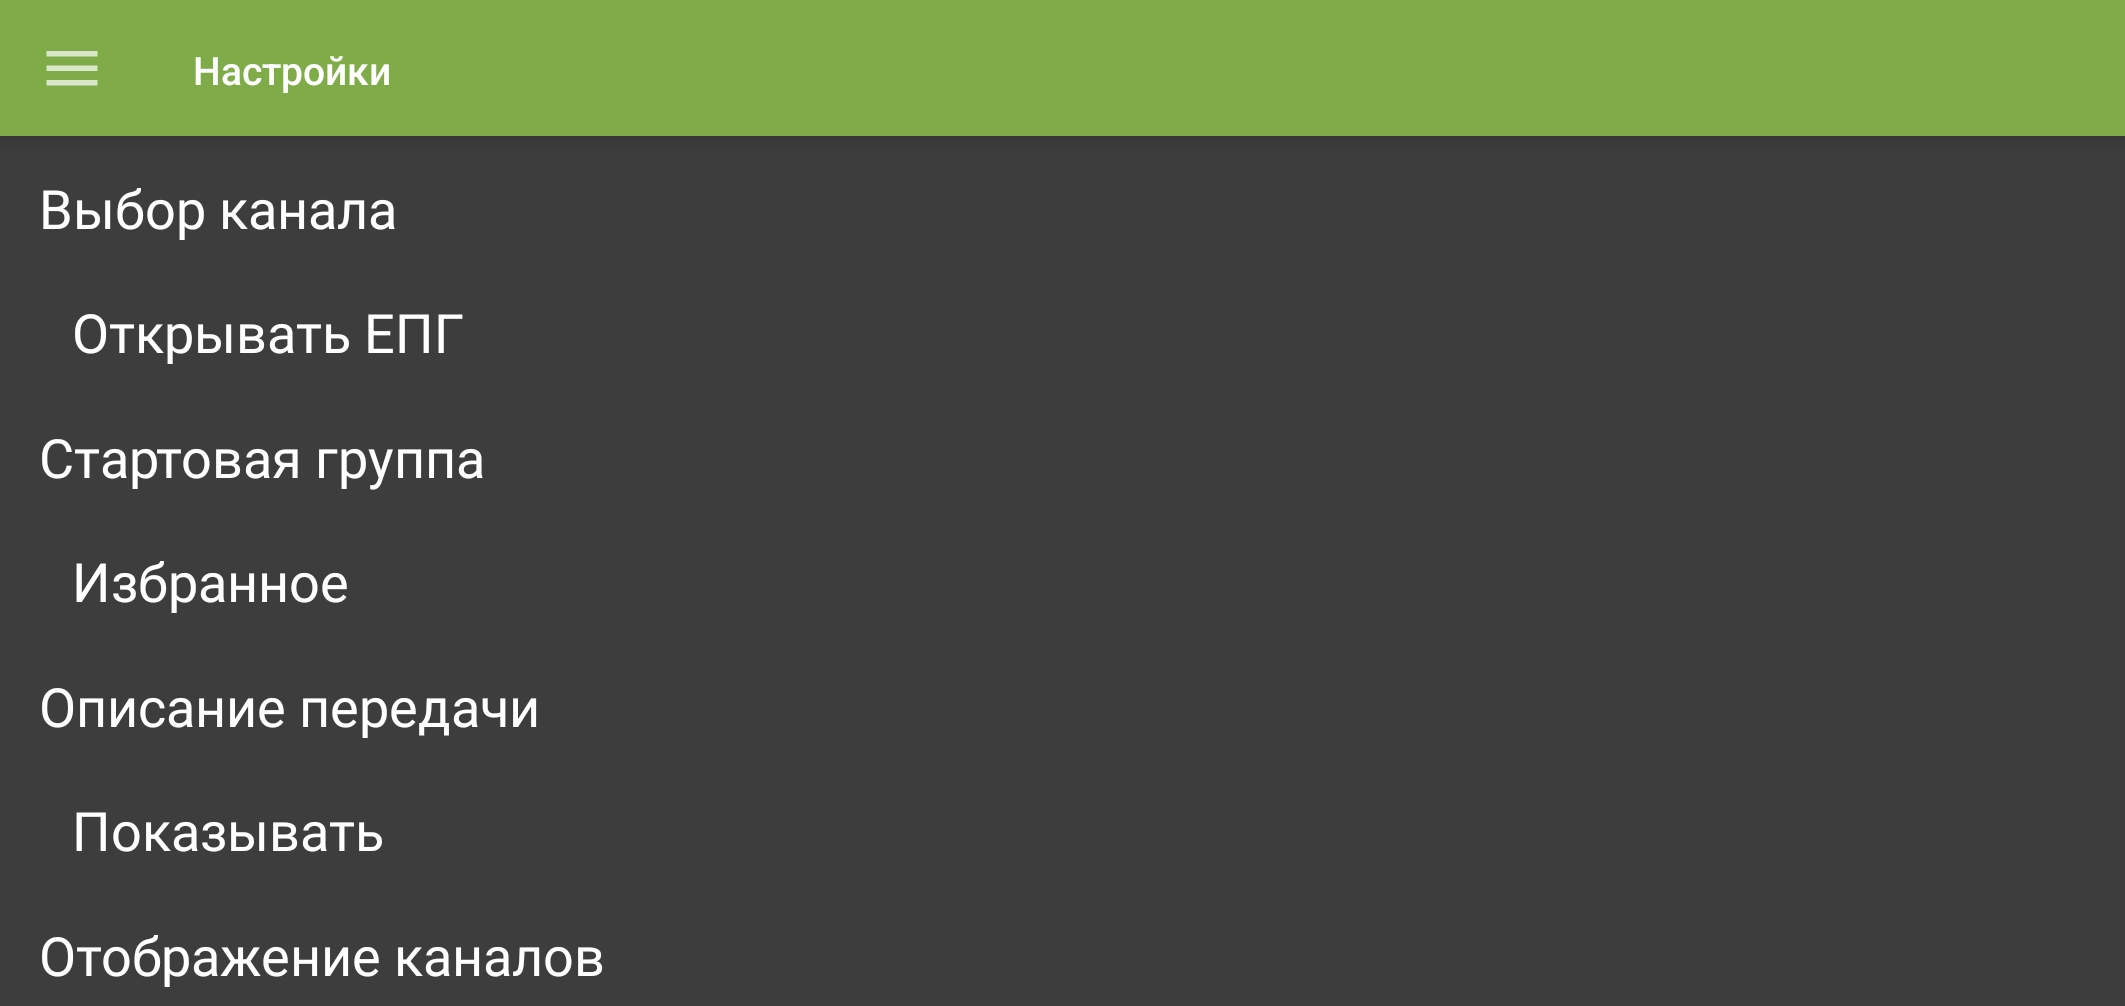
Channel-selection action setting. - Choose “Show EPG” to open the programme guide, or “Play ON AIR” to start the current live programme immediately.
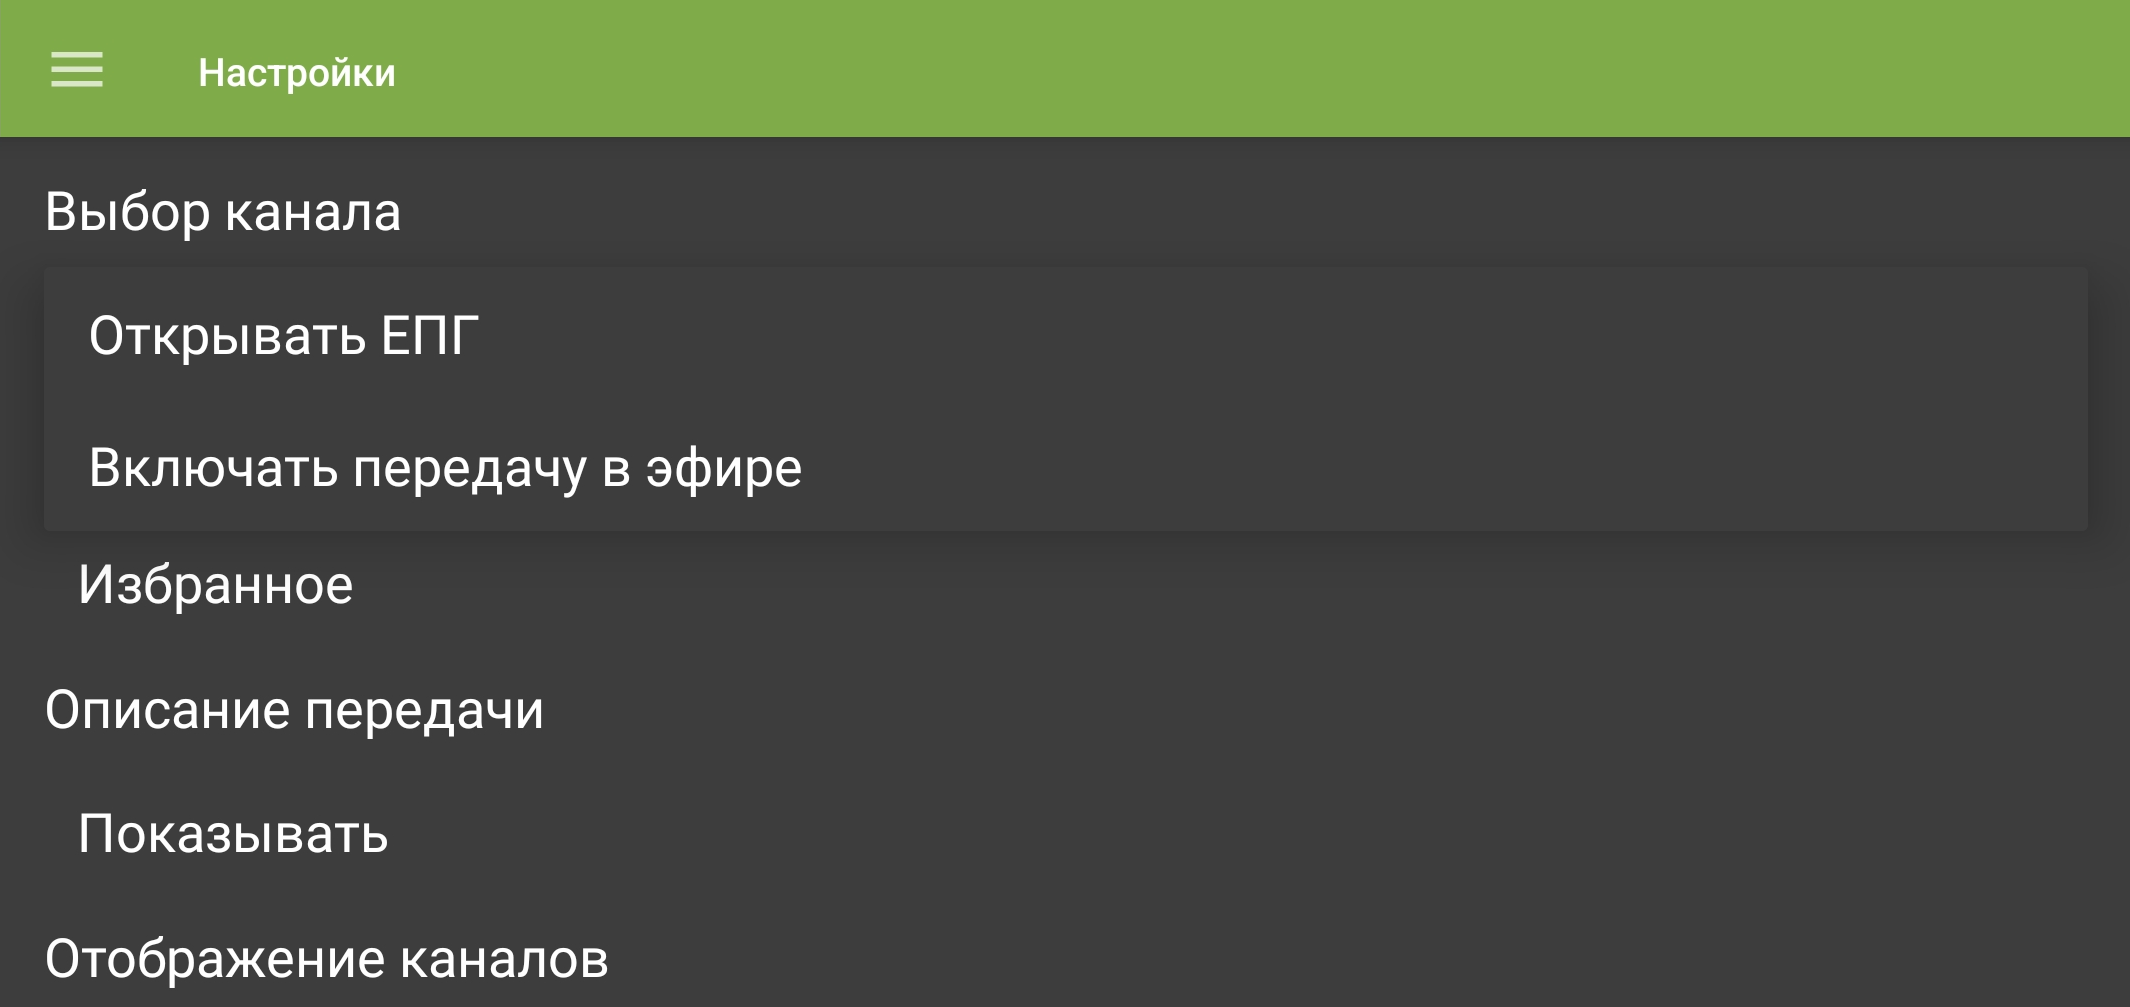
Available channel-selection actions.
Start channel group
- Open the menu with , then select “Settings”.
“Settings” in the navigation menu. - Under “Application”, select “Start group”.
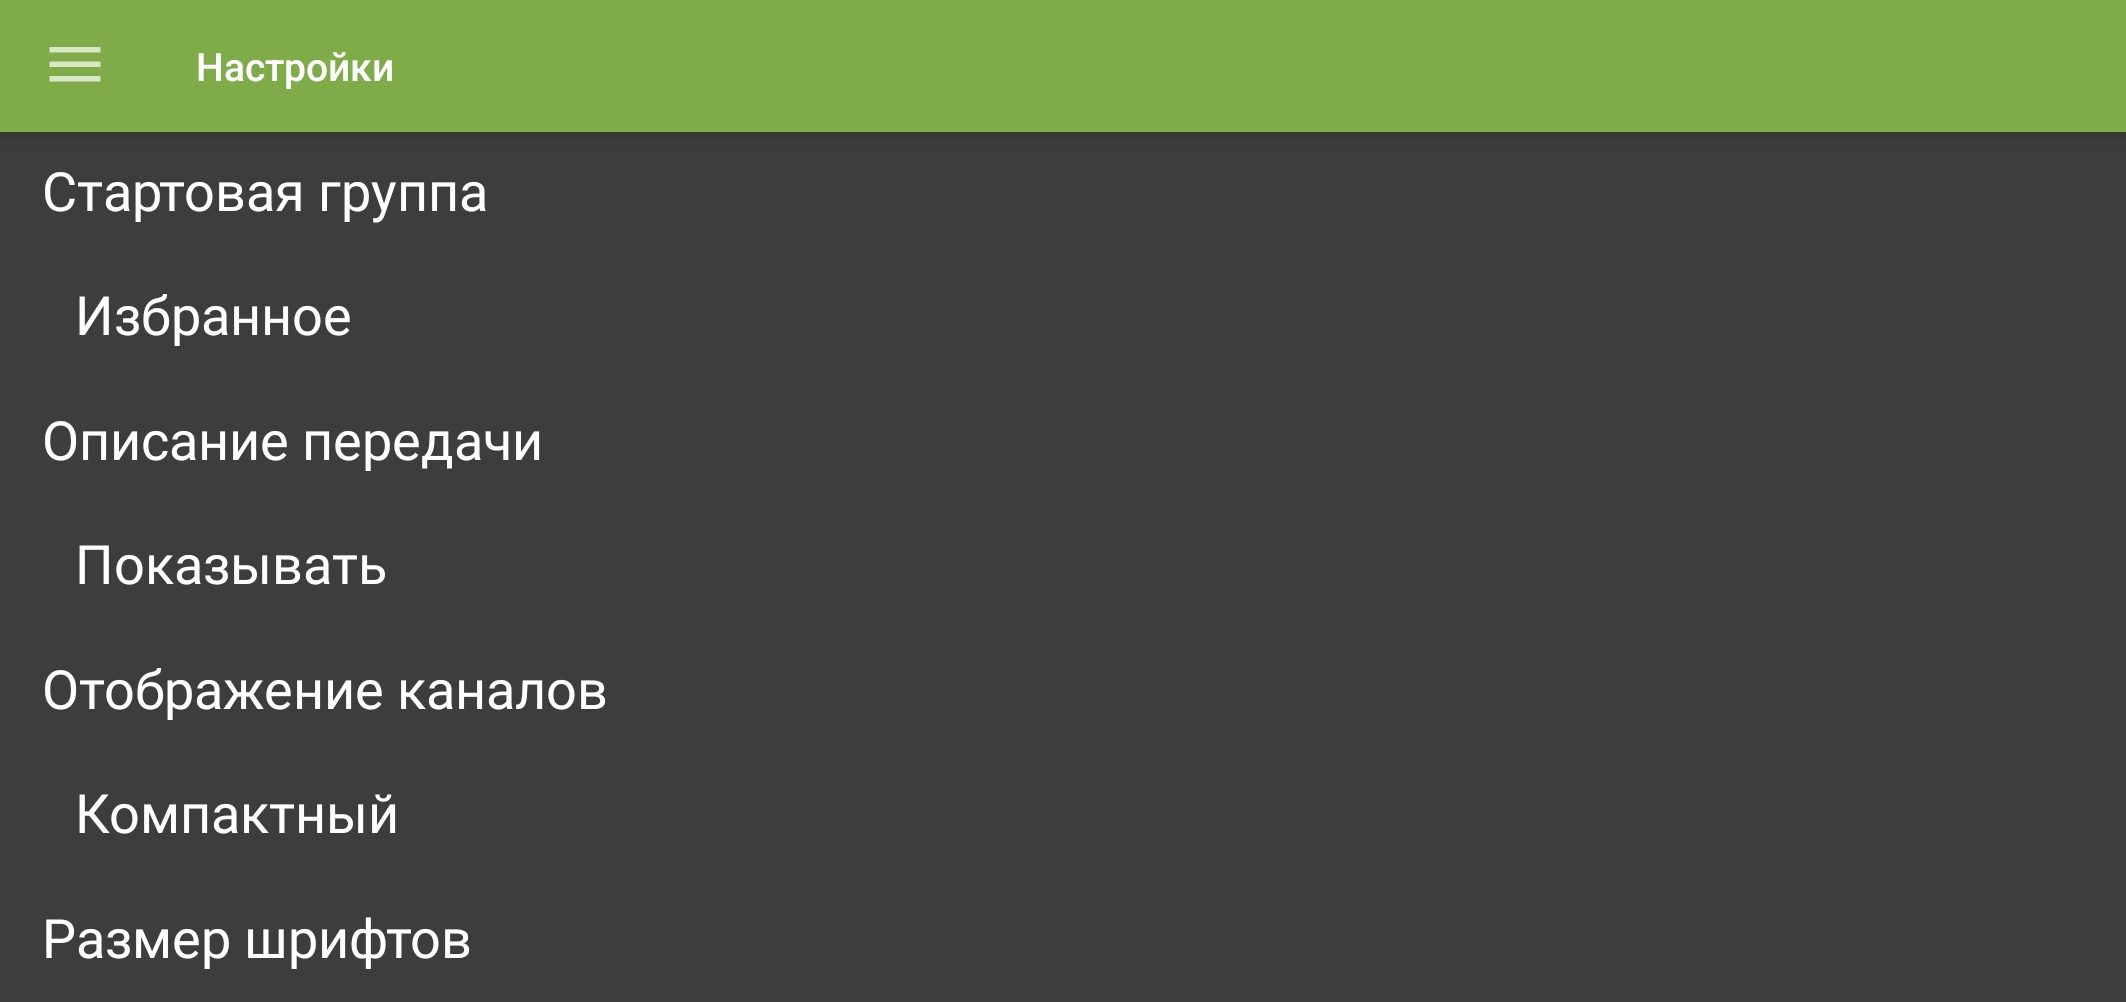
Starting channel-group setting. - Choose the channel group that should open when the app starts.
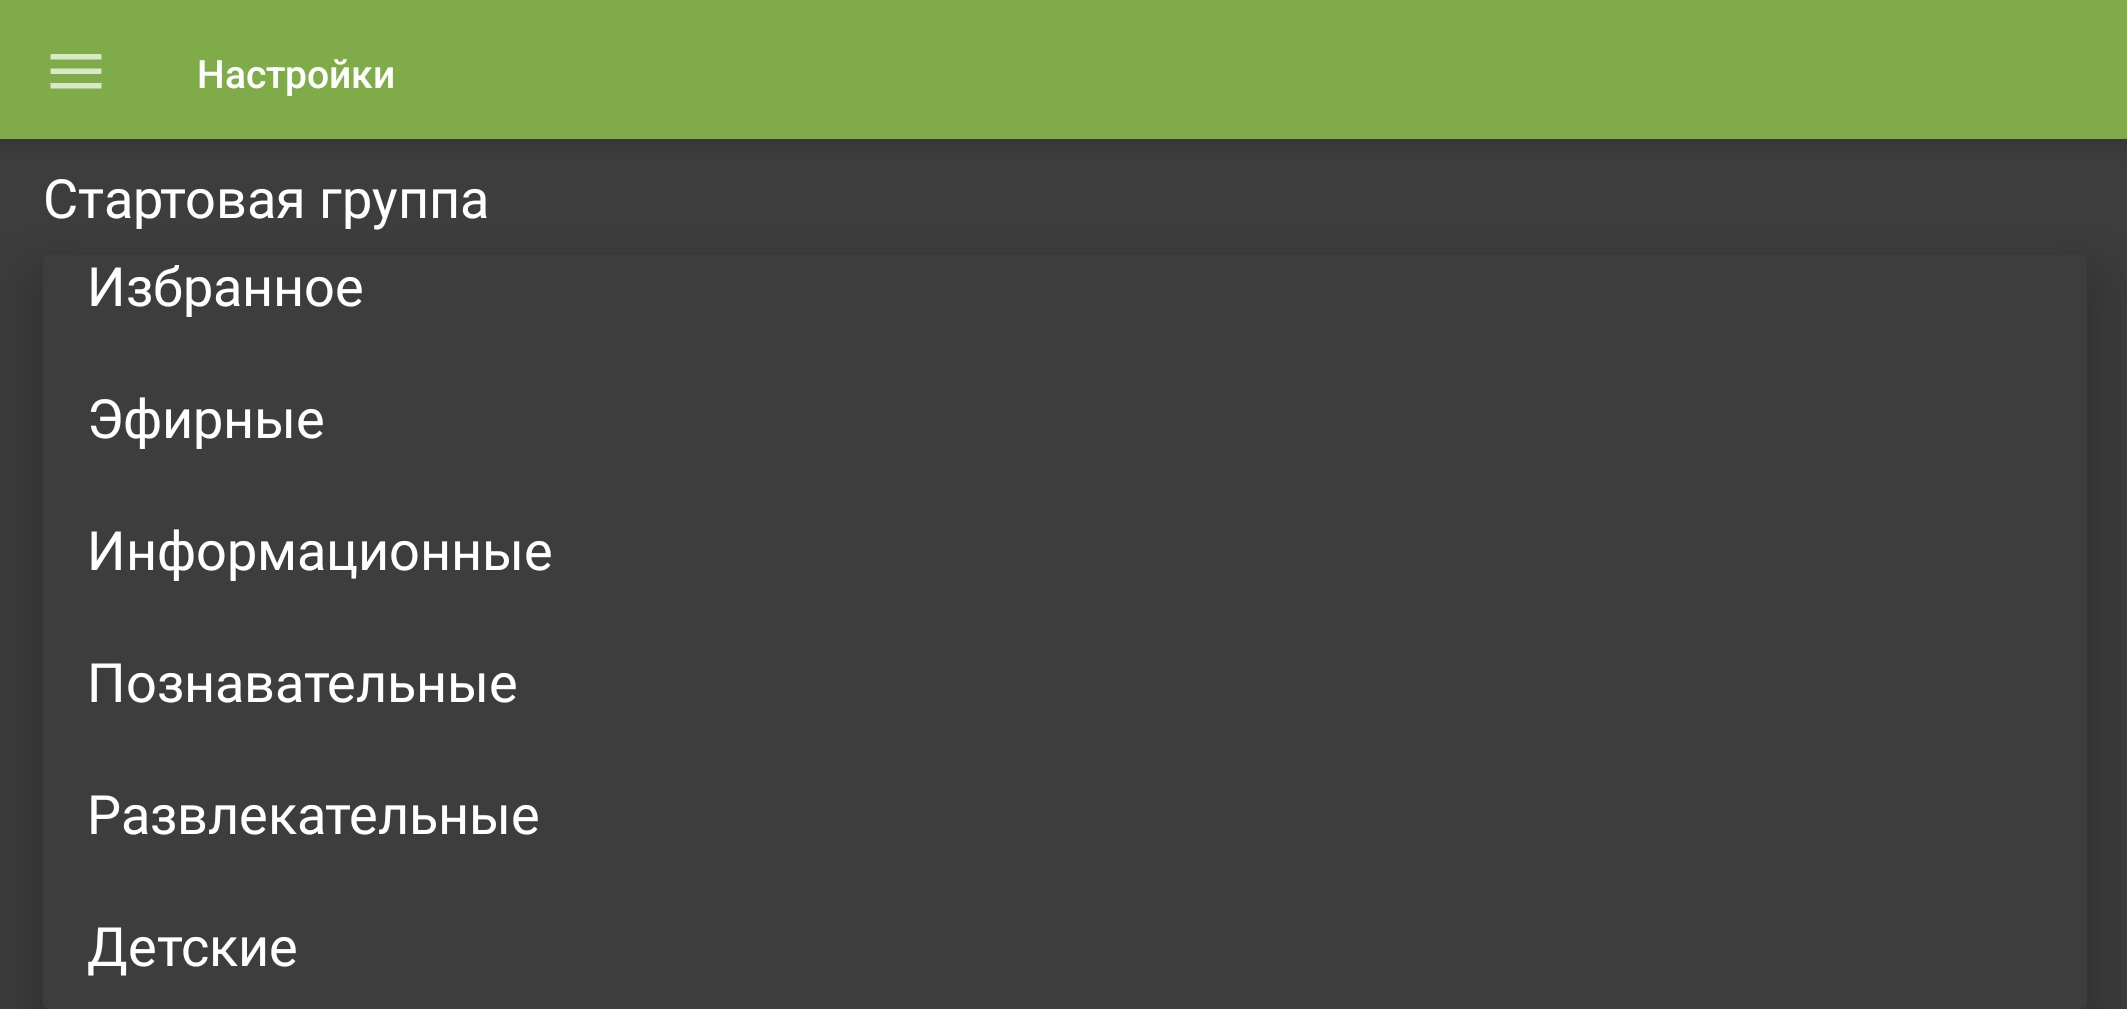
Channel groups available when the app opens.
Programme description
- Open the menu with , then select “Settings”.
“Settings” in the navigation menu. - Under “Application”, select “EPG description”.
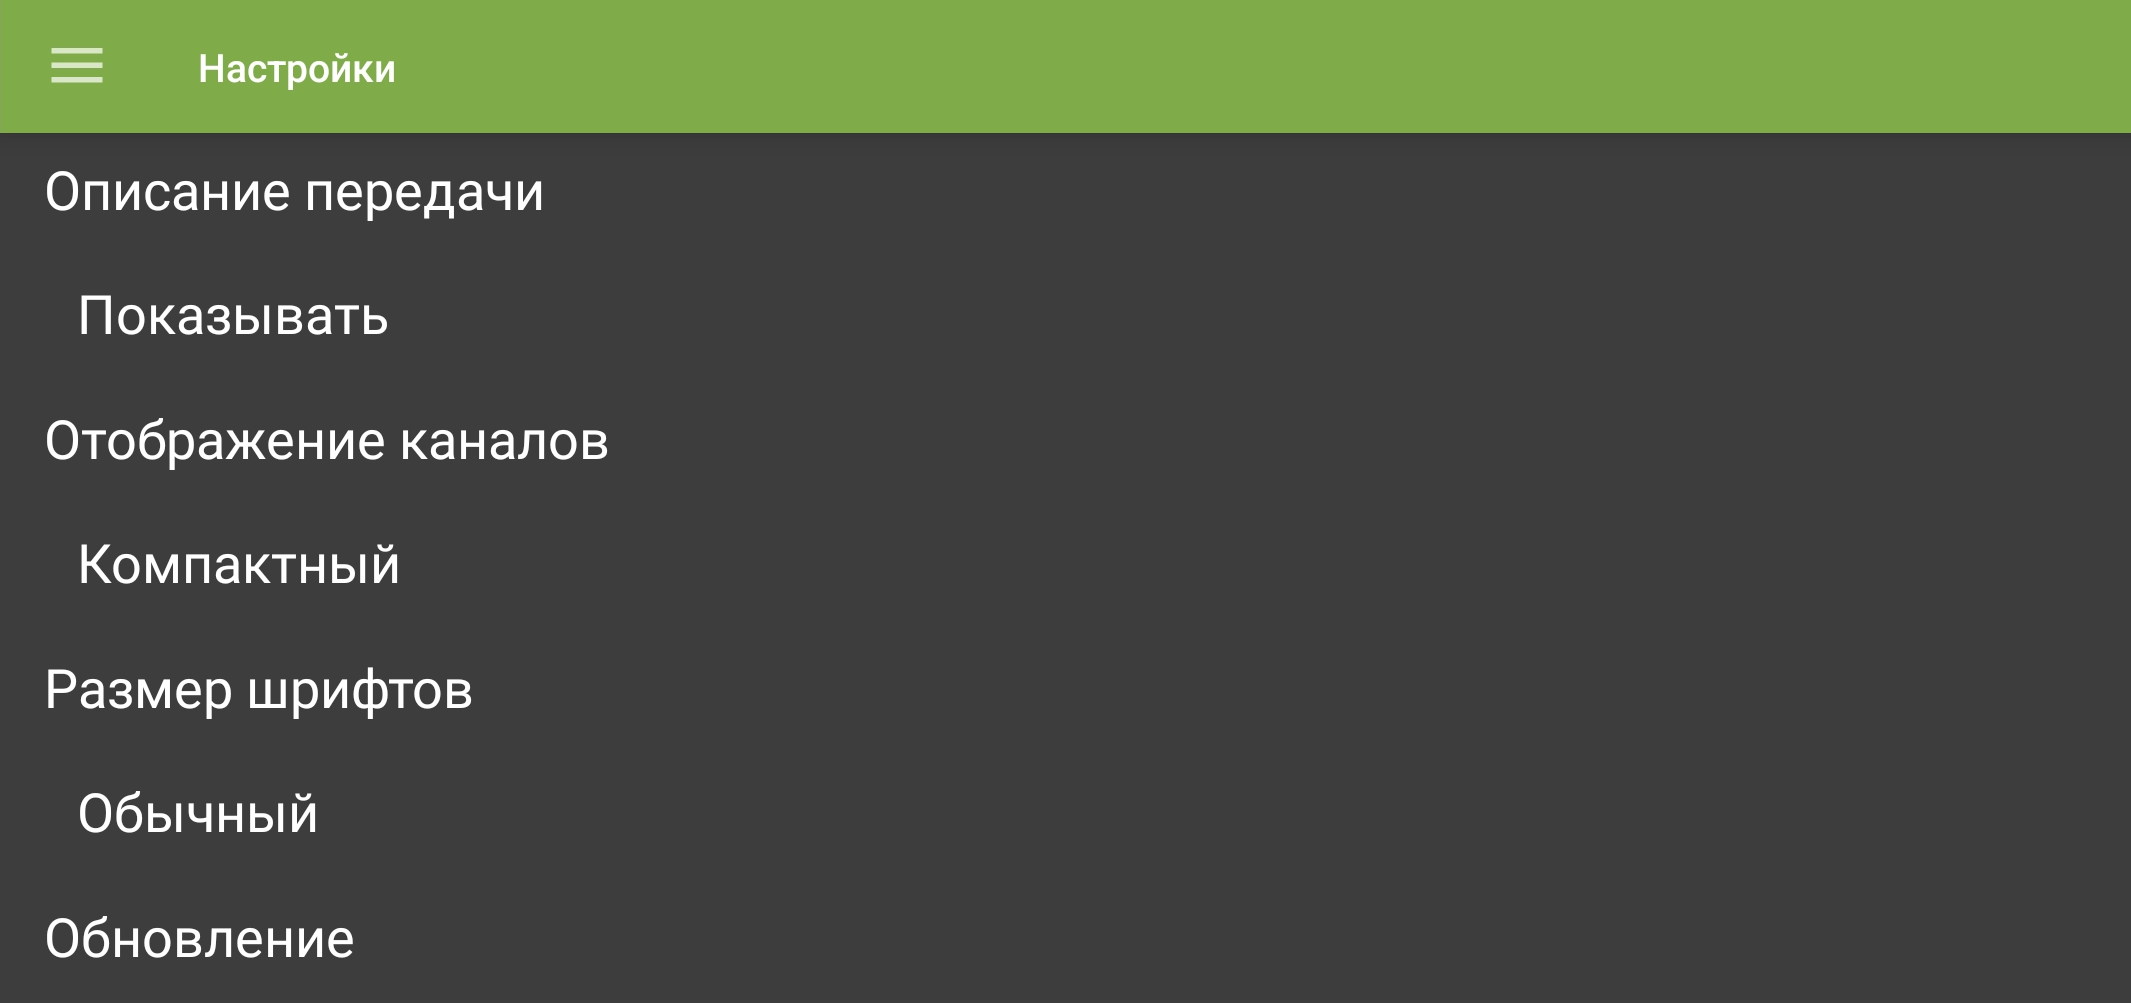
Programme-description display setting. - Choose “Show”, “Hide”, or “Collapse”.
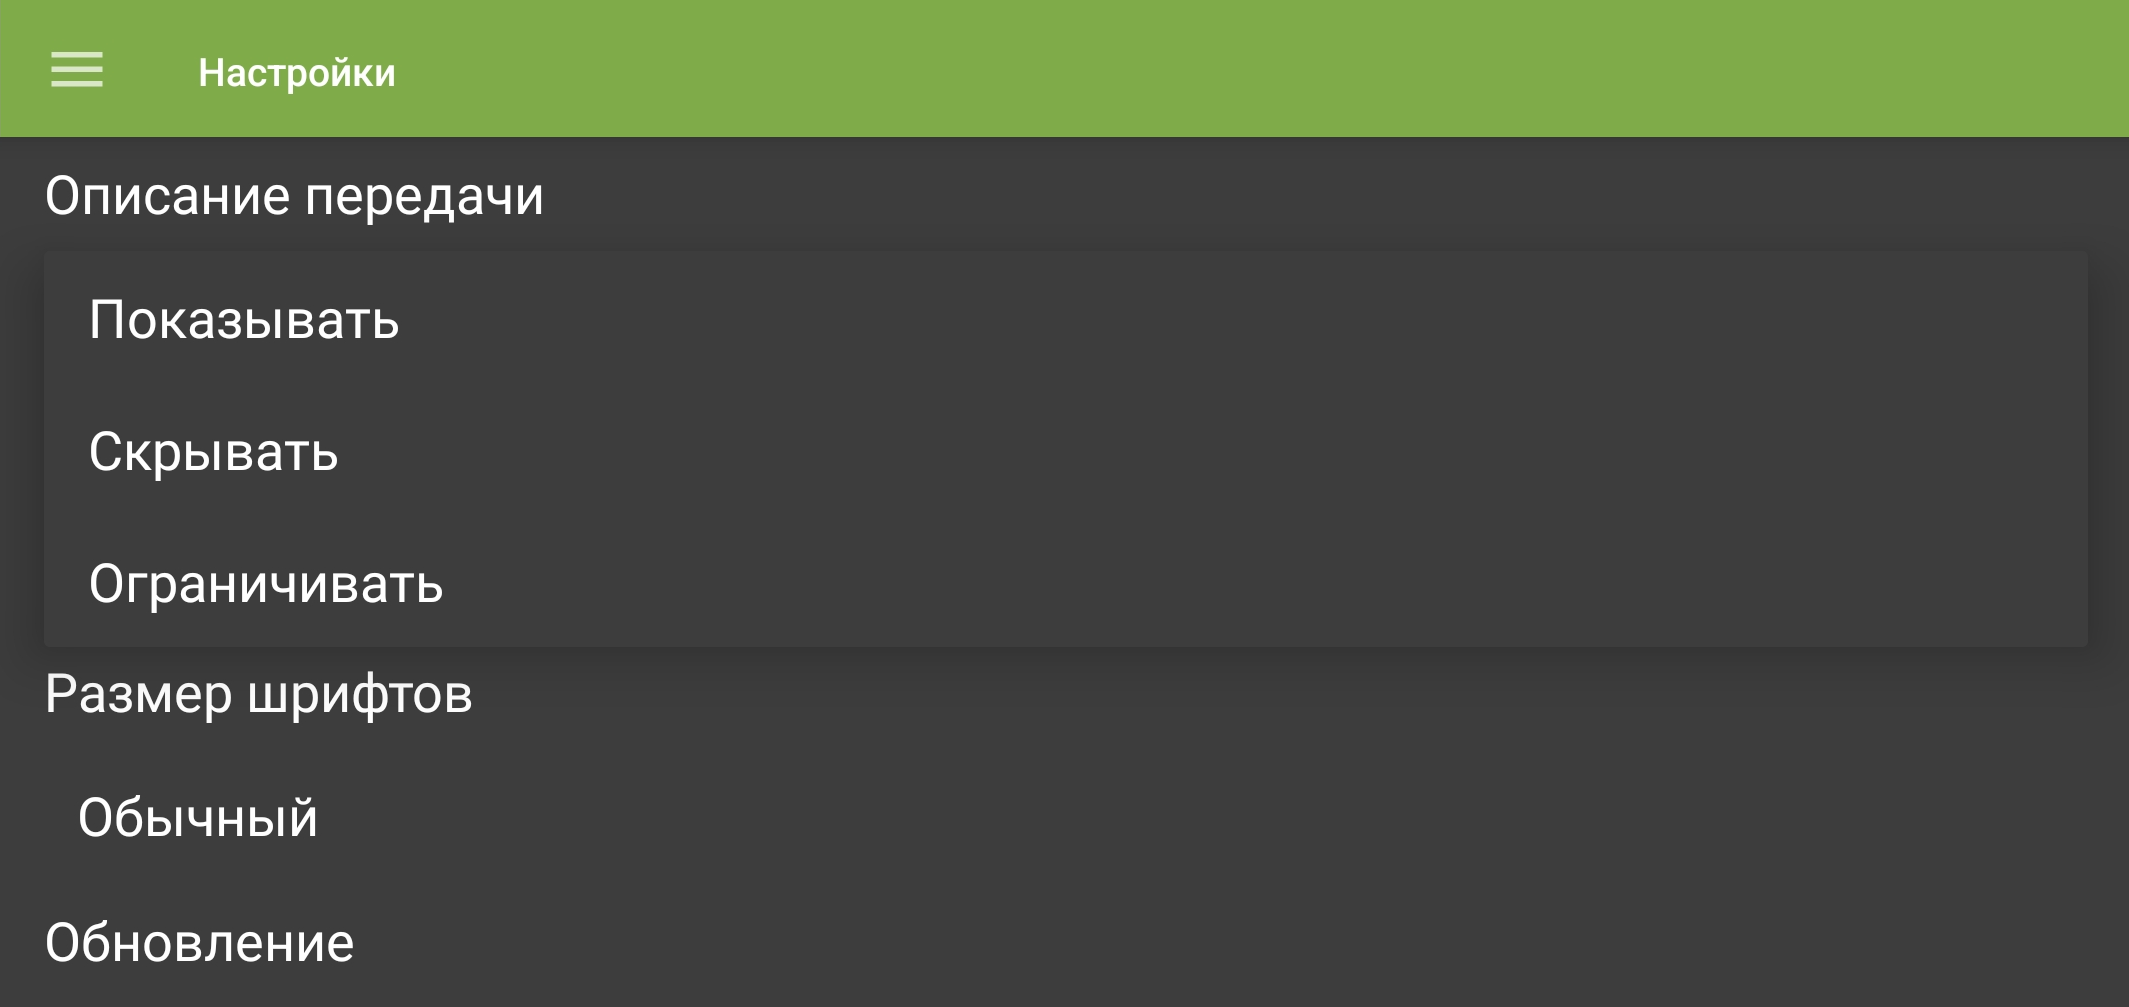
Programme-description display modes.
Channel layout
- Open the menu with , then select “Settings”.
“Settings” in the navigation menu. - Under “Application”, select “Channel view”.
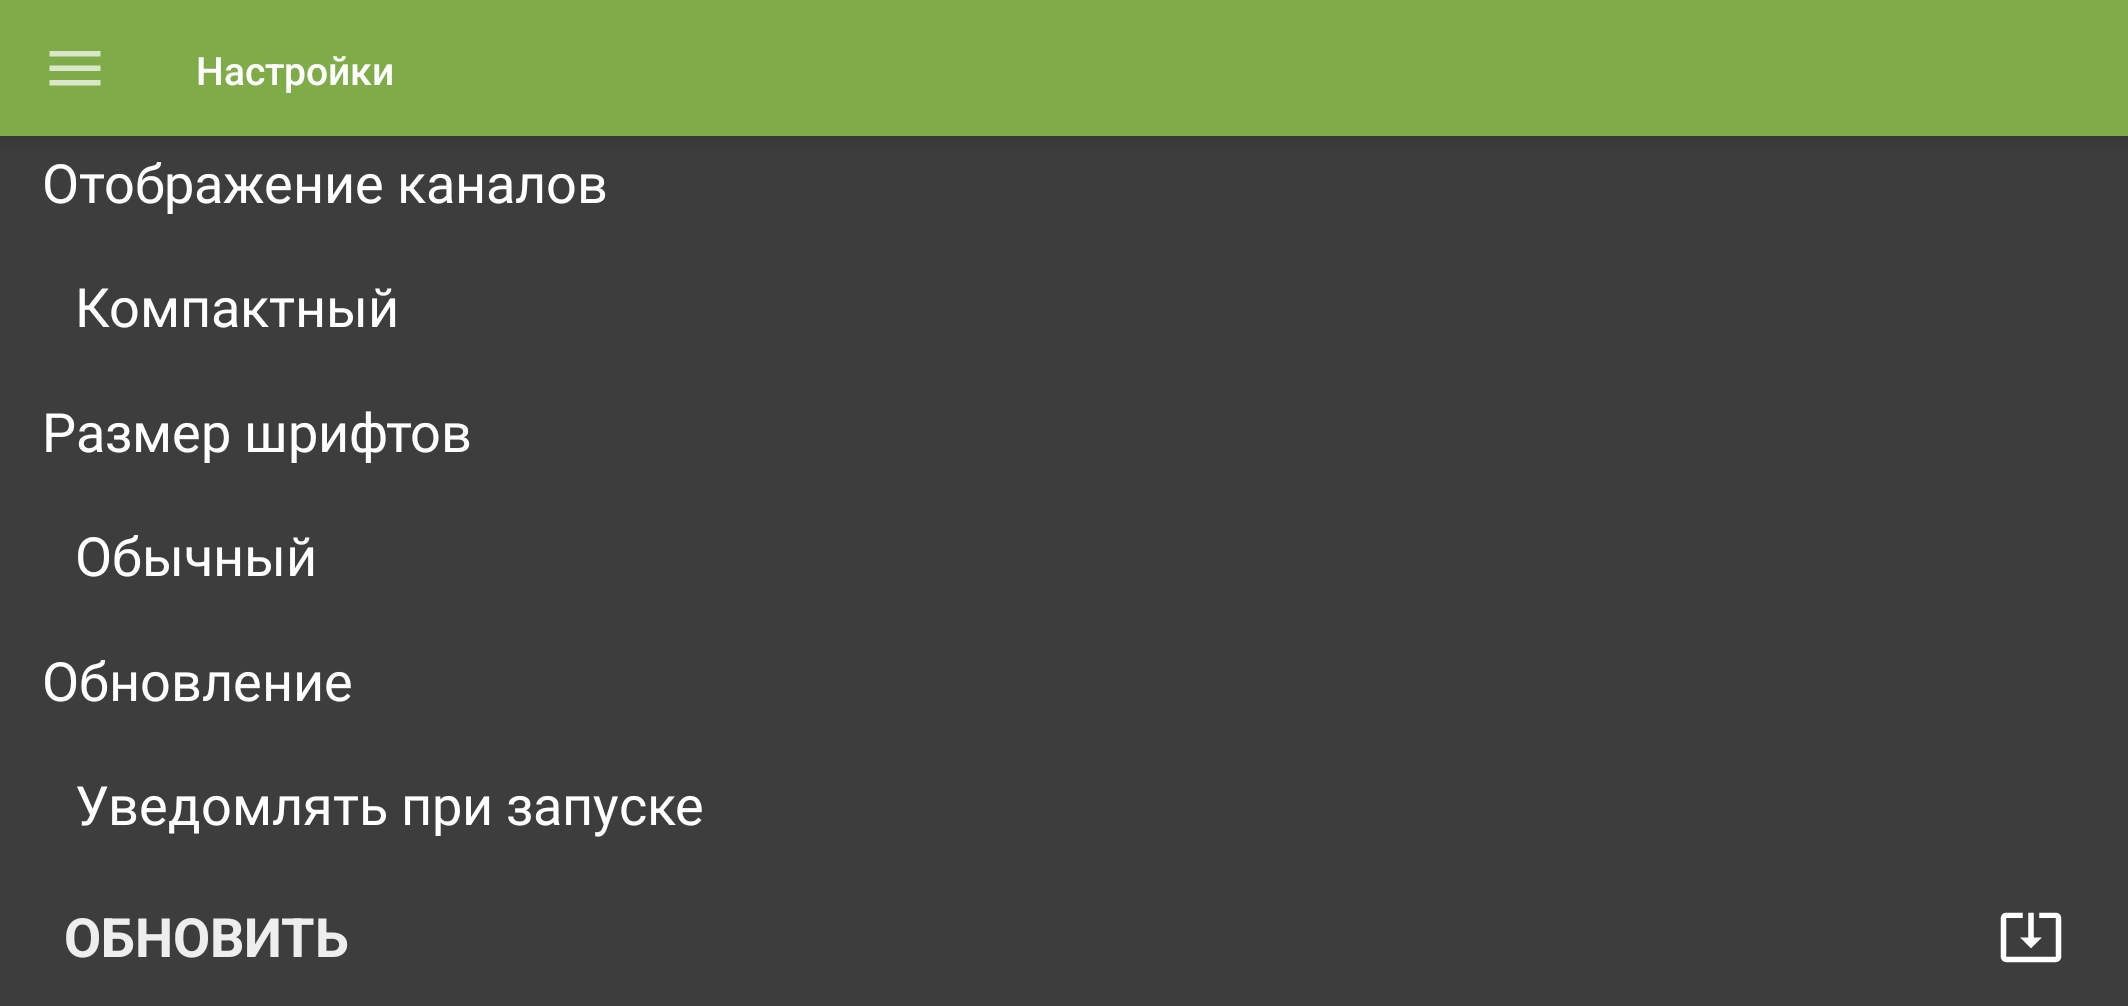
Channel-layout setting. - Choose “Large”, “Compact”, or “Thin”.
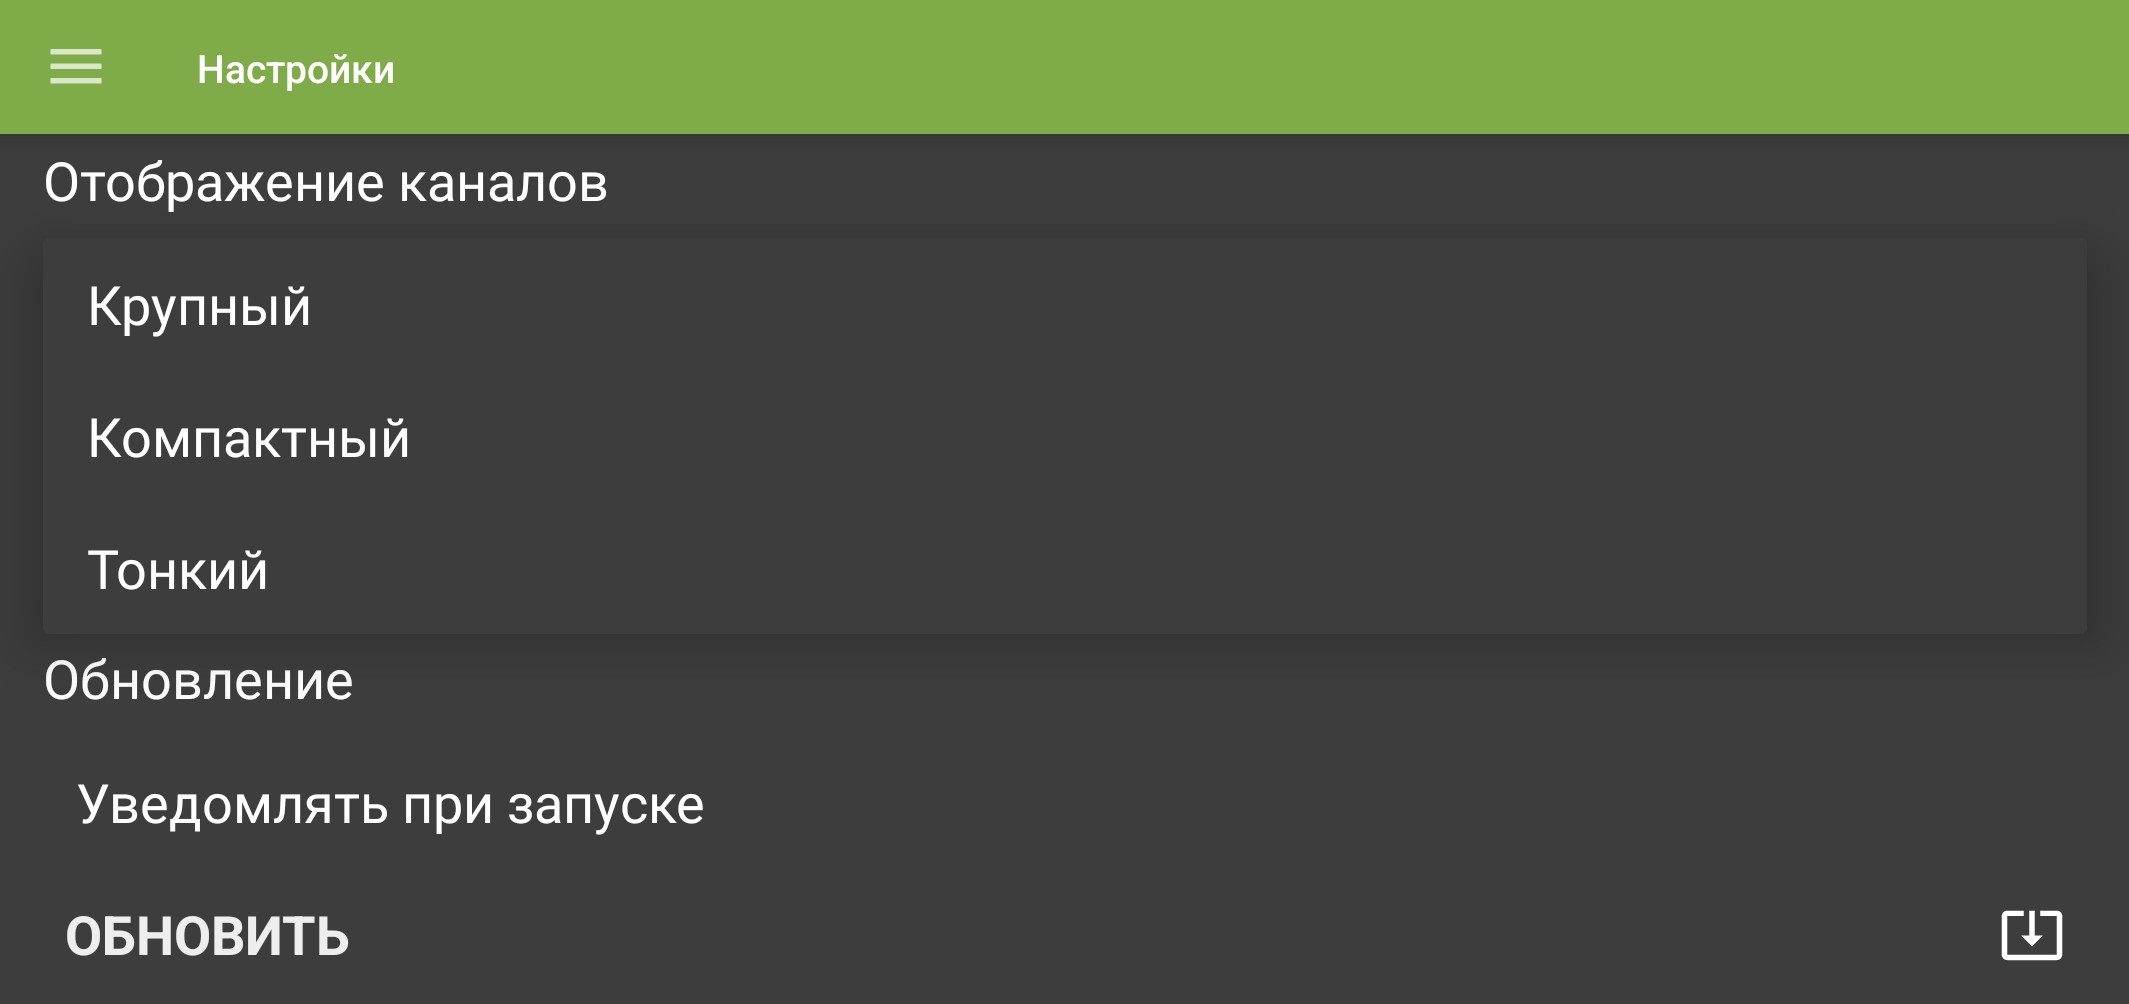
Channel layouts: “Large”, “Compact”, and “Thin”.
Font size
- Open the menu with , then select “Settings”.
“Settings” in the navigation menu. - Under “Application”, select “Text size”.
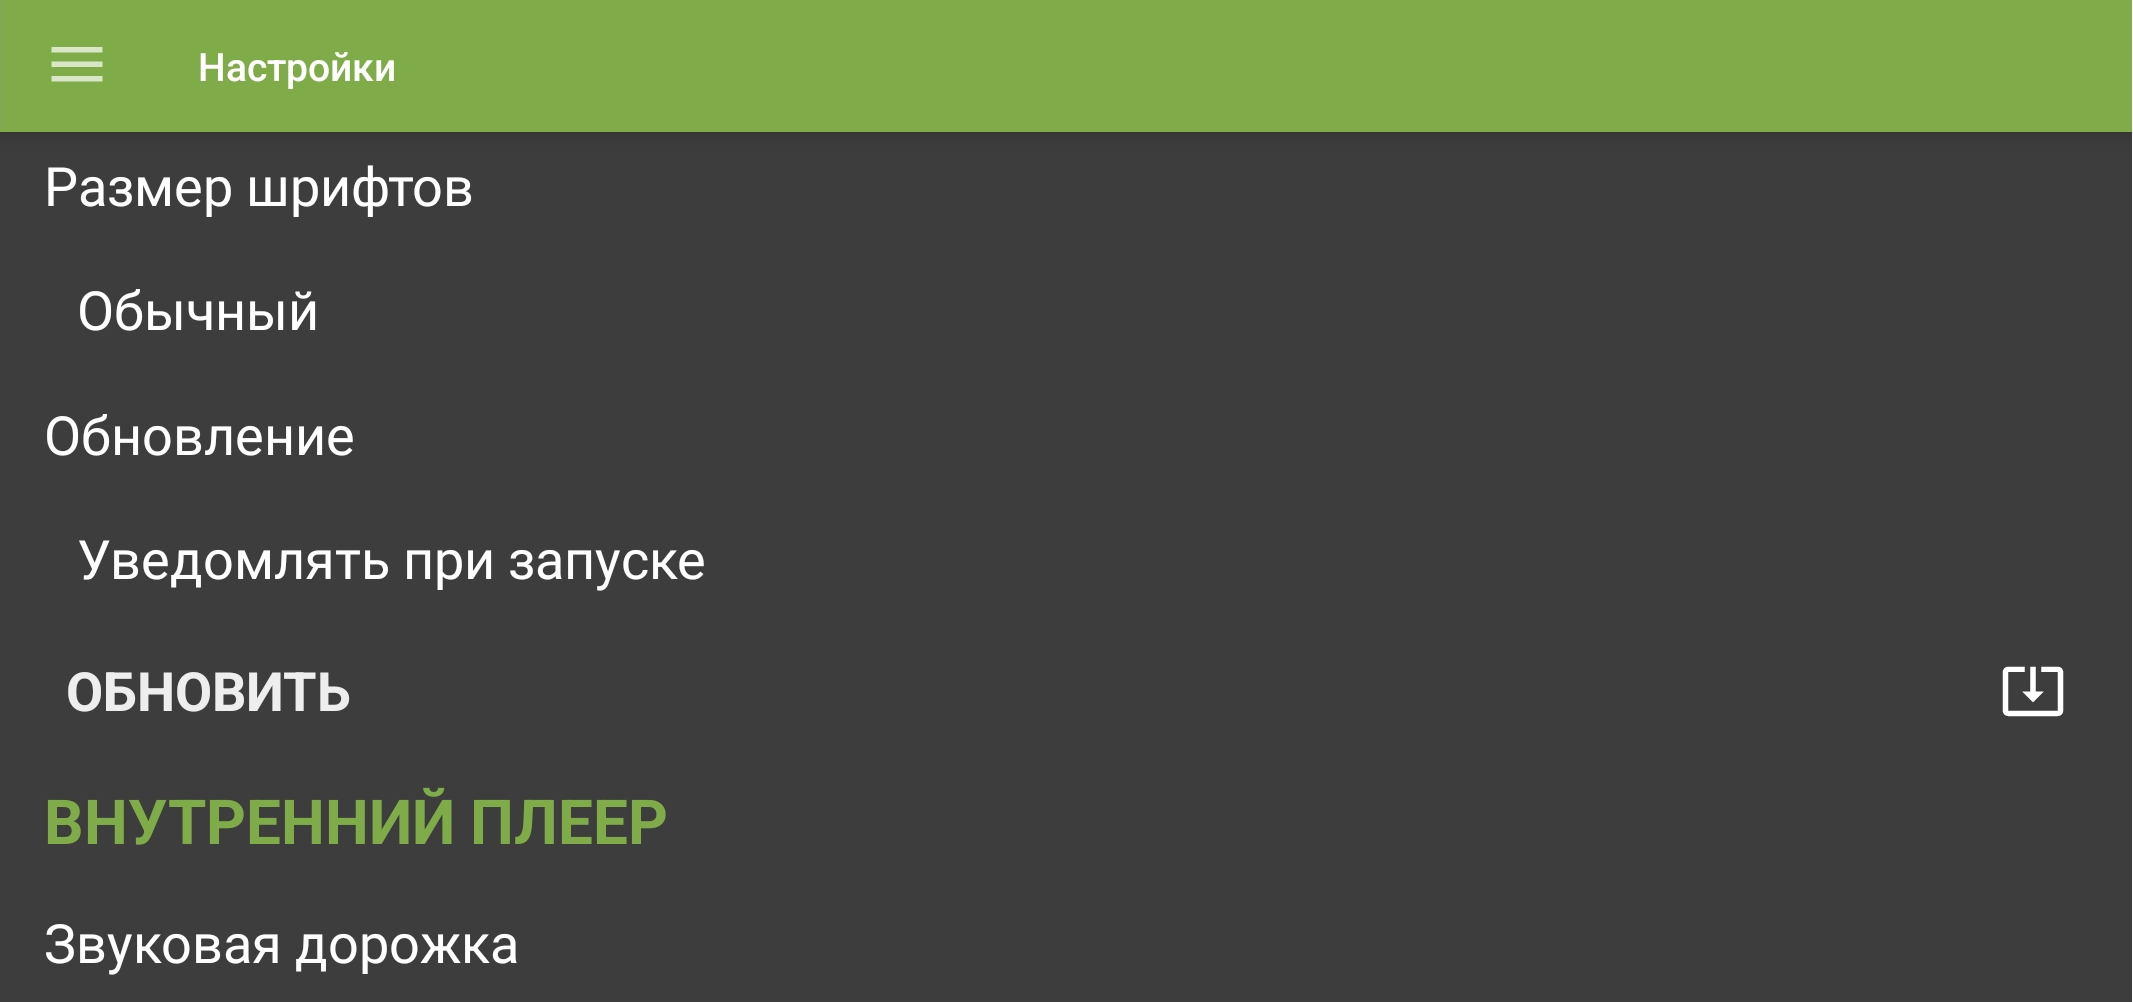
Font-size setting. - Choose “Normal”, “Large”, or “Huge”.
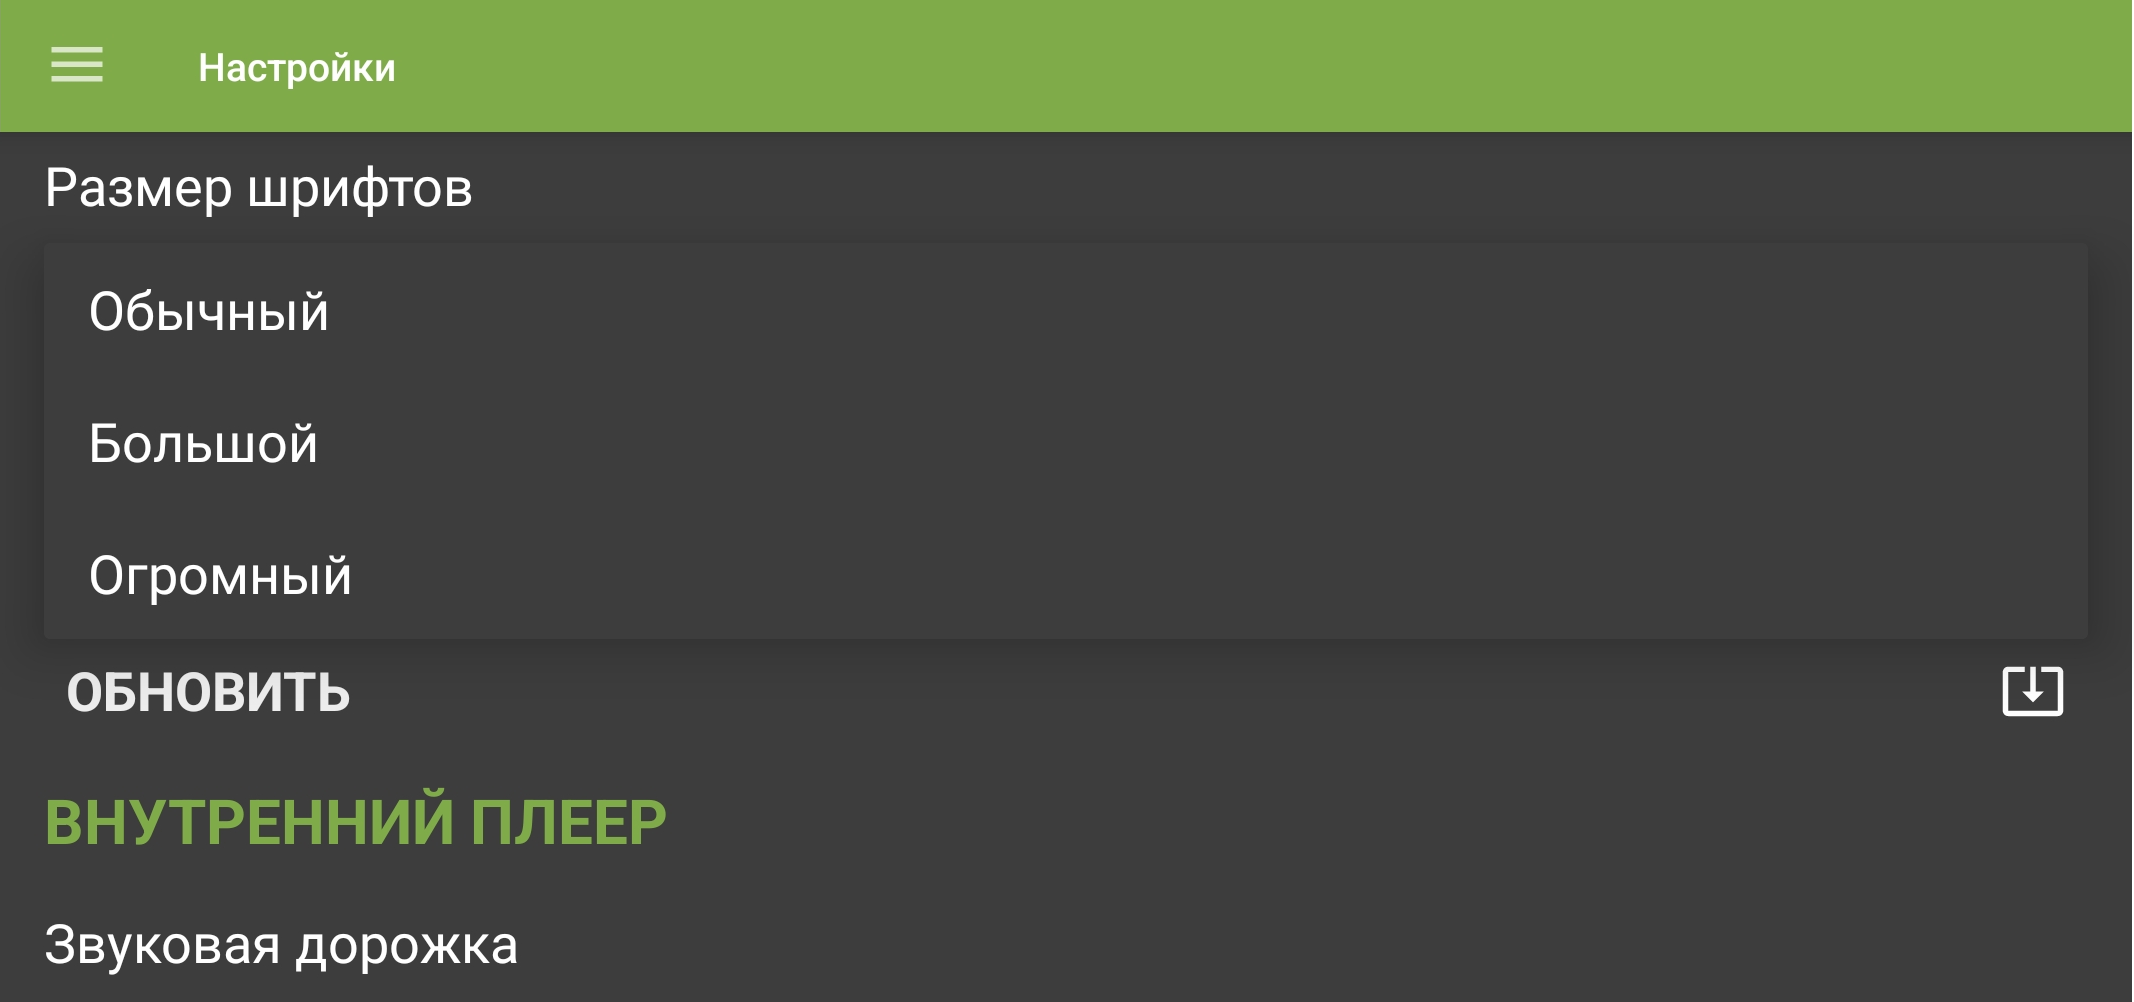
Font sizes: “Normal”, “Large”, and “Huge”.
App updates
- Open the menu with , then select “Settings”.
“Settings” in the navigation menu. - Under “Application”, select “Update”.
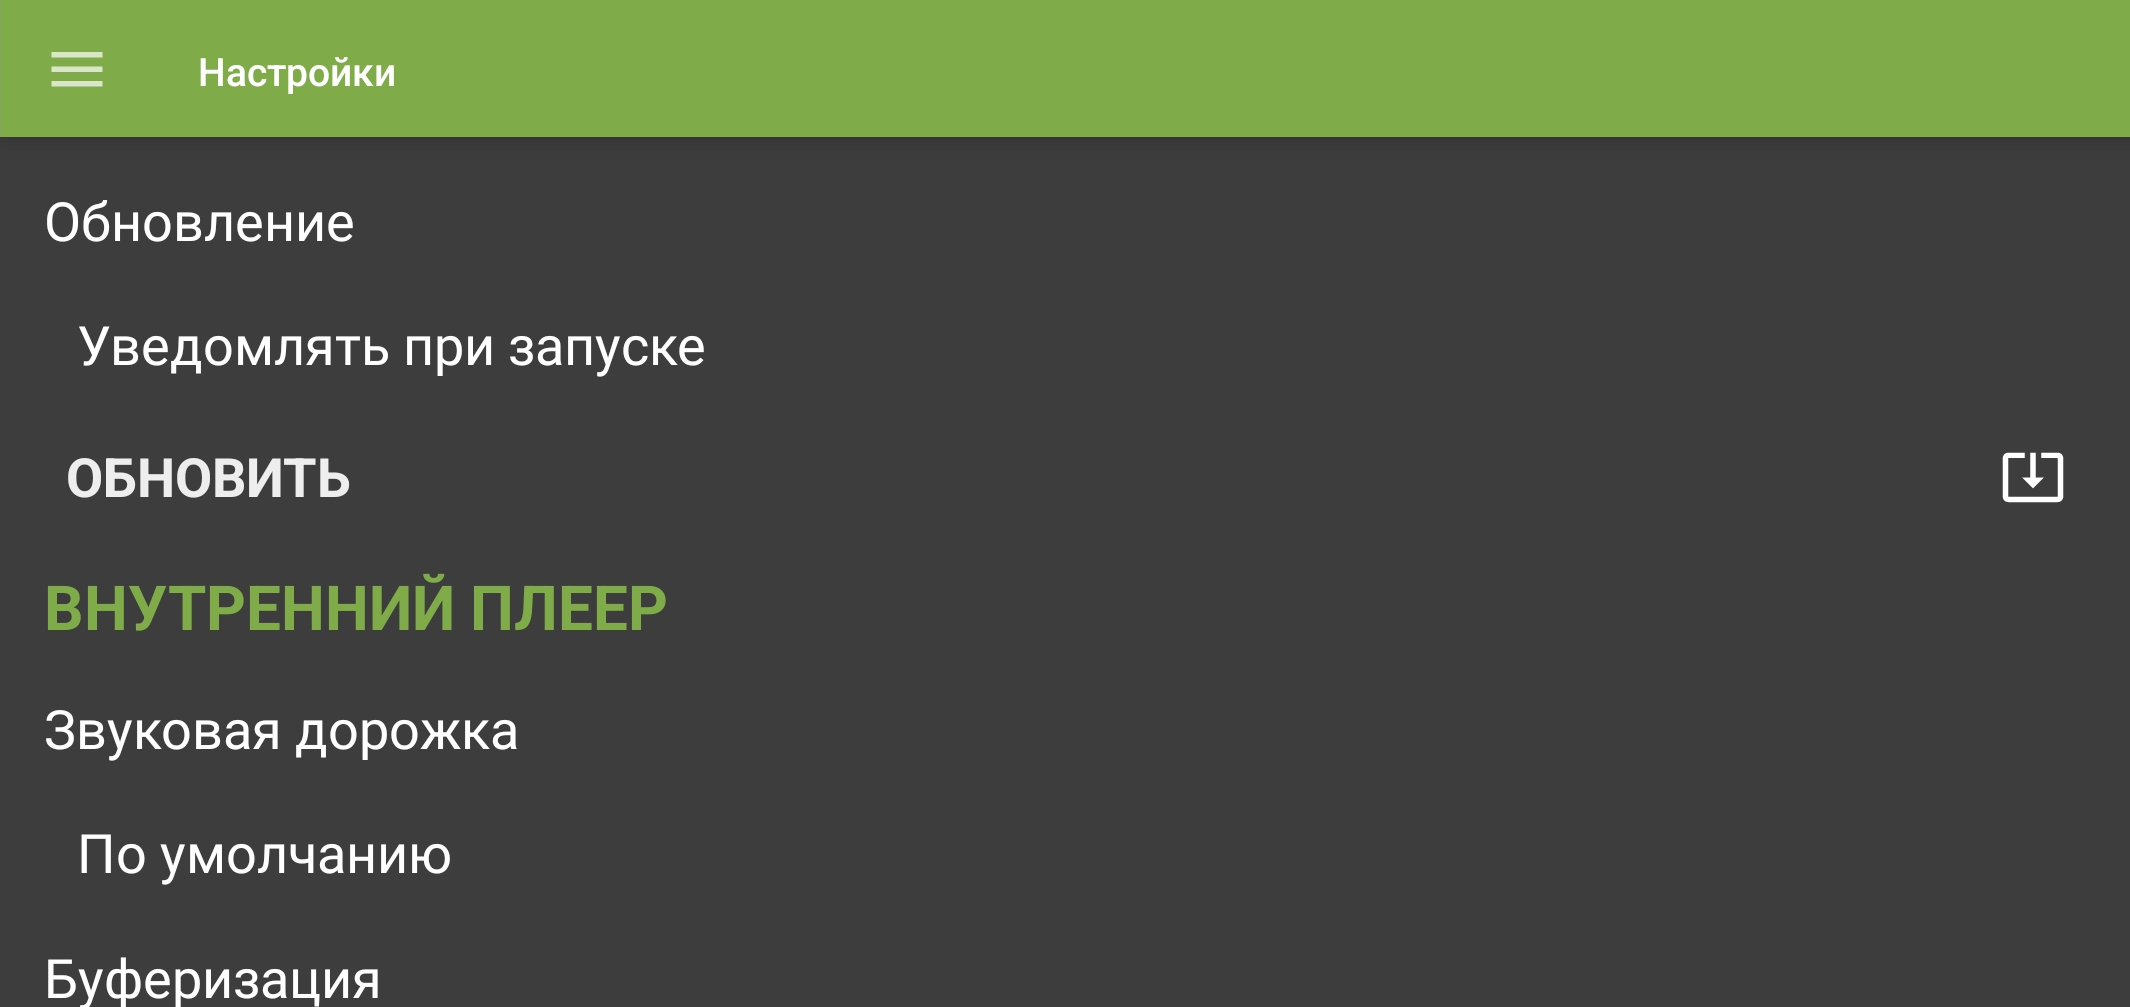
App-update setting. - Choose “Install on start” to start the system update flow the next time the app opens, or “Notify on start” to receive a notification without starting installation. To check manually, select “Check update”.
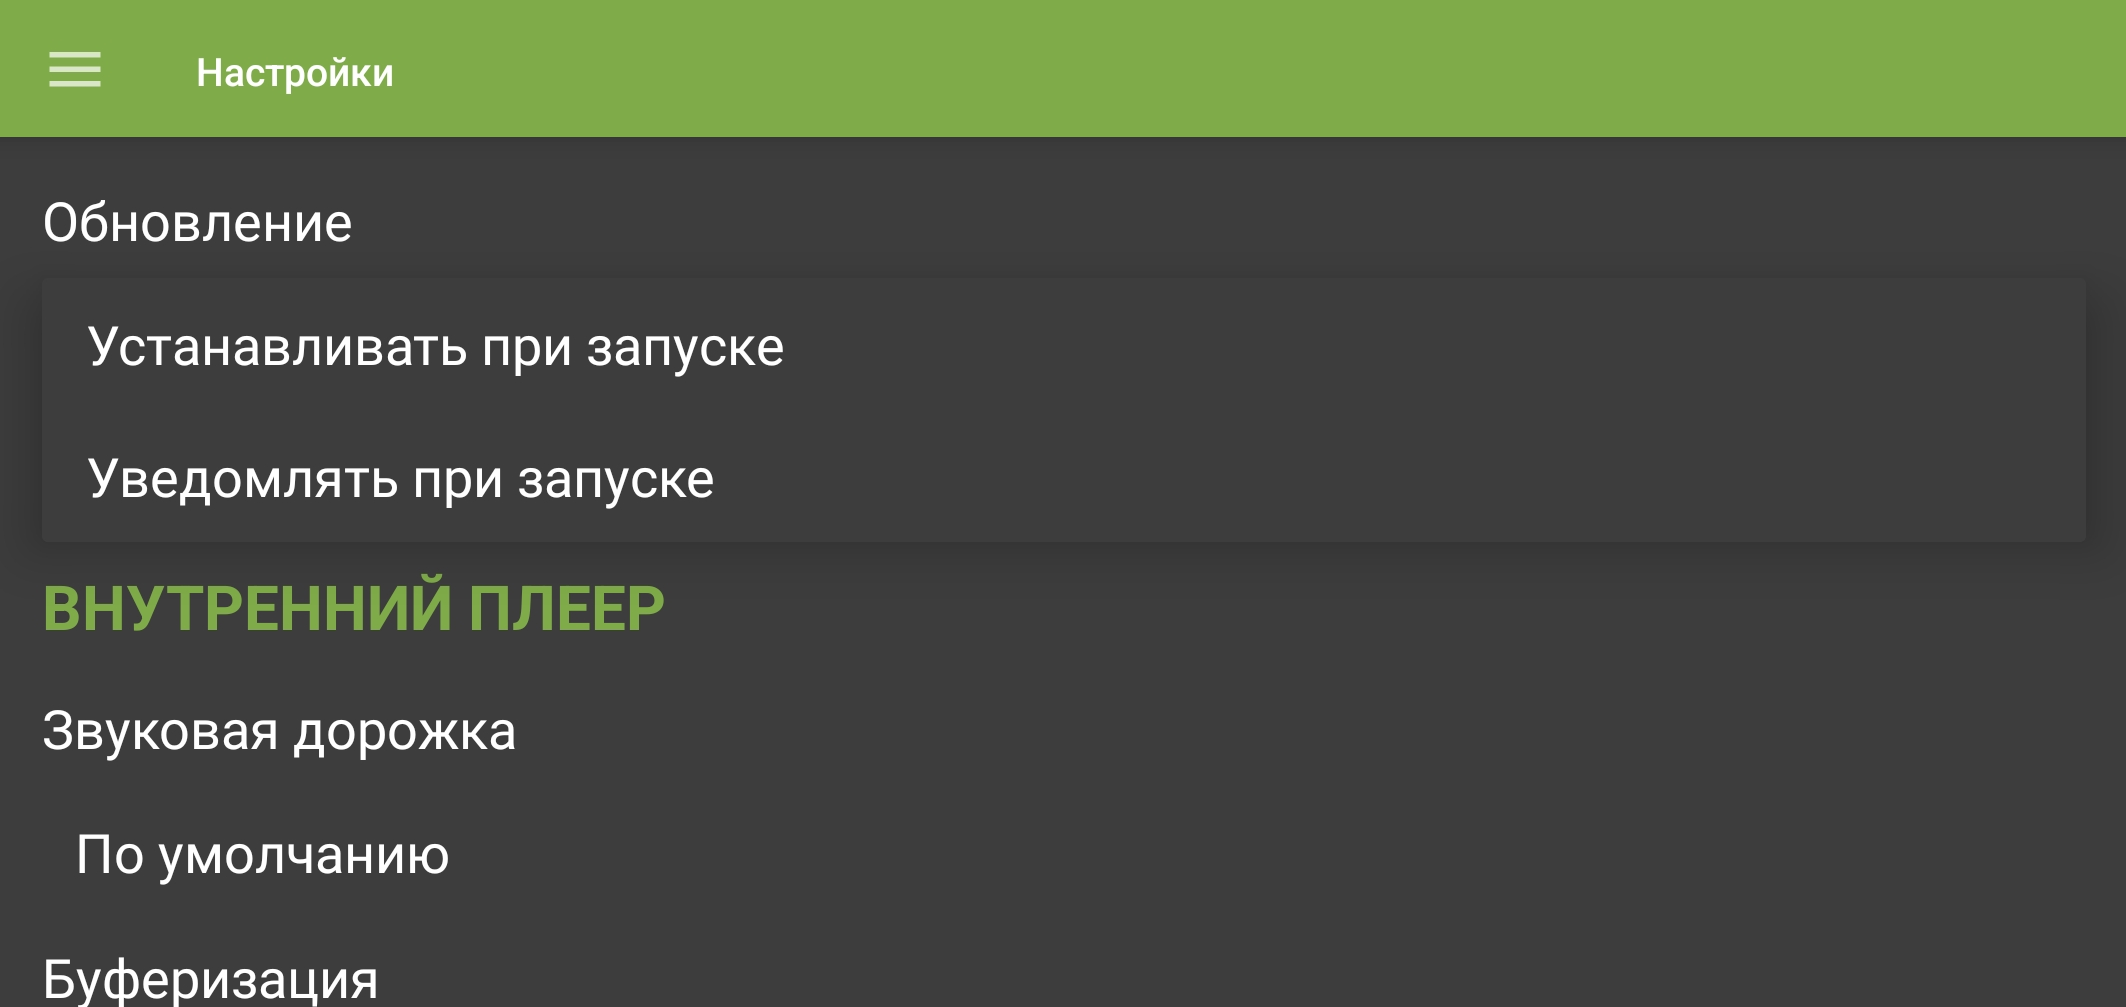
Update modes used when the app starts.
Select priority audio track
- Open the menu with , then select “Settings”.
“Settings” in the navigation menu. - Under “Playback”, select “Audio track”.
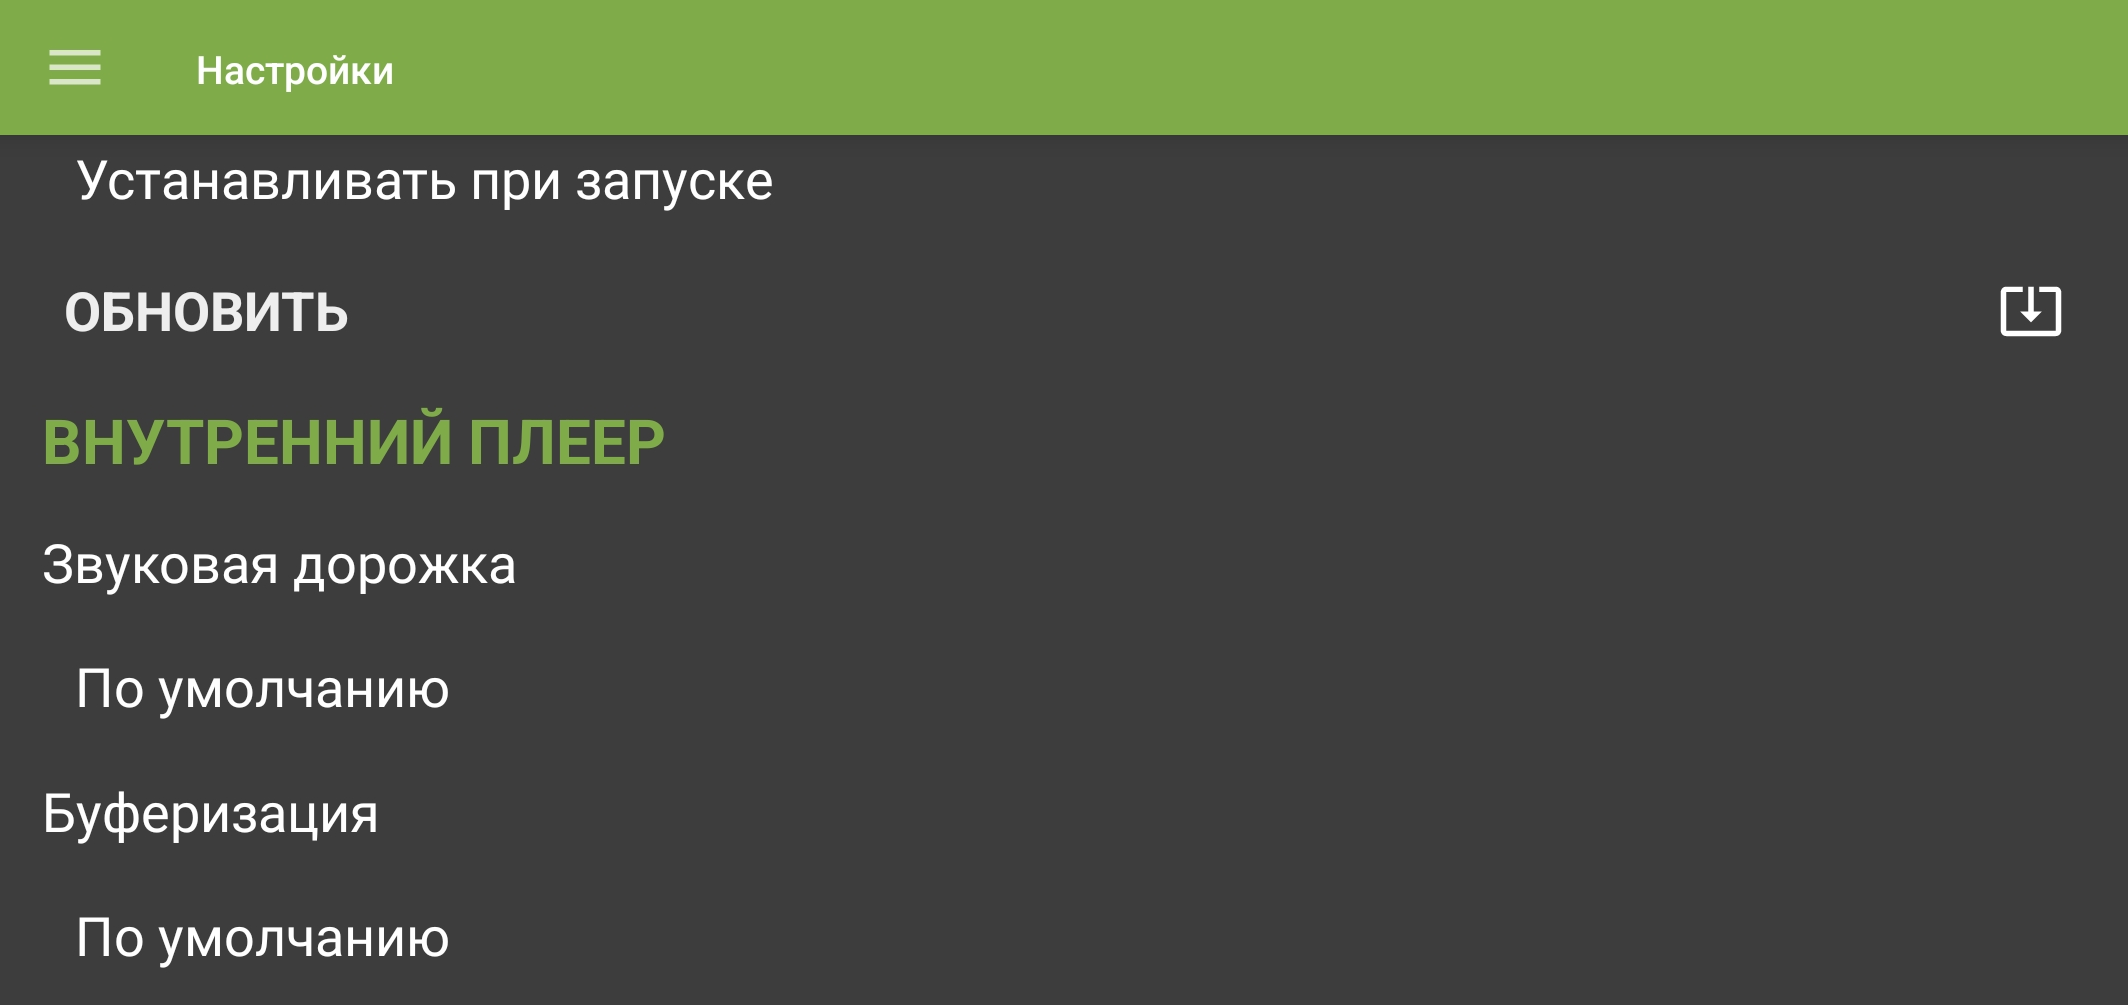
Preferred audio-track setting. - Choose the preferred language.
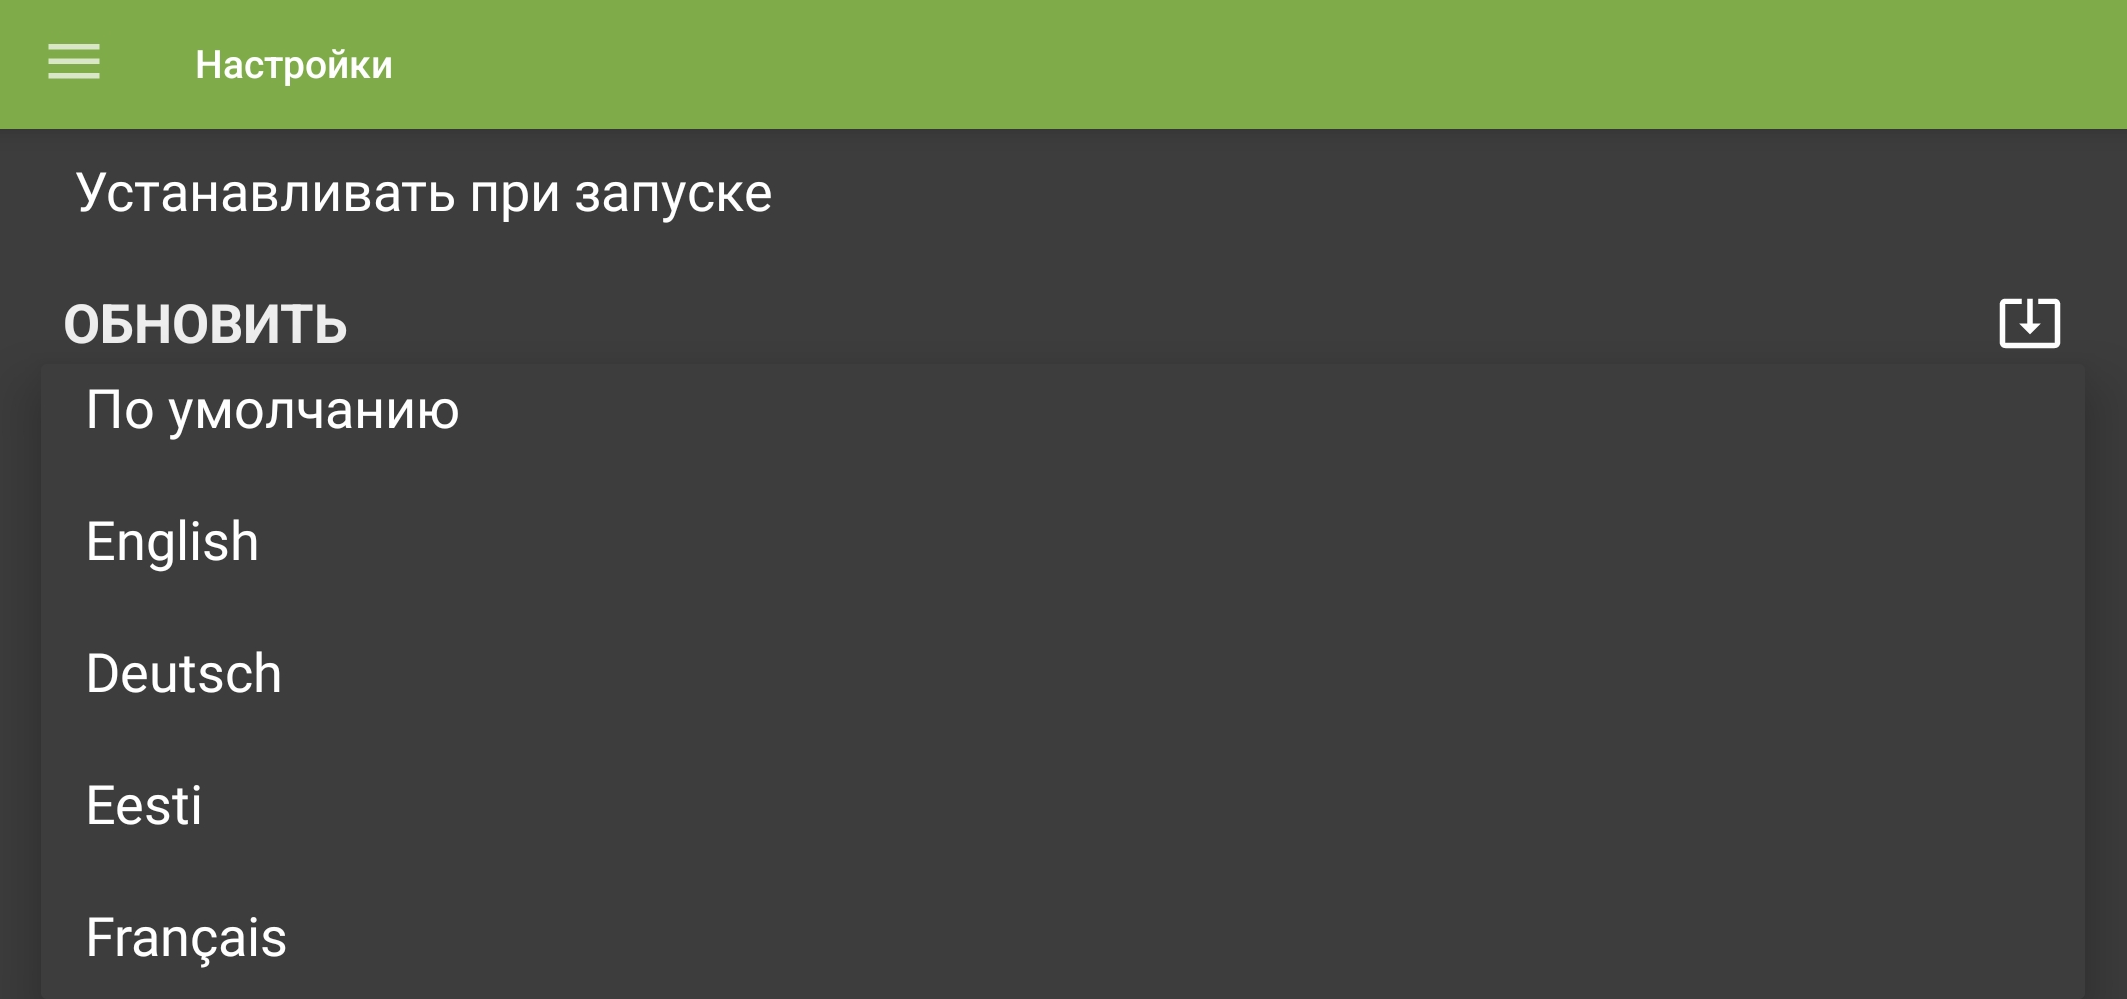
Languages available for the preferred audio track.
Buffering
- Open the menu with , then select “Settings”.
“Settings” in the navigation menu. - Under “Playback”, select “Buffering”.
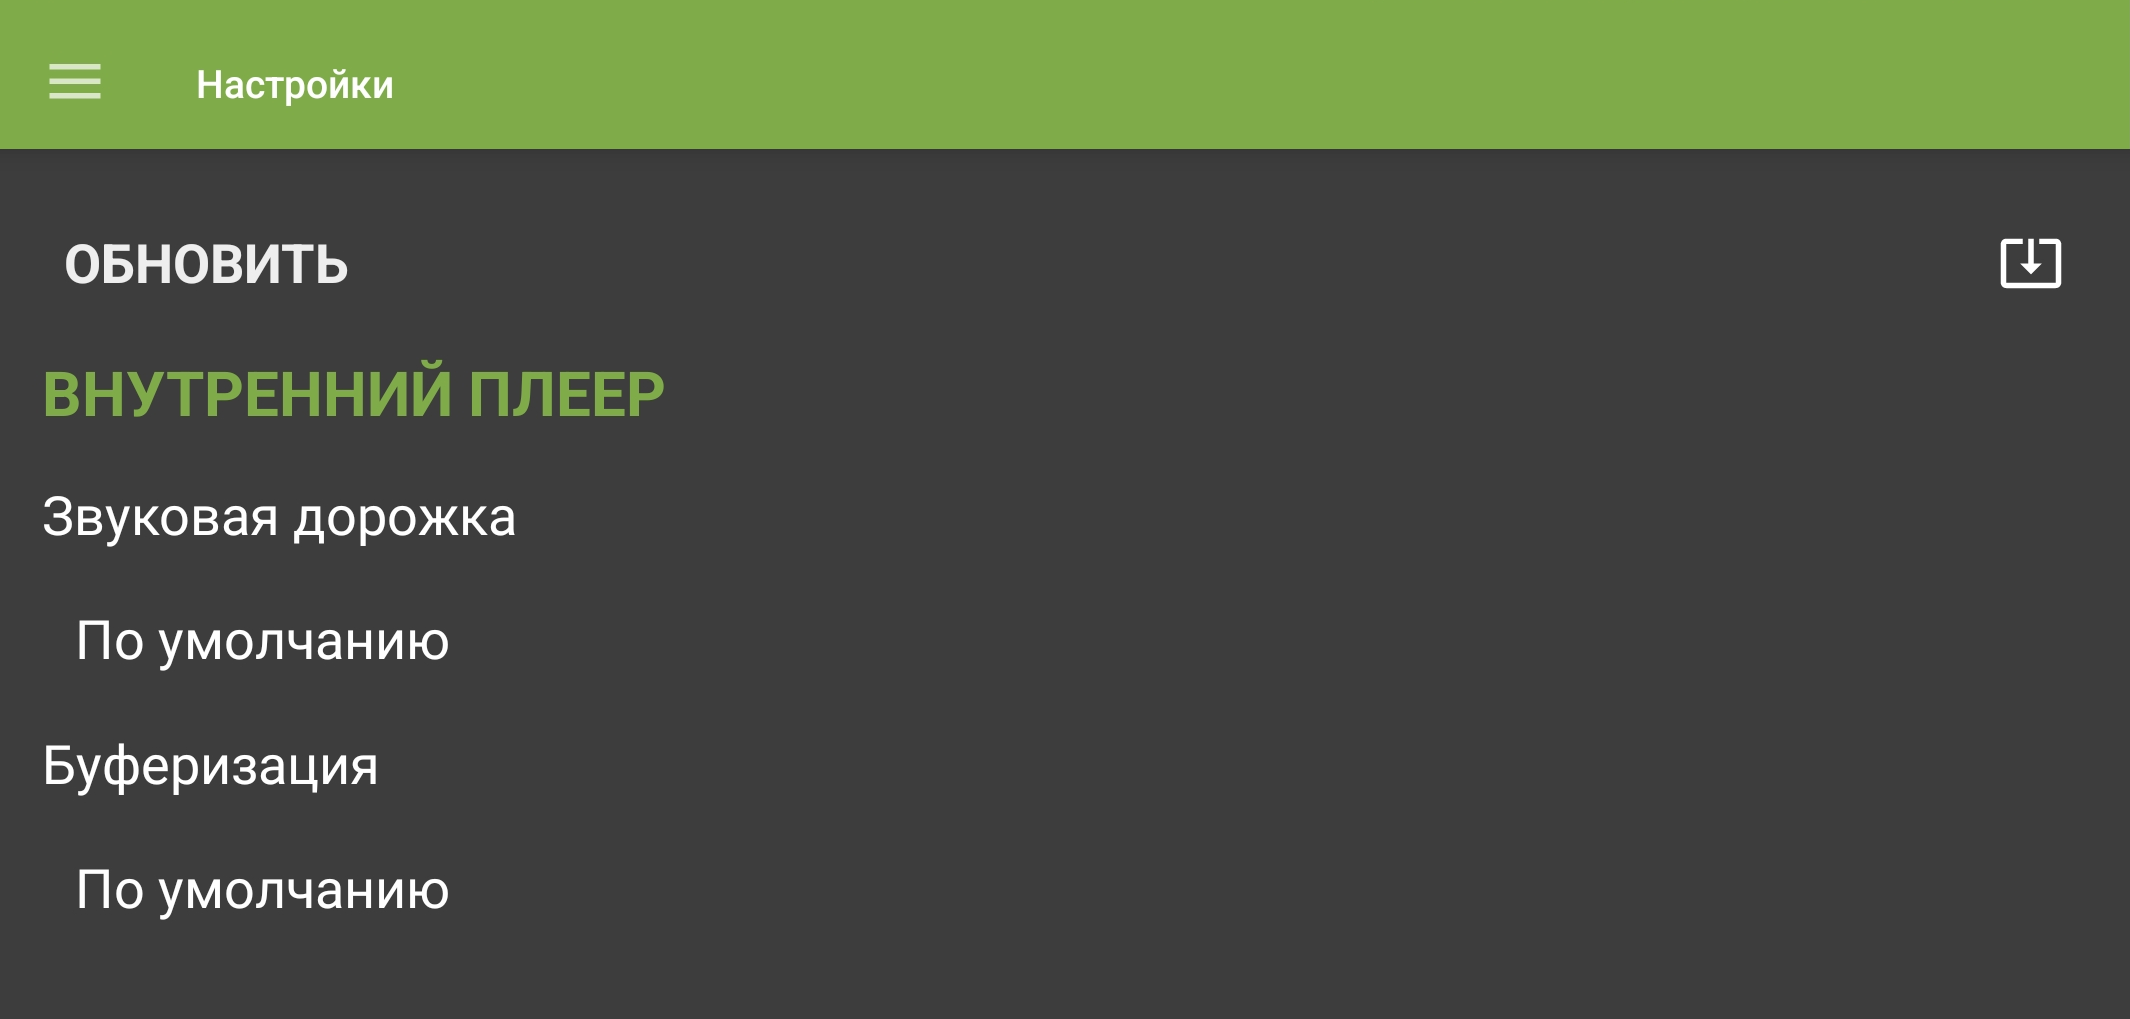
Internal-player buffering setting. - Choose “Default”, “1 sec”, “1.5 sec”, “2 sec”, “2.5 sec”, “3 sec”, “5 sec”, “8 sec”, “10 sec”, “12 sec”, or “15 sec”.
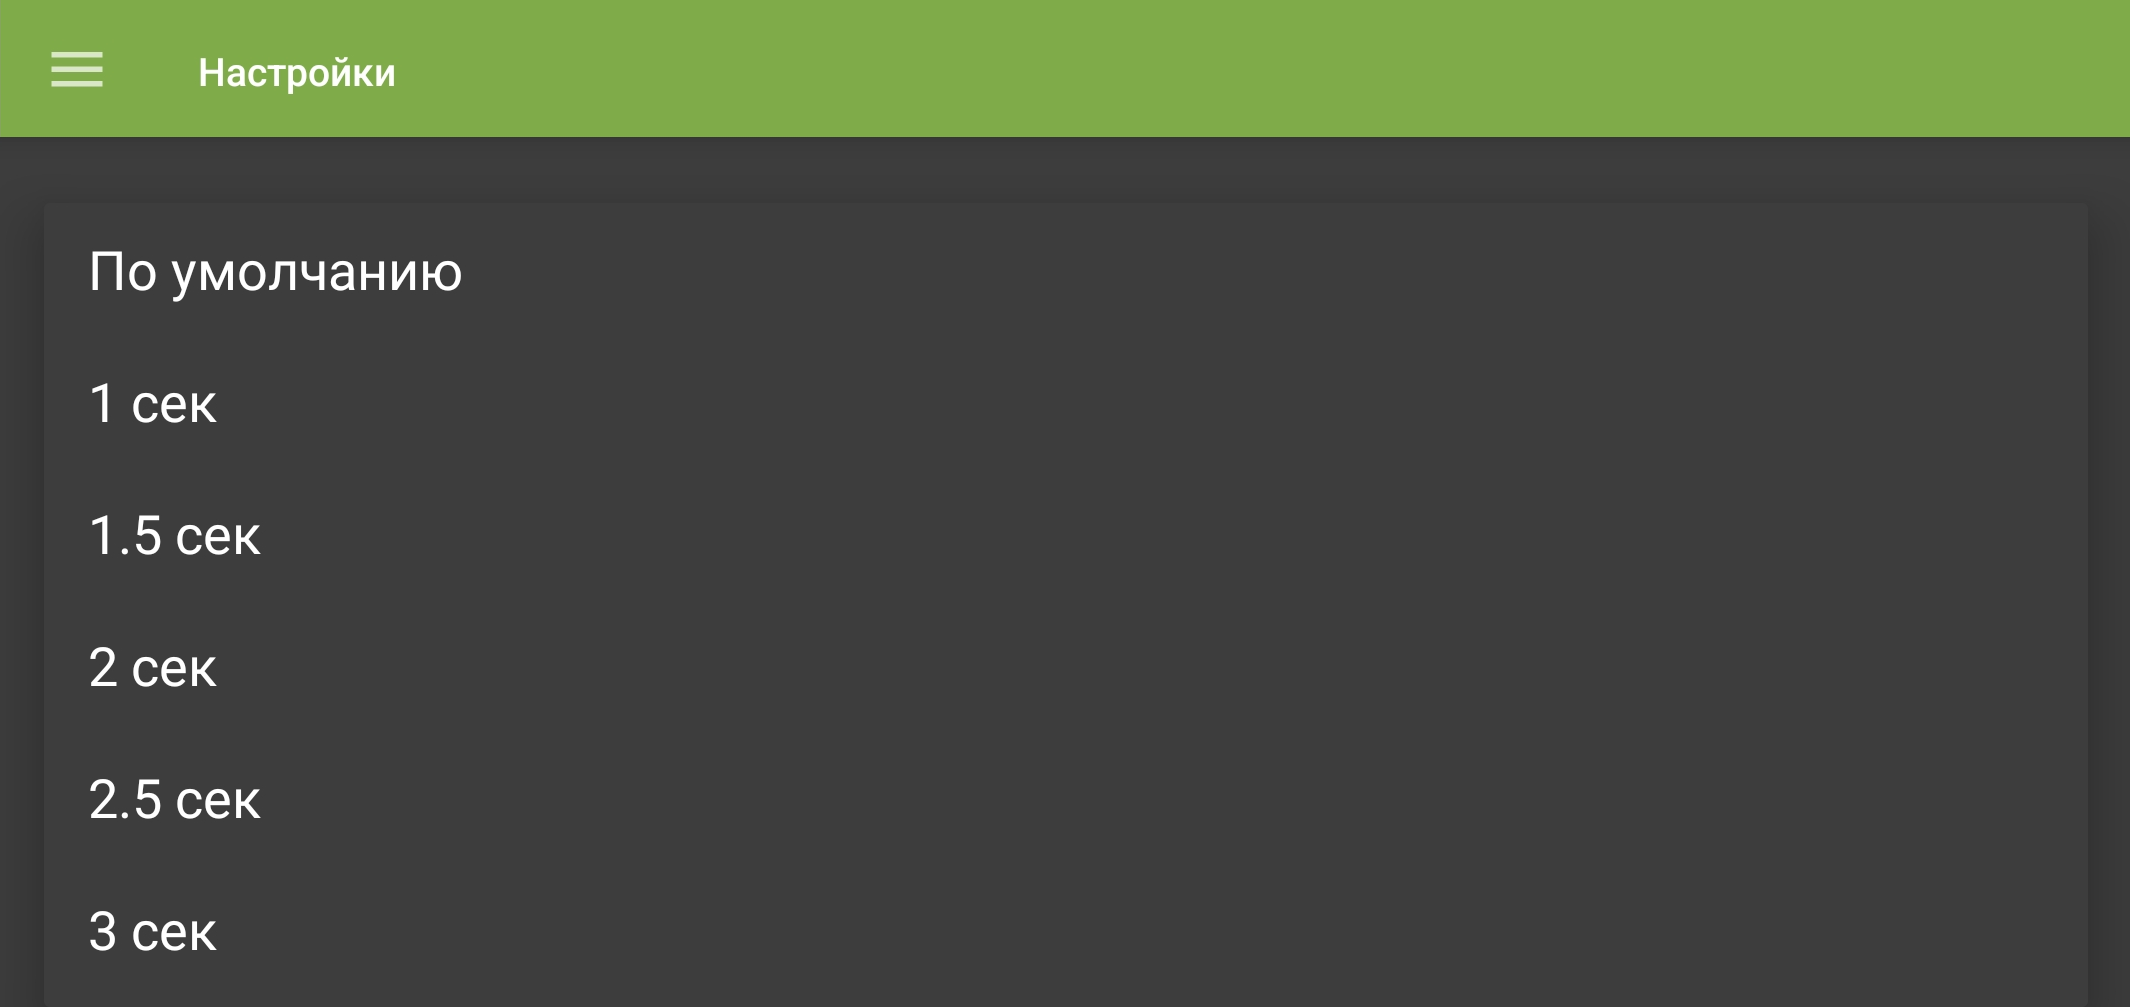
Available buffering durations.
Watching channels and catch-up in the mobile app
- Select , then choose a channel group.
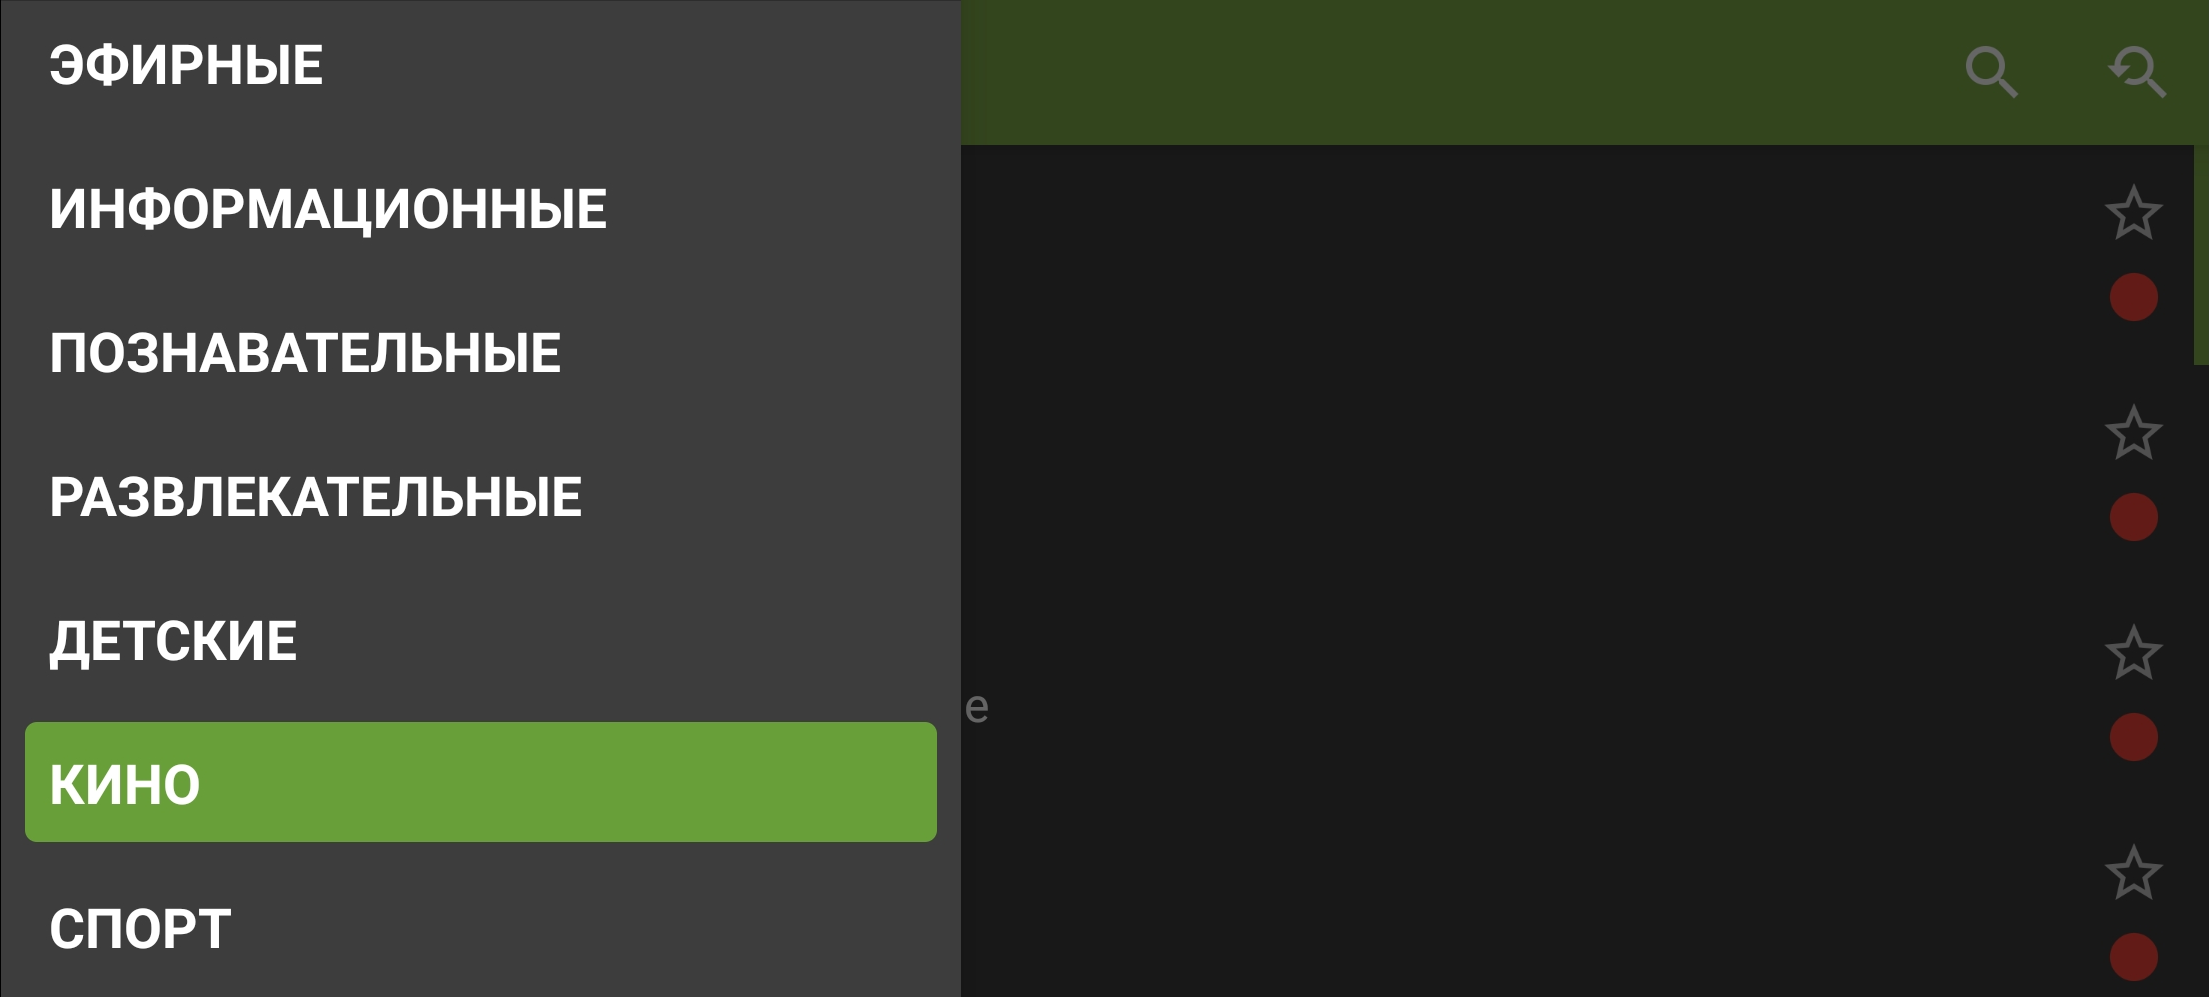
Choose a channel group. - A list of channels for this group will open. Select a channel.
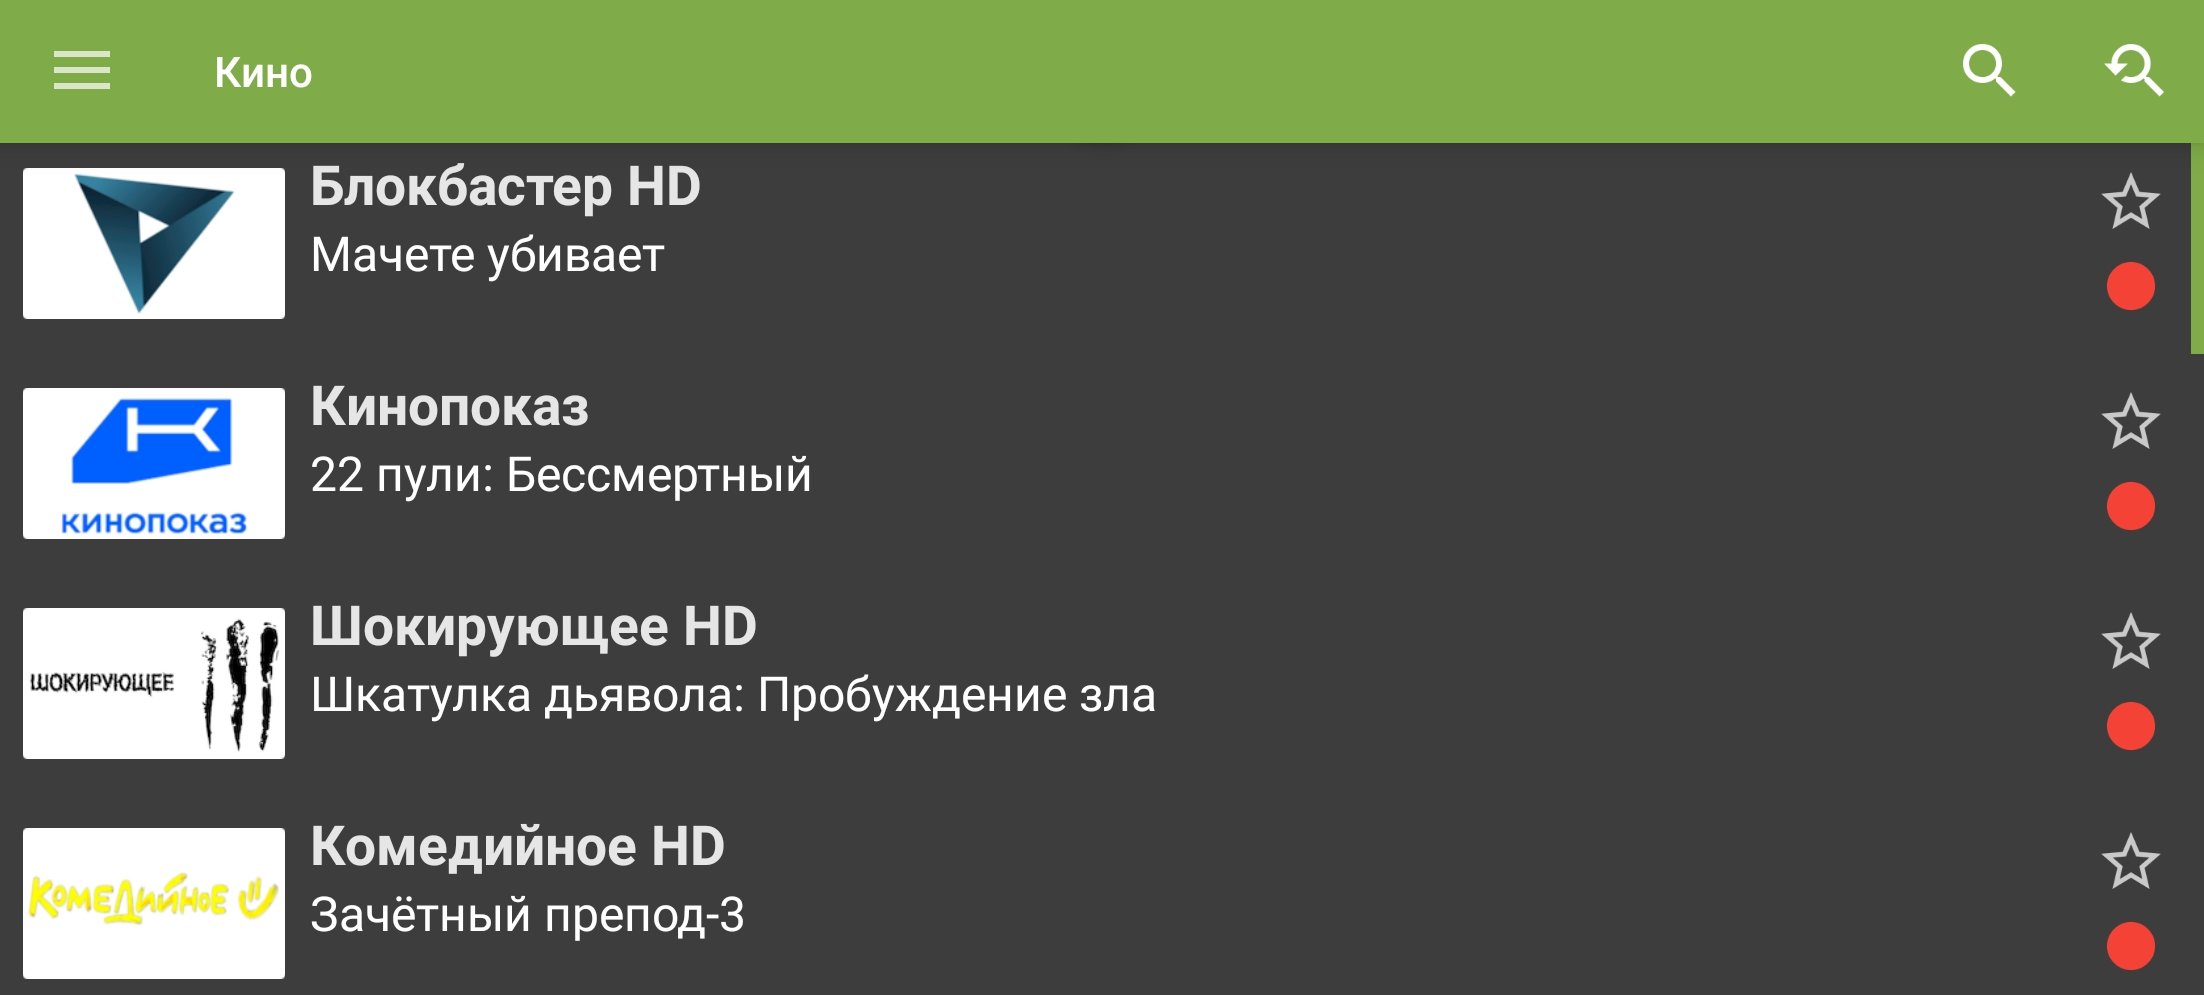
Watching channels, programme guide and catch-up archive: selected group channel list. - The programme guide for the selected channel opens.
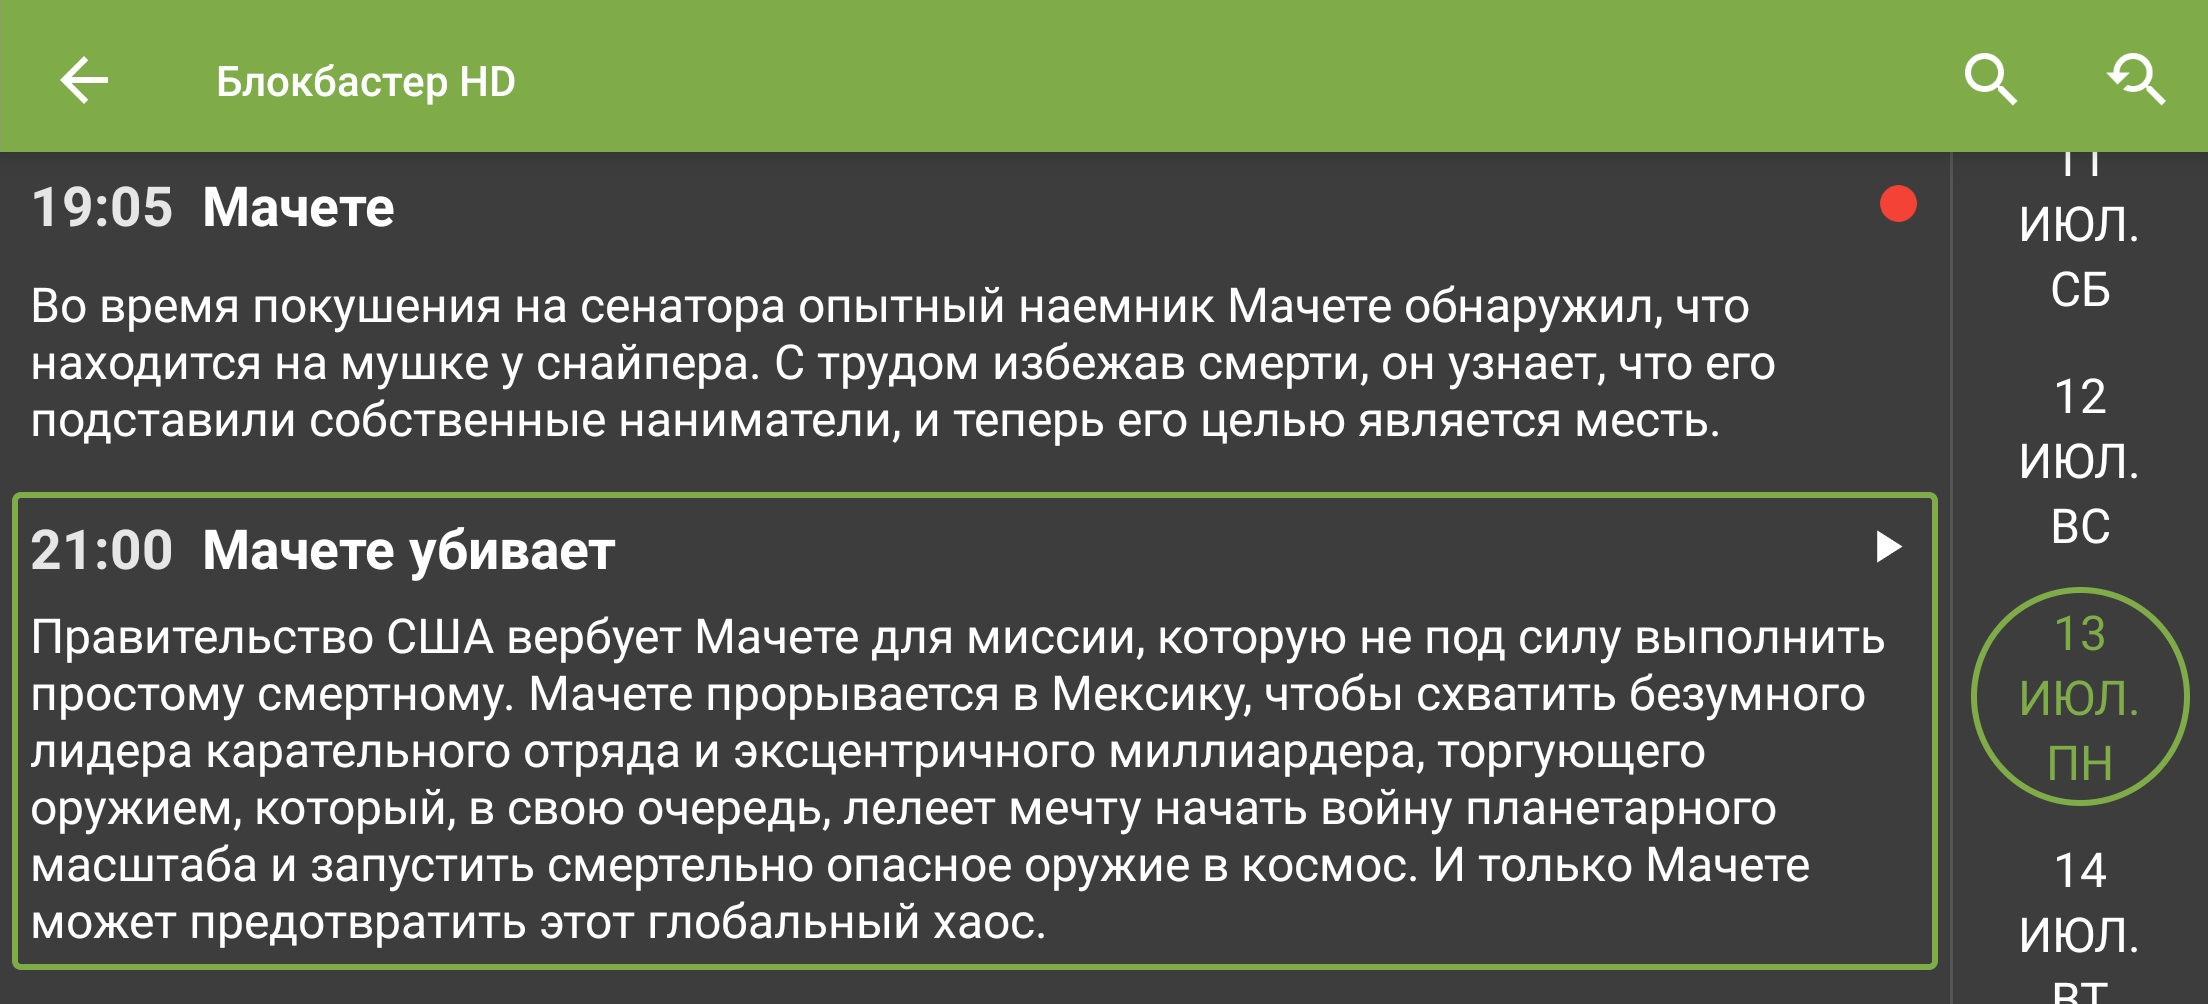
Watching channels, programme guide and catch-up archive: selected channel programme guide.
View the programme guide
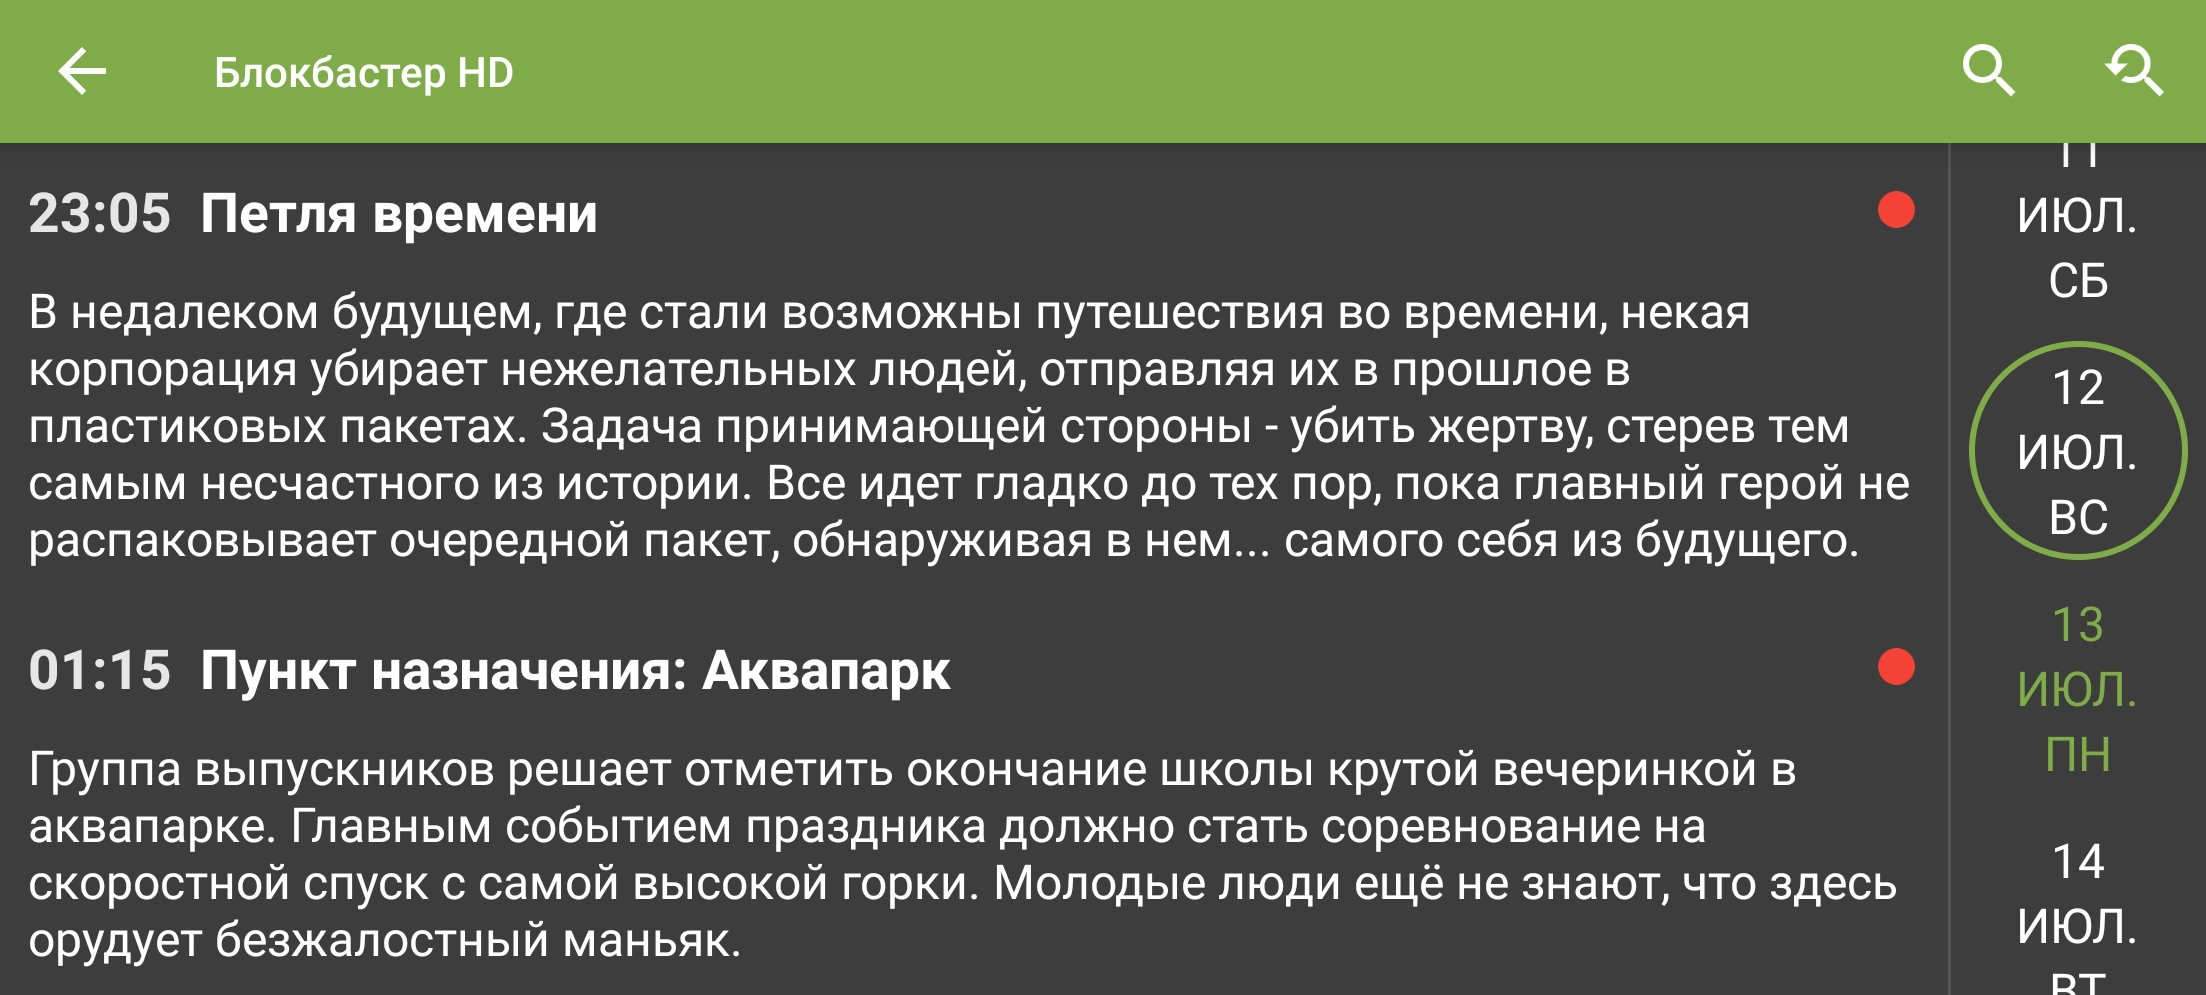
To view the programme guide, select the required day on the right-hand side of the screen.
Watch the current programme
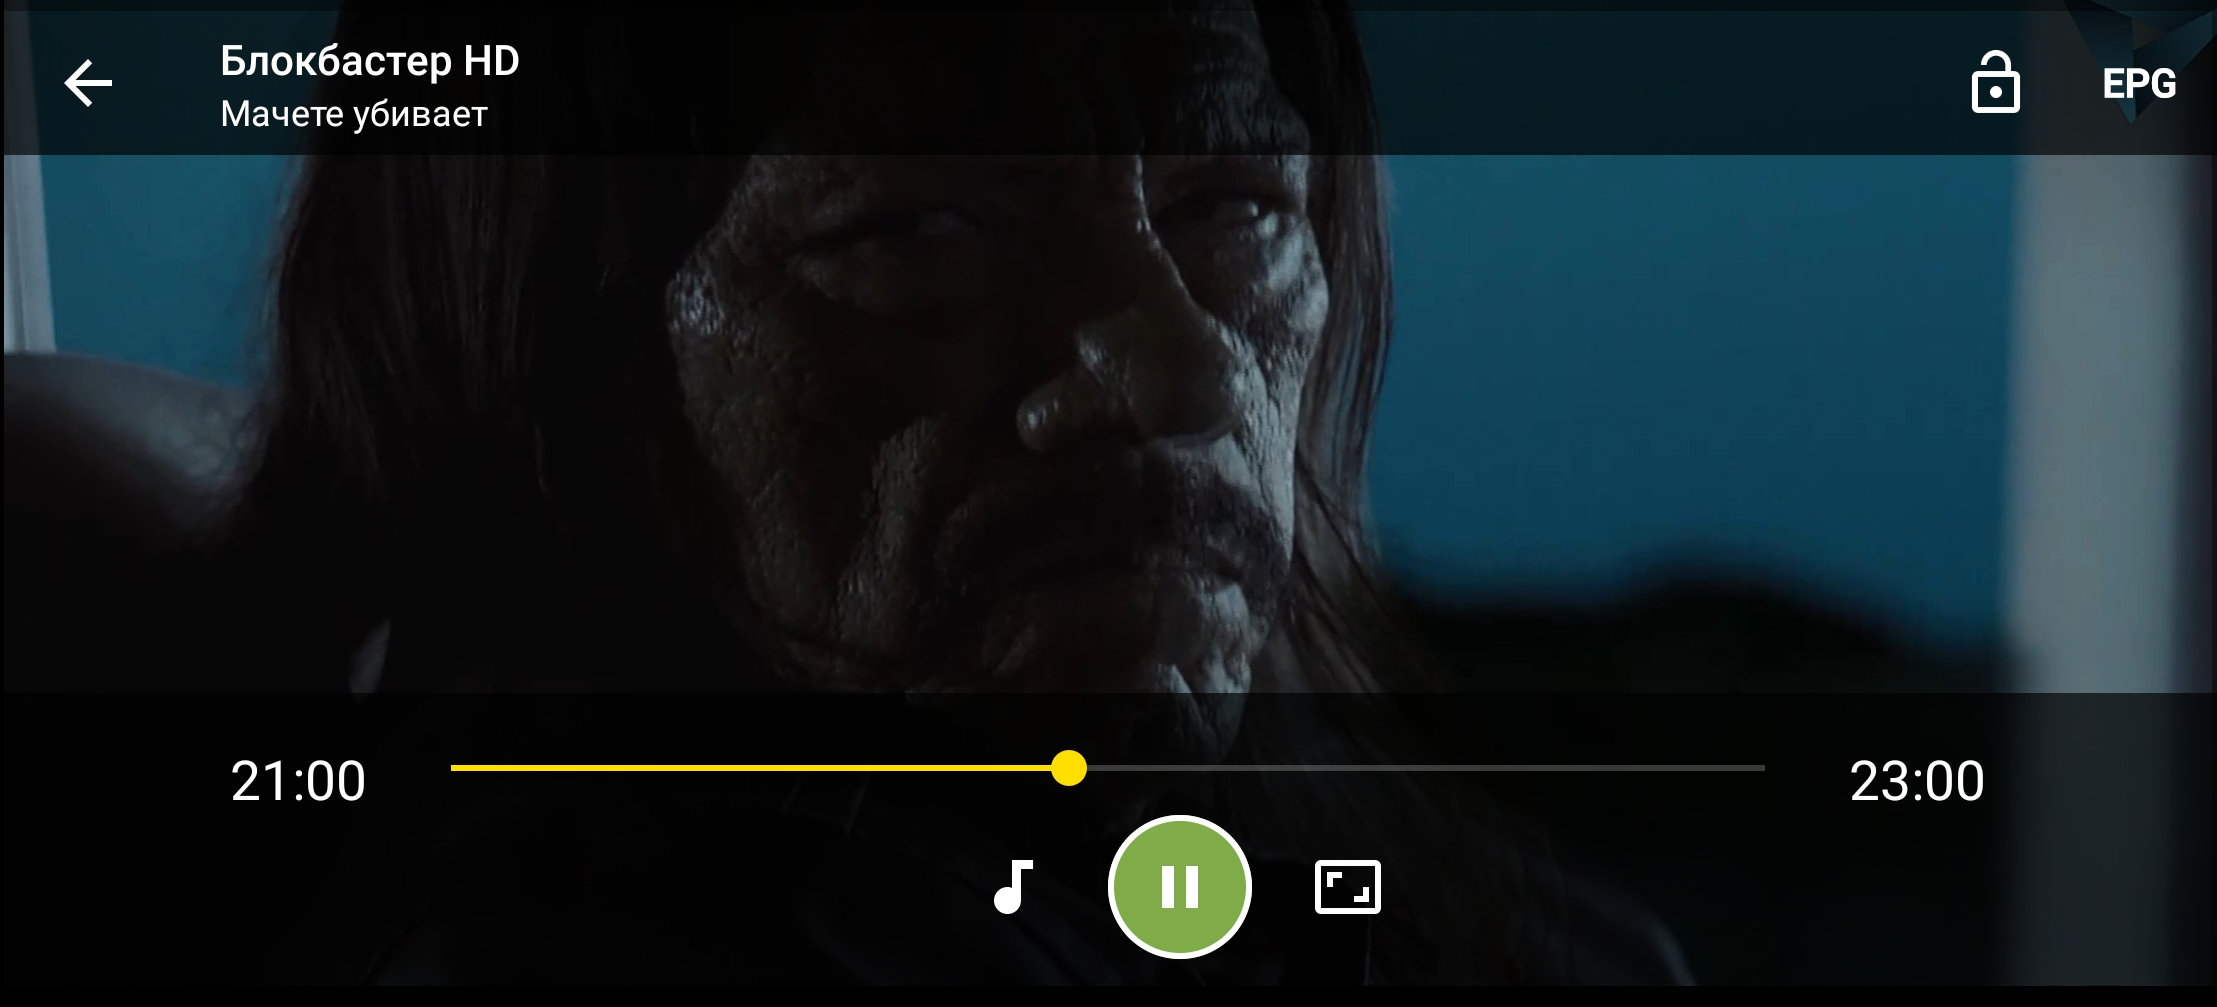
To watch the current programme, select the row marked with  . Playback starts immediately.
Watch a catch-up recording
Recorded programmes are available on channels marked with  . To open a recording, select a programme with the same .
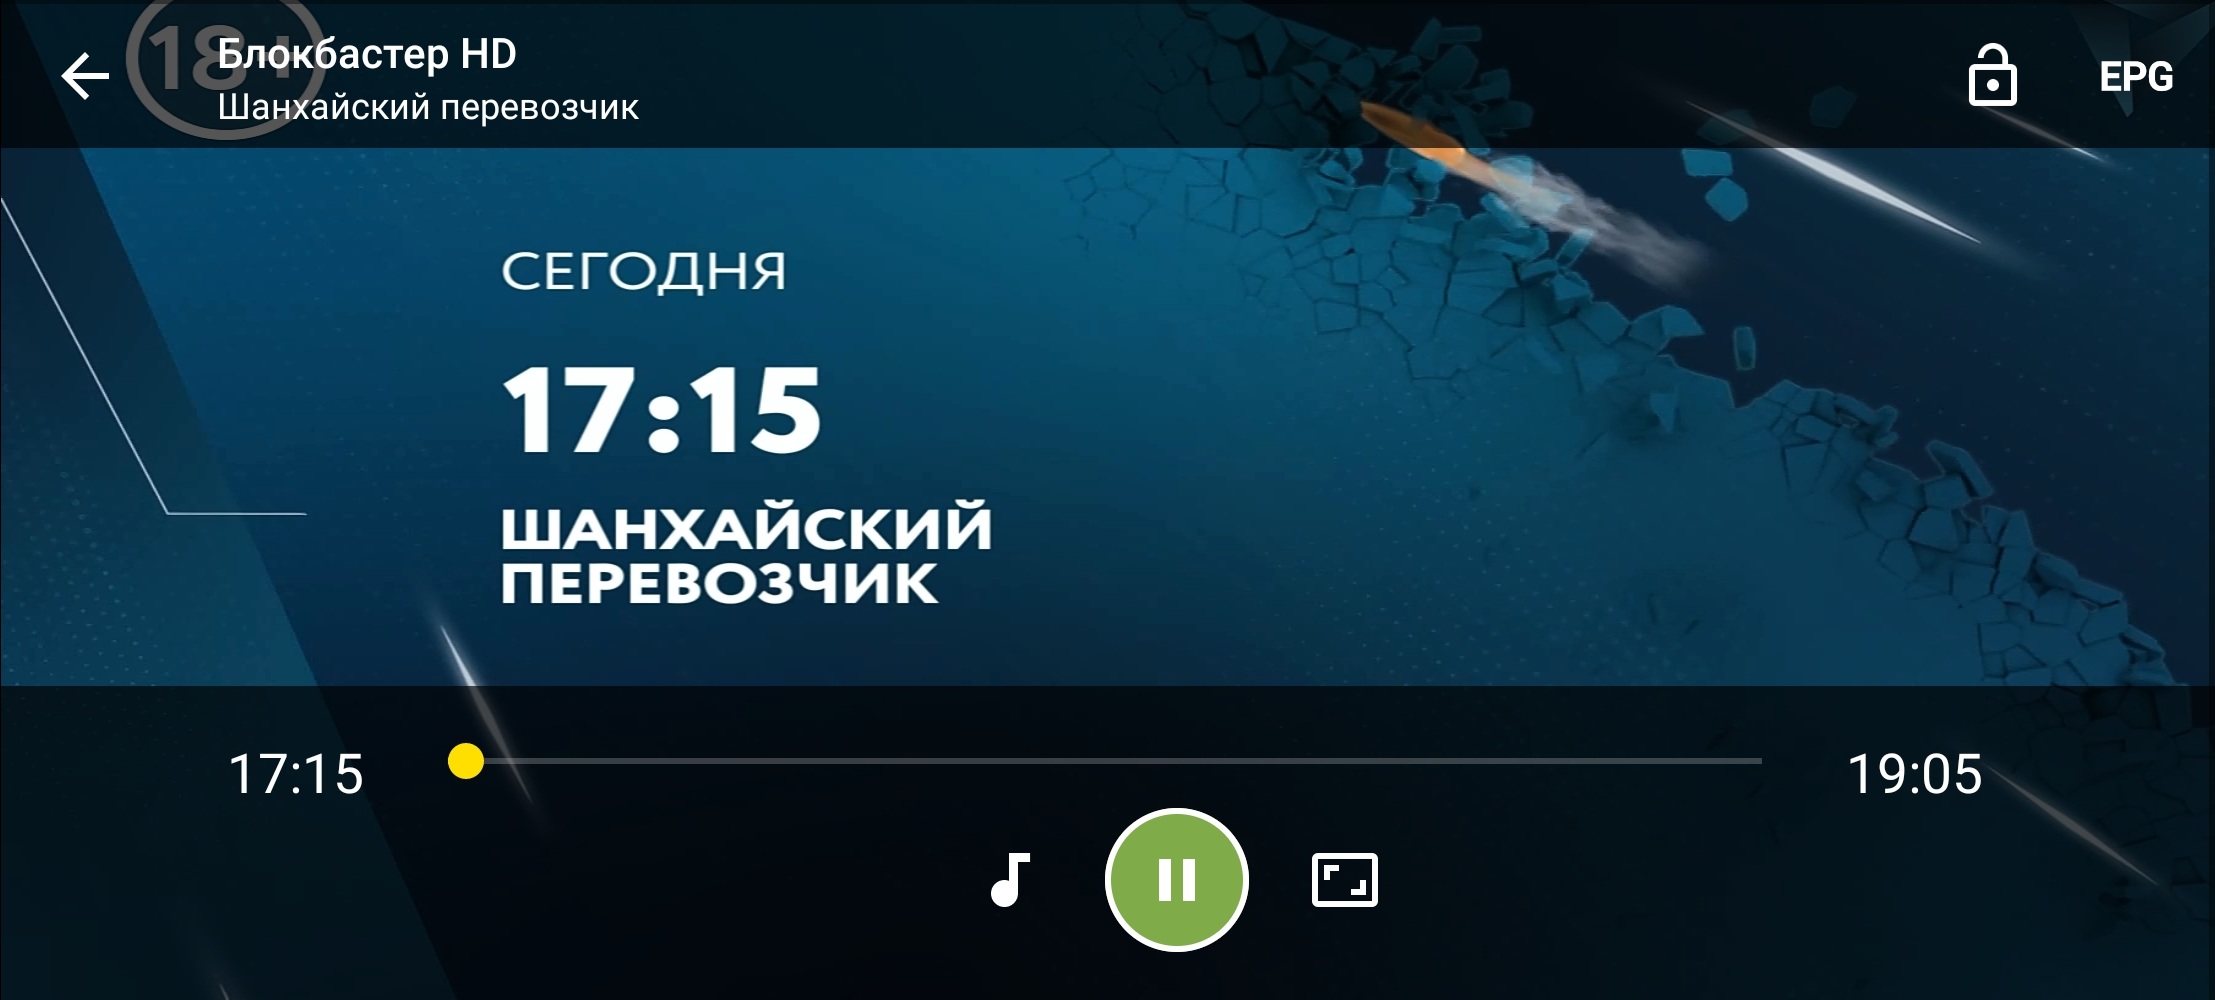
Search in the mobile app
Search channels
- Select
 in any channel list.
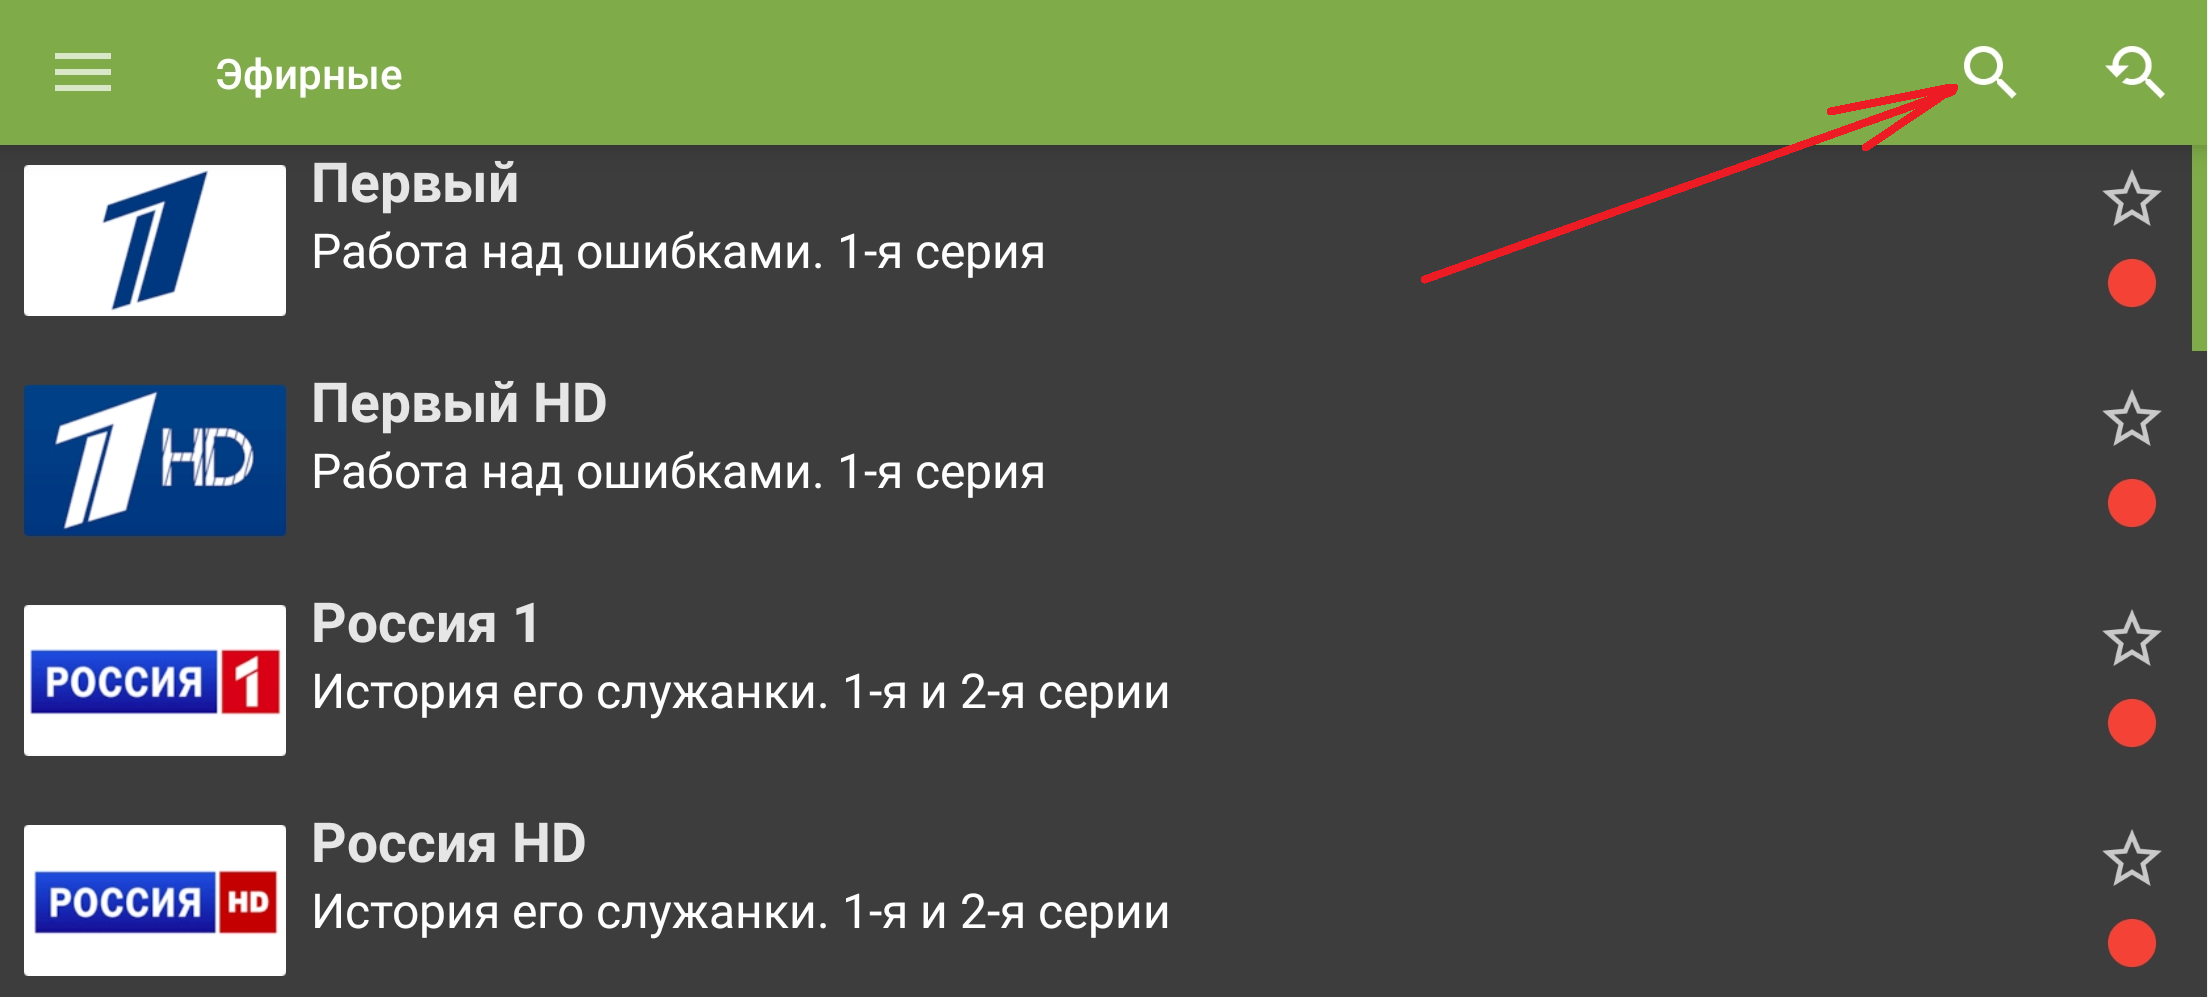
Button that opens channel search. - The search field will open.
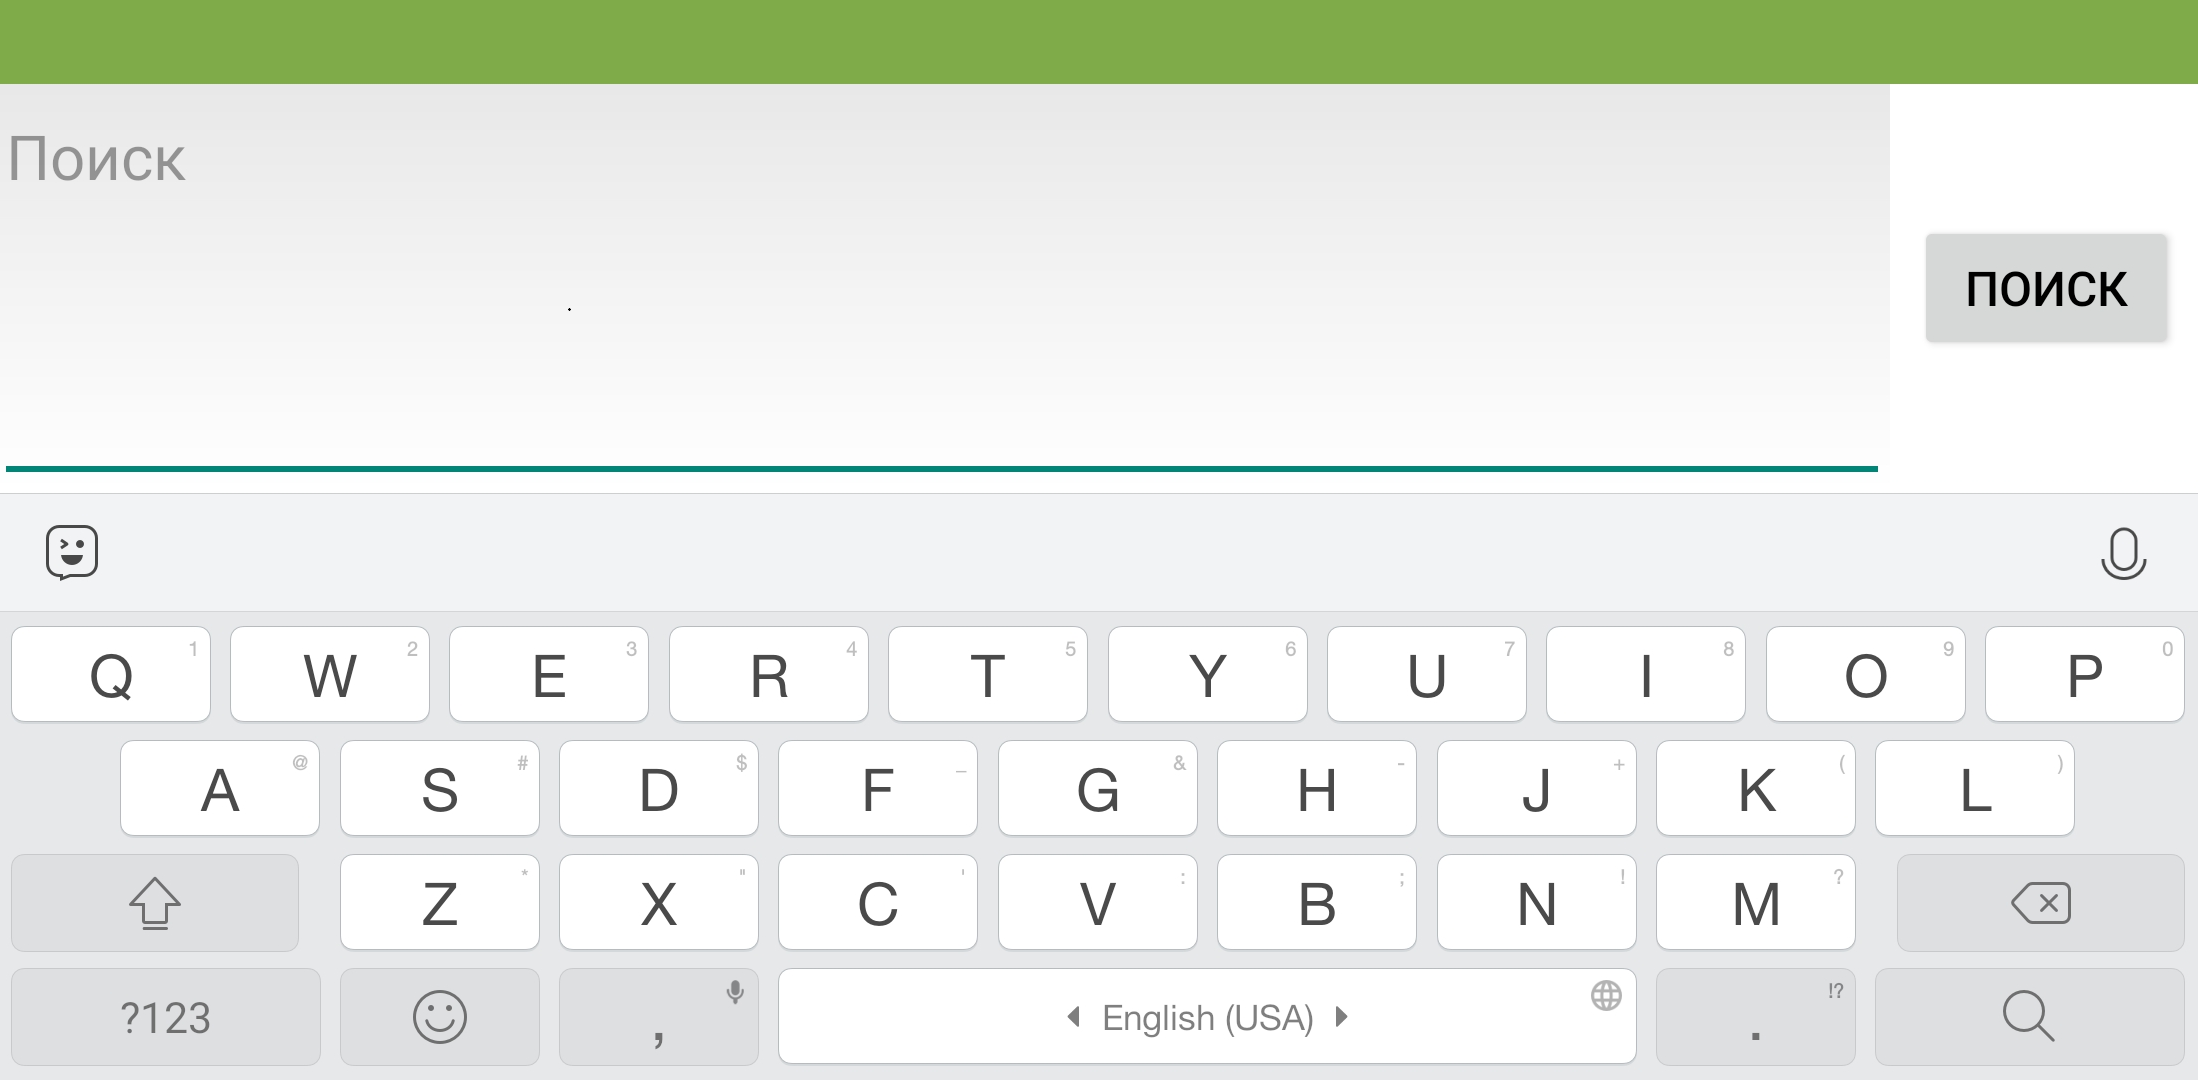
Field for entering a channel name. - Enter the channel name or part of it, then select “Search”.
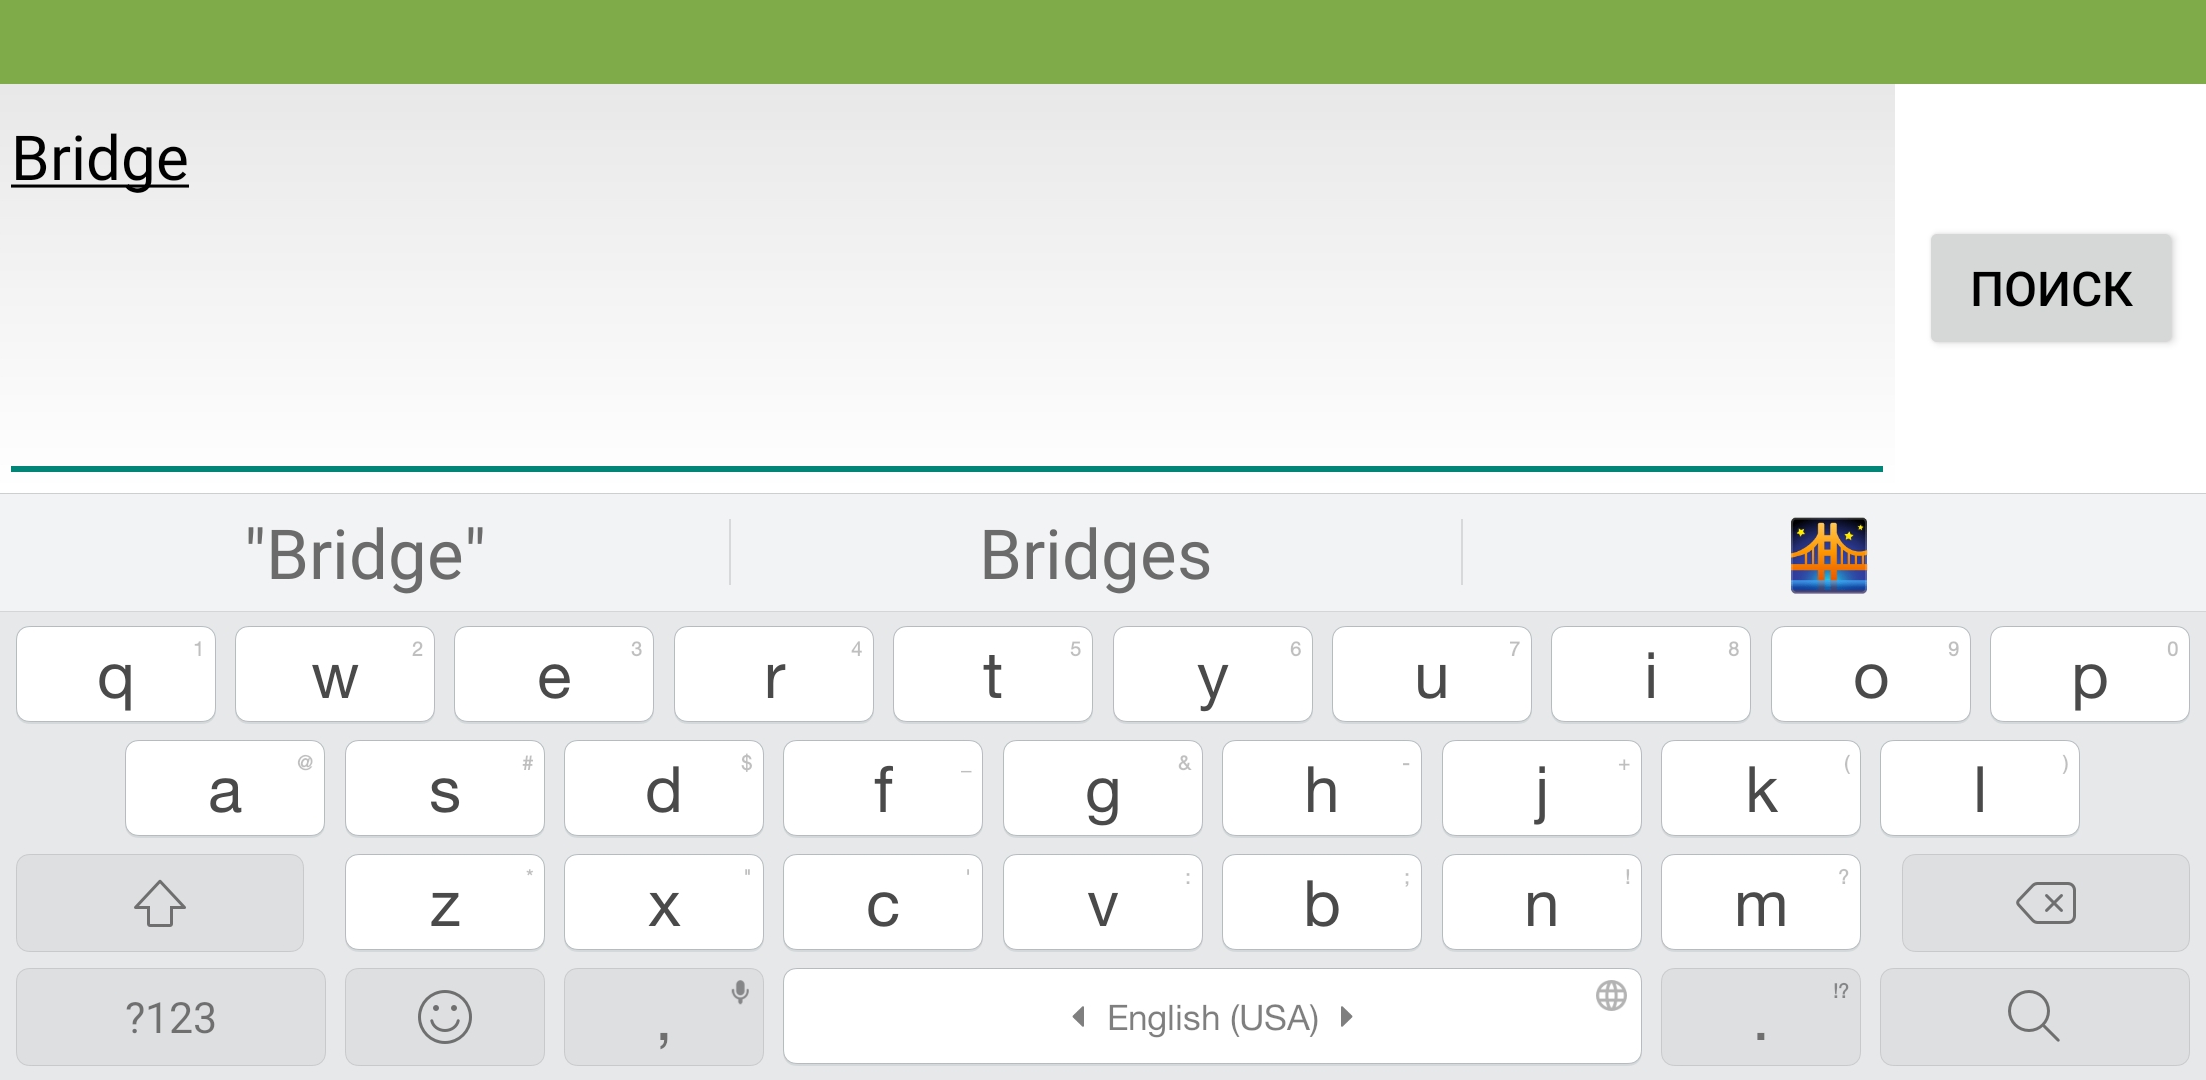
Search by channel name. - The search results appear on the screen.
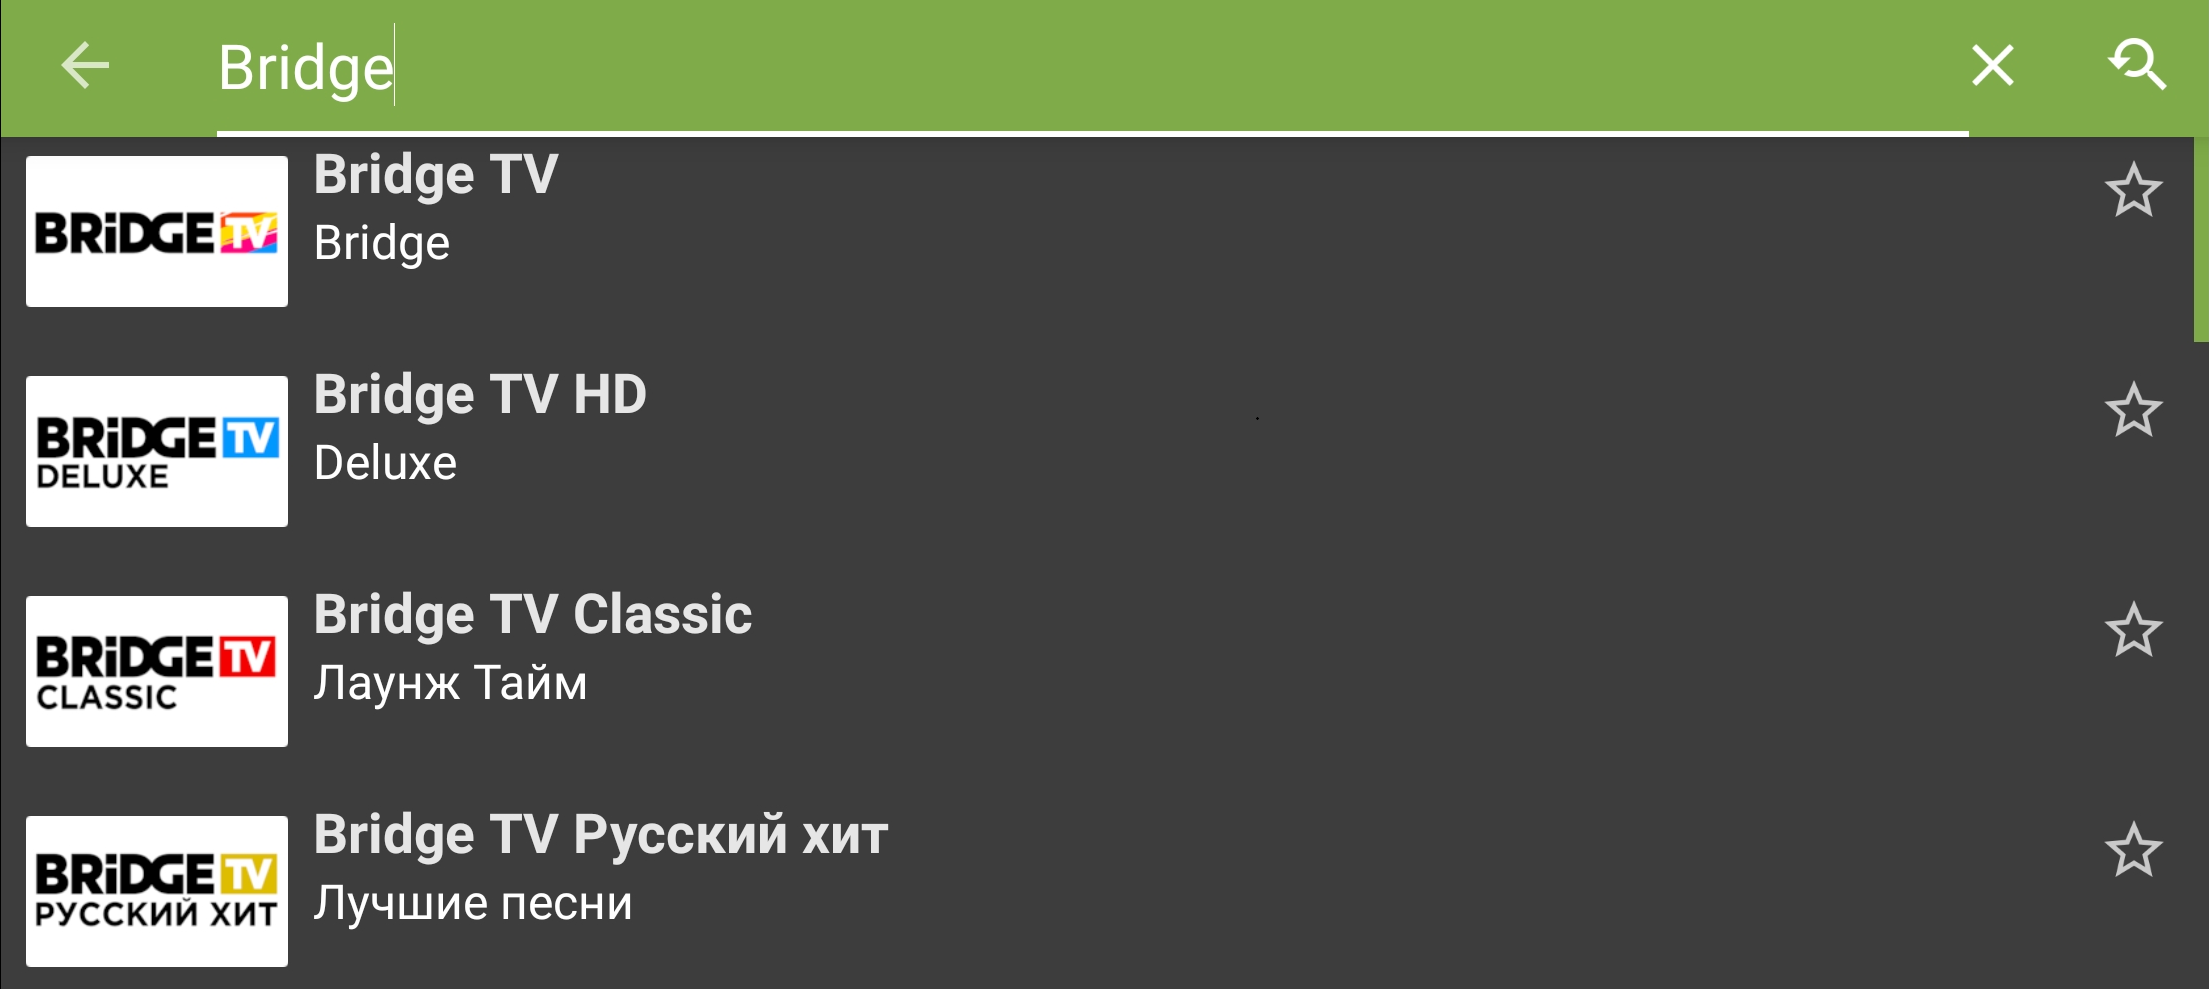
Channels found by the search.
Search for a programme
- Select
 in any channel list.
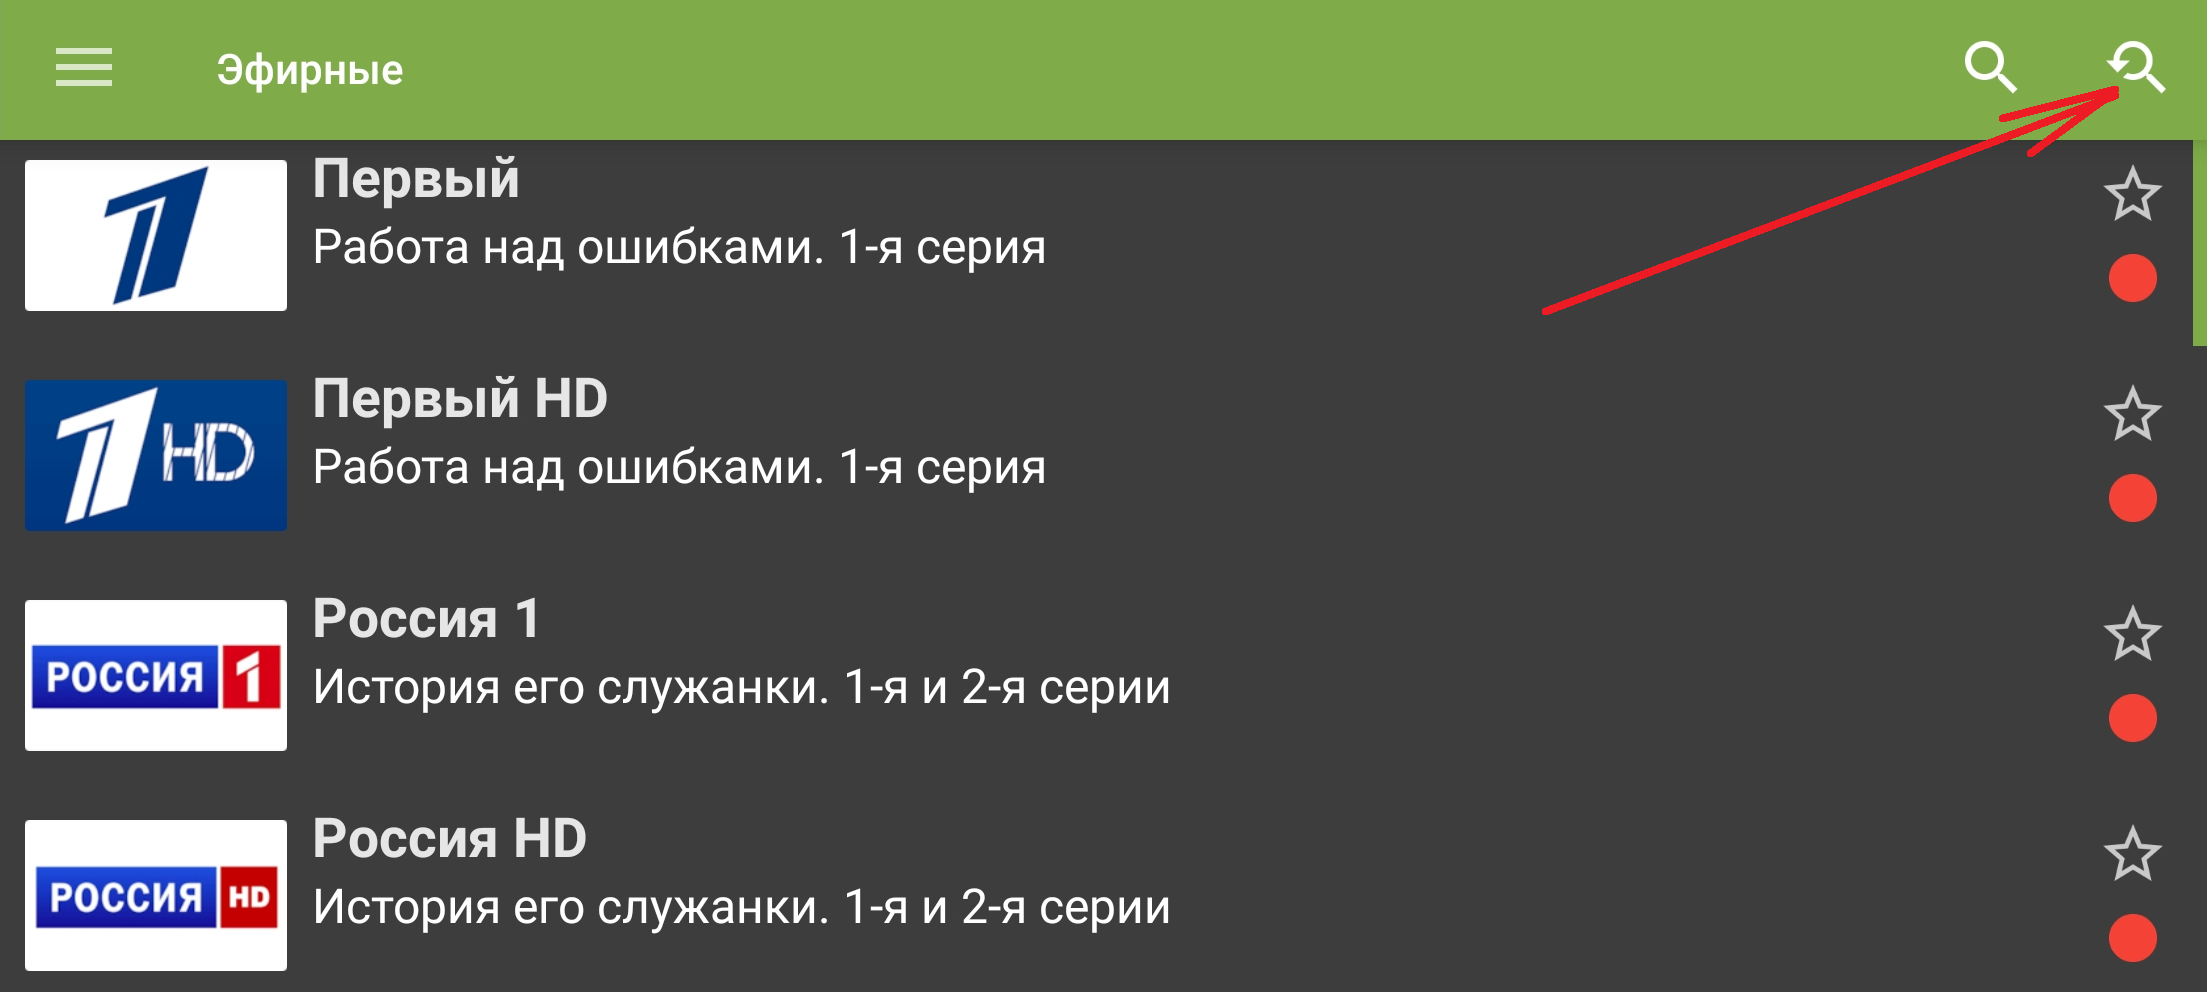
Button that opens programme search. - The search field will open.
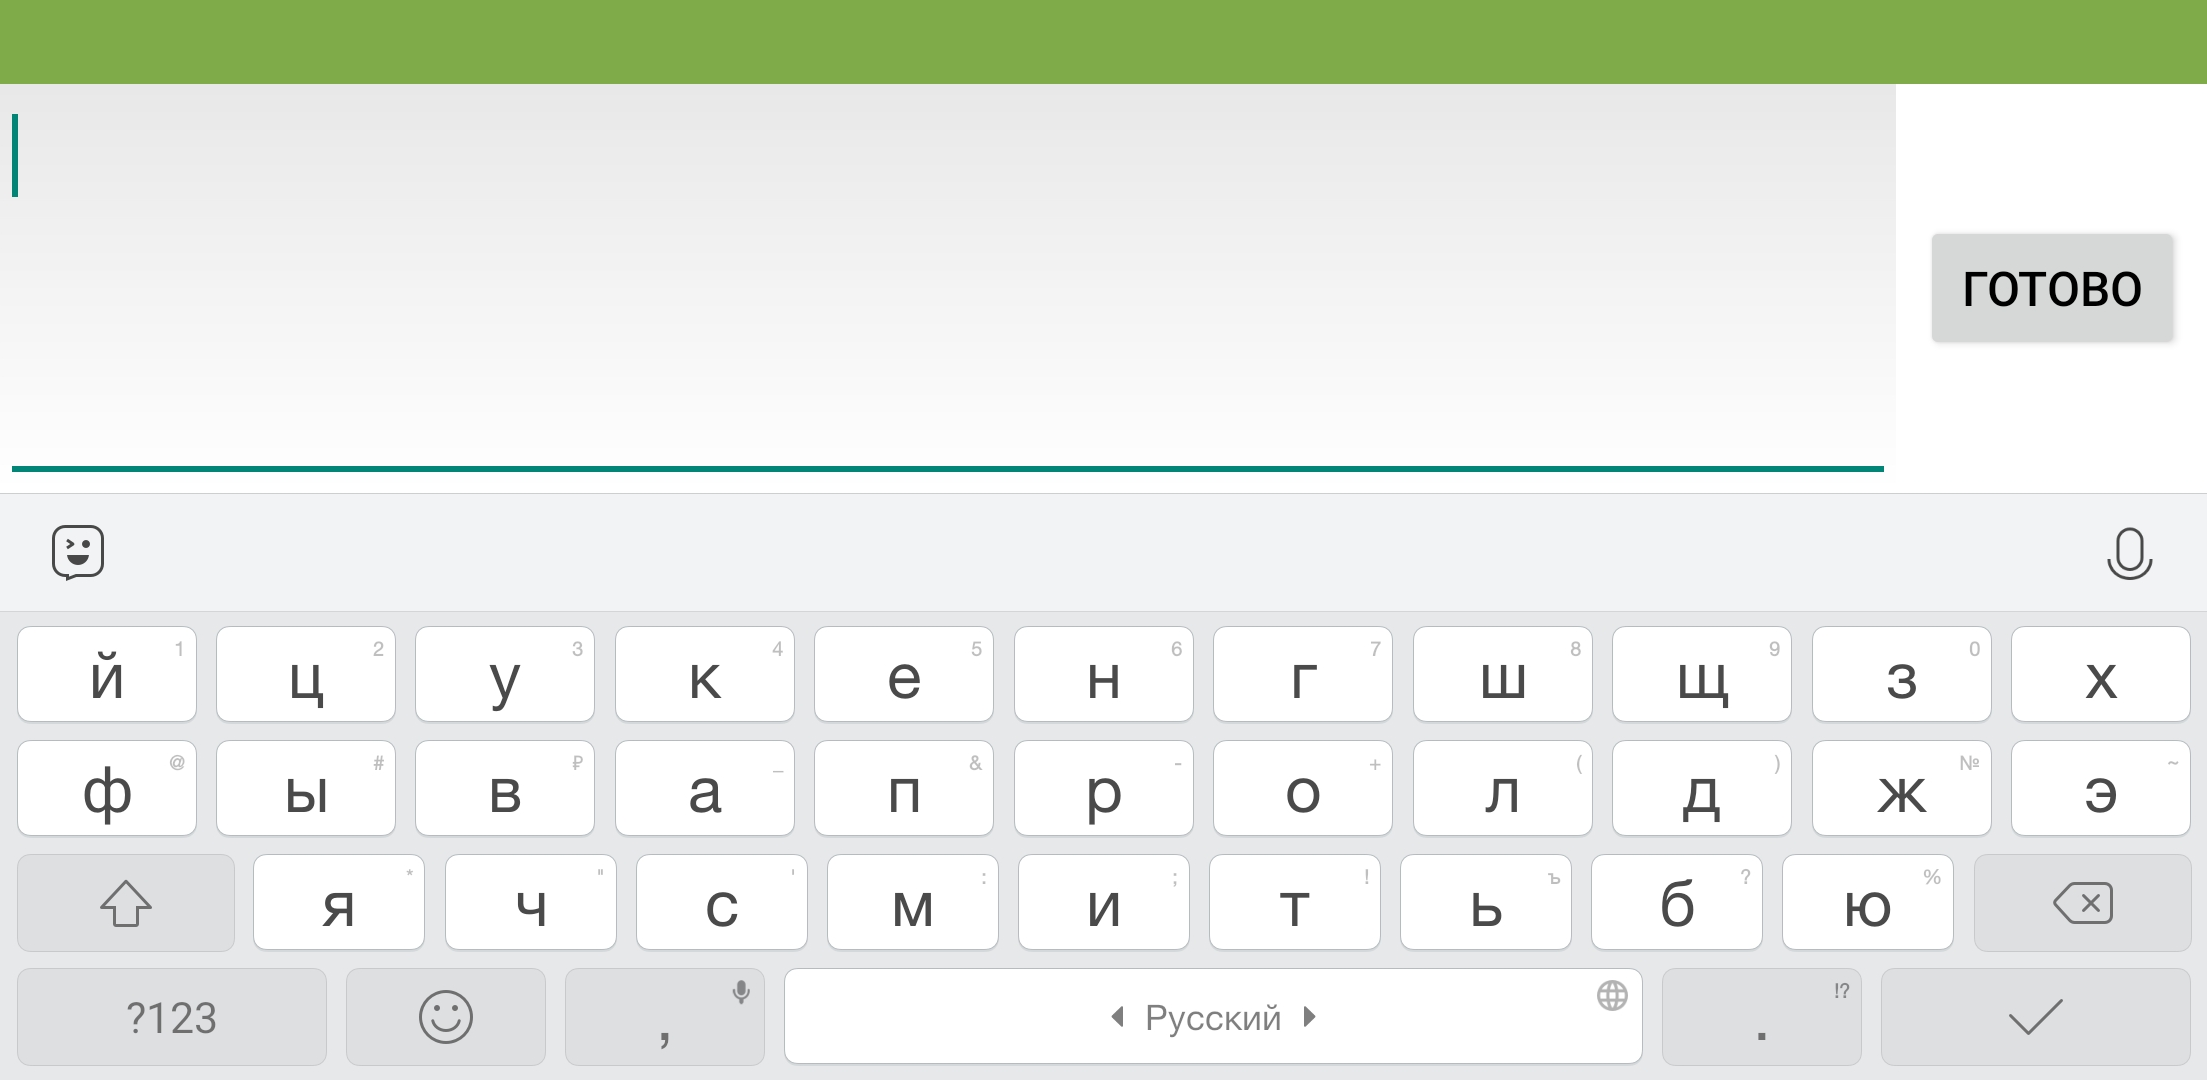
Field for entering a programme title. - Enter the programme title or keywords from its description, then select “Search”.
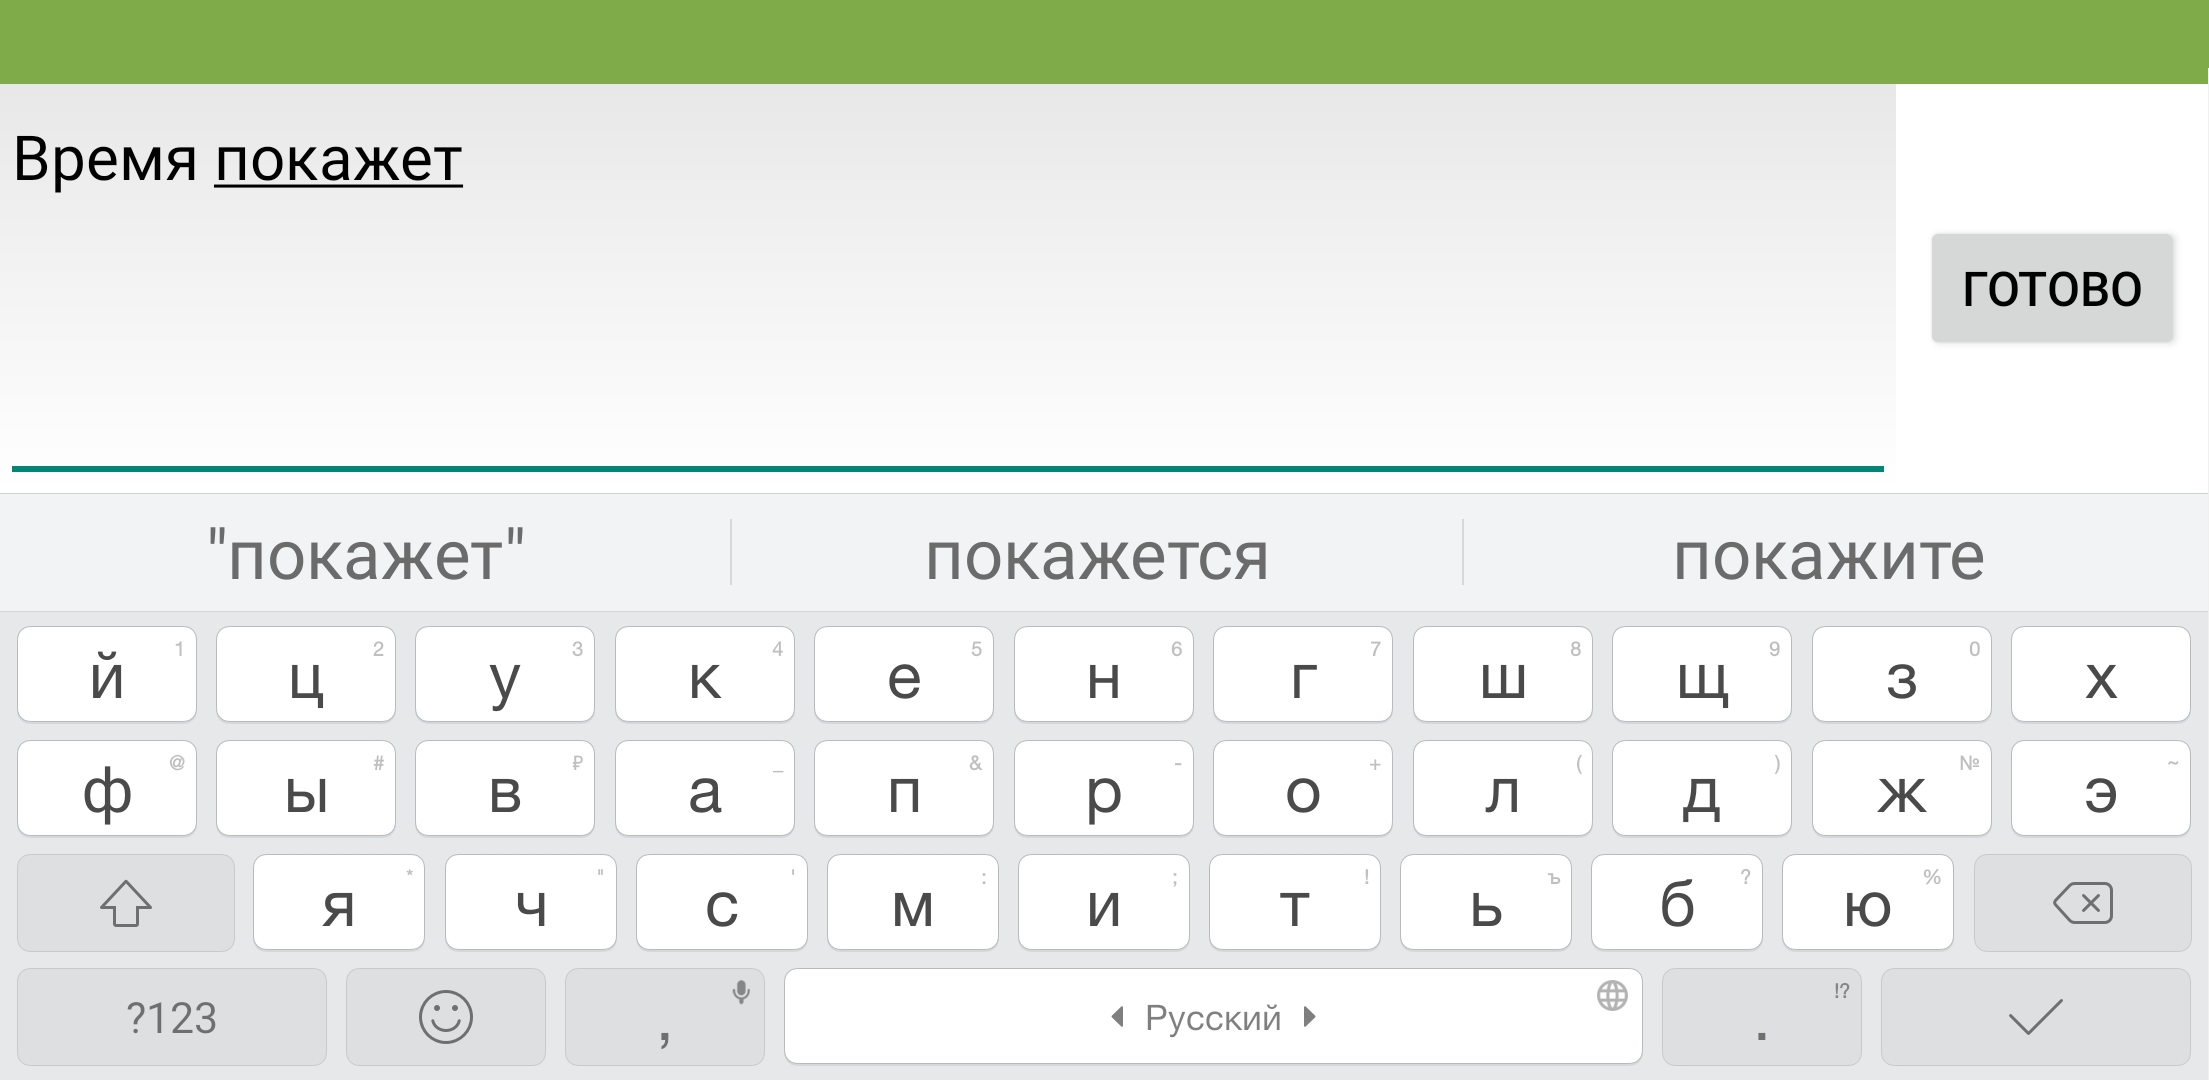
Search by programme title or description. - The search results appear on the screen.
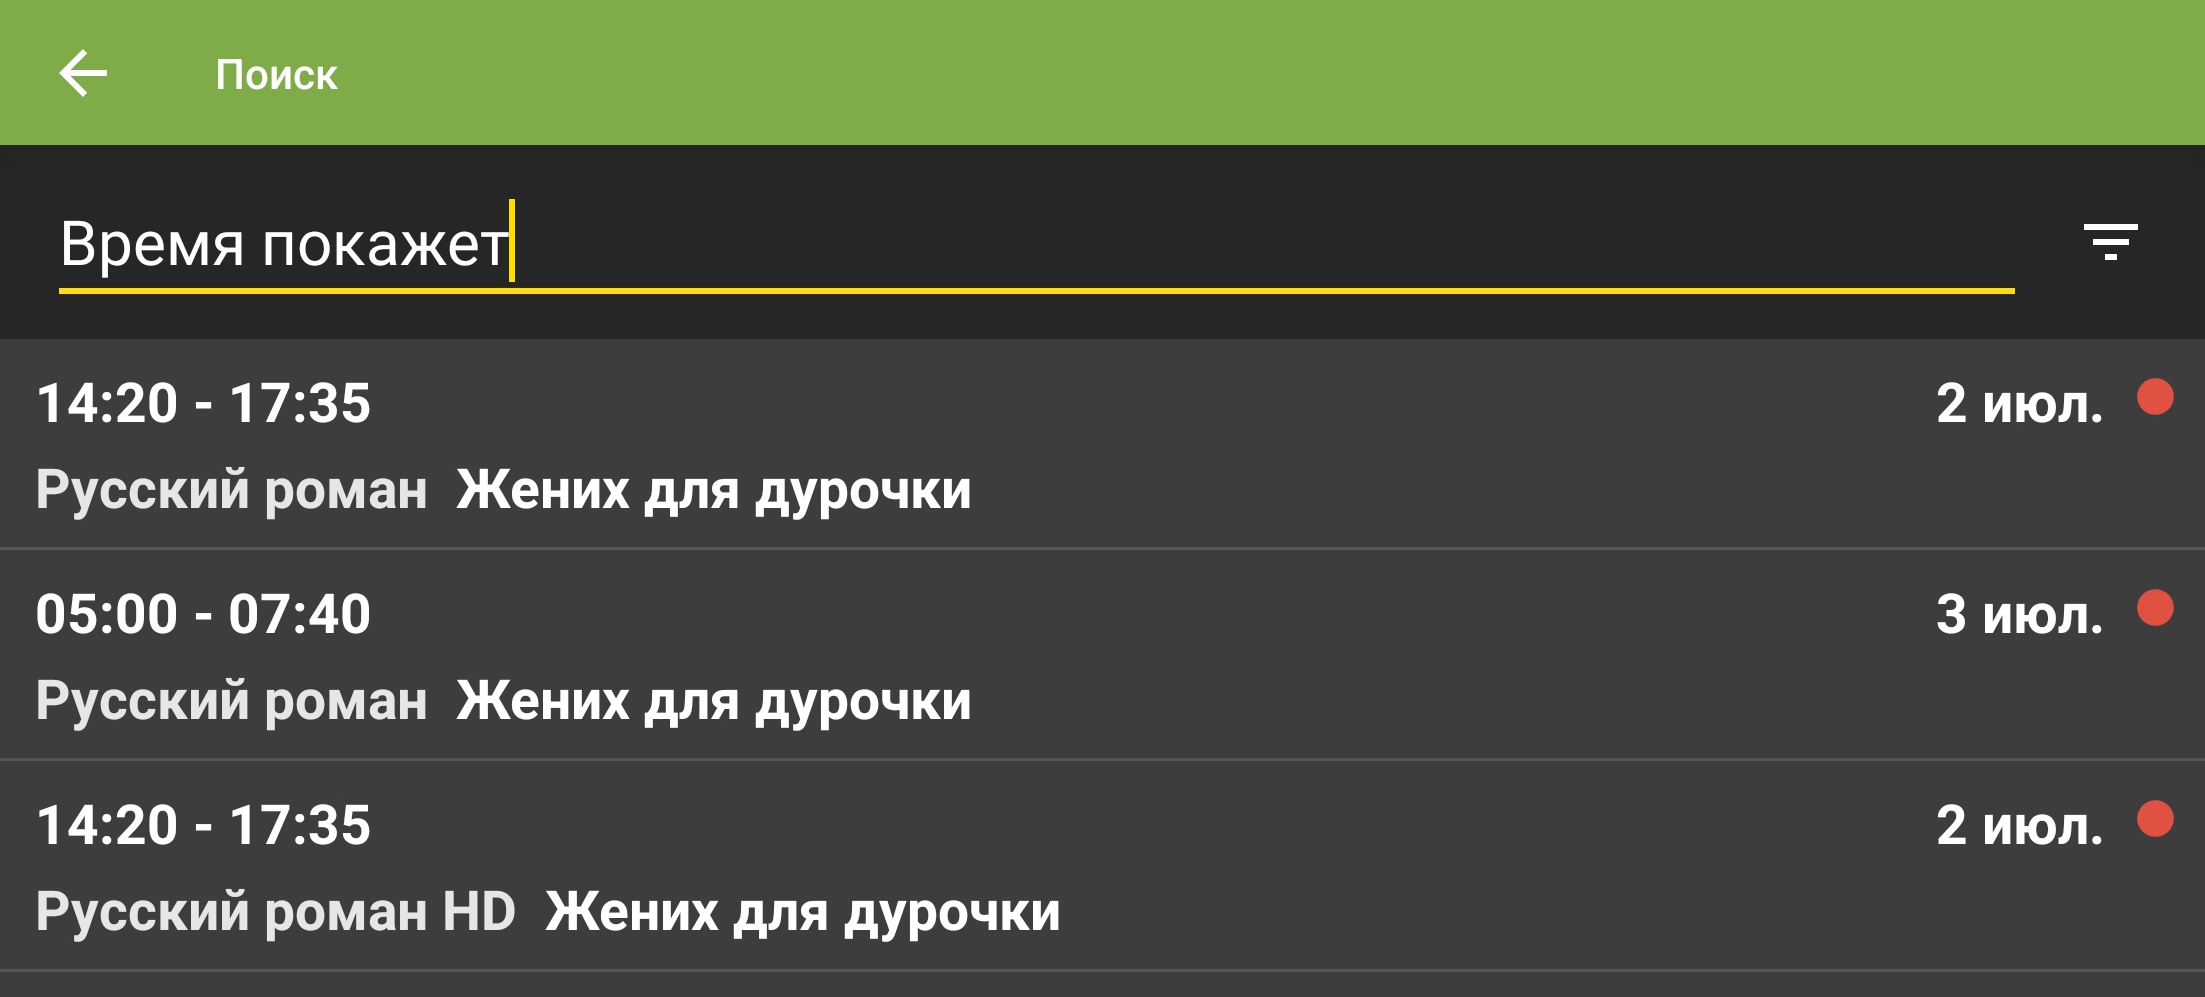
Programmes found by the search.
Mobile app playback controls
Tap the screen to open the playback controls.
Viewing the programme guide
- In the upper-right corner of the playback menu, select “EPG”.
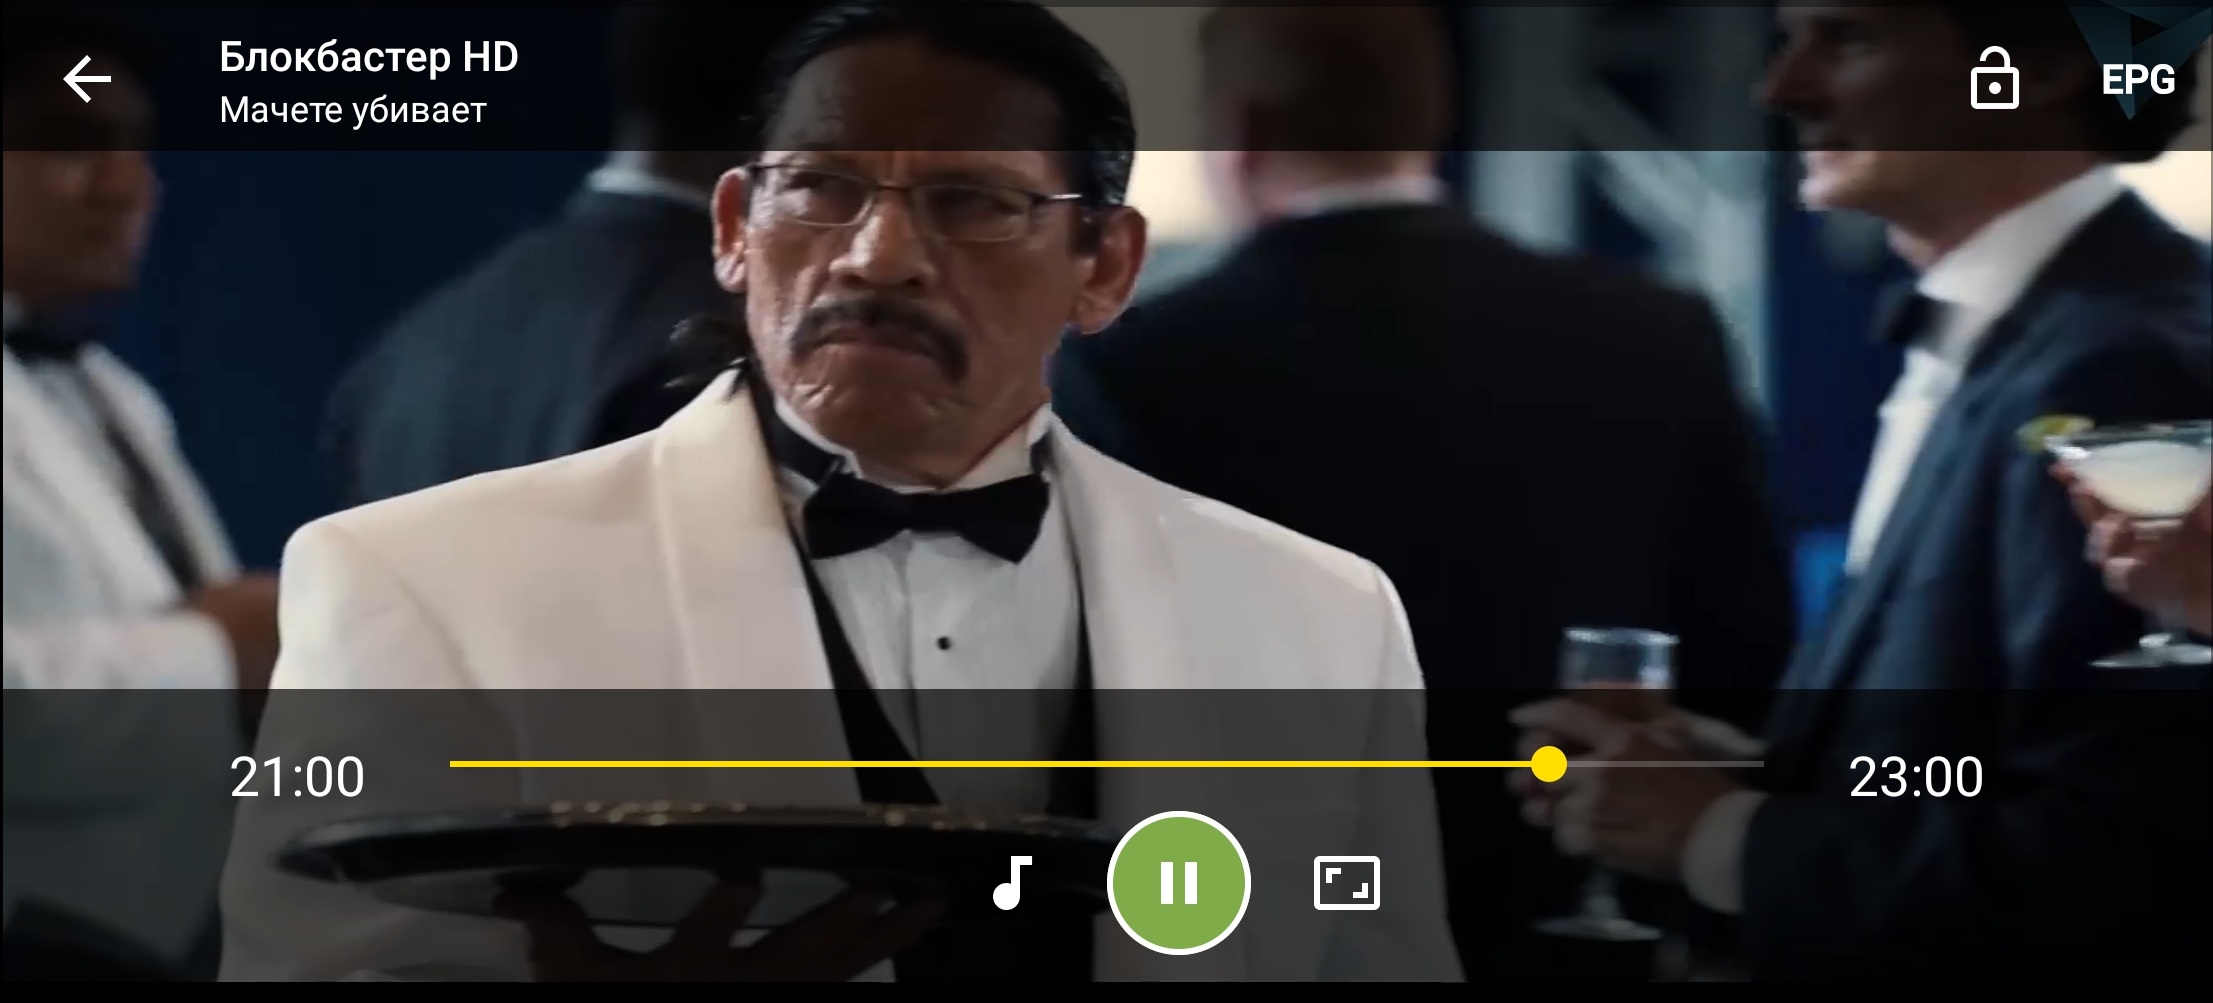
Viewing the programme guide: EPG button in the playback menu. - The programme guide opens.
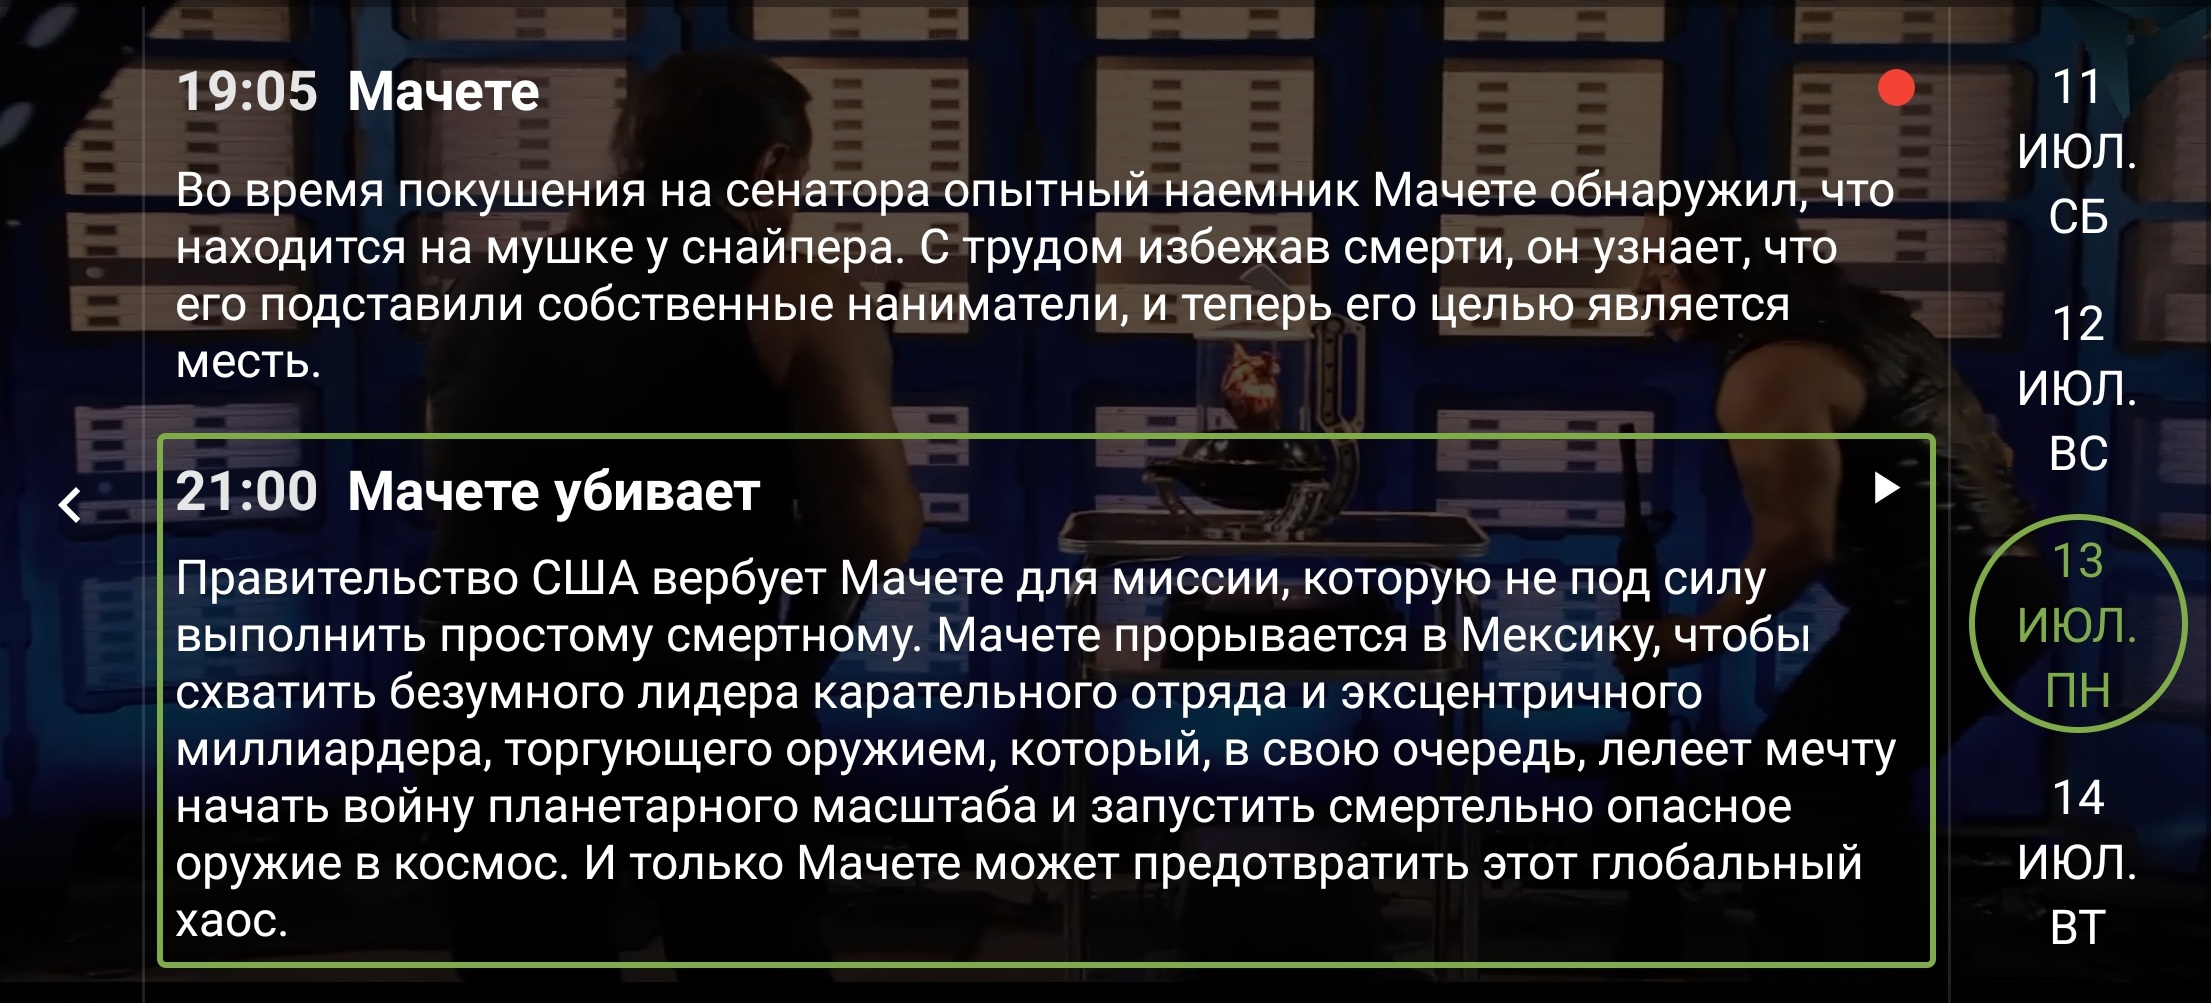
Viewing the programme guide: programme guide menu.
To view the programme guide, select the required day on the right-hand side of the screen.
Select audio track
- In the playback menu, select
 .
.
Select audio track: audio track button in the playback menu. - The audio track selection menu will open. Select the desired audio track.
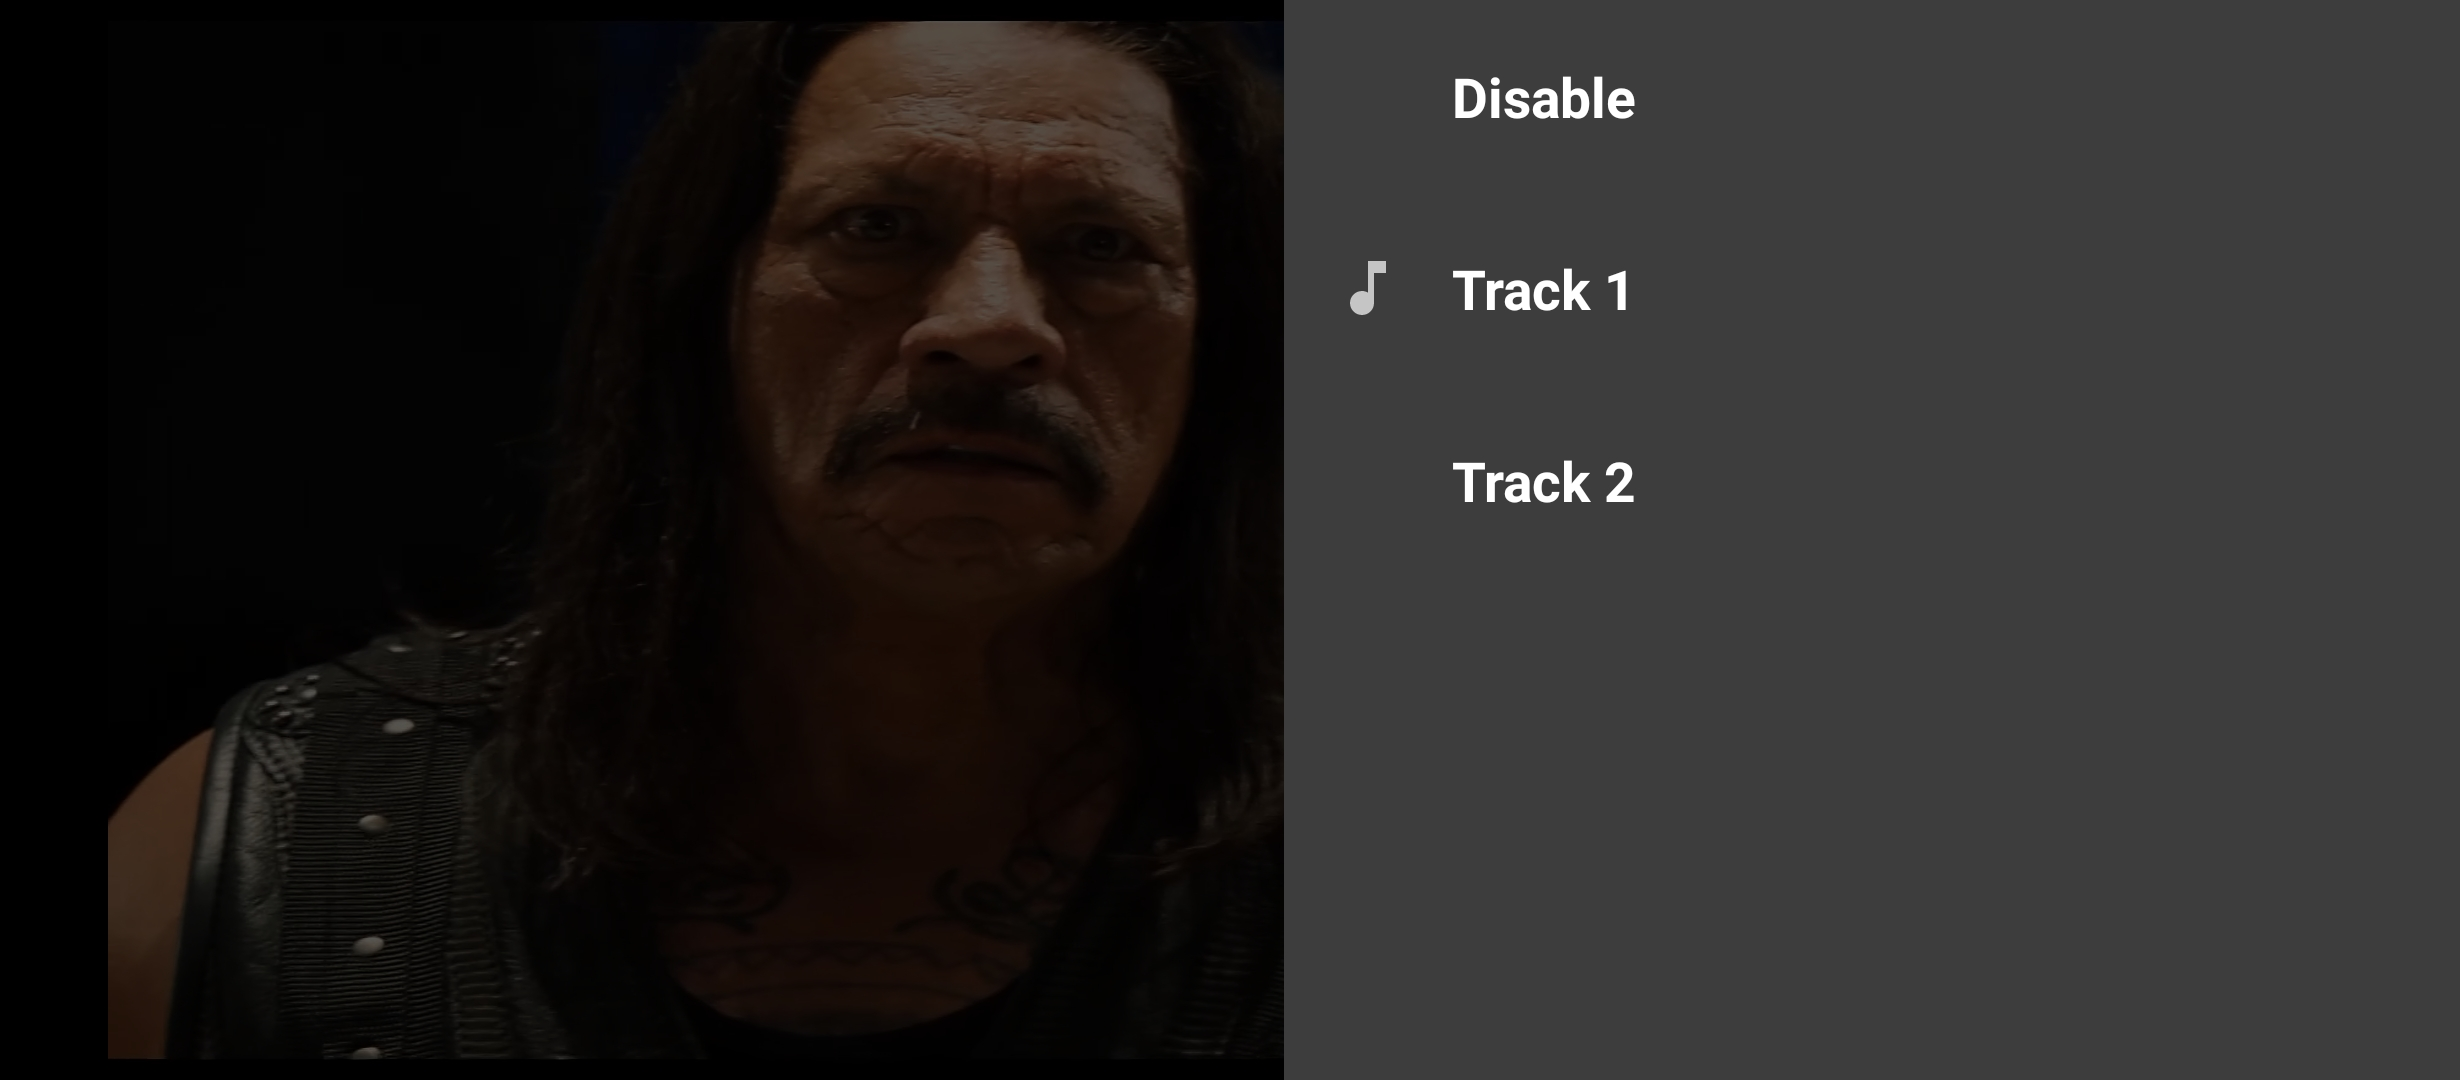
Audio track selection: track selection menu in the mobile Android app.
Select picture format
- In the playback menu, select
 .
.
Select picture format: picture format button in the playback menu.
Select repeatedly to cycle through the available formats.
Available picture formats are “Horizontal”, “Vertical”, “Fill”, “16:9”, “4:3”, “Center”, and “The best”.
Rewind and pause live TV
On channels with catch-up, you can rewind live TV after the programme has been running for more than five minutes, or pause playback.
- In the playback menu, move the position on the timeline to the required time.
Rewind and pause live TV: time bar for rewind and pause.
To pause playback, select  .
.
Creating a favourites list in the mobile app
- To add a channel to the “Favourites” list, opposite the channel, click the ☆ icon.
Creating a favourites list: add-to-favourites control. - The icon turns yellow, confirming that the channel was added to Favourites.
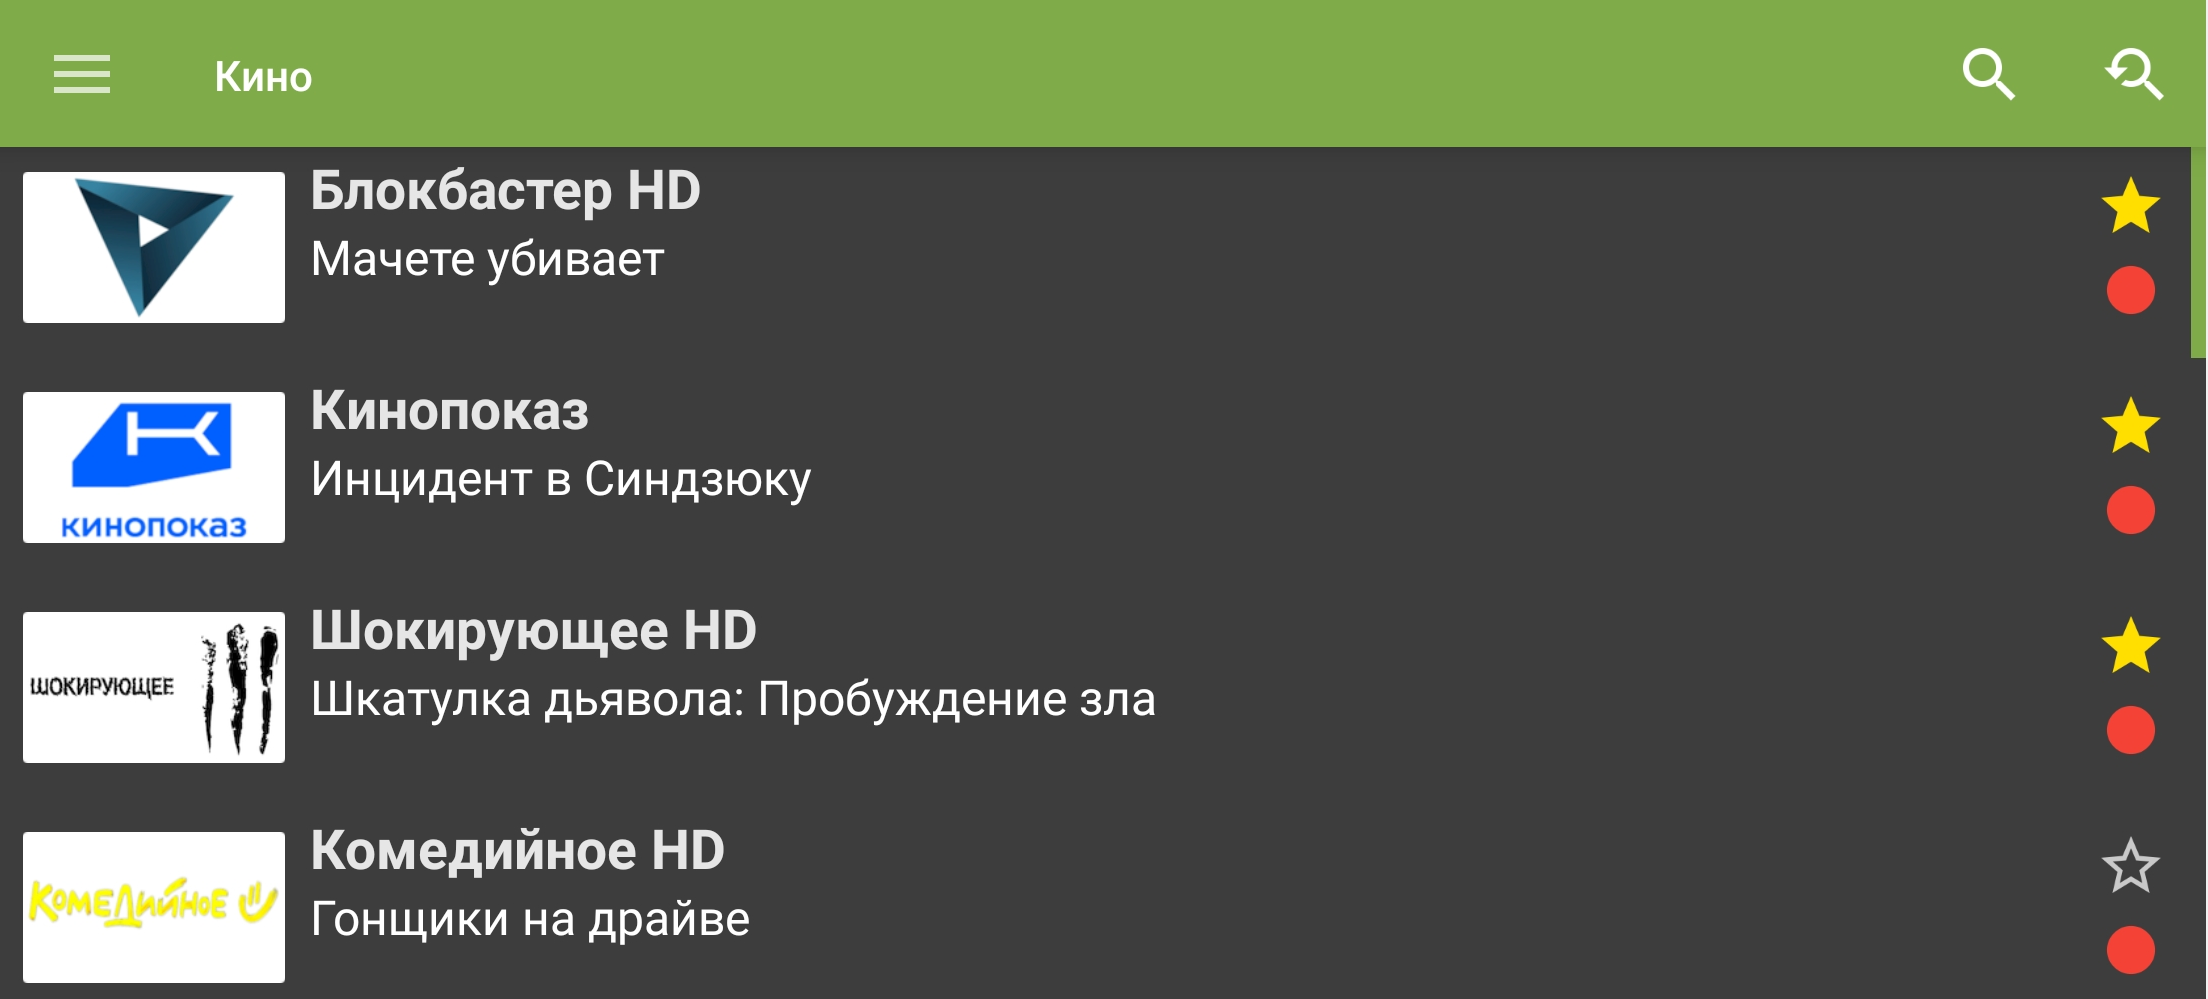
A yellow star confirms that a channel was added to favourites.
Sorting the favourites list in the mobile app
- Select , then select “Settings”.
“Settings” in the navigation menu. - Under “Service”, select “Reorder”.
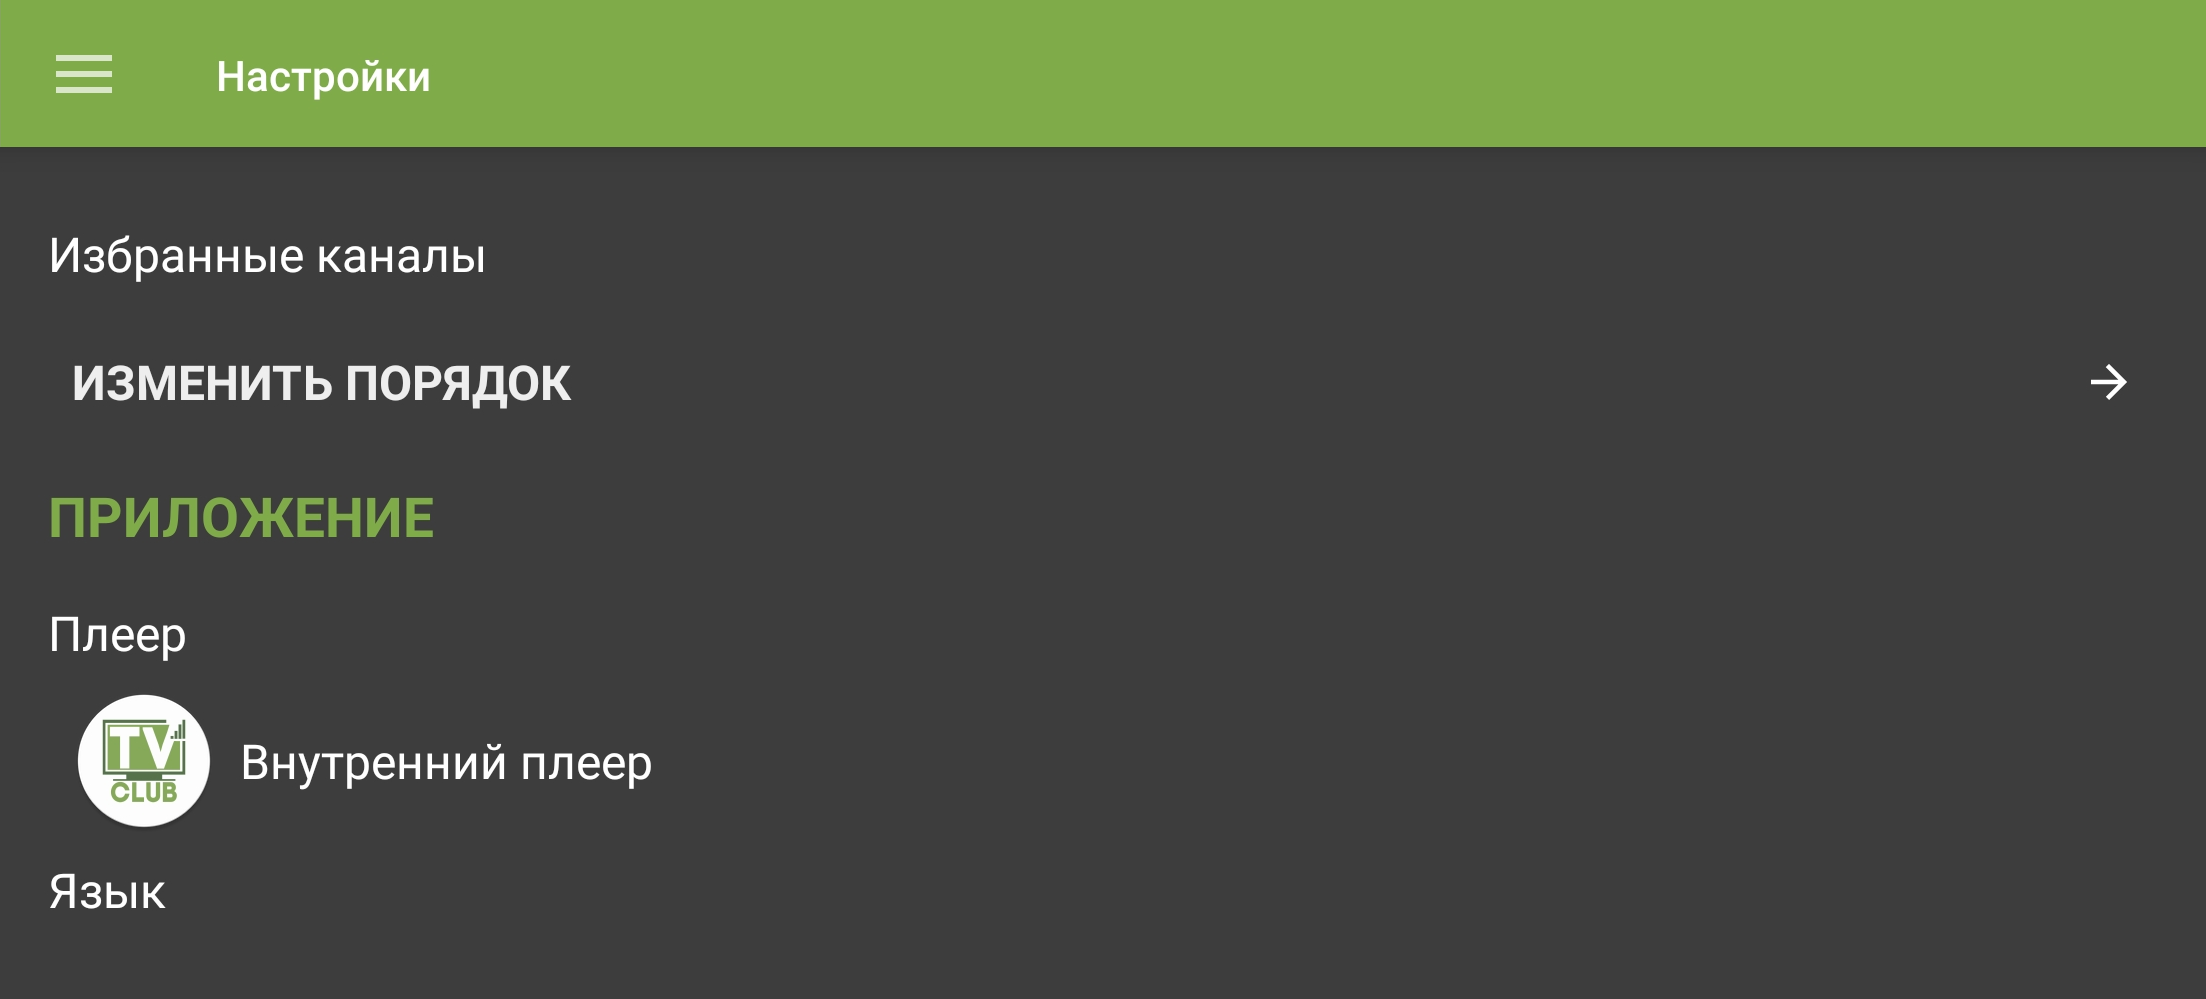
Reorder command in Favourites settings. - The Favourites channel list opens.
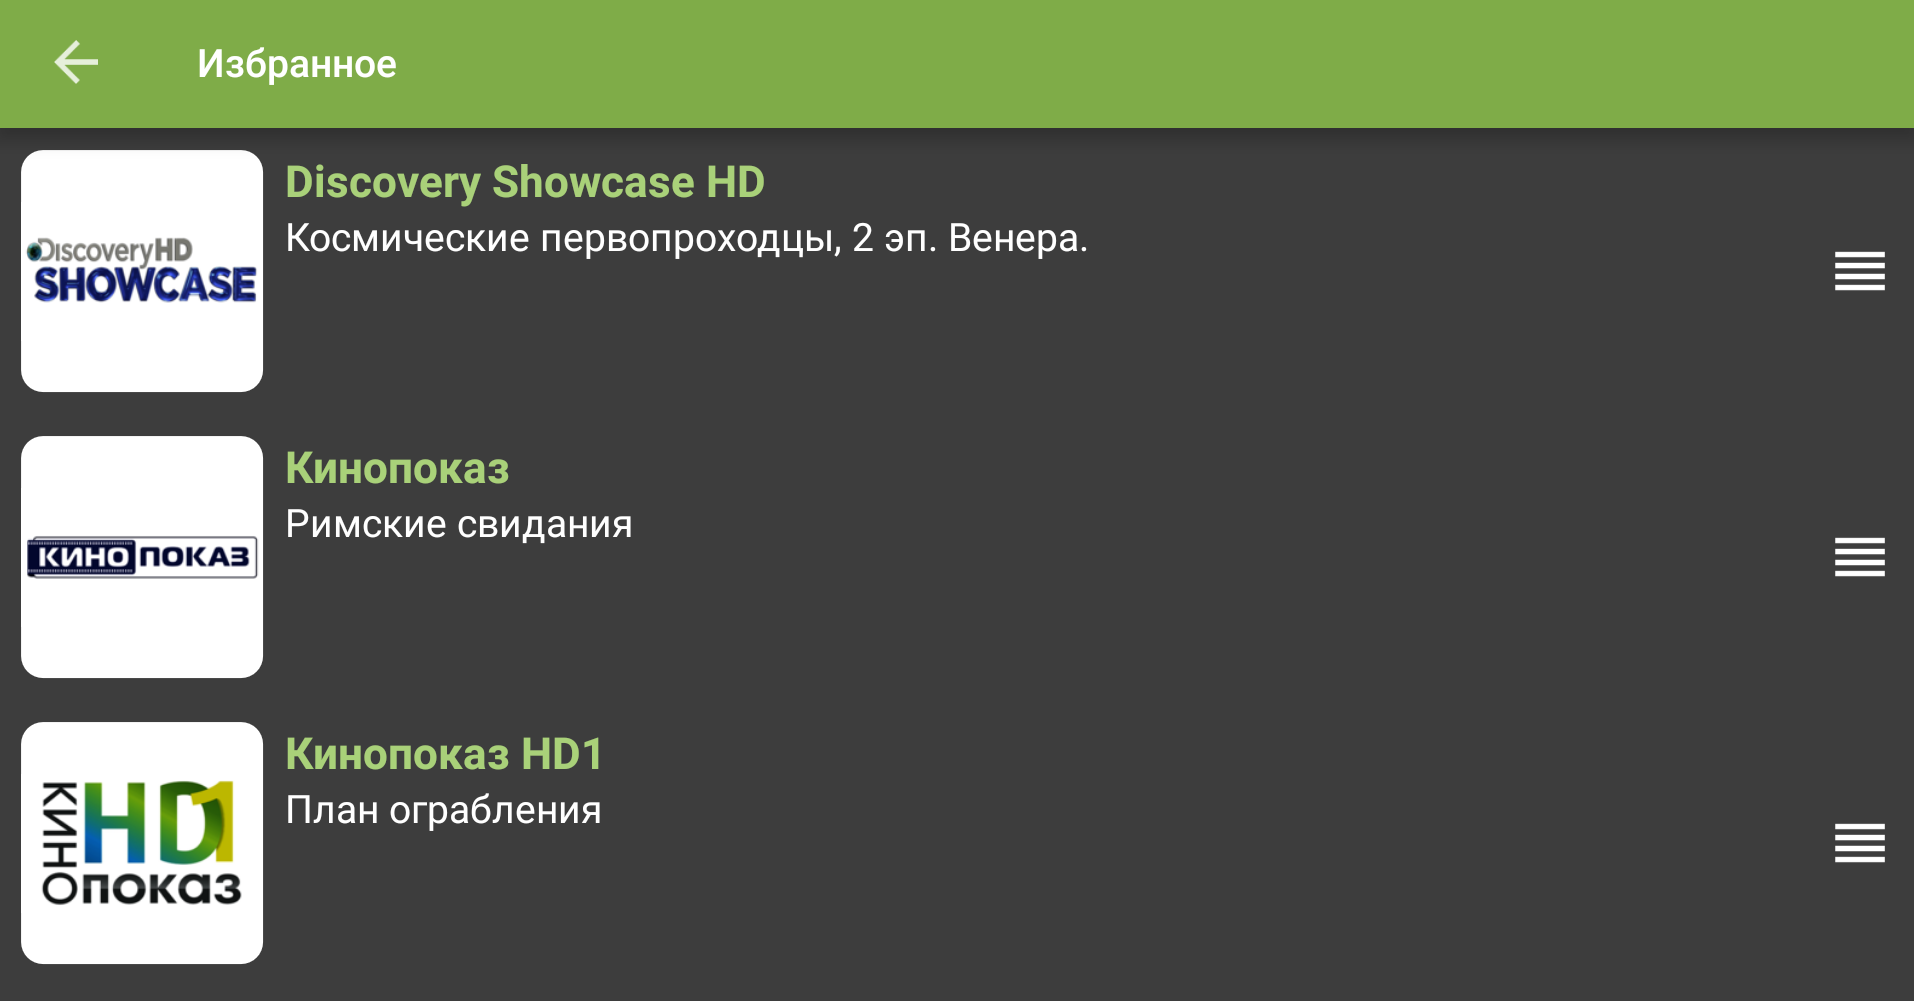
Use the handles on the right to reorder favourite channels. - Press and hold
 beside the channel, then drag the channel to the required position.
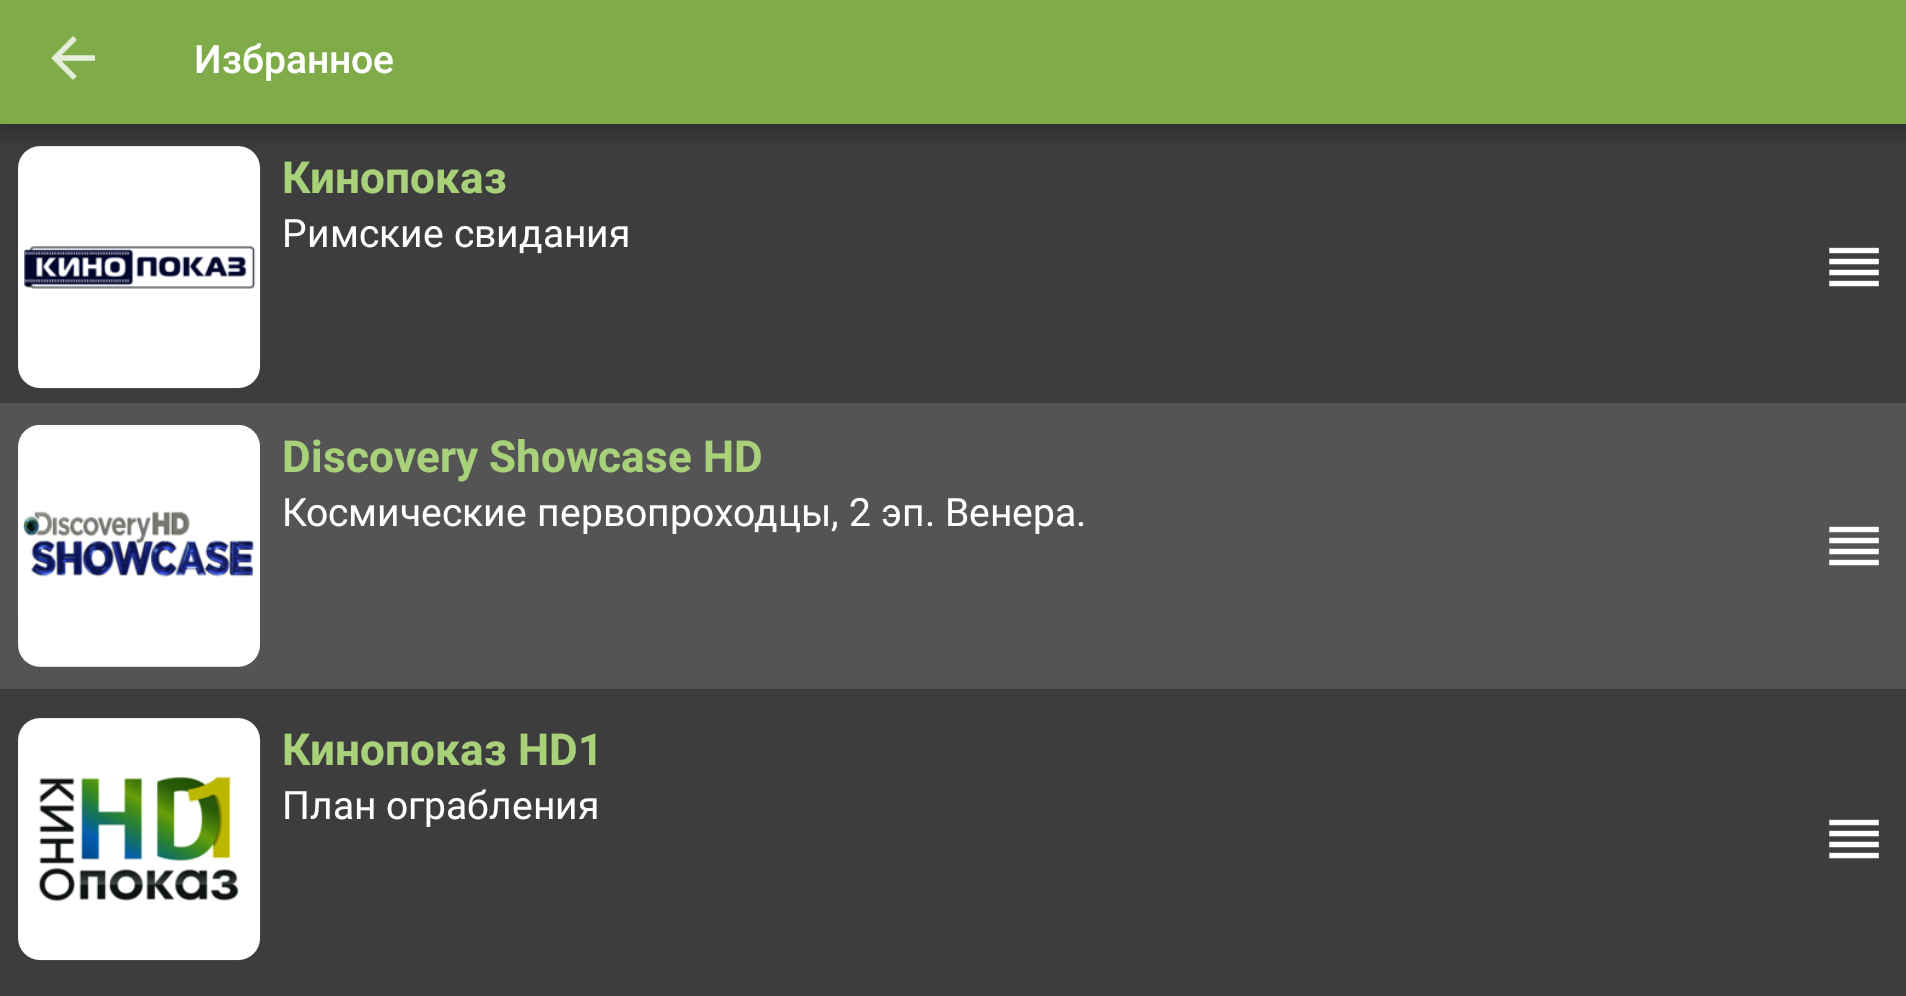
Selected channel in Favourites reorder mode.
Sign in on Android TV
- Launch TVClub. The sign-in form opens.
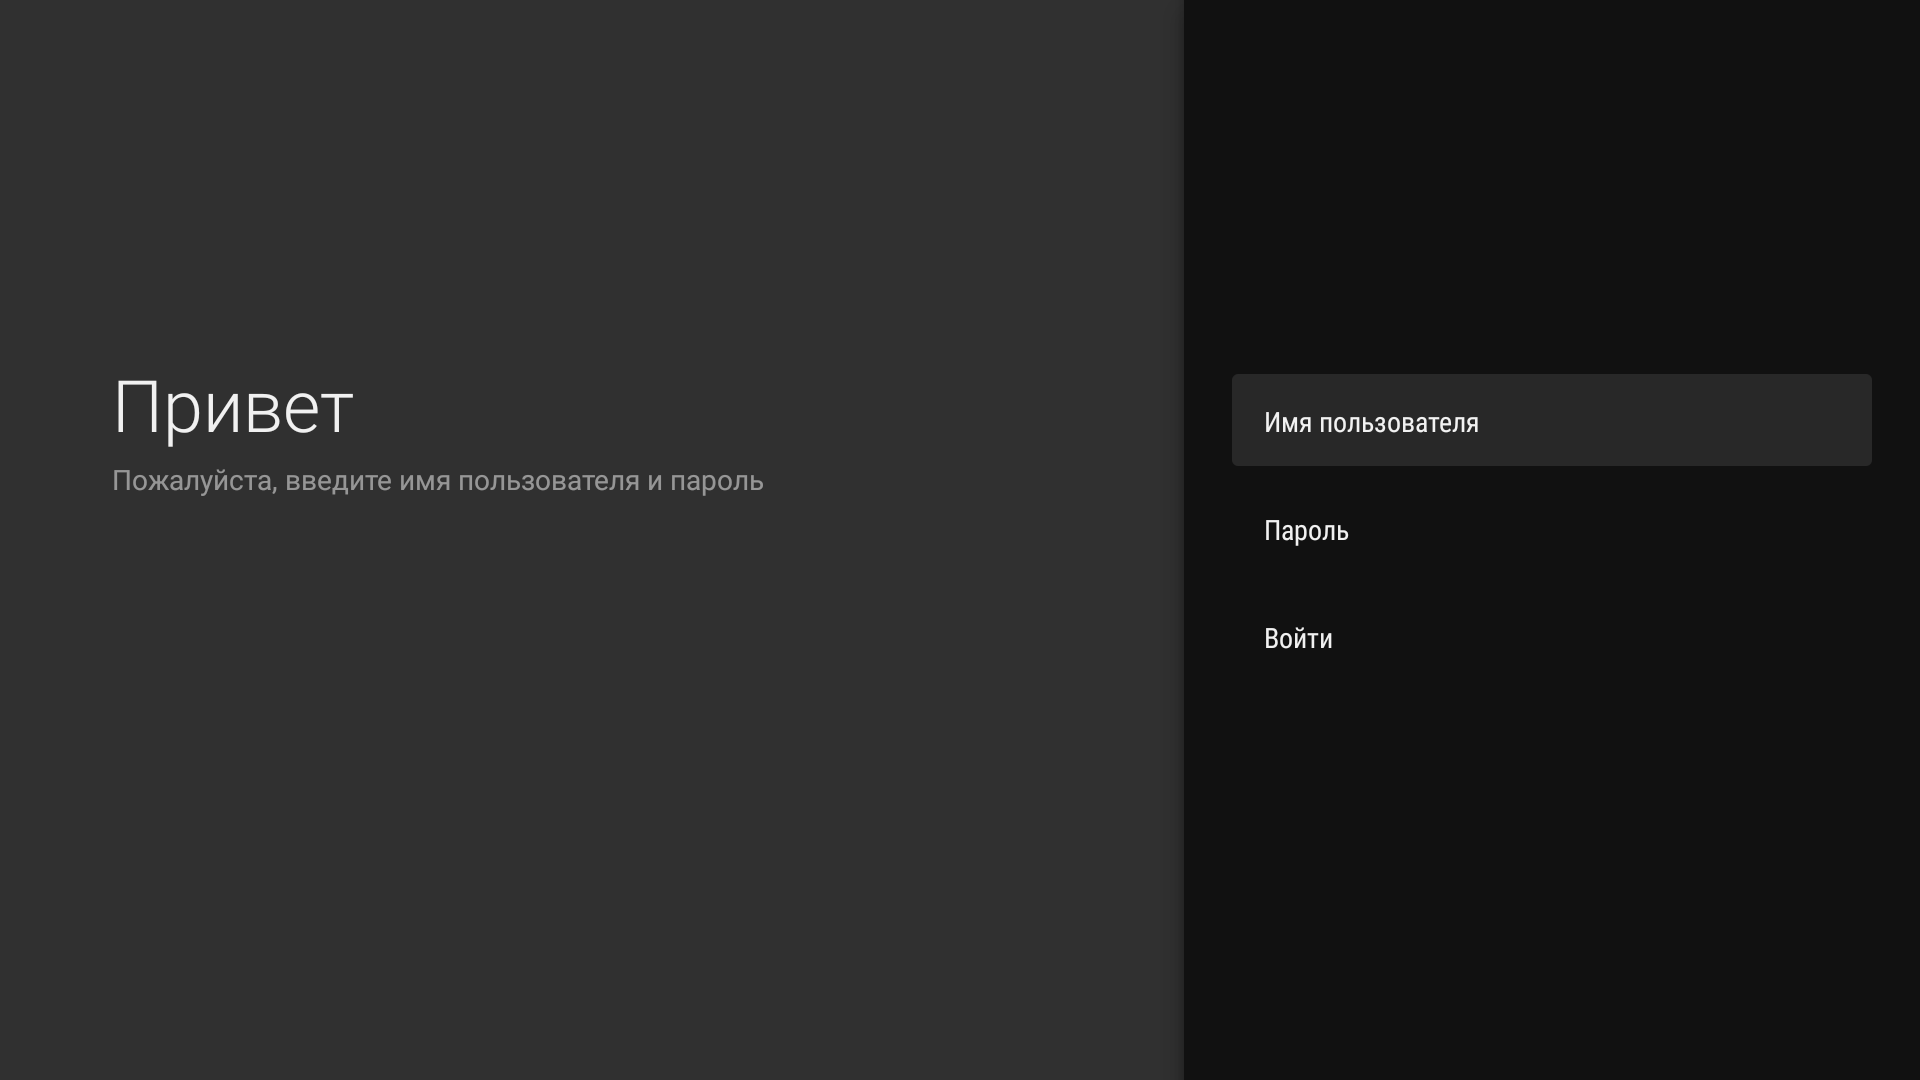
The sign-in form opens on first launch and when changing accounts. - Enter the username and password specified when registering on the TVClub website.
Use your primary username to sign in. The username and password are case-sensitive; enter both exactly as you did during registration.
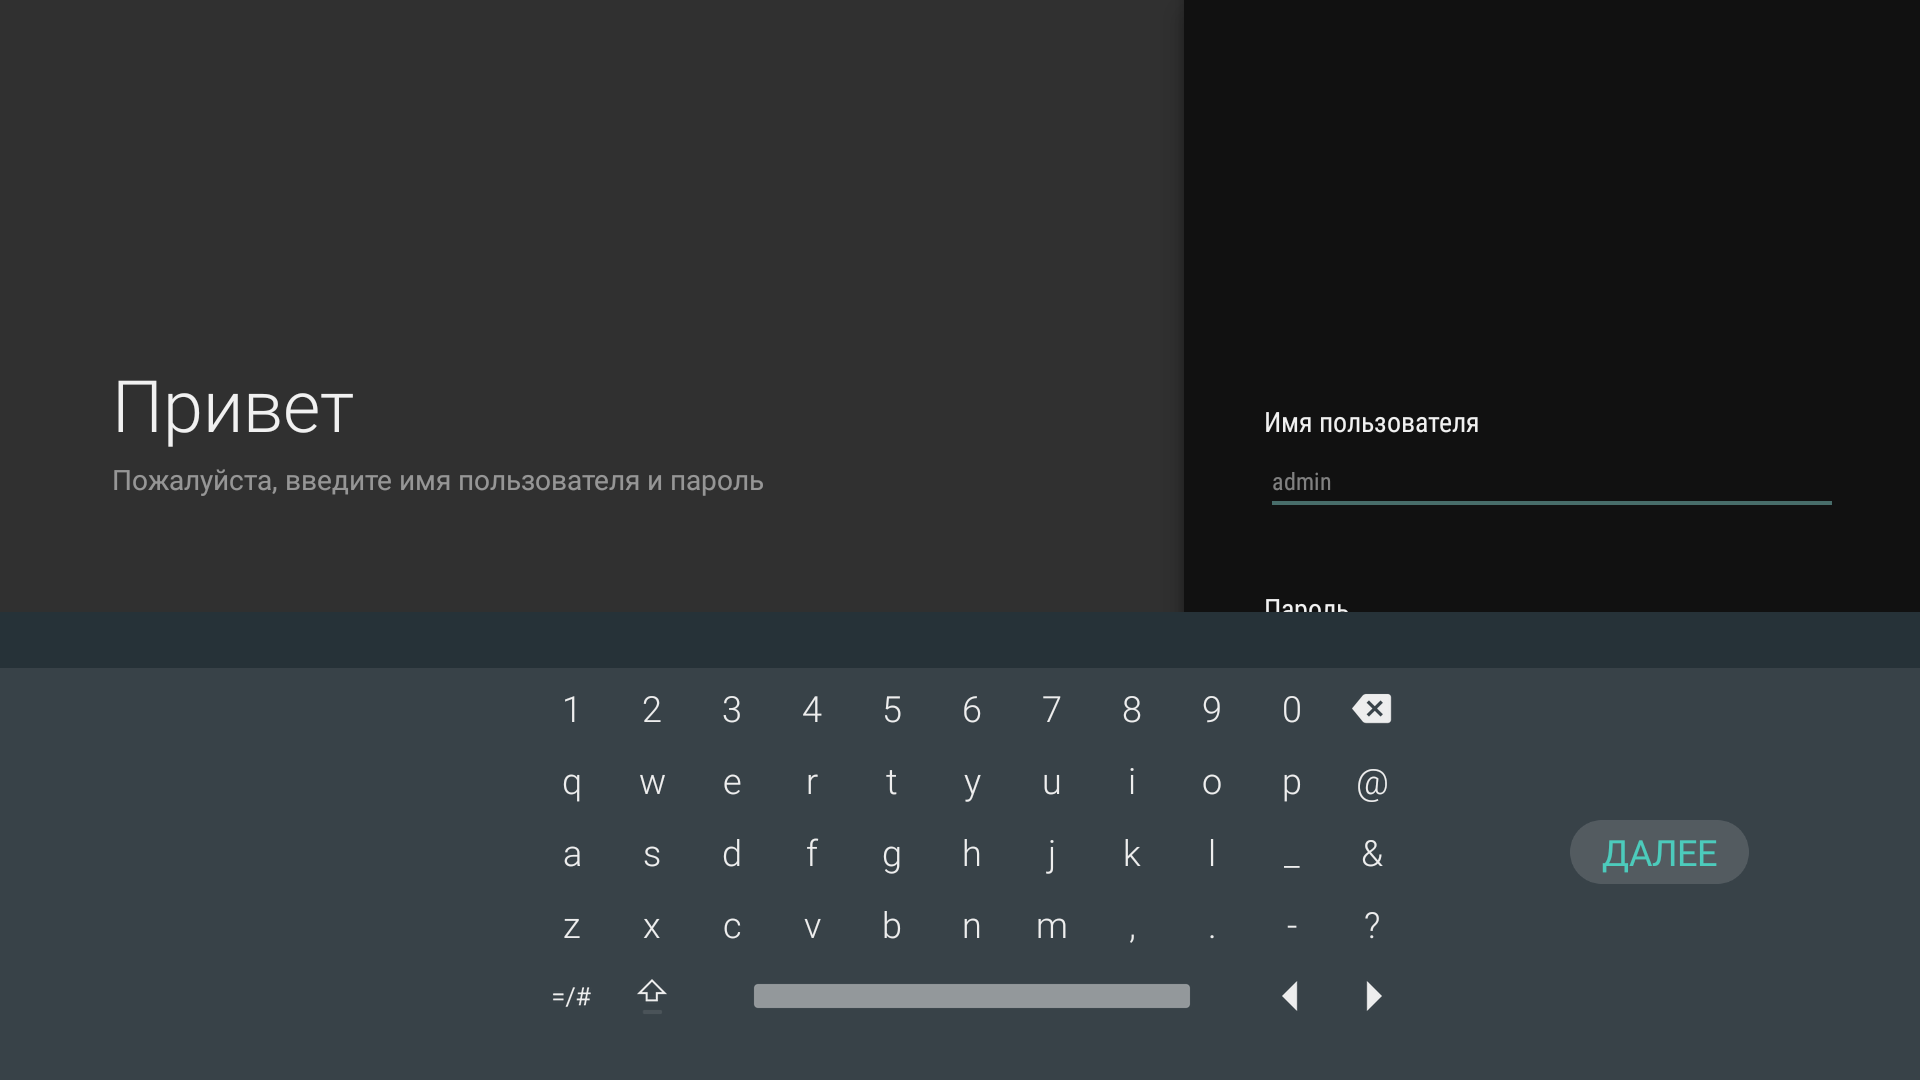
On-screen keyboard below the username field. - Select “Sign in”.
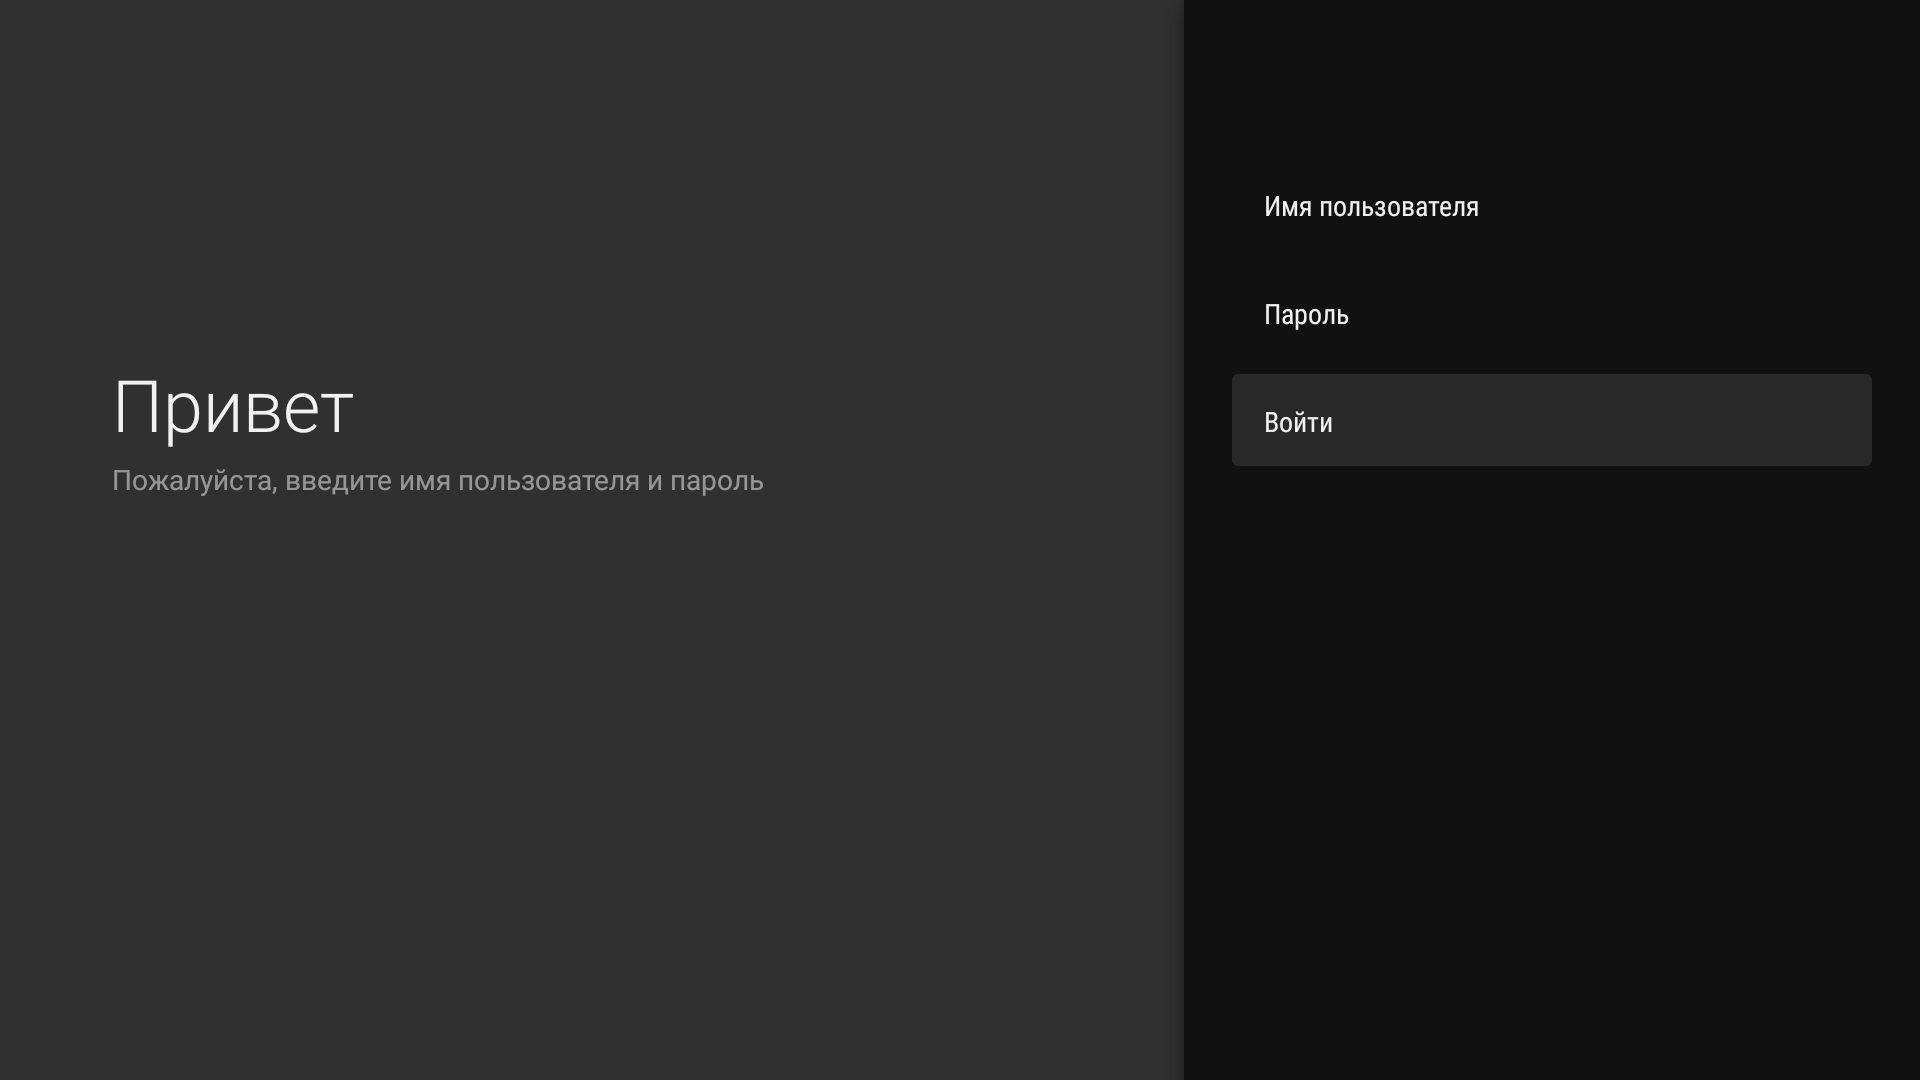
Completed sign-in form with the “Sign in” button. - The TVClub app opens.
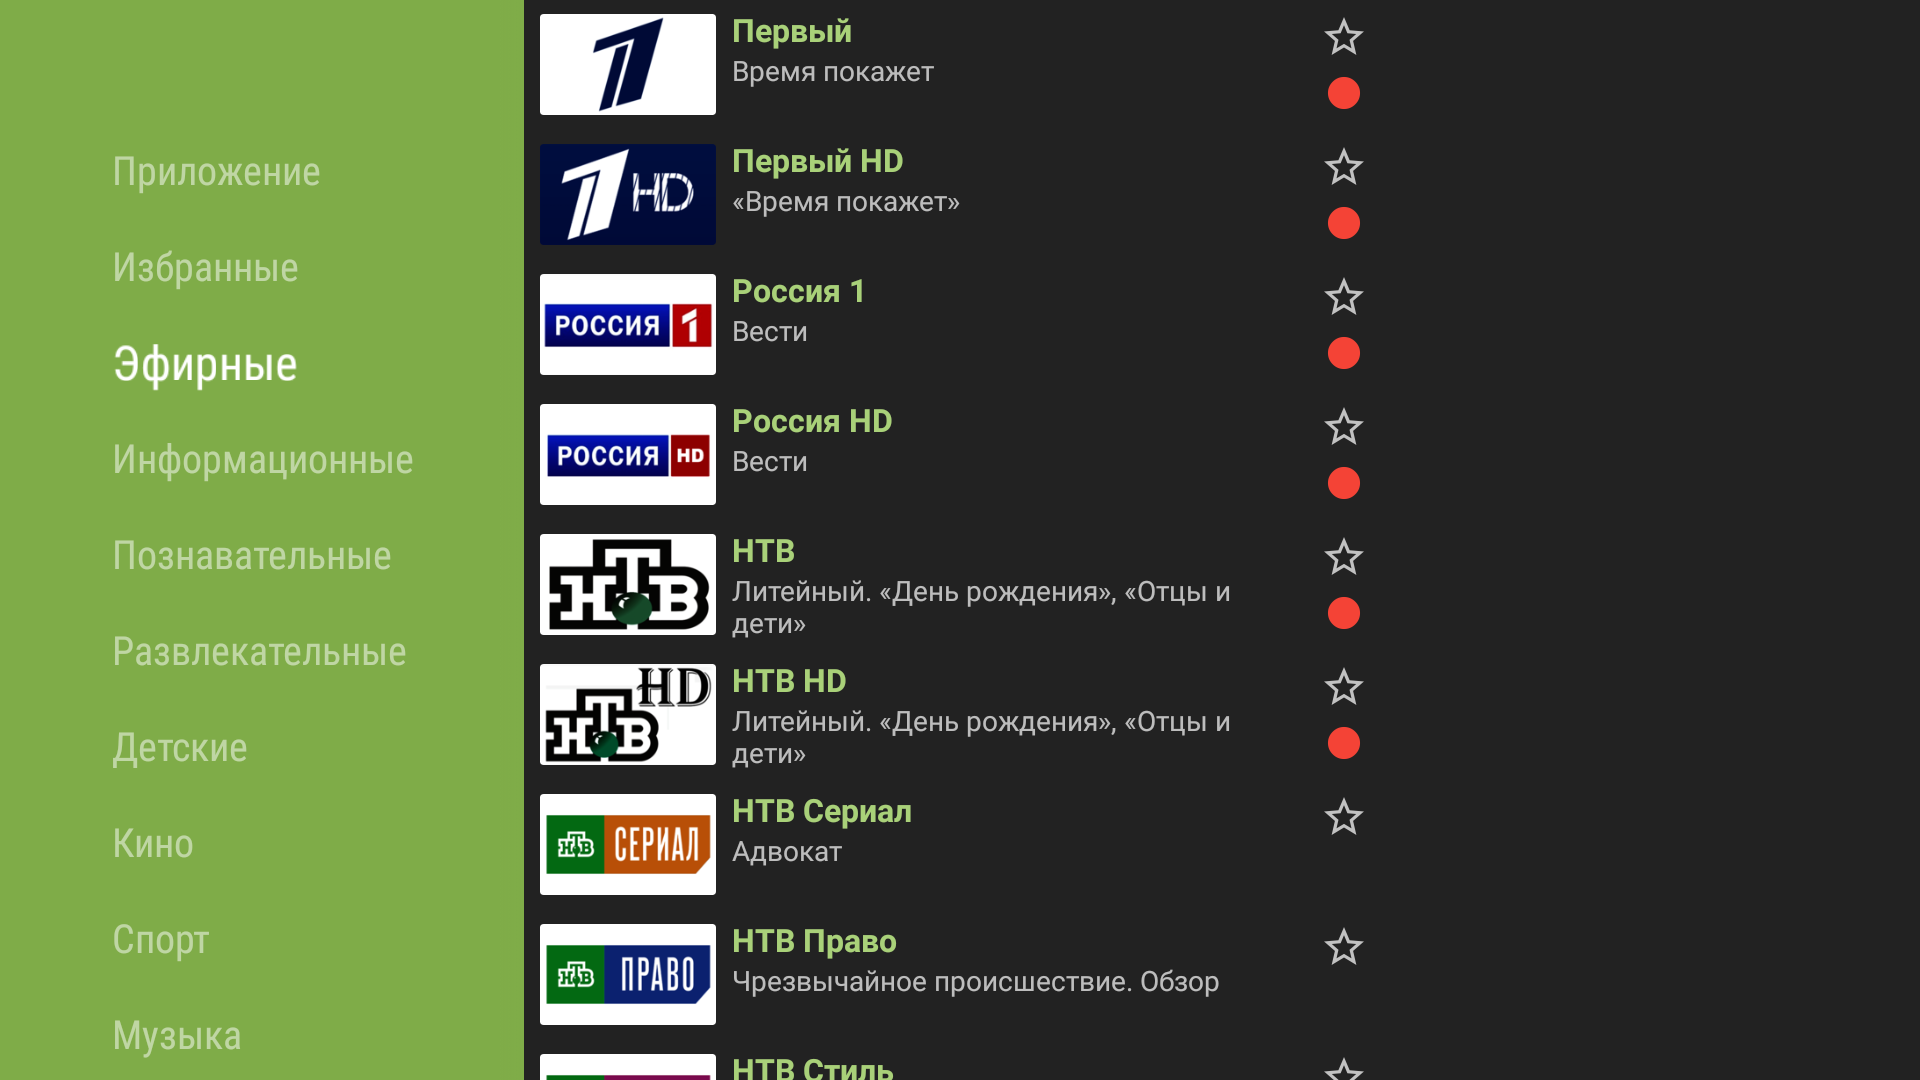
The channel list opens after a successful sign-in.
Attention! If “Wrong login or password” appears, check the following:
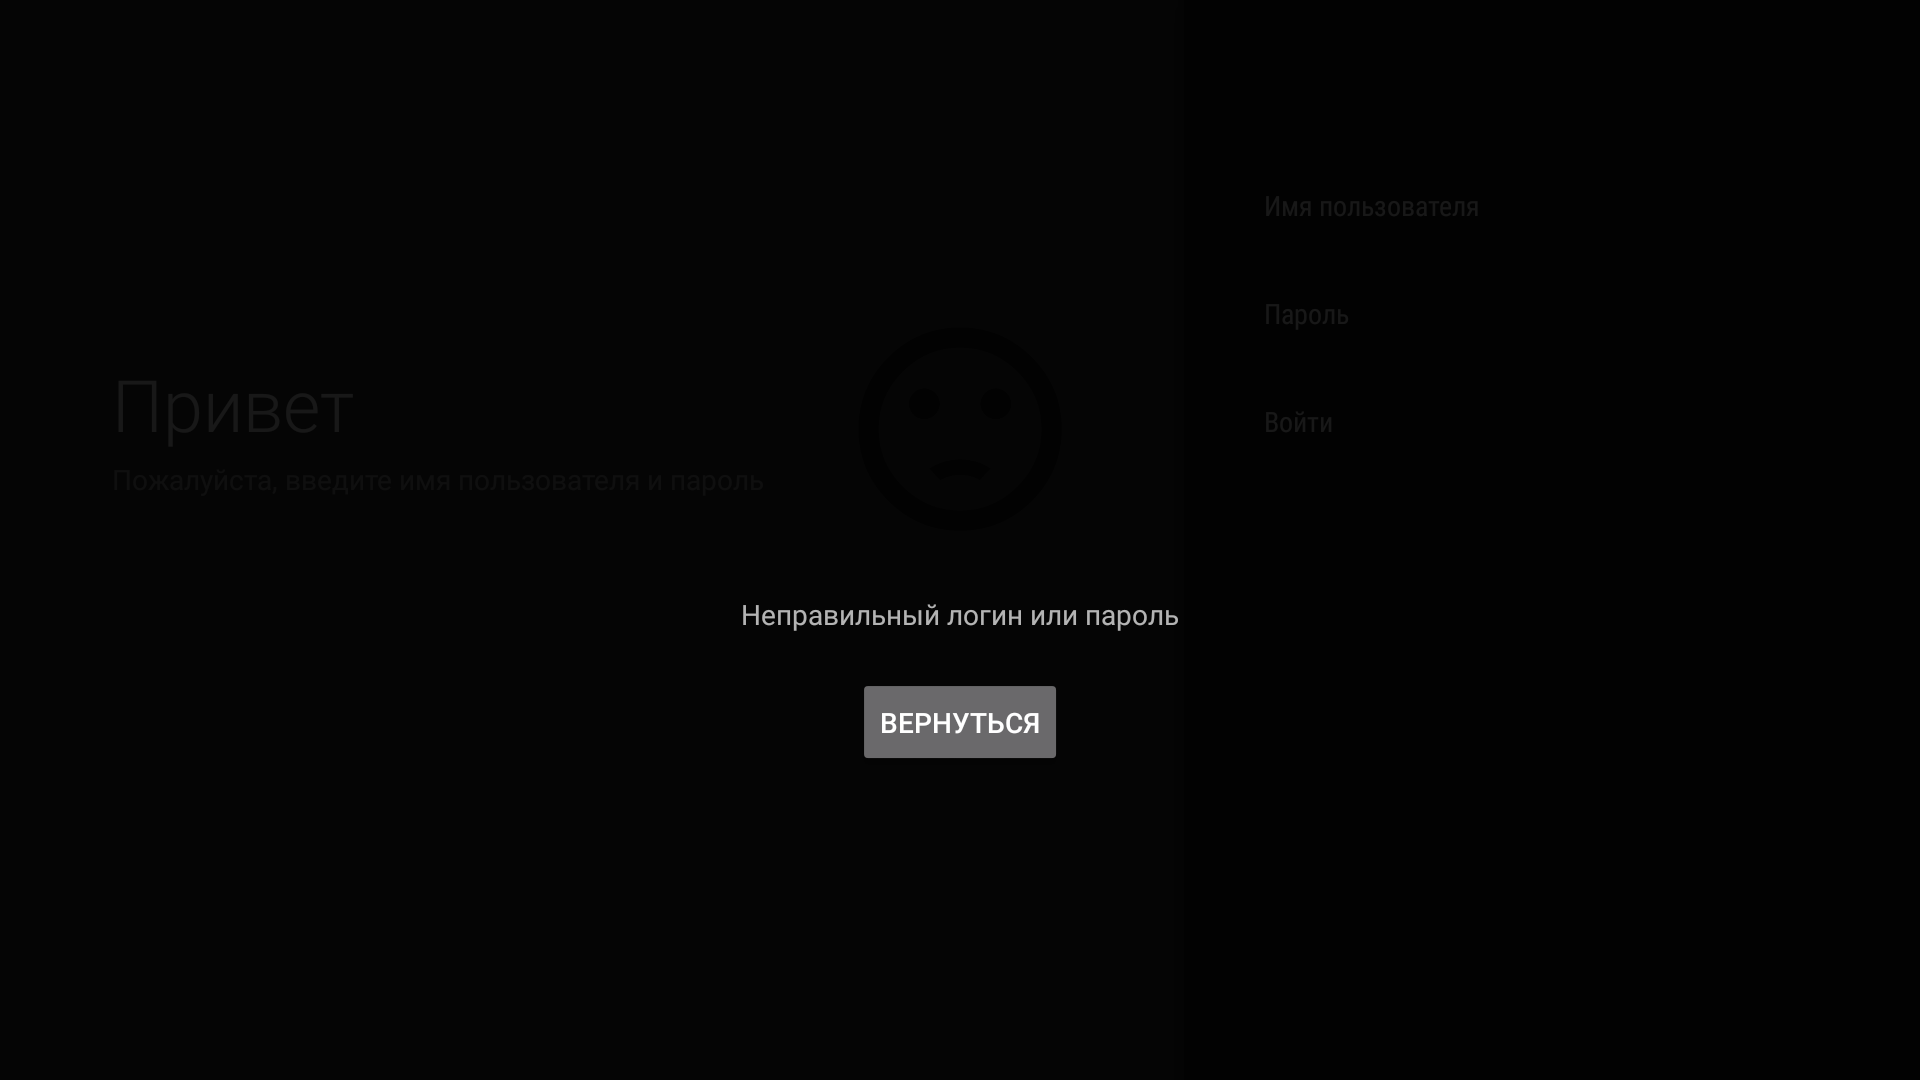
- check the keyboard layout and enter every letter, number, and symbol exactly;
- use the same capitalization as in your registration details;
- make sure autocorrect has not changed the details you entered.
Android TV settings
Change sign-in details
- In the app menu, select “Application”.
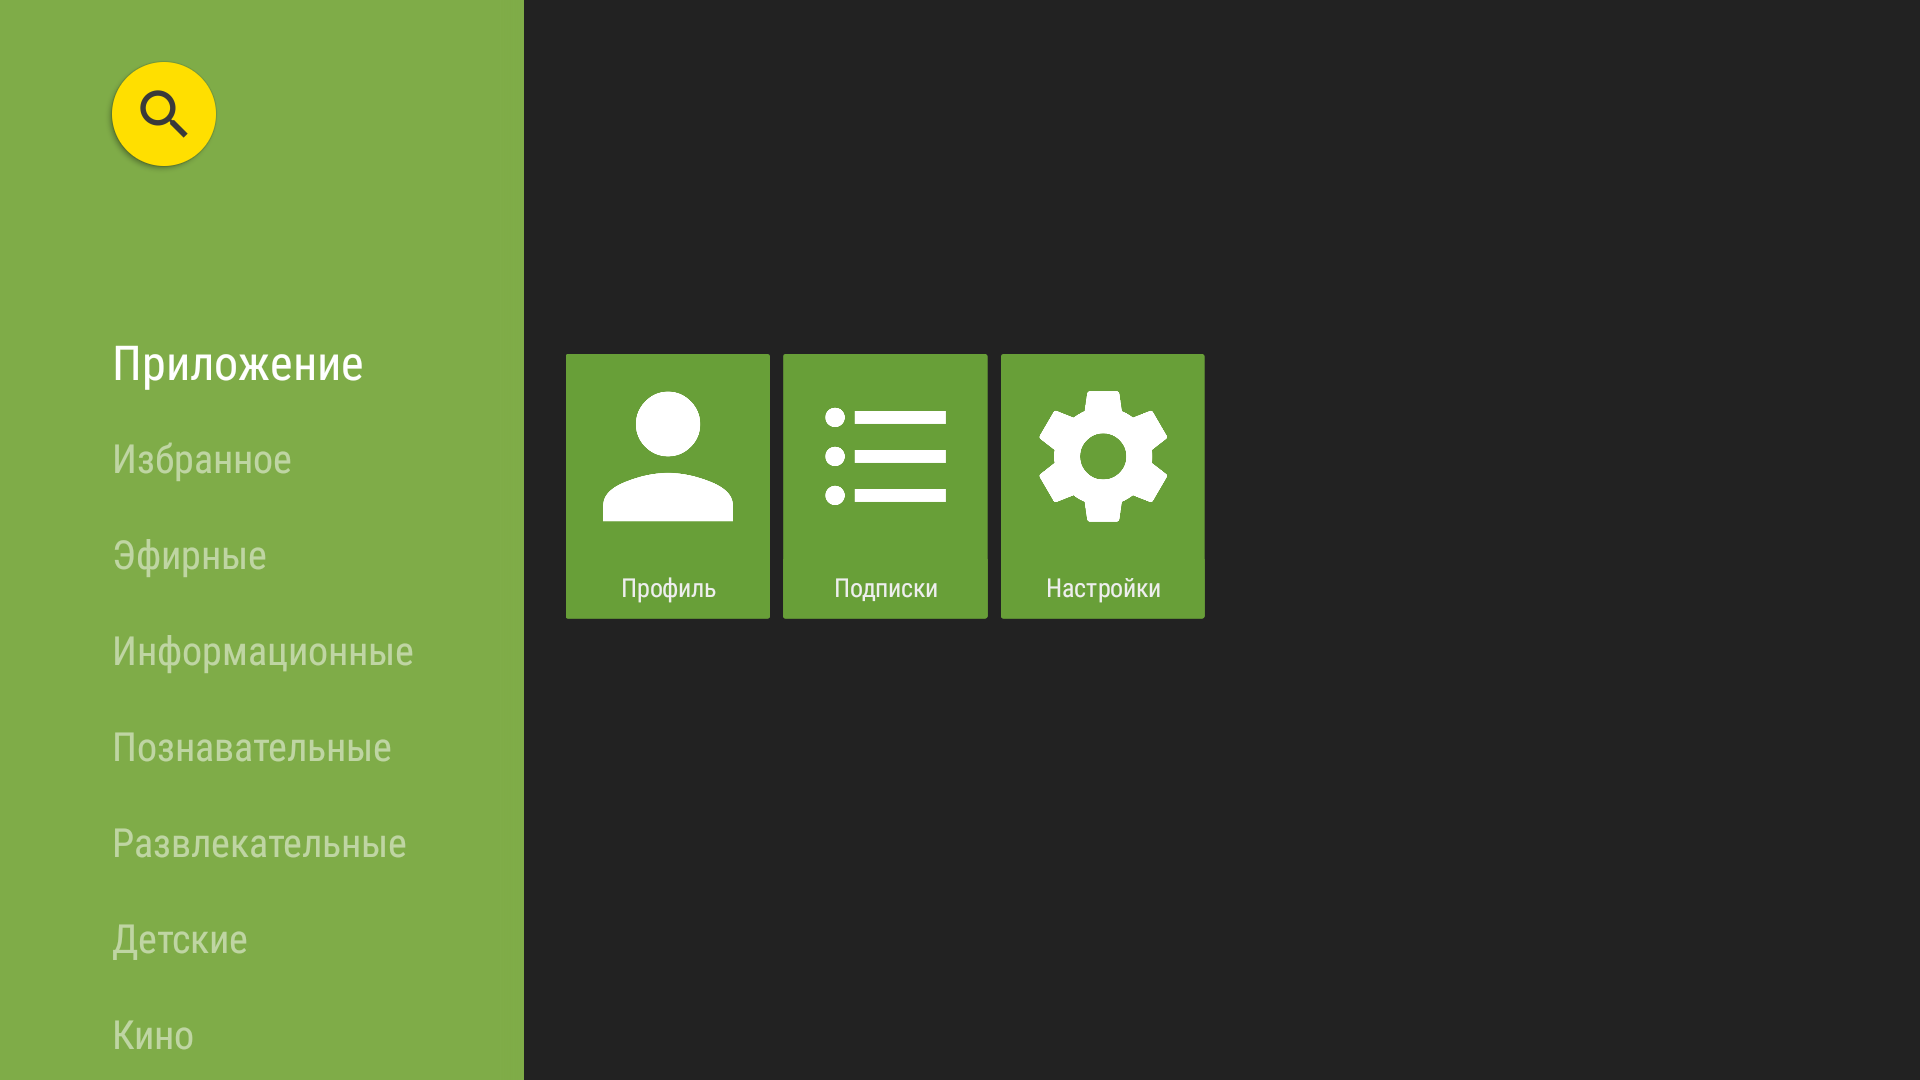
Change sign-in details: “Application” item in the app menu. - In the menu that opens, select “Profile”.
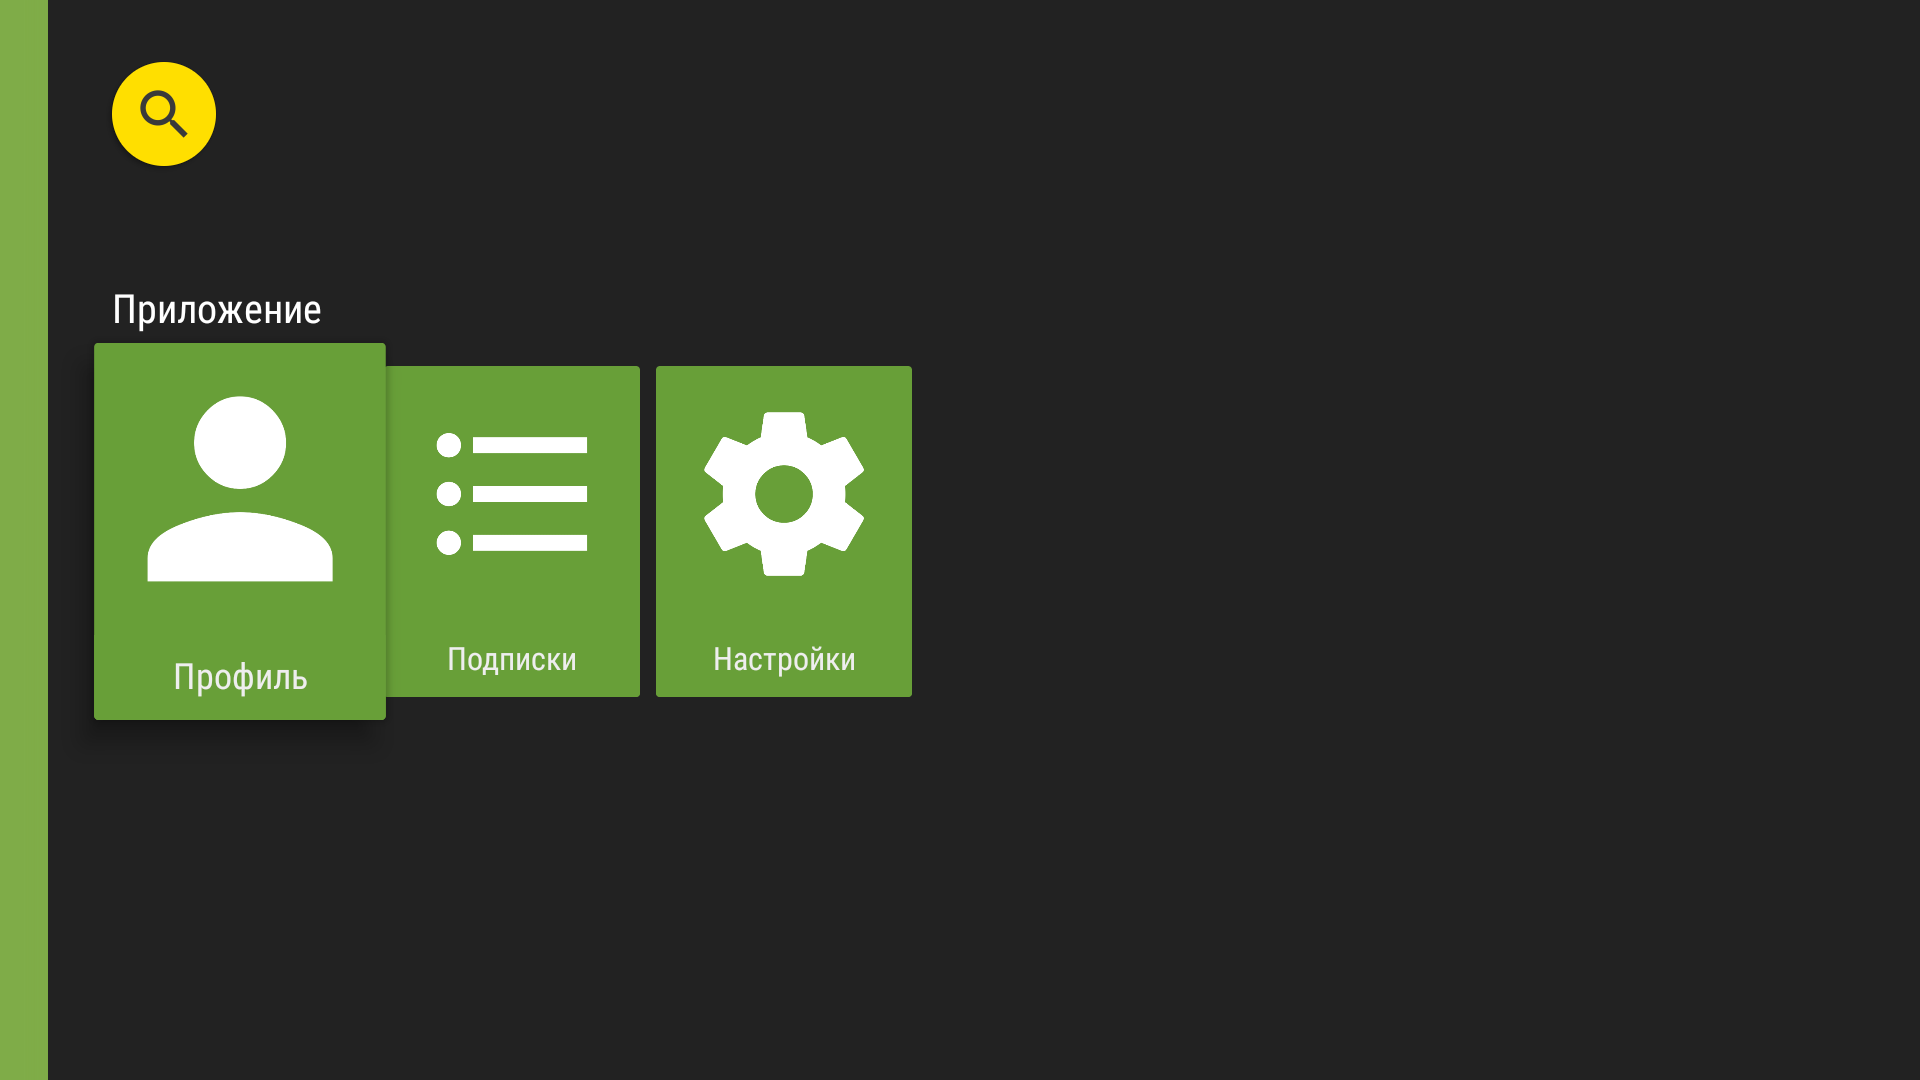
Change sign-in details: “Profile” item in the open menu. - Your profile opens with the connected services. Select “Log out”.
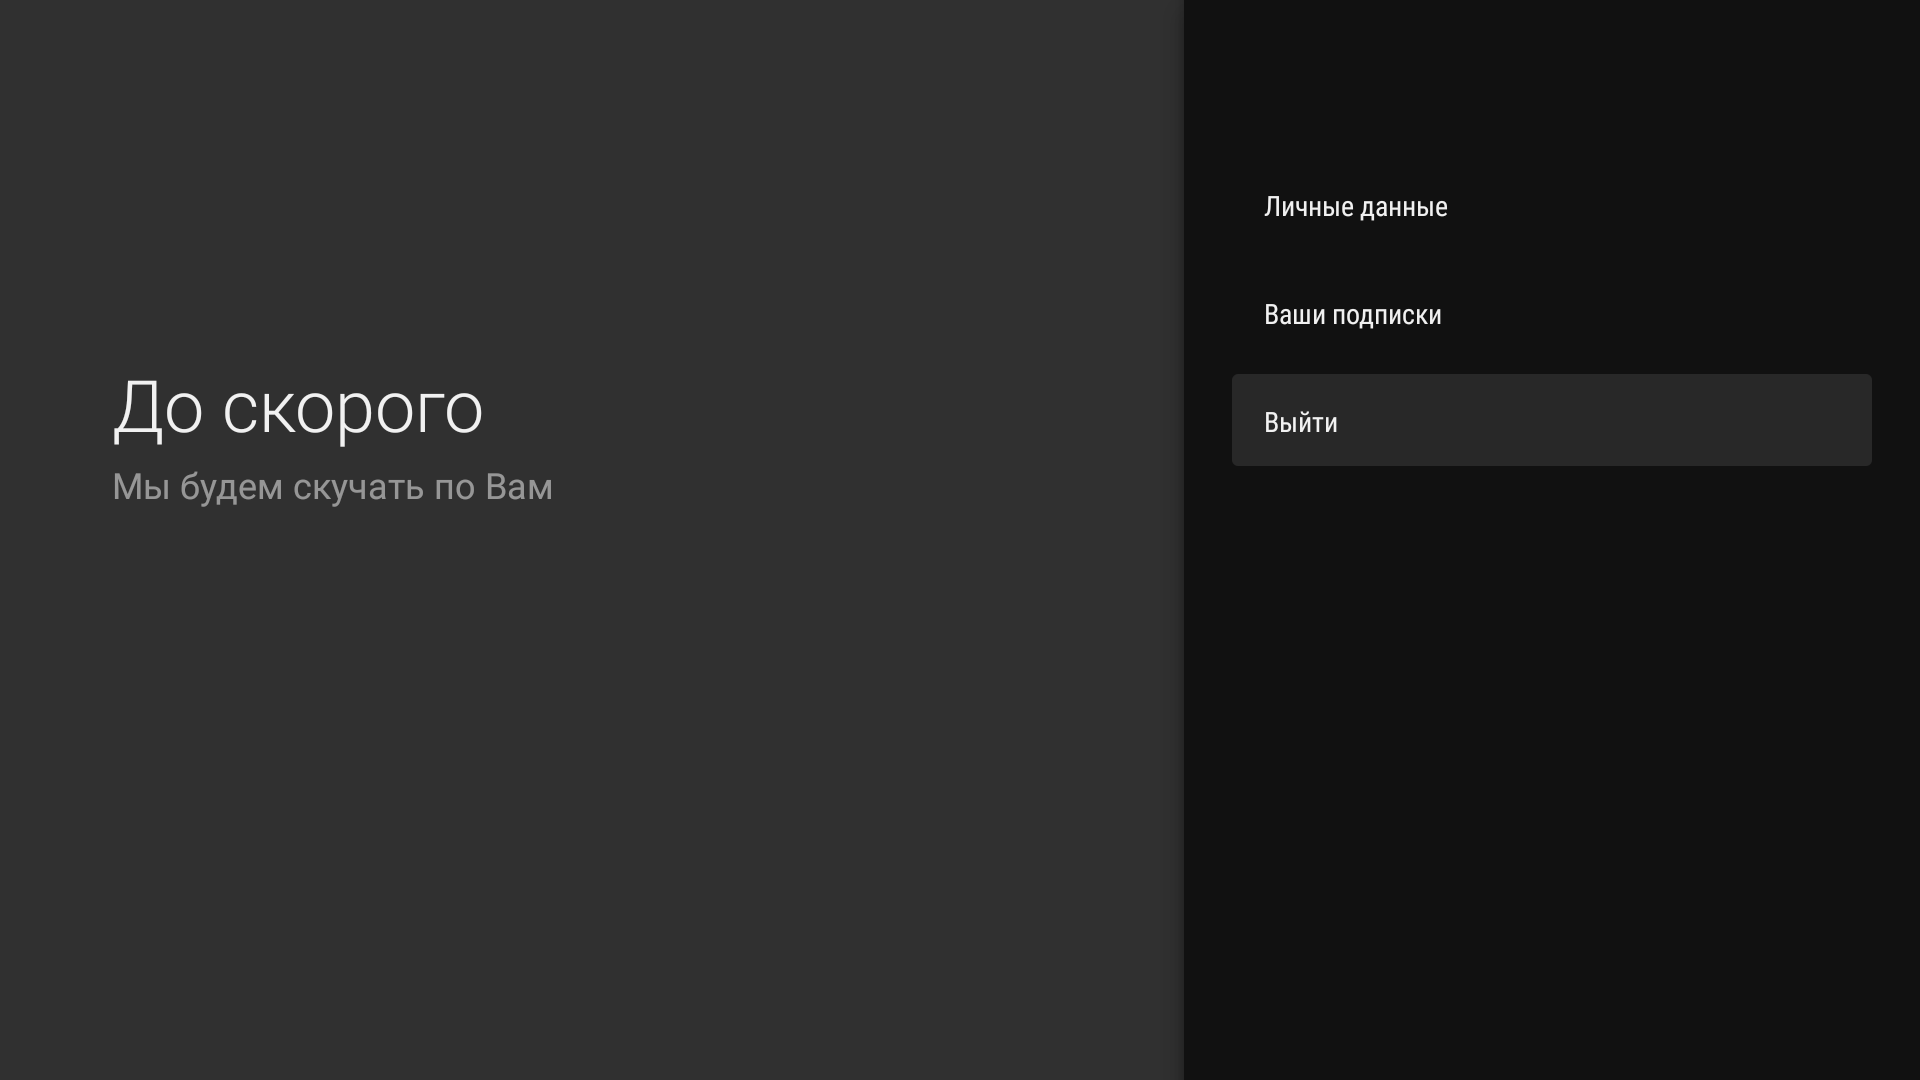
Changing login: profile menu in the Android TV version. - Enter the new credentials, then select “Sign in”.
The sign-in form opens on first launch and when changing accounts.
Change streaming server
- In the app menu, select “Settings”.
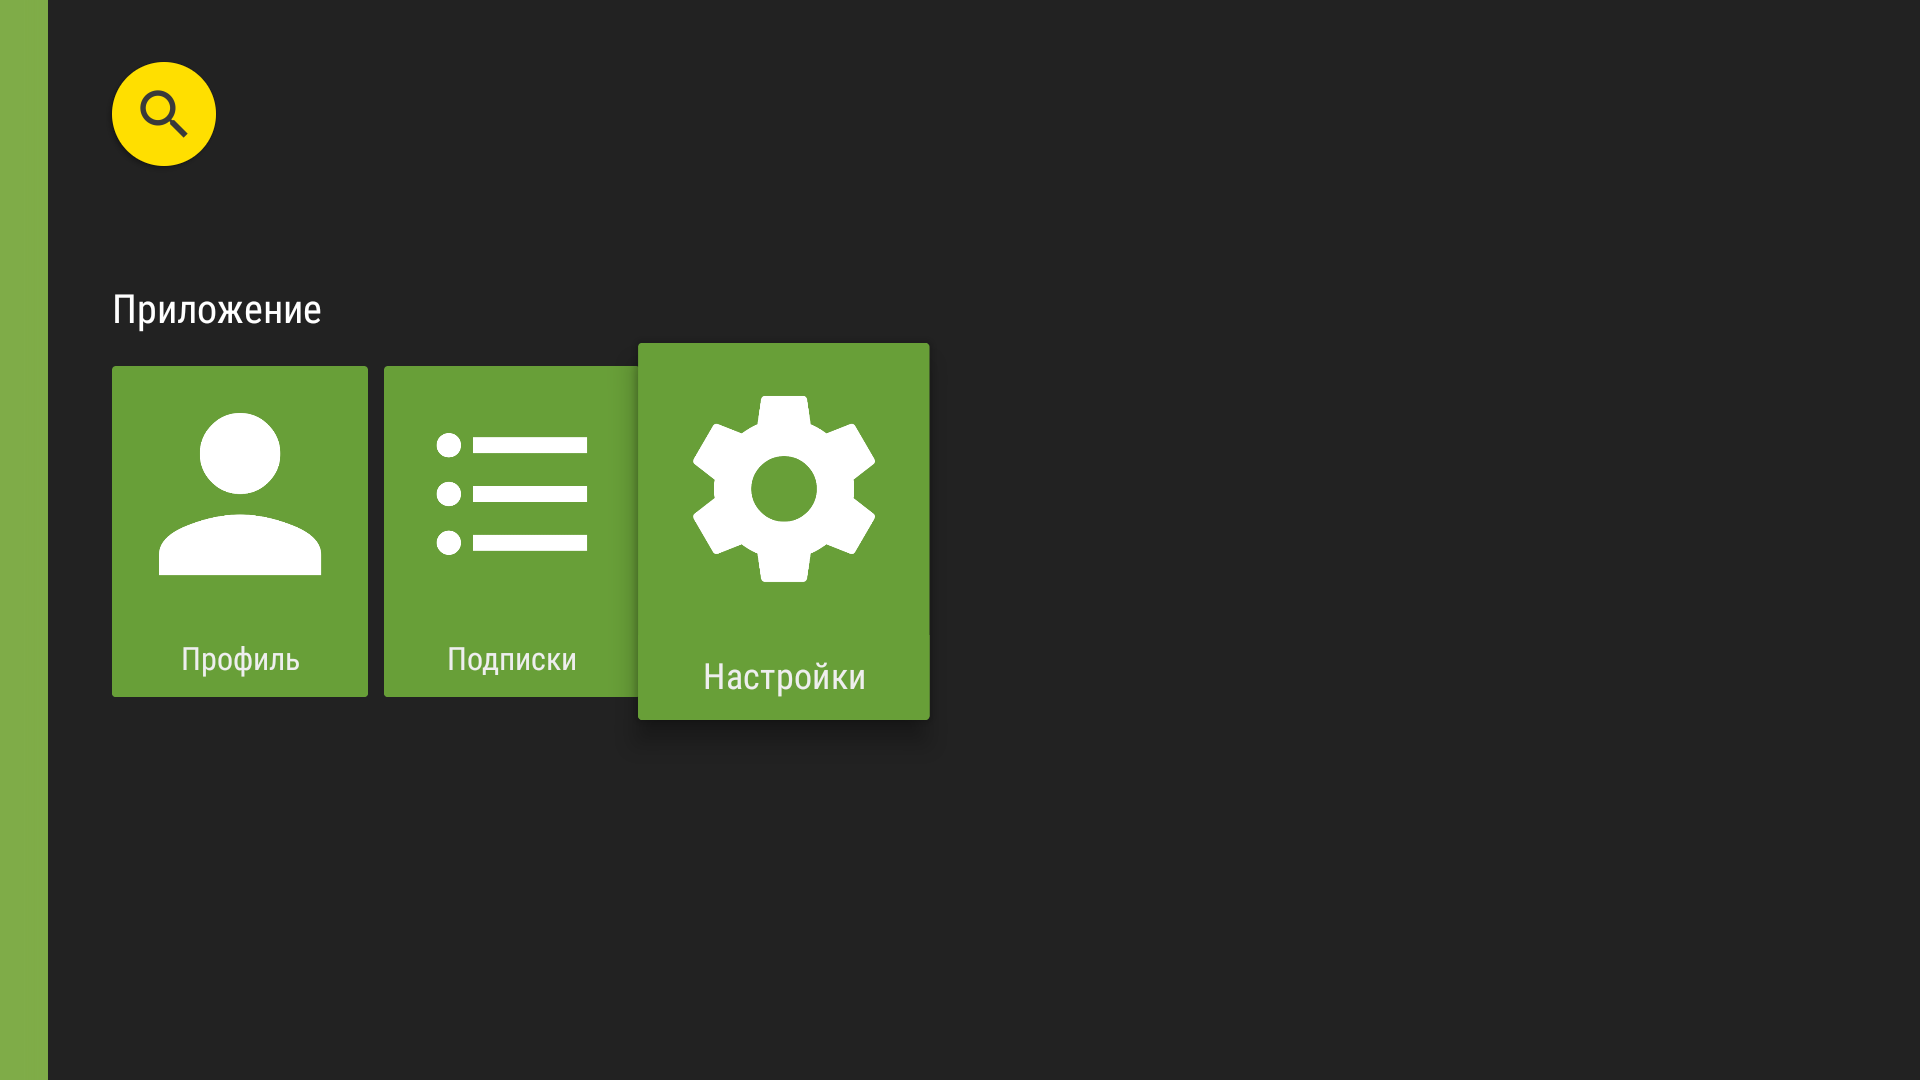
“Settings” in the app menu. - Under “Service”, select the current streaming server.
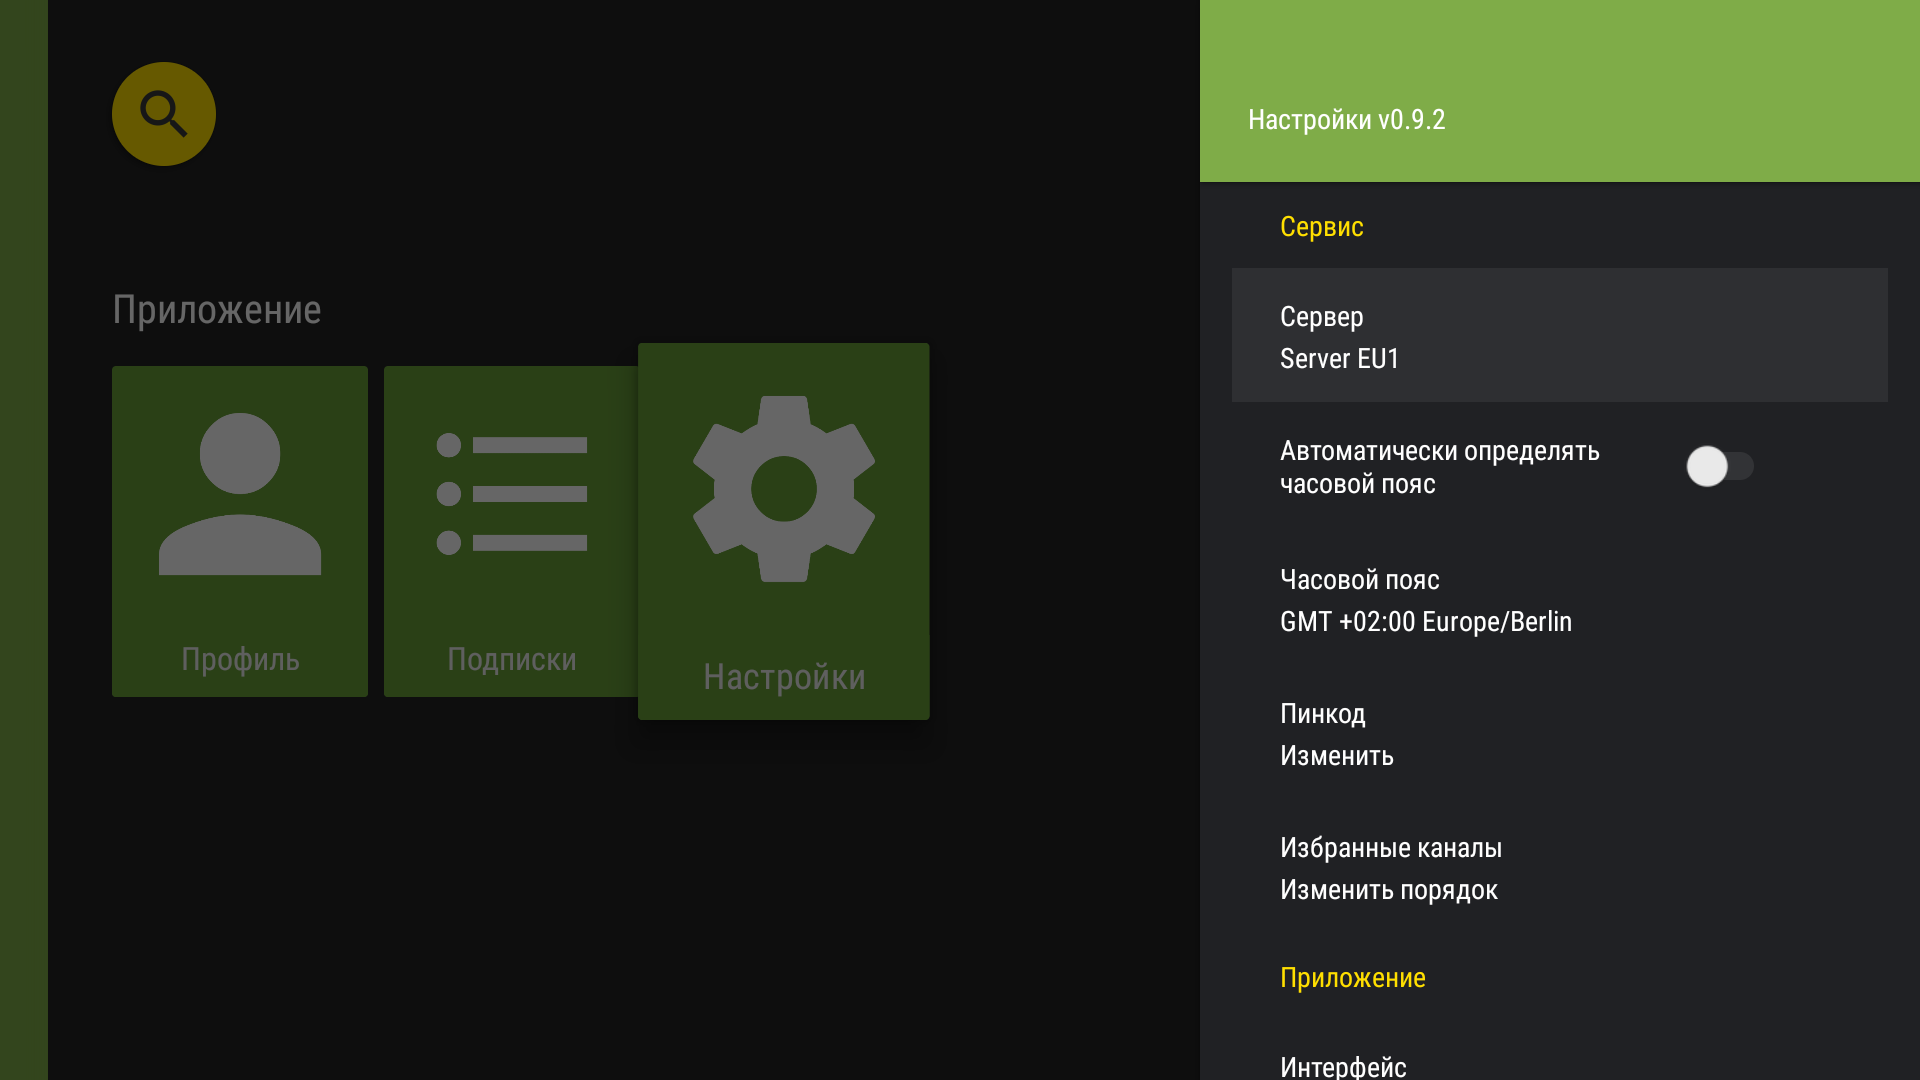
Current streaming server under Service. - A menu will open to select a server. Select the desired server.
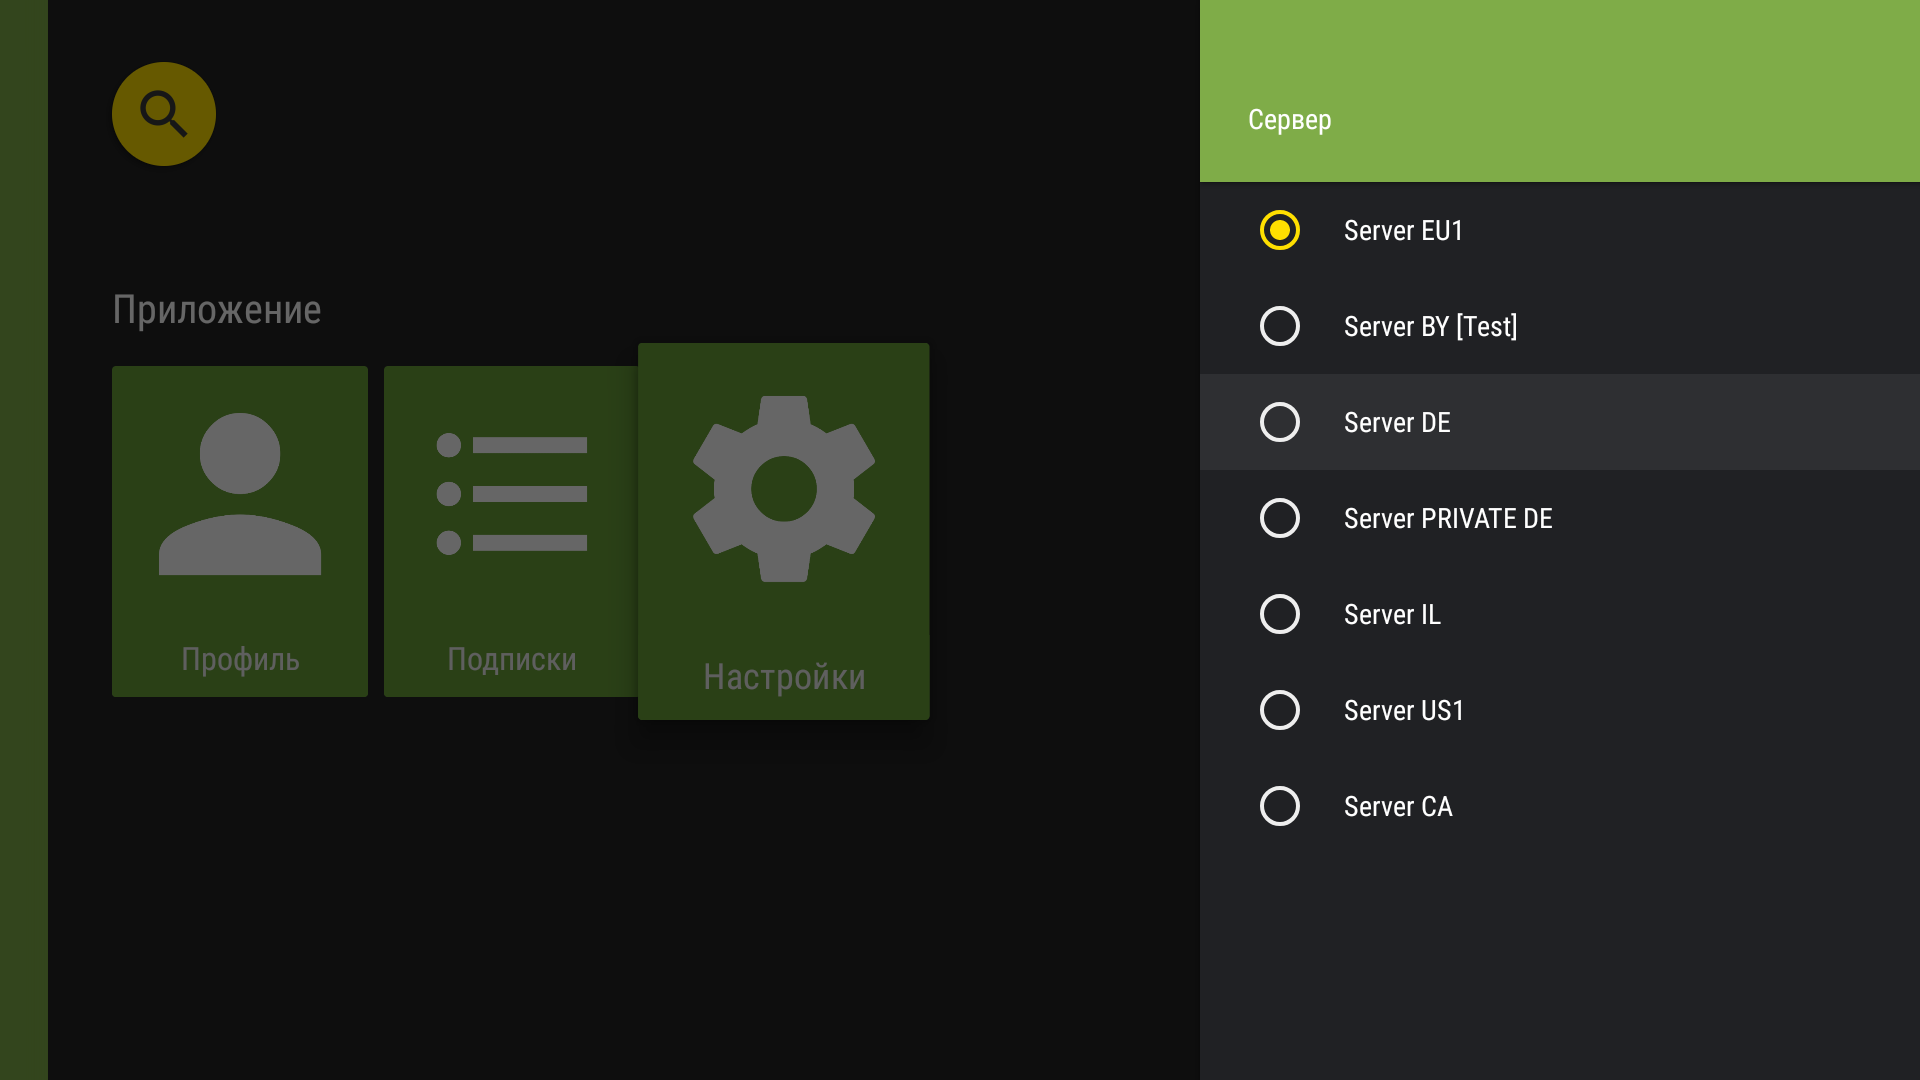
Changing streaming server: server selection menu in the Android TV version. - The streaming server has been changed.
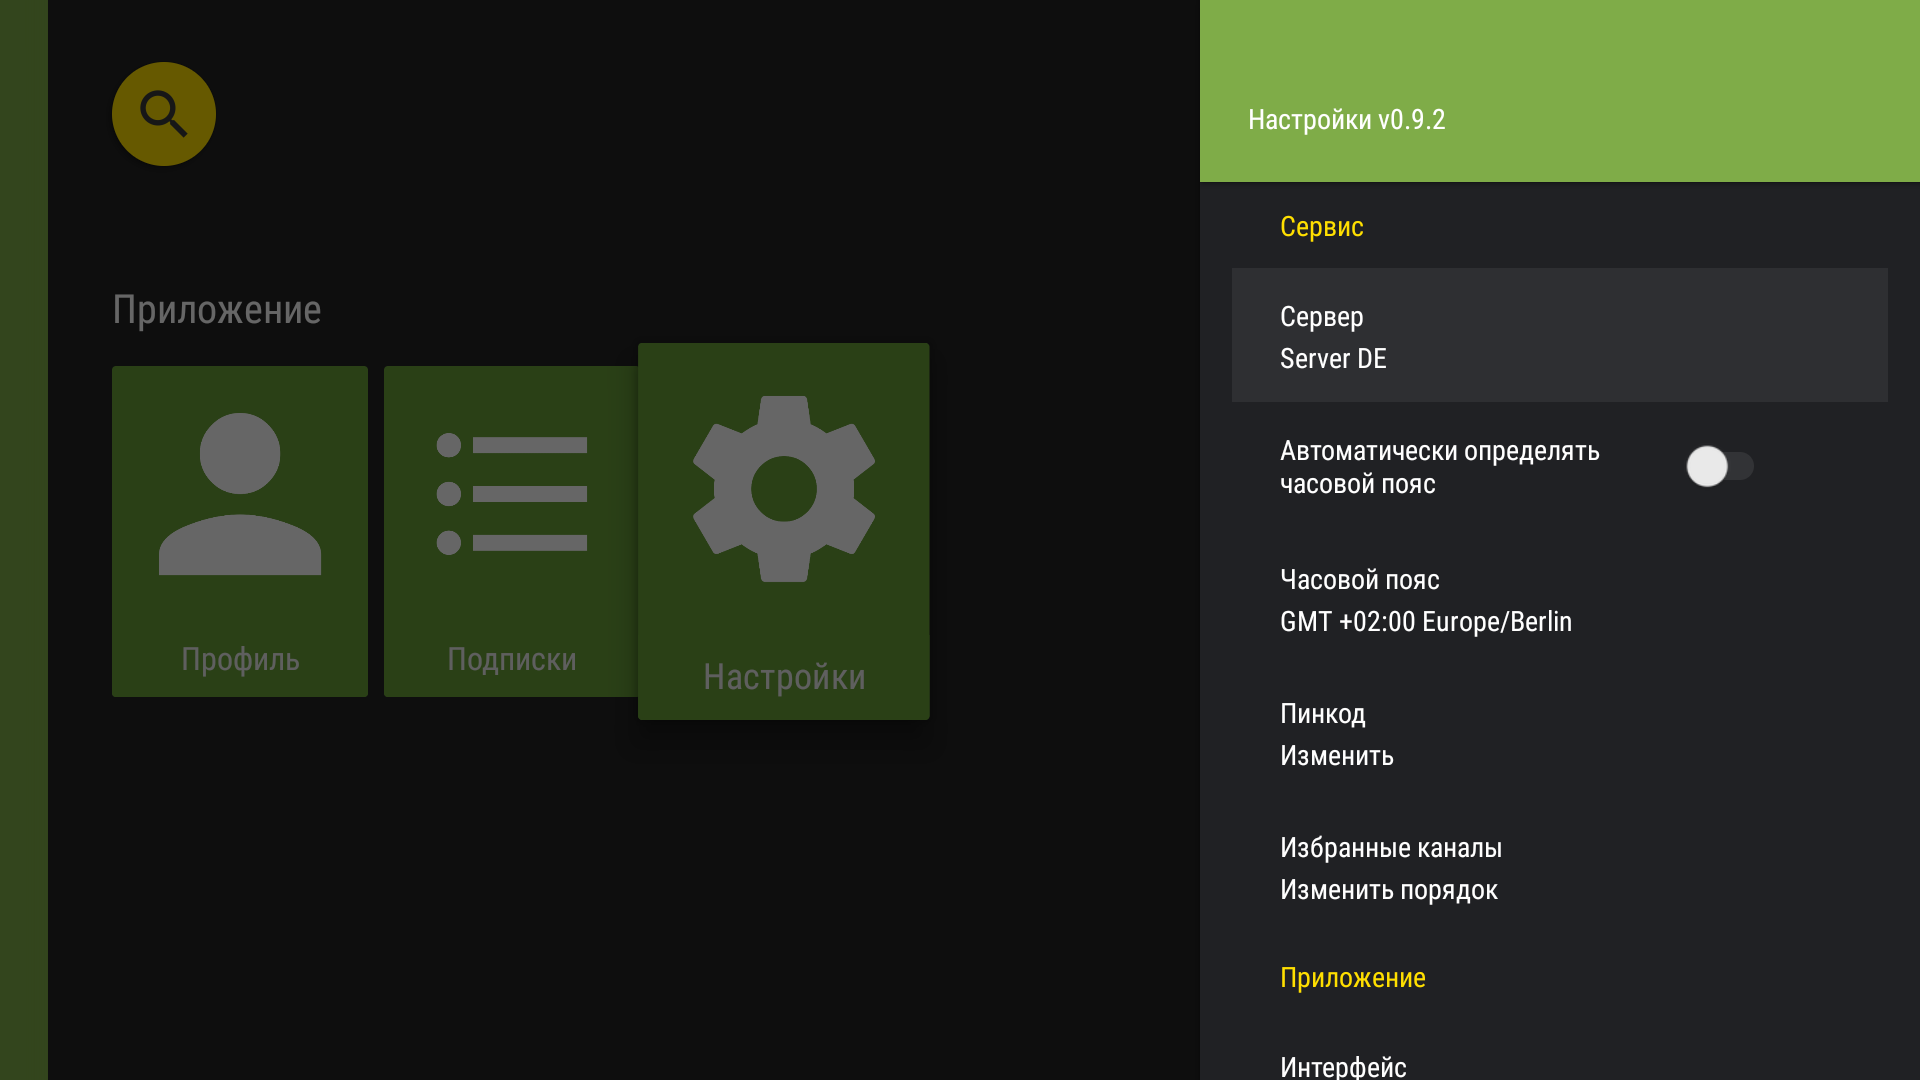
Confirmation of the selected streaming server.
Change time zone
- Select “Settings” from the app menu.
“Settings” in the app menu. - Under “Service”, turn off “Auto timezone”.
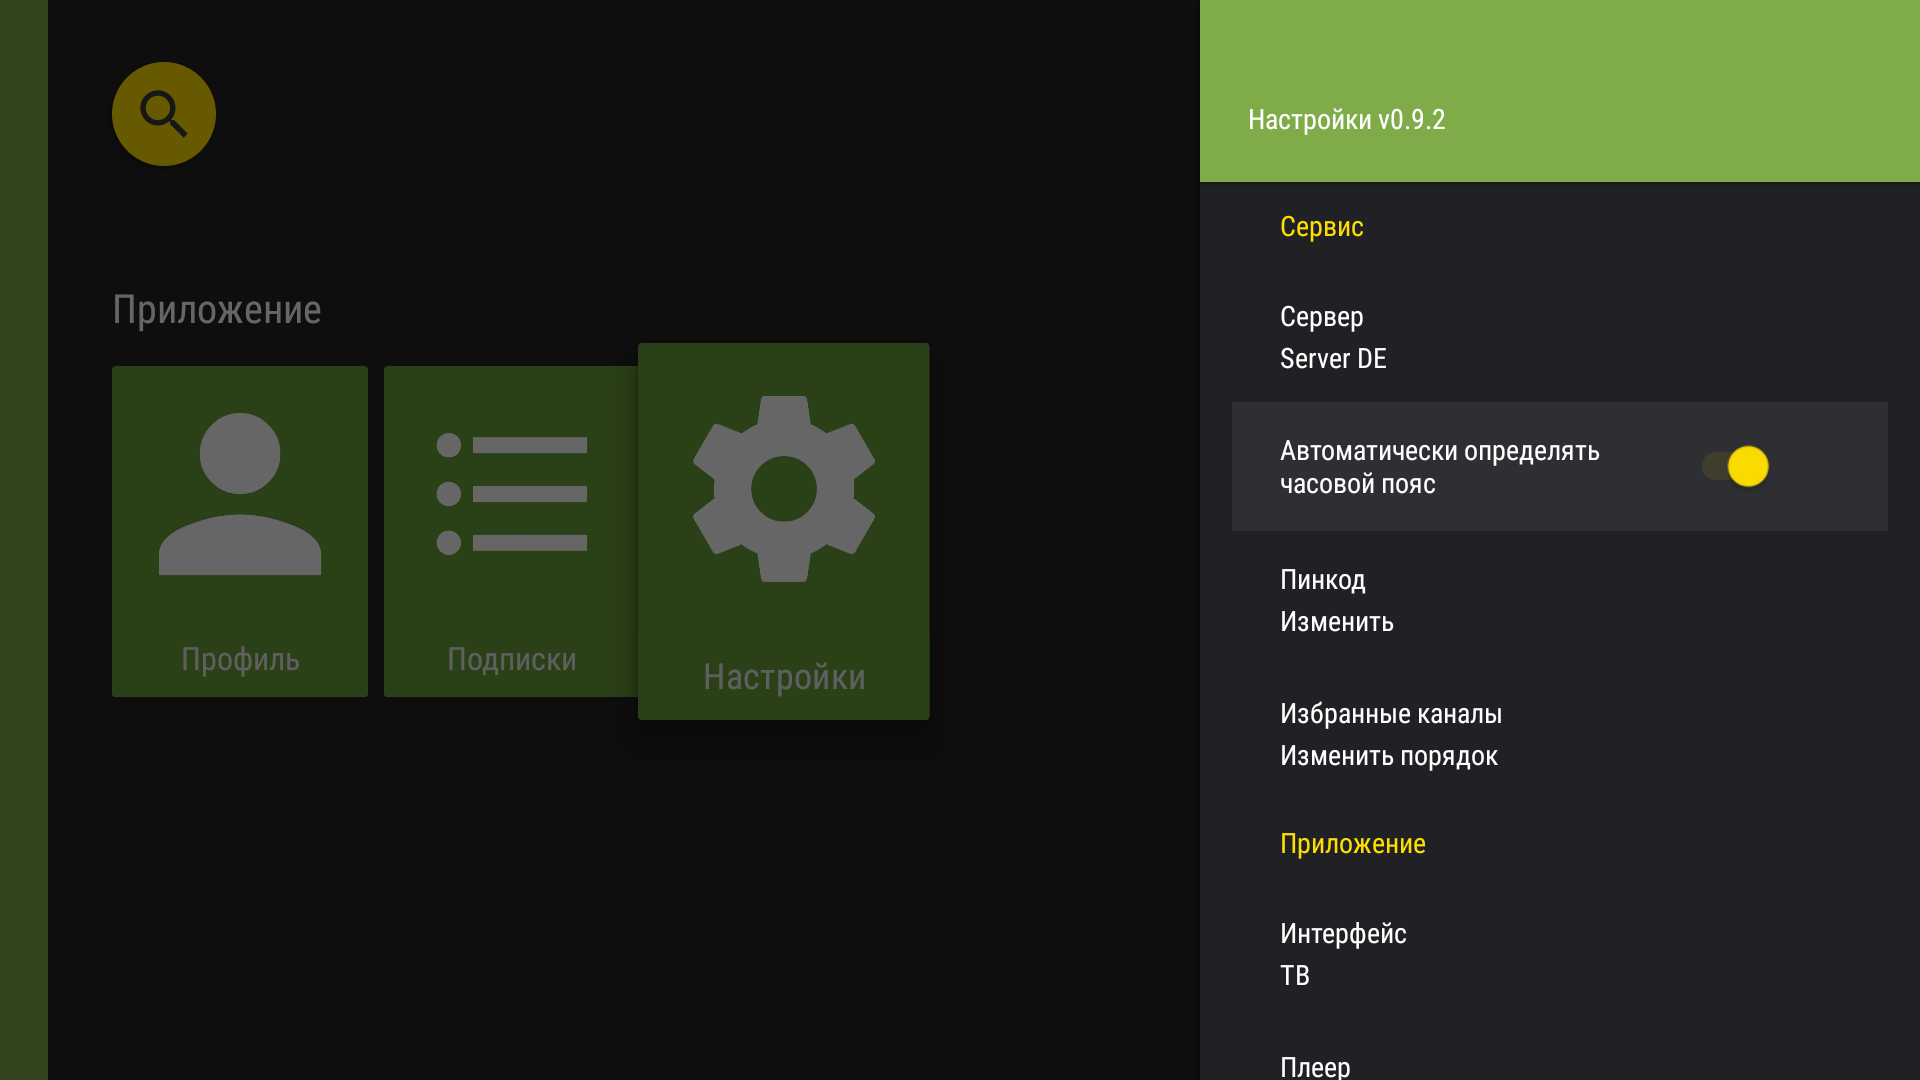
Automatic time-zone detection is enabled. - Open the “Time zone” option that now appears.
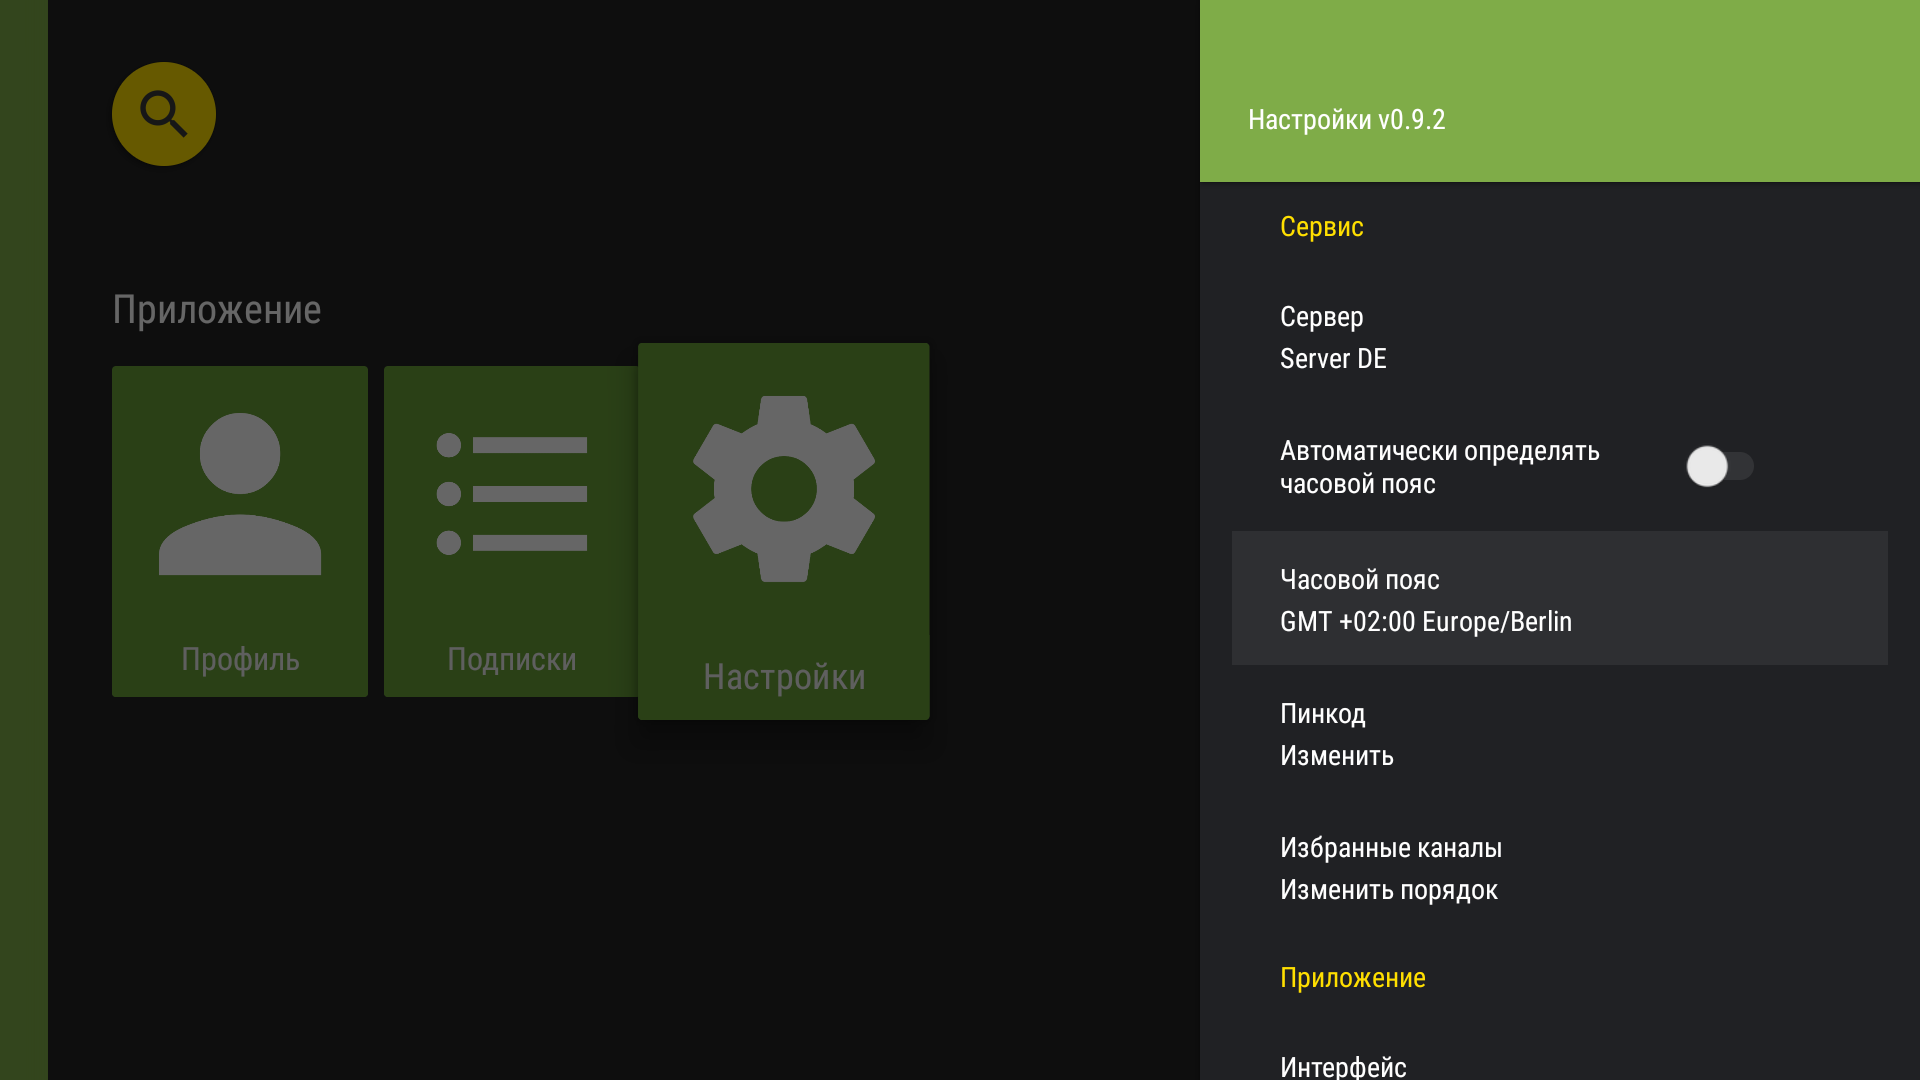
The “Time zone” row appears after automatic detection is disabled. - Select the required time zone.
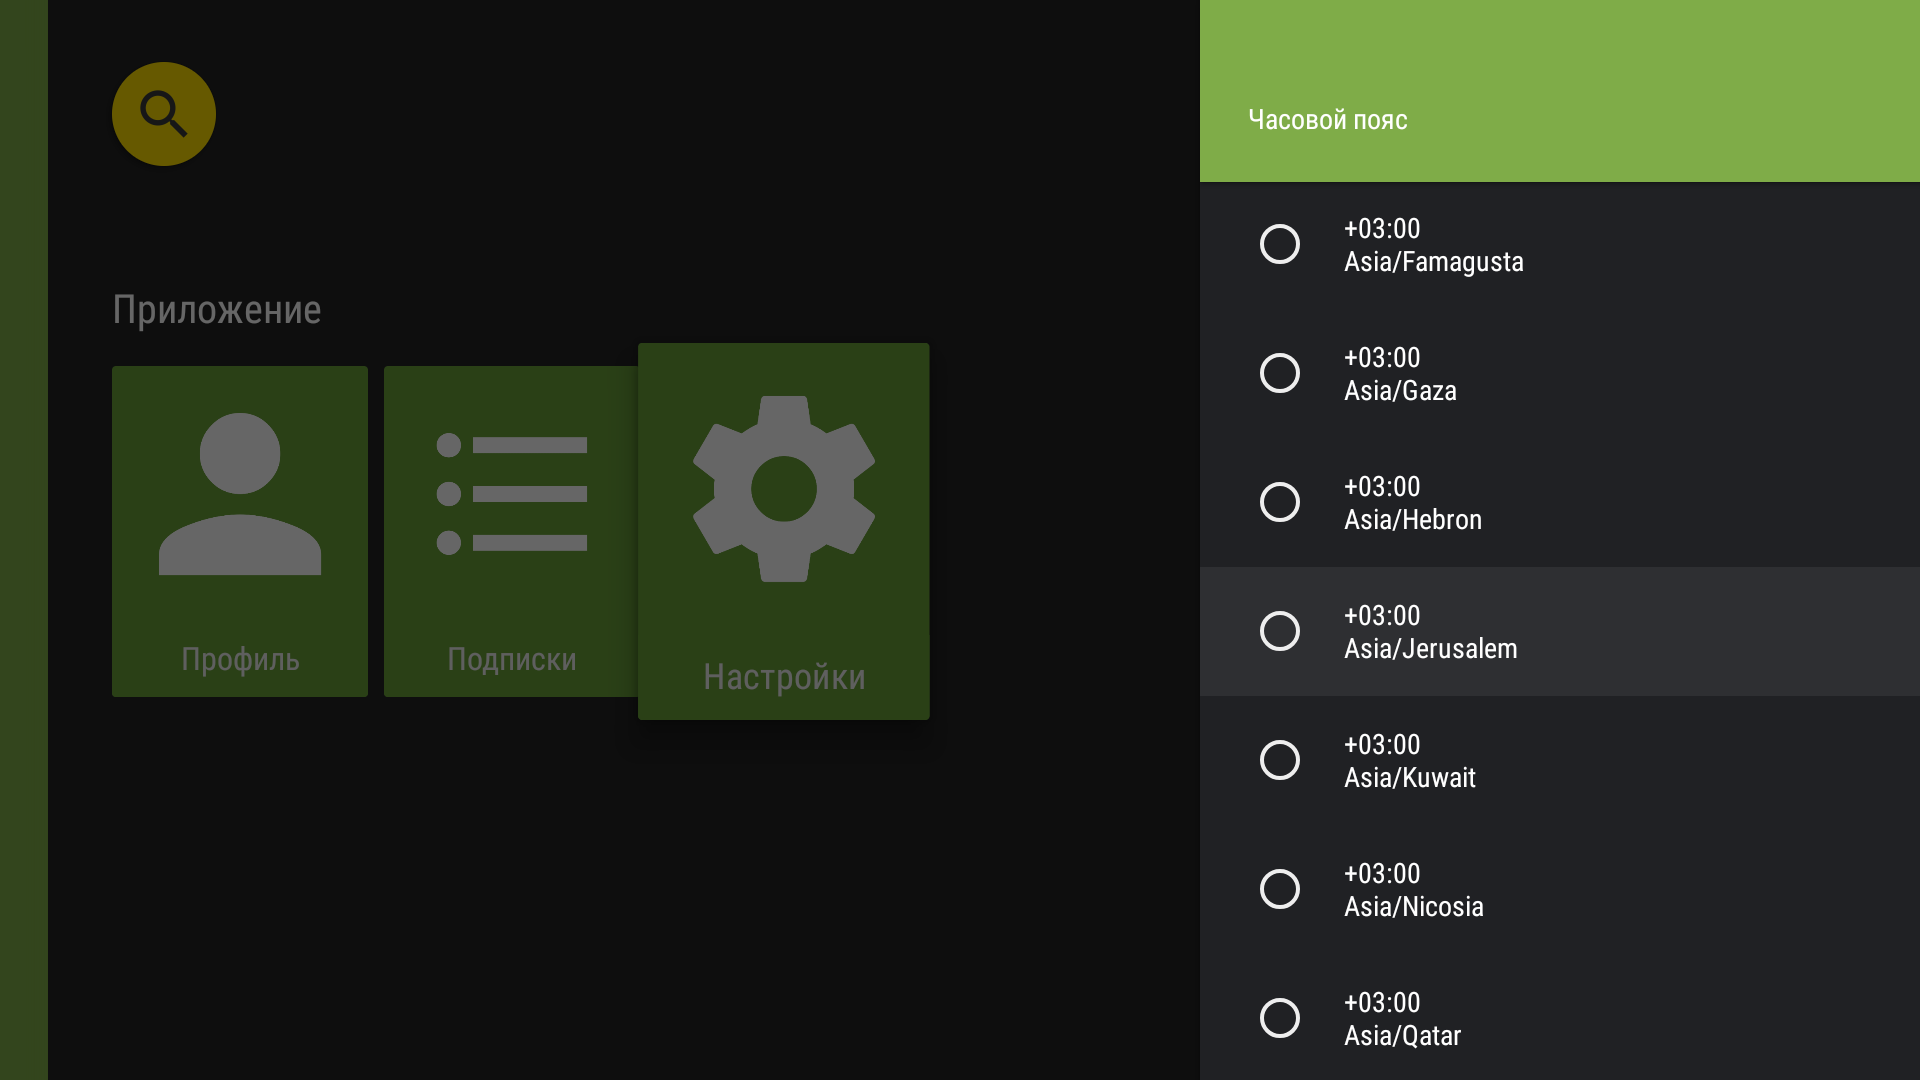
Time-zone list. - Confirm that the selected value is shown in the settings.
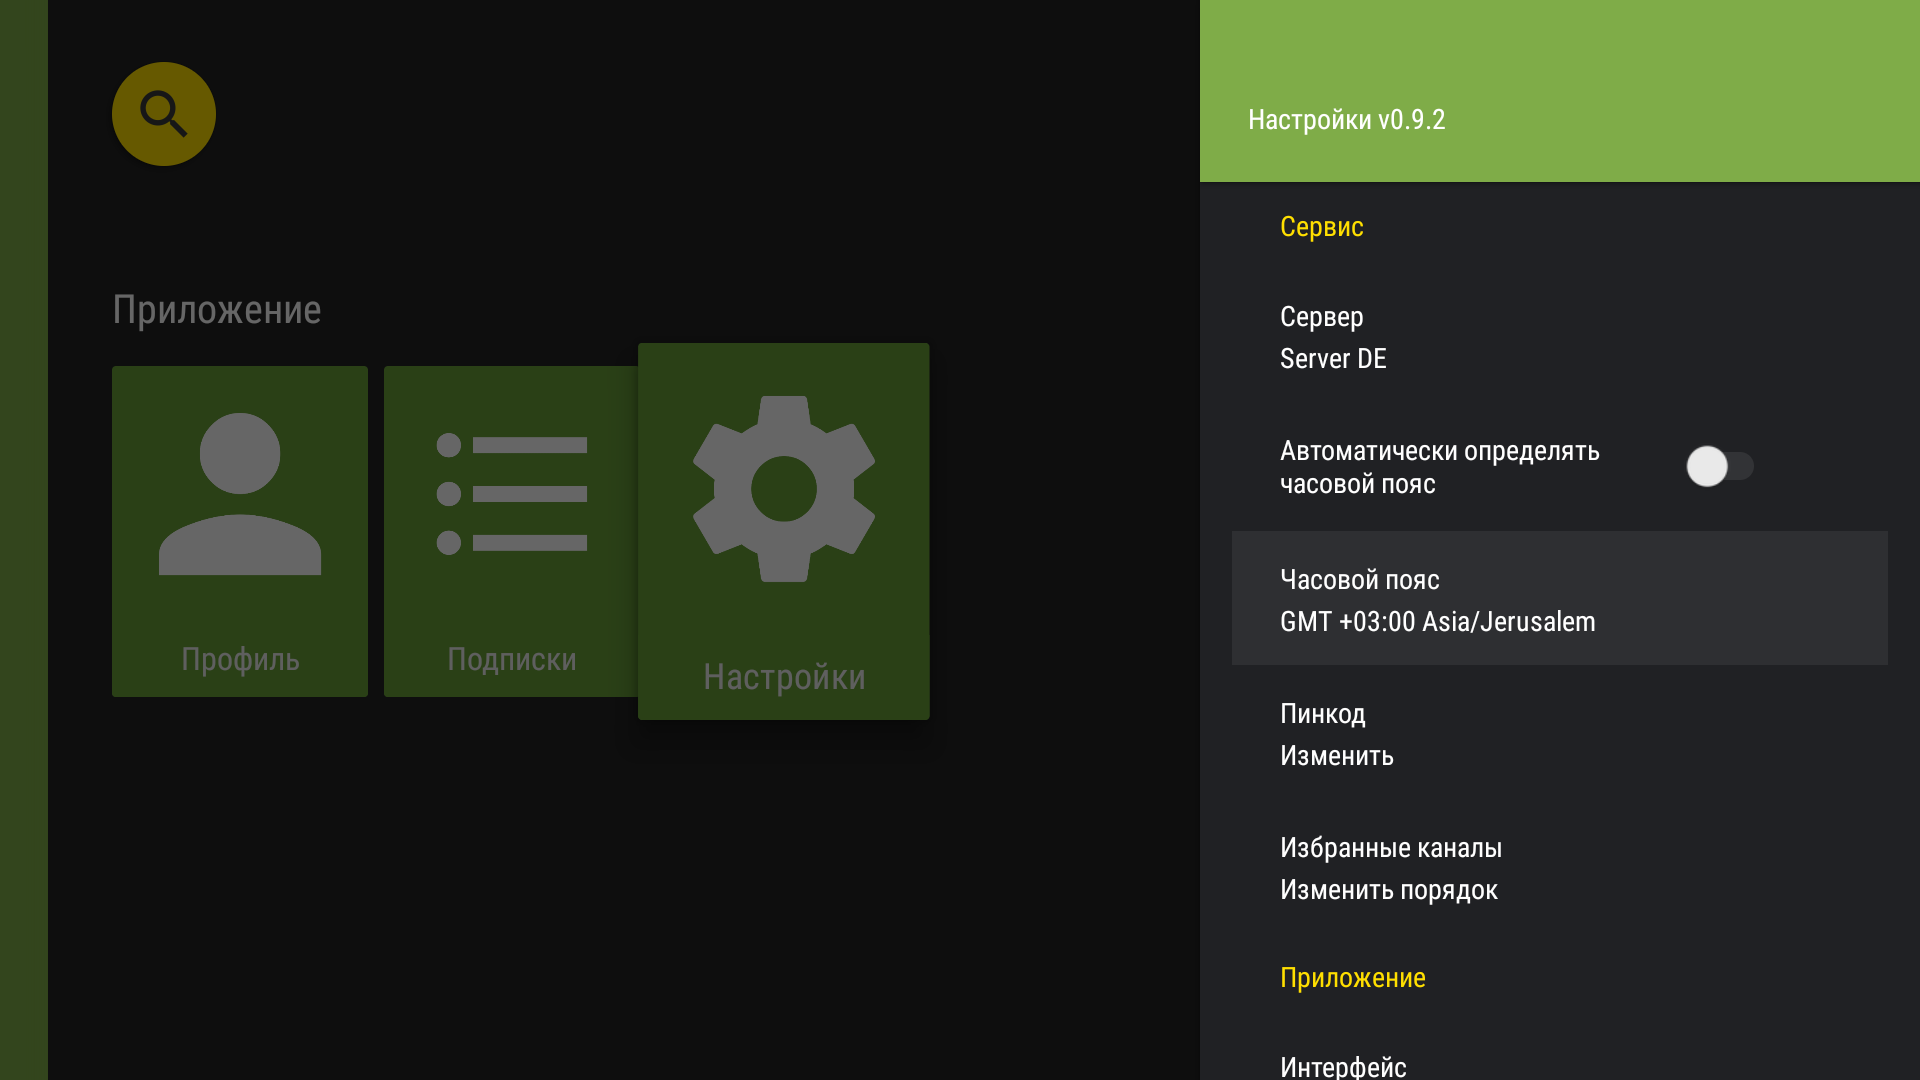
The new time zone appears in settings after selection.
Select player
- In the app menu, select “Settings”.
“Settings” in the app menu. - Under “Application”, select “Playback application”.
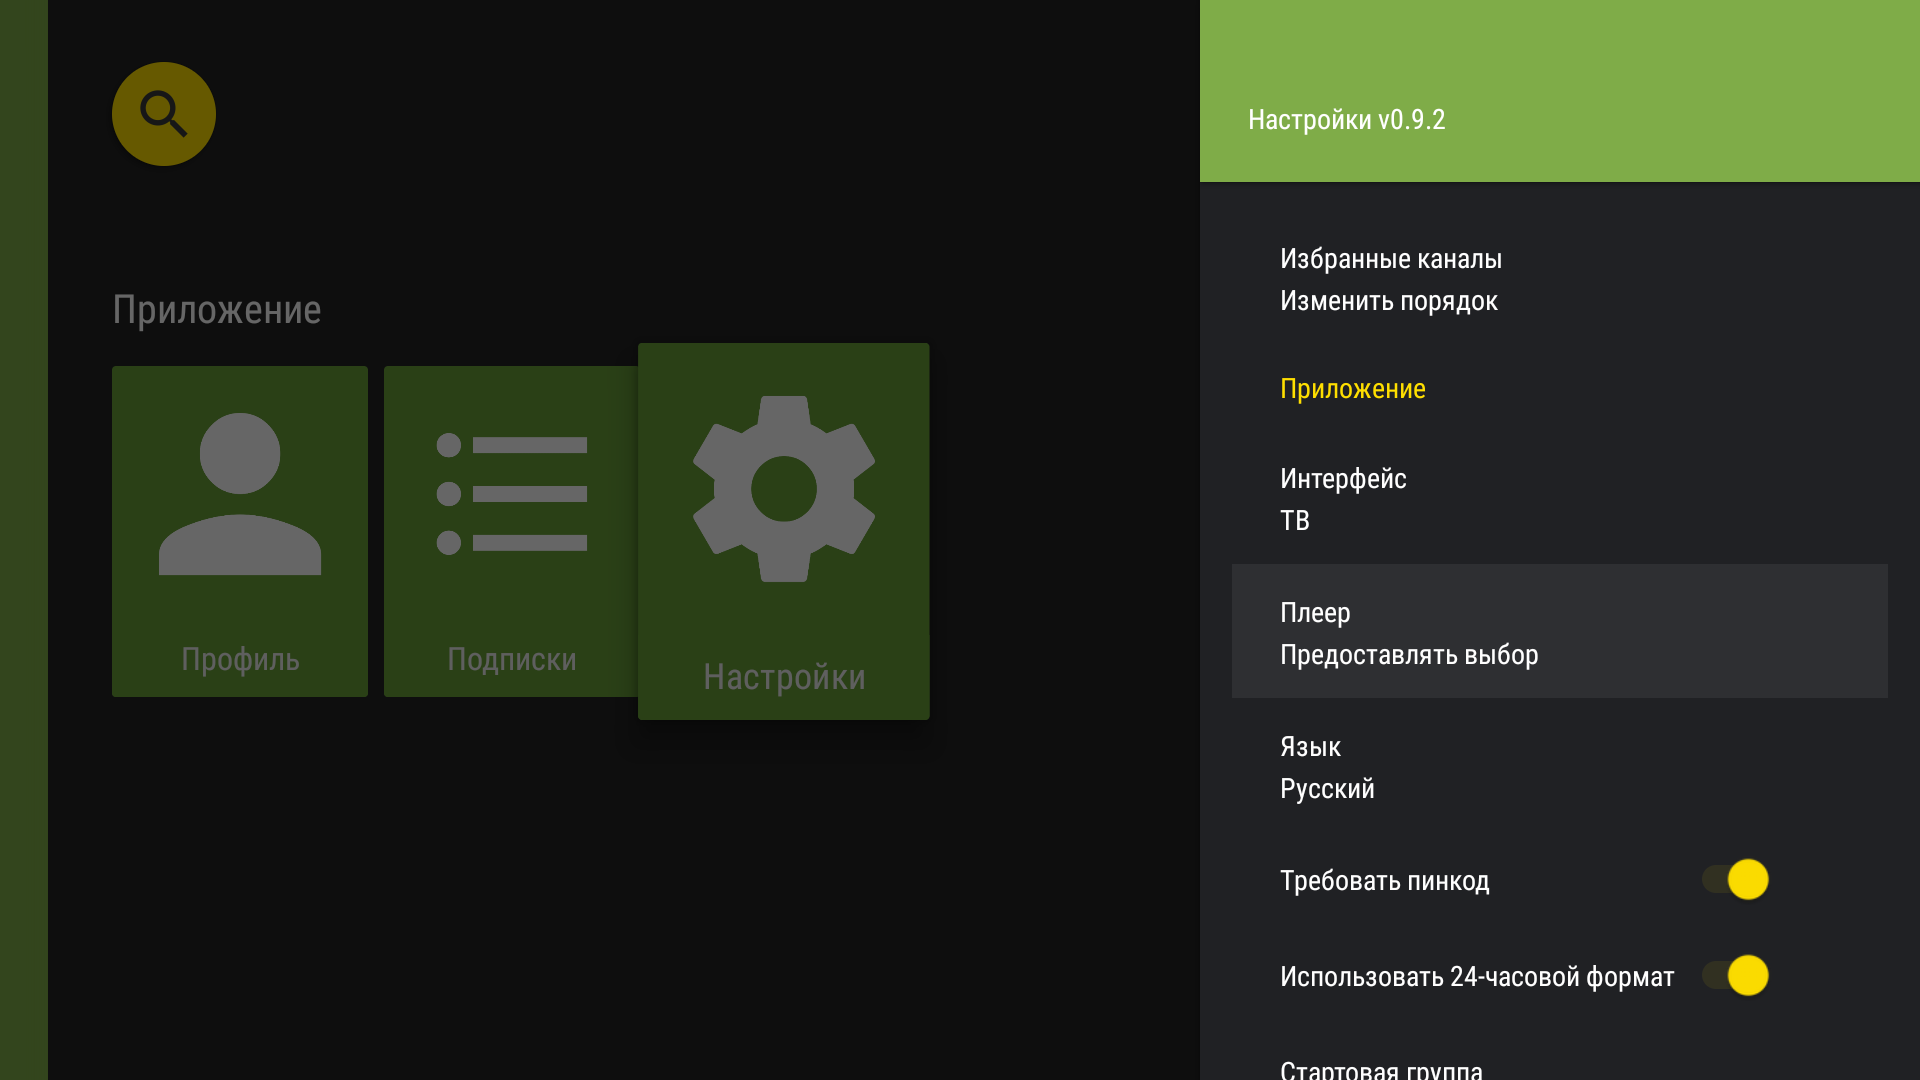
Select the app used for playback. - A list of available players will open. Select the desired player.
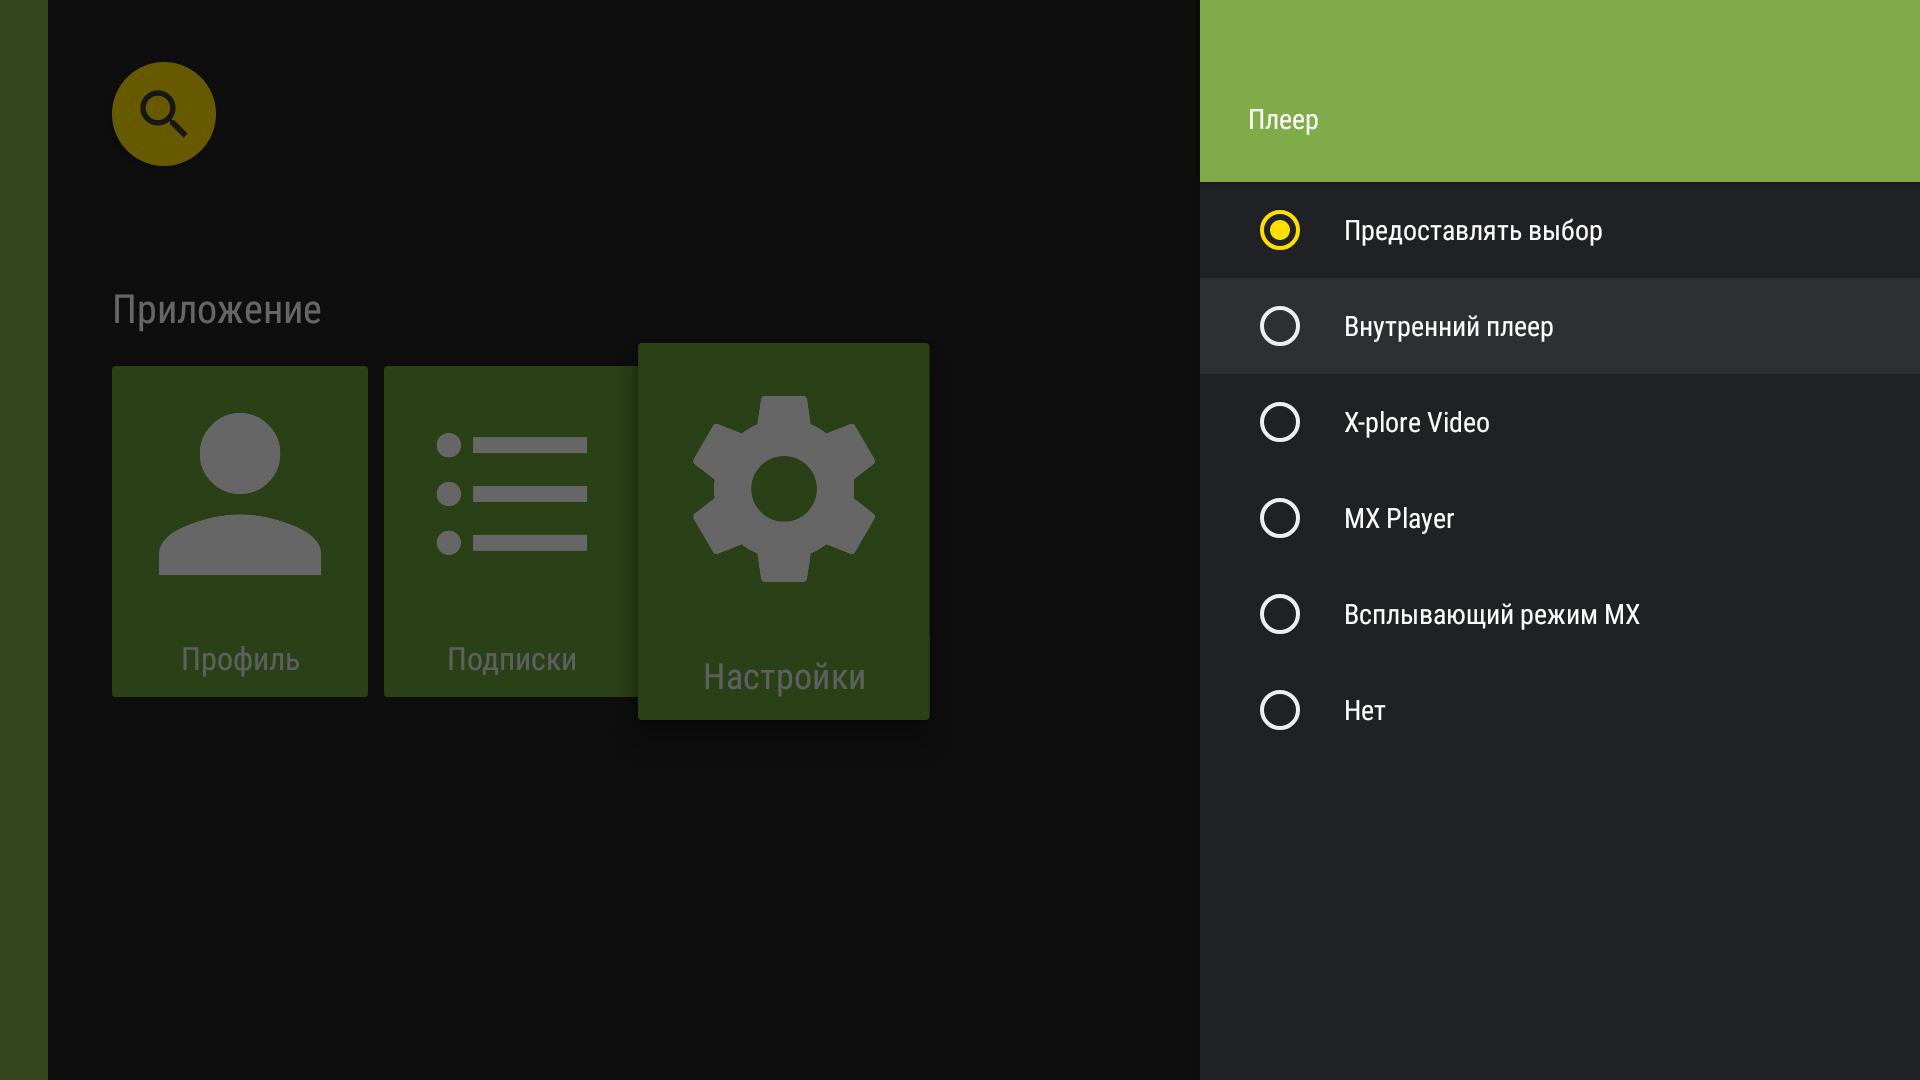
Choosing player: available player list in the Android TV version. - The selected playback application is saved.
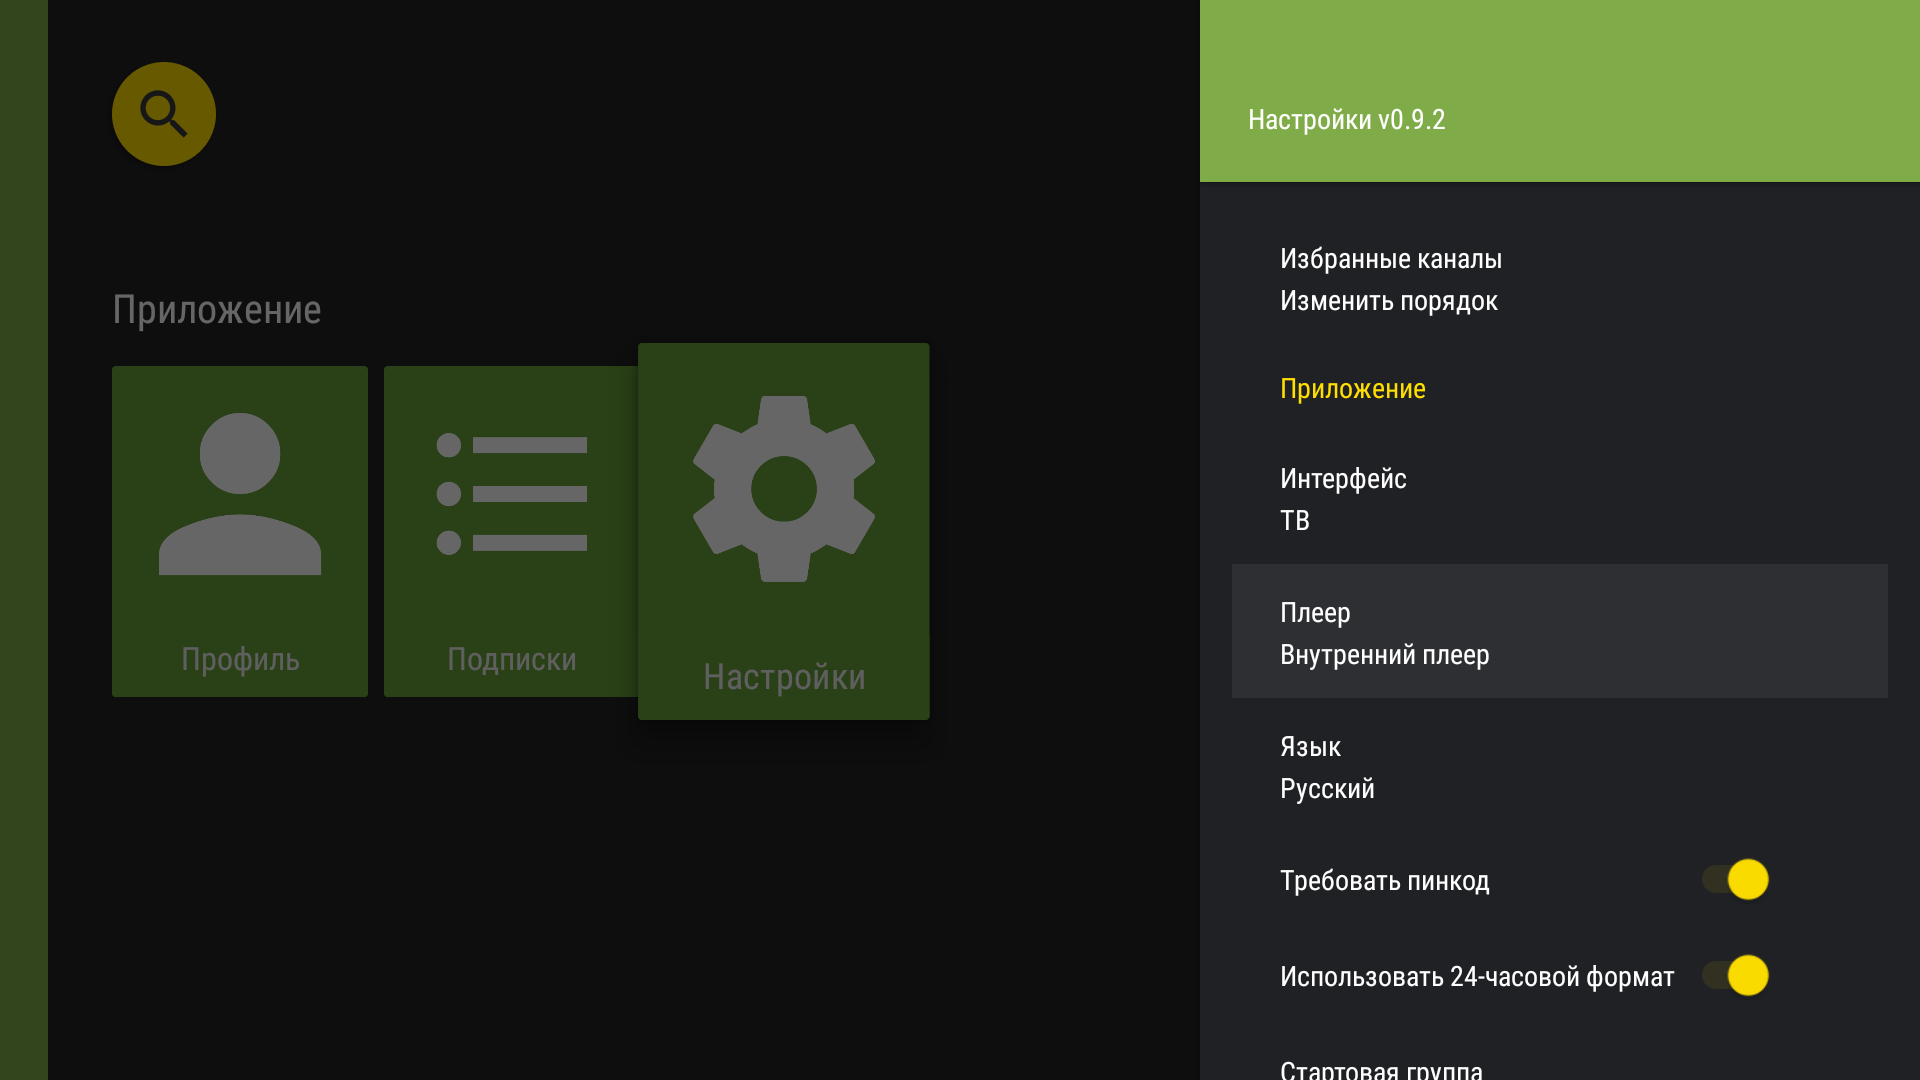
The selected player appears in the “Playback application” row.
Select language
- In the app menu, select “Settings”.
“Settings” in the app menu. - The settings menu will open. In the “Application” settings, select “Language”.
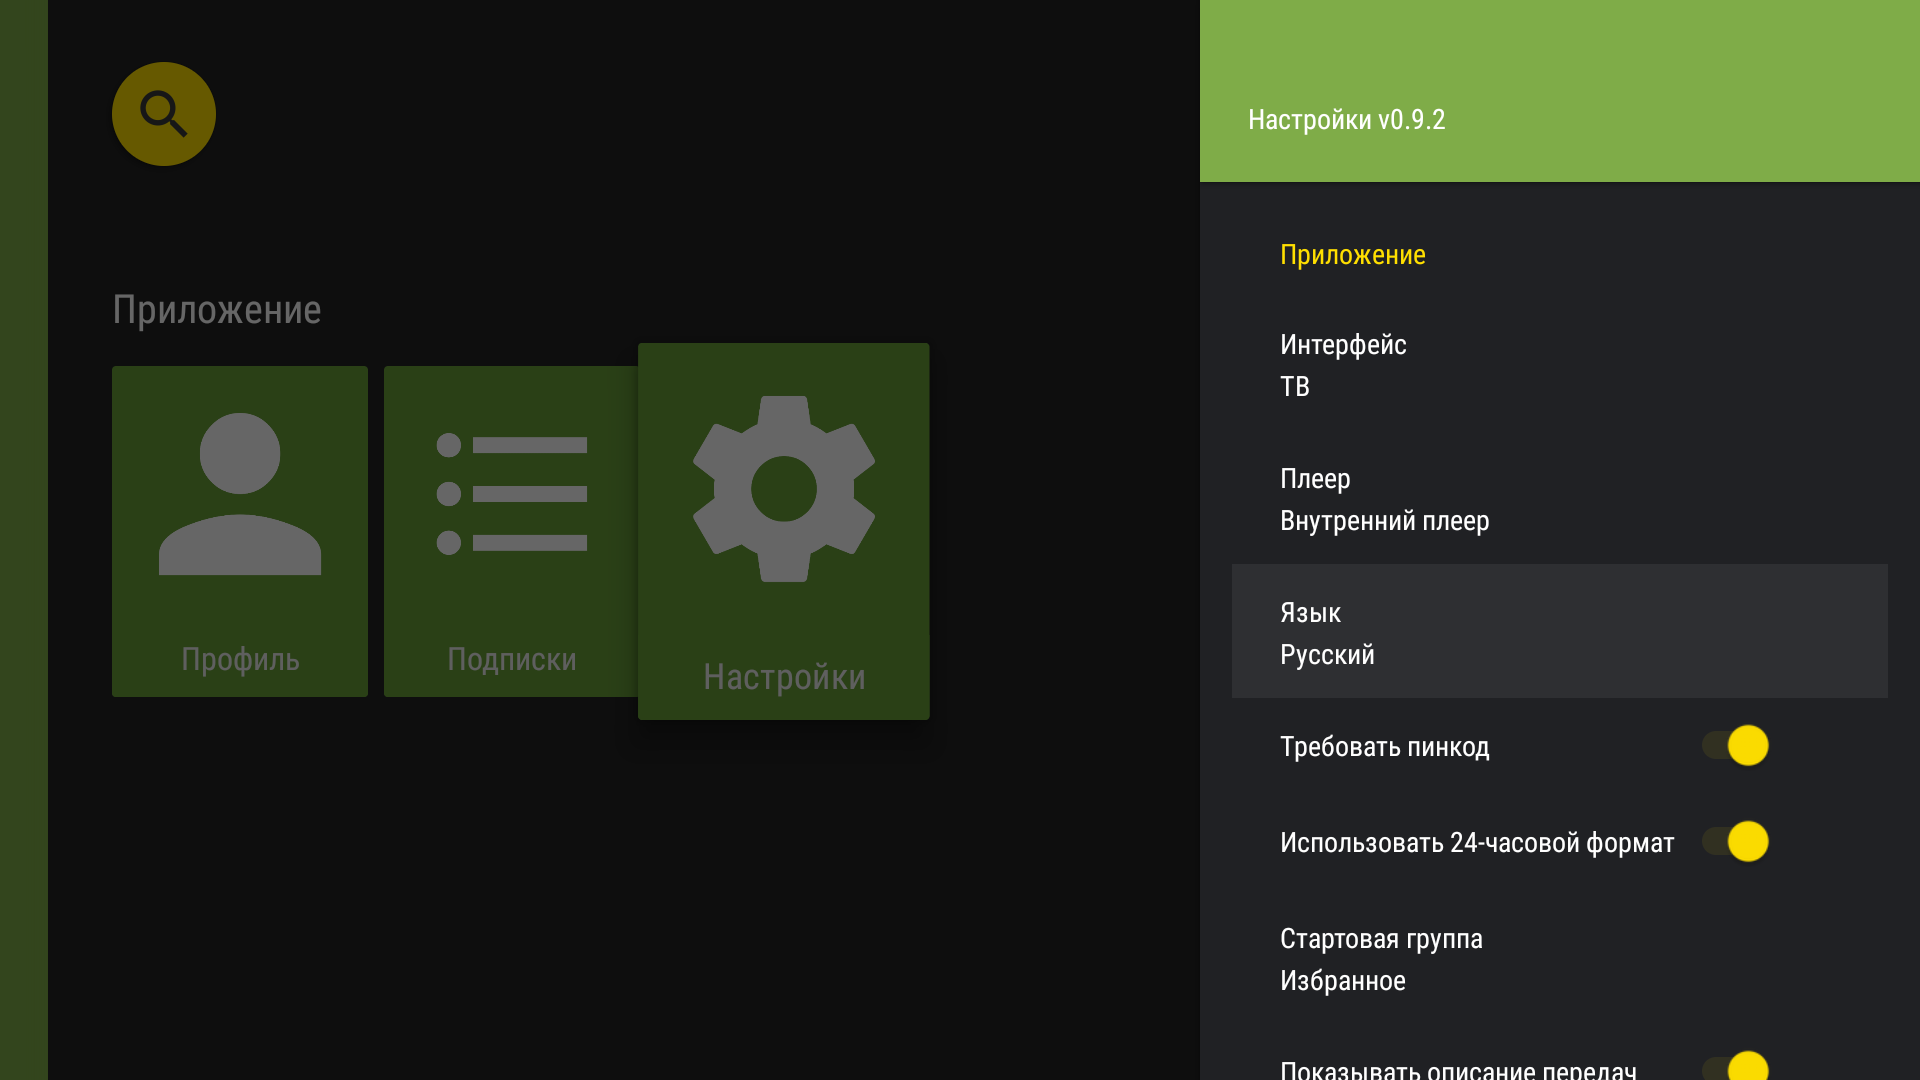
Select the app interface language. - A list of available languages will open. Select the desired language.
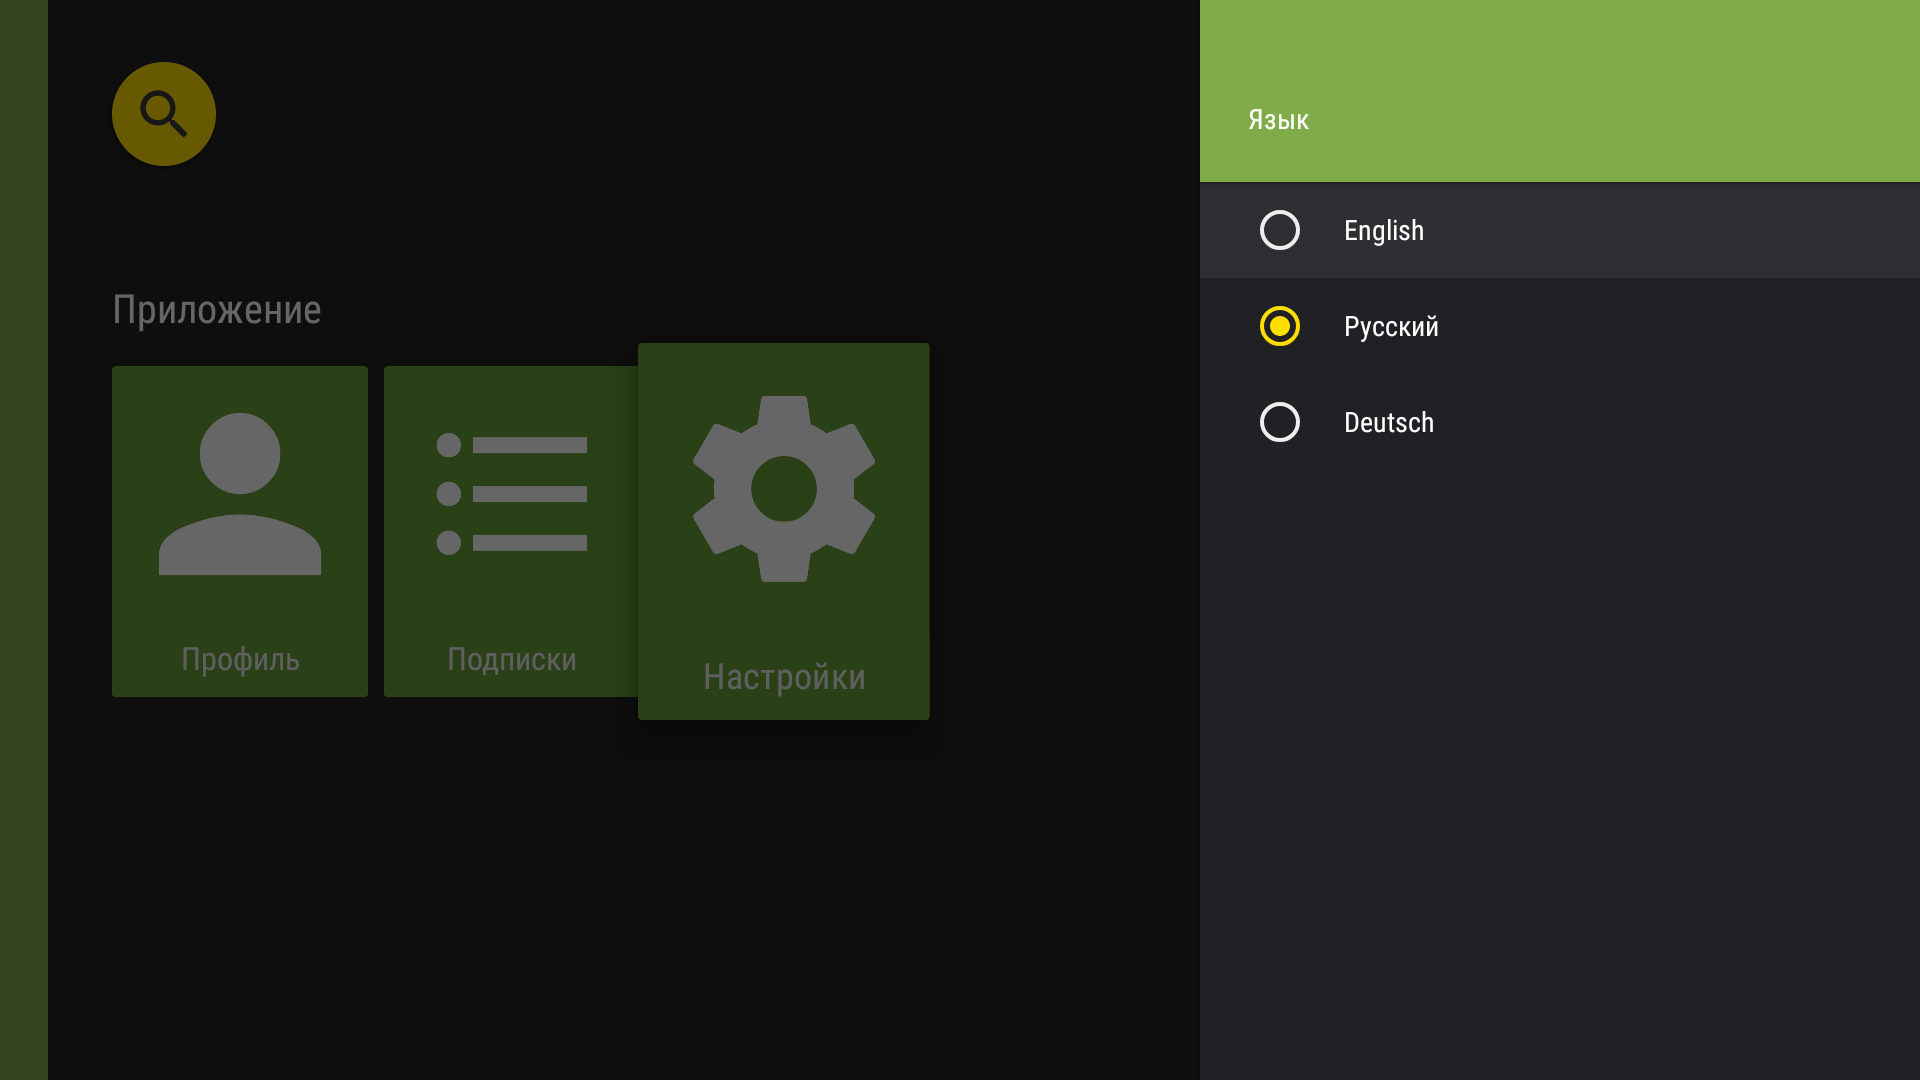
Choosing language: available language list in the Android TV version. - The selected language is saved.
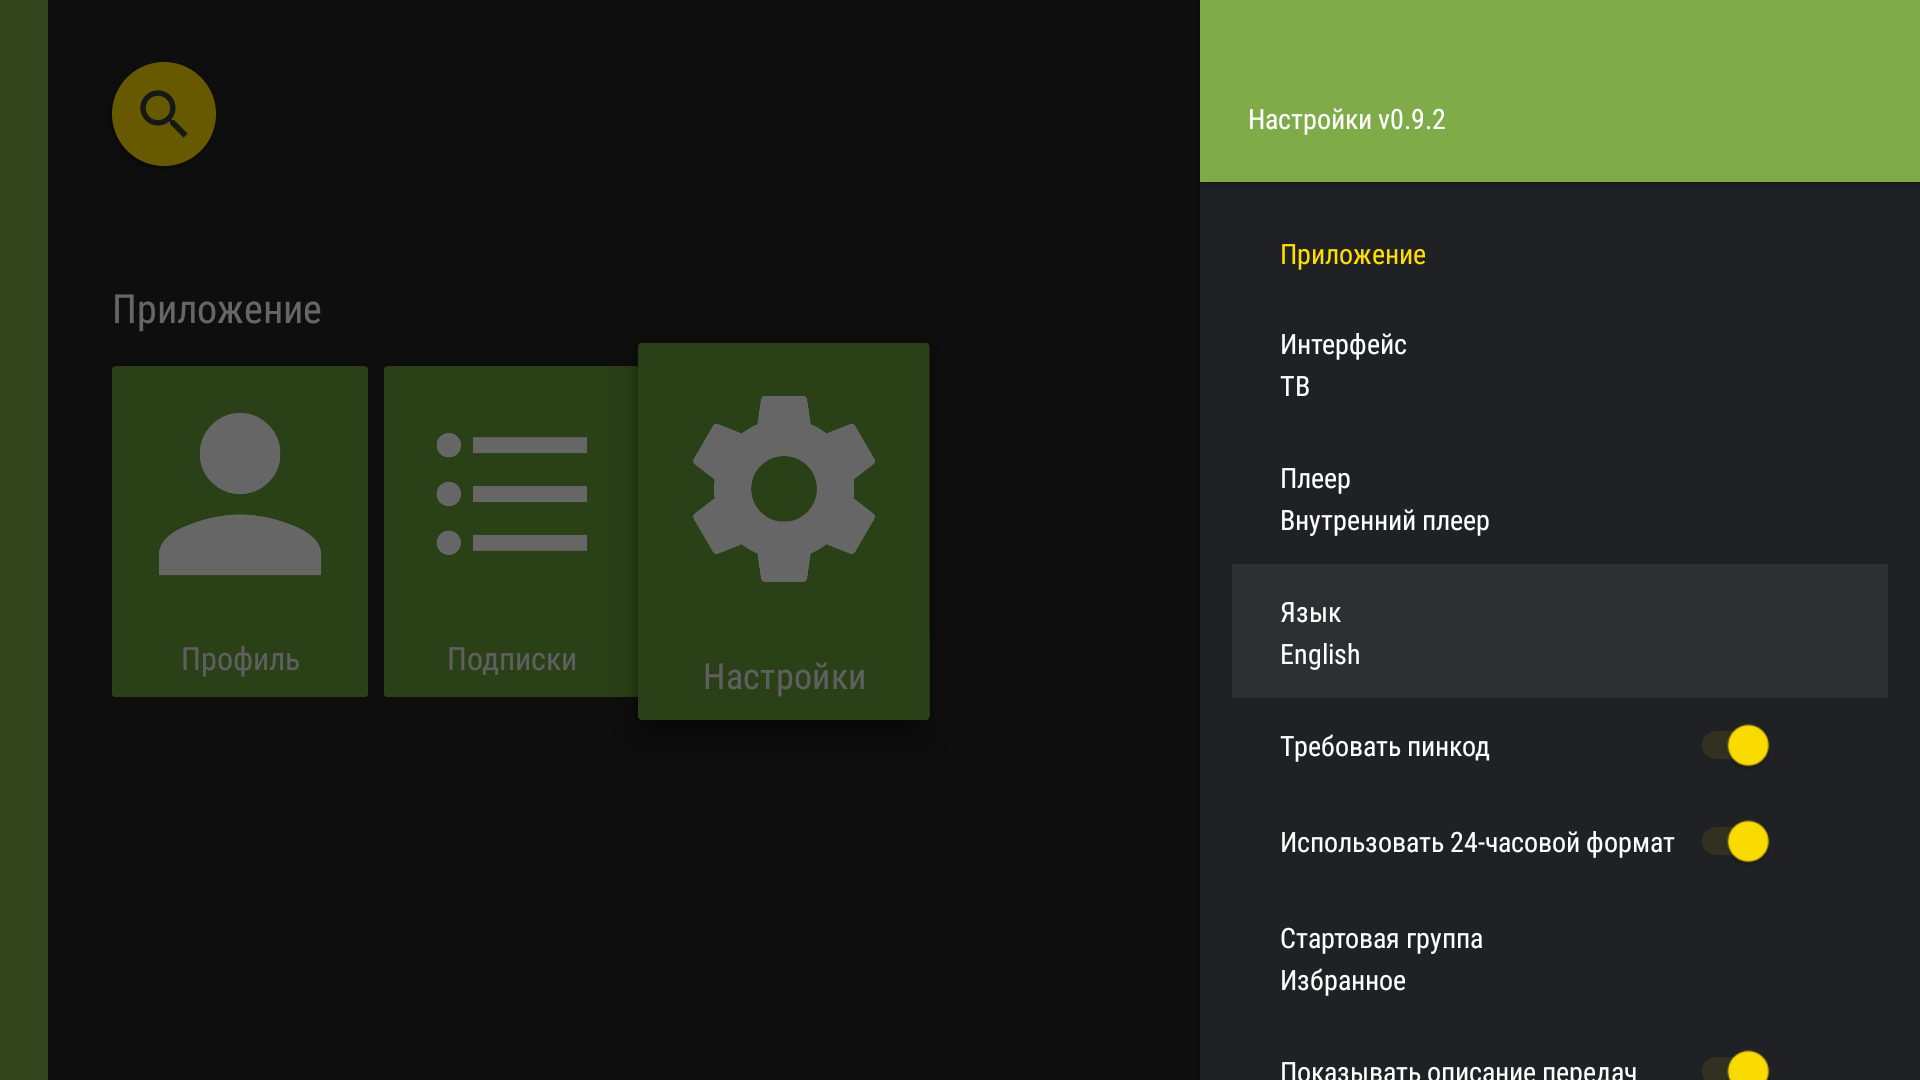
Select language: selected app language.
Protected channels
- Select “Settings” from the app menu.
“Settings” in the app menu. - Under “Application”, turn “Require PIN” on or off. This setting controls PIN requests when protected channels are opened.
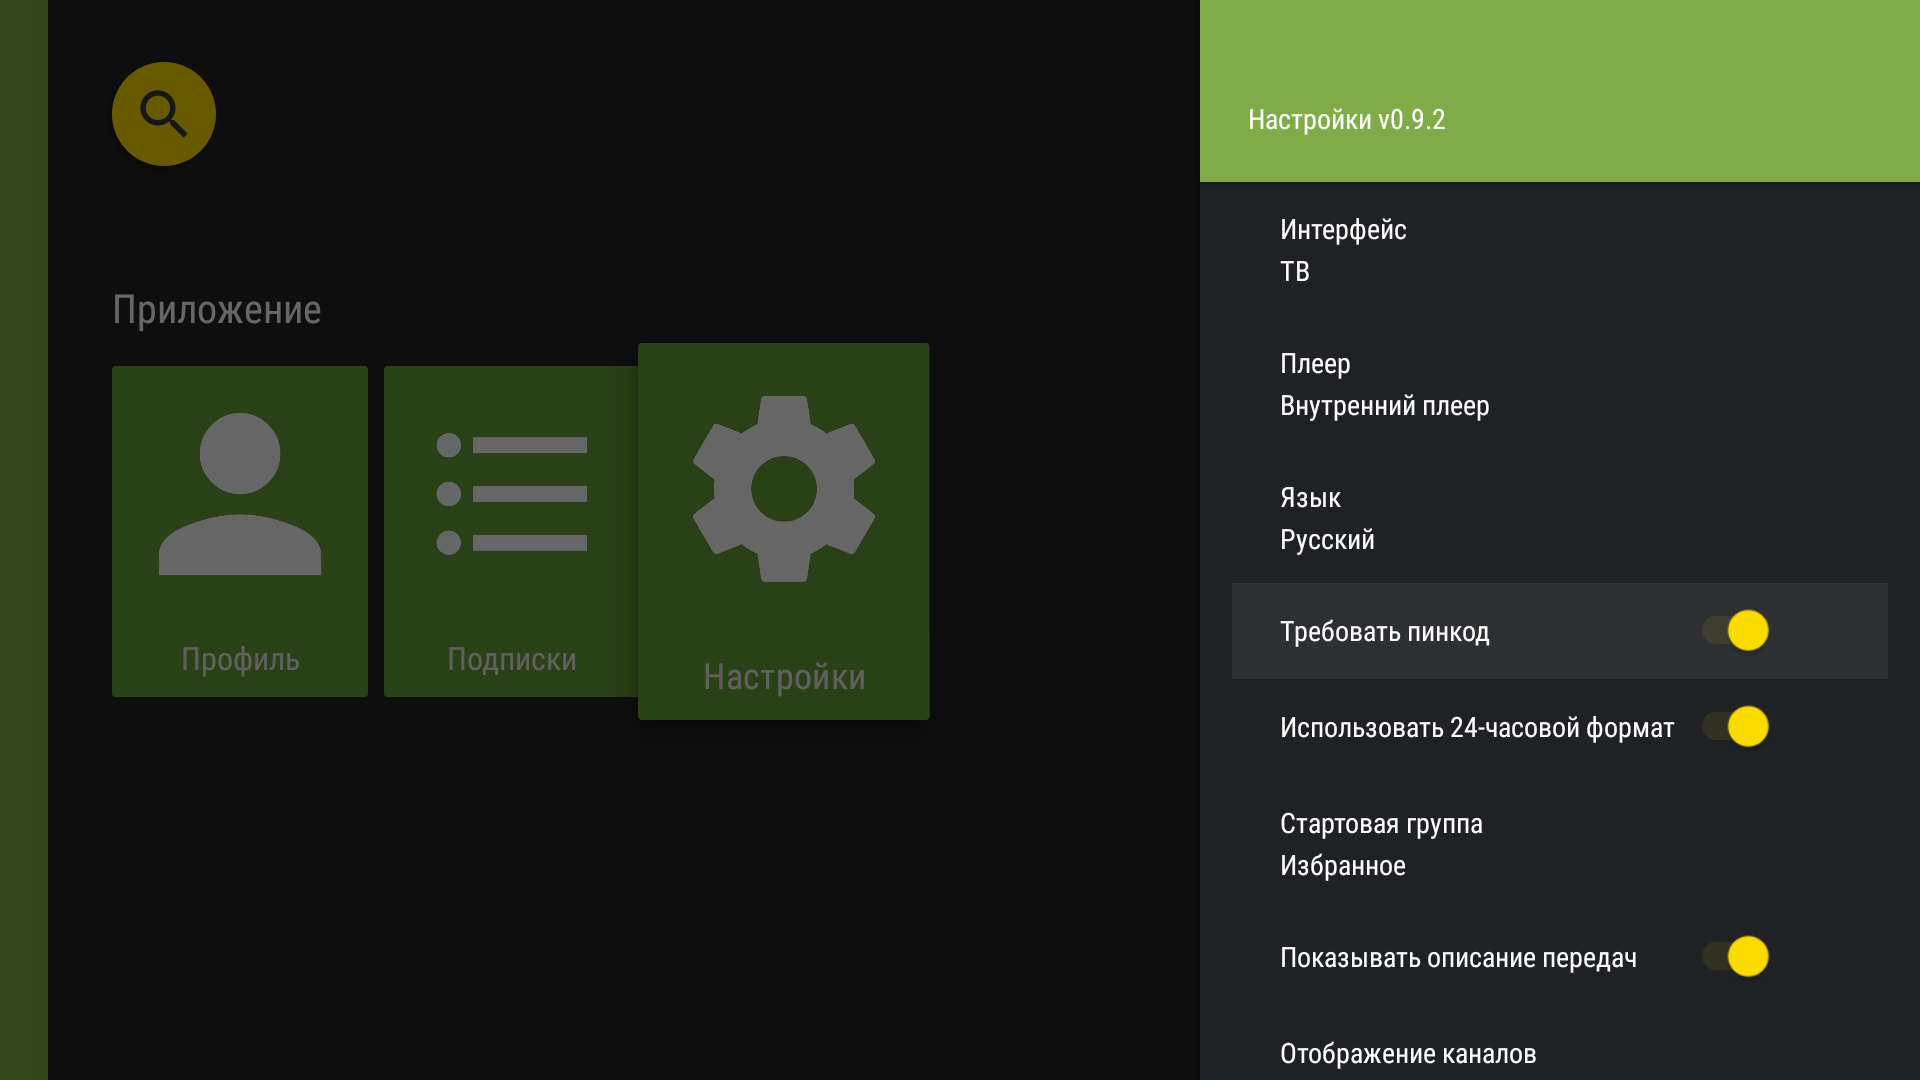
Protected-channel PIN toggle.
Select time format
- Select “Settings” from the app menu.
“Settings” in the app menu. - Under “Application”, turn “Use 24-hour format” on for 24-hour time. When it is off, the programme guide uses 12-hour time with AM/PM.
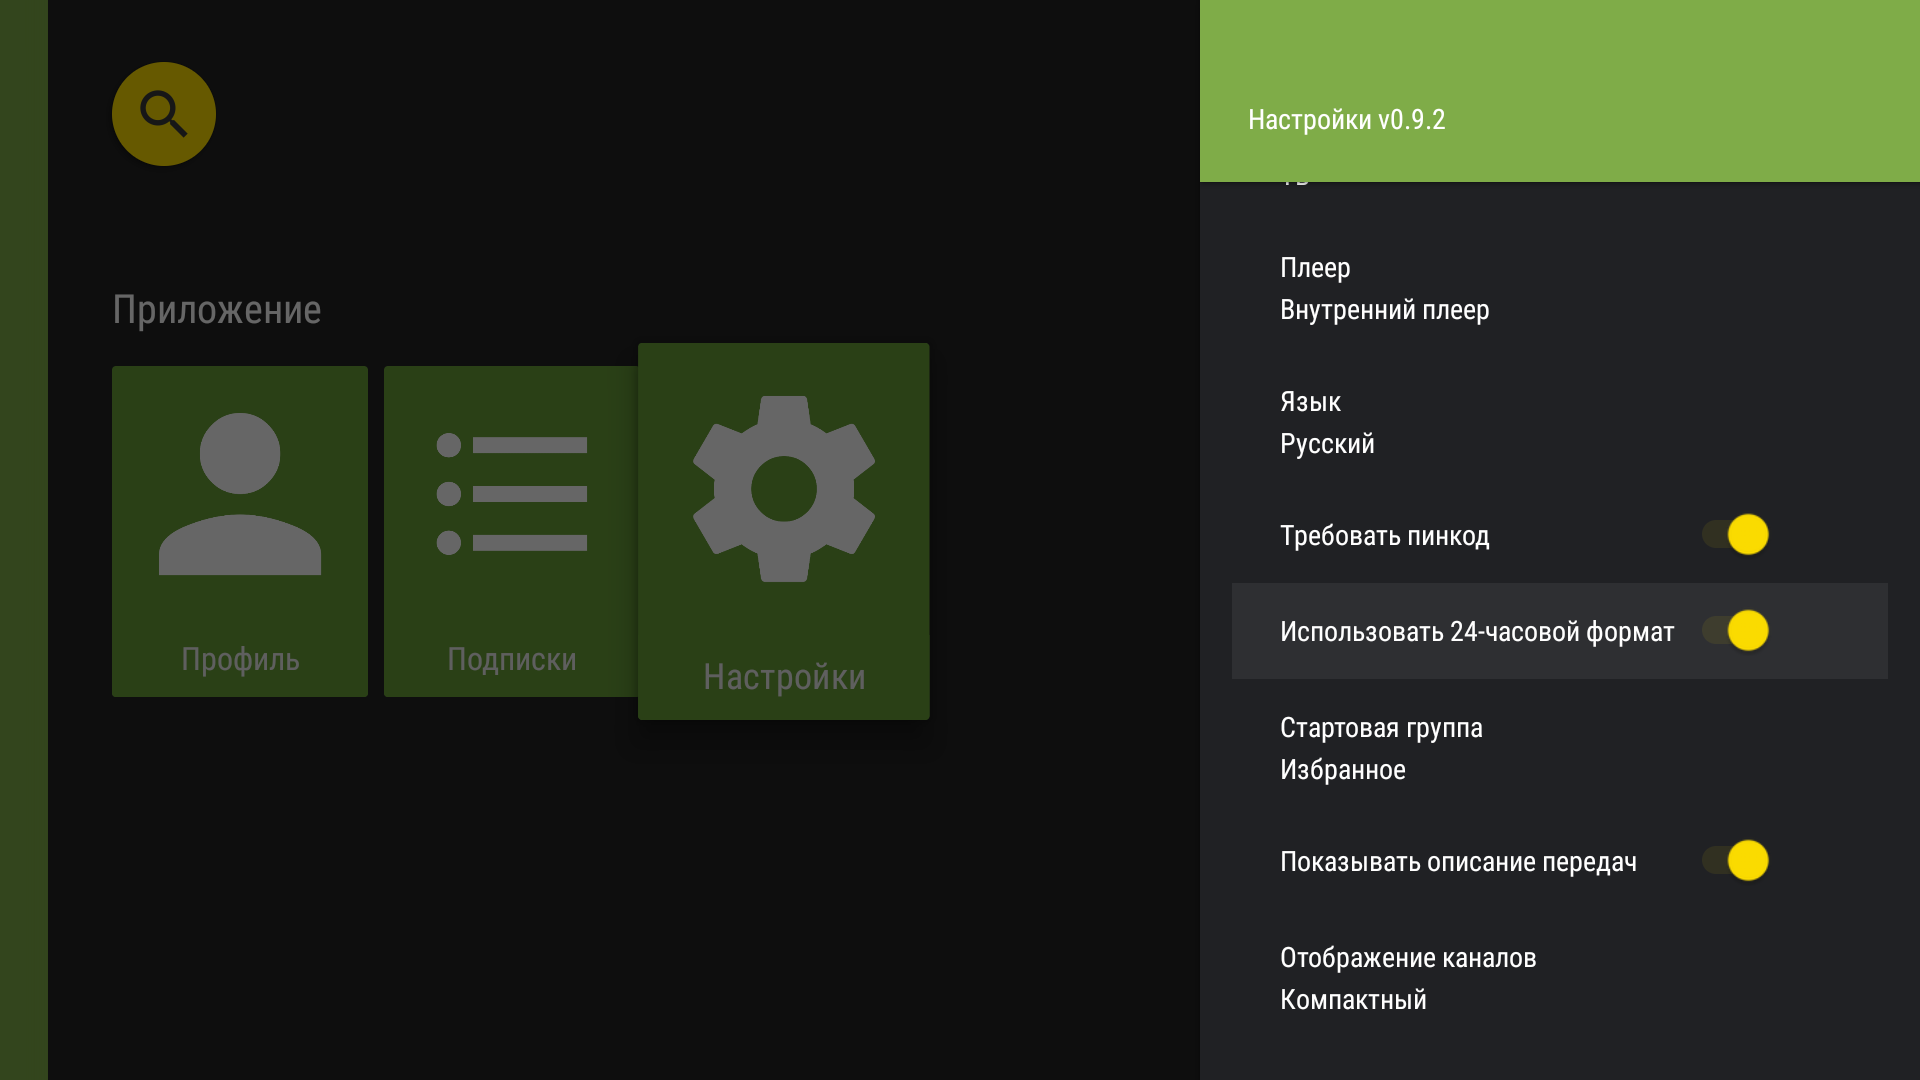
24-hour time-format toggle.
Select starting channel group
- In the app menu, select “Settings”.
“Settings” in the app menu. - The settings menu will open. In the “Application” settings, select “Start group”.
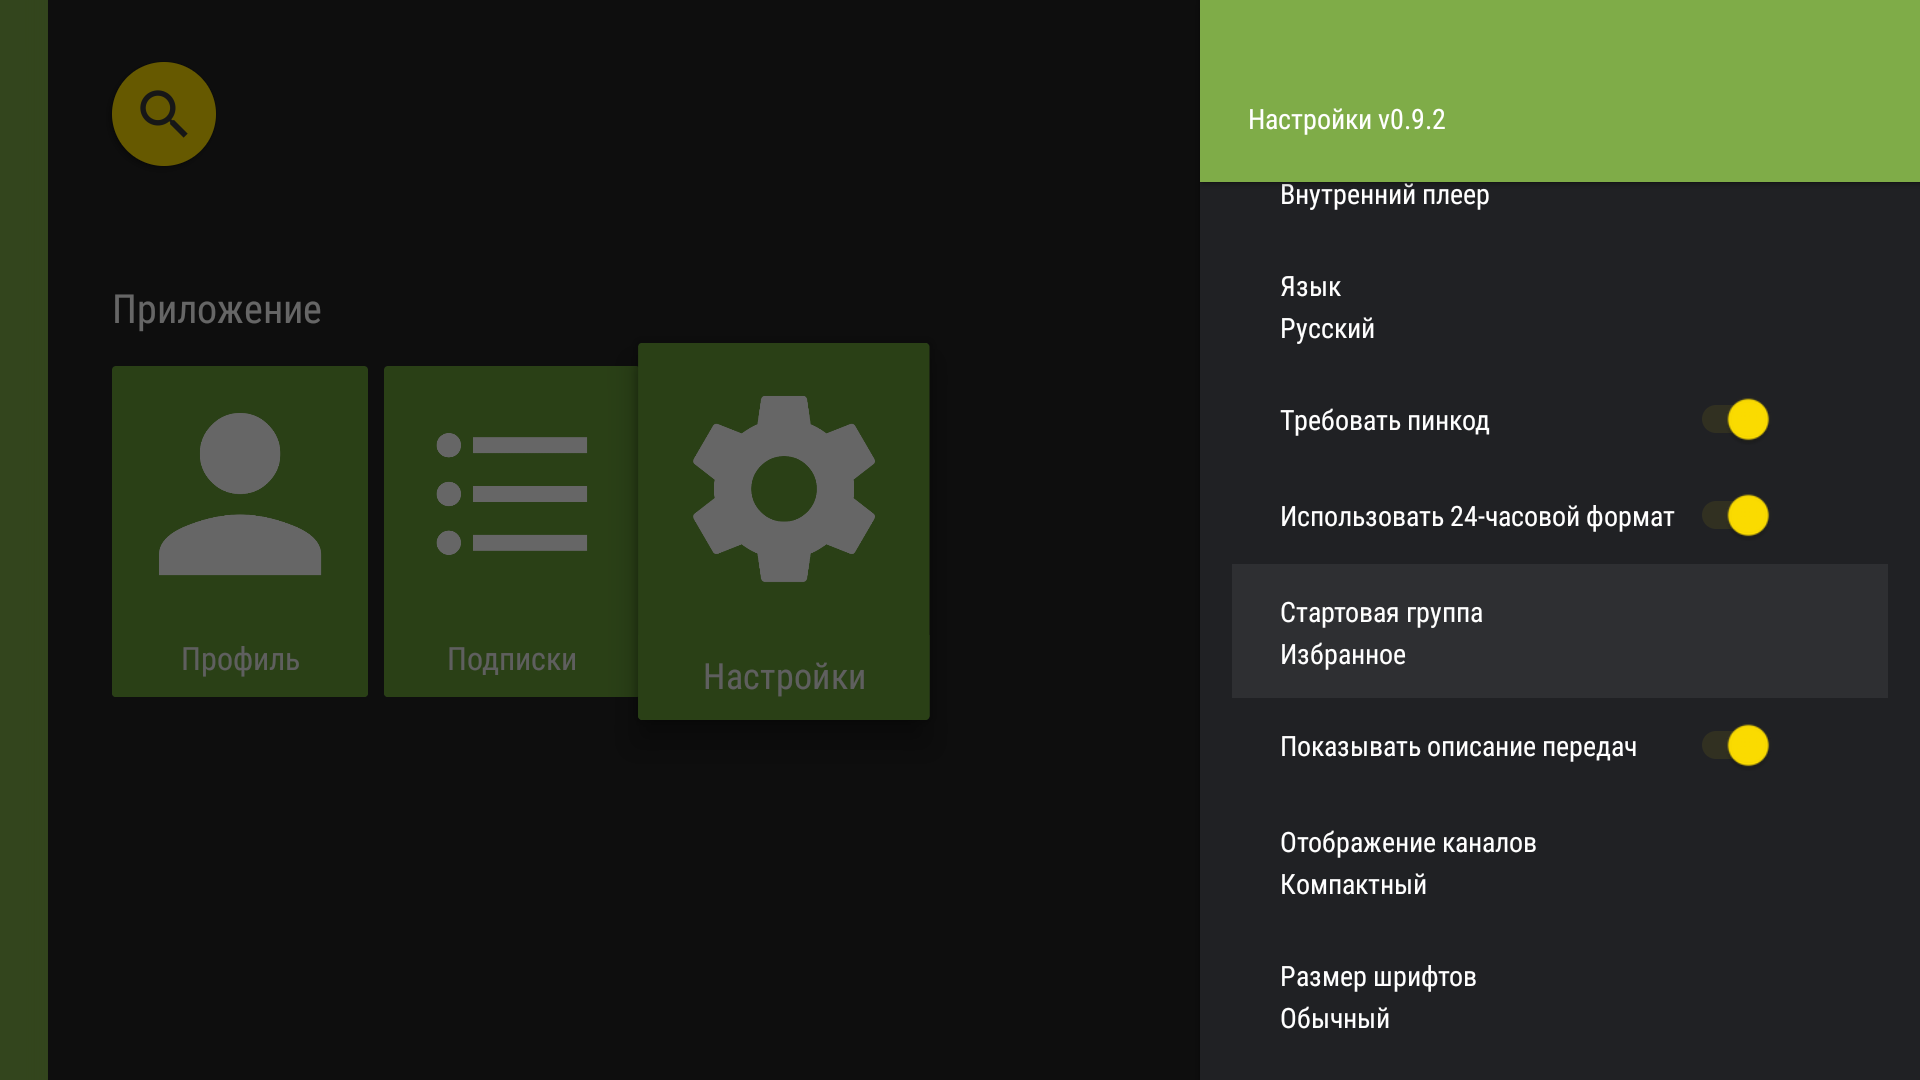
Choose the channel group shown when the app opens. - A list of available channel groups will open. Select a starting group.
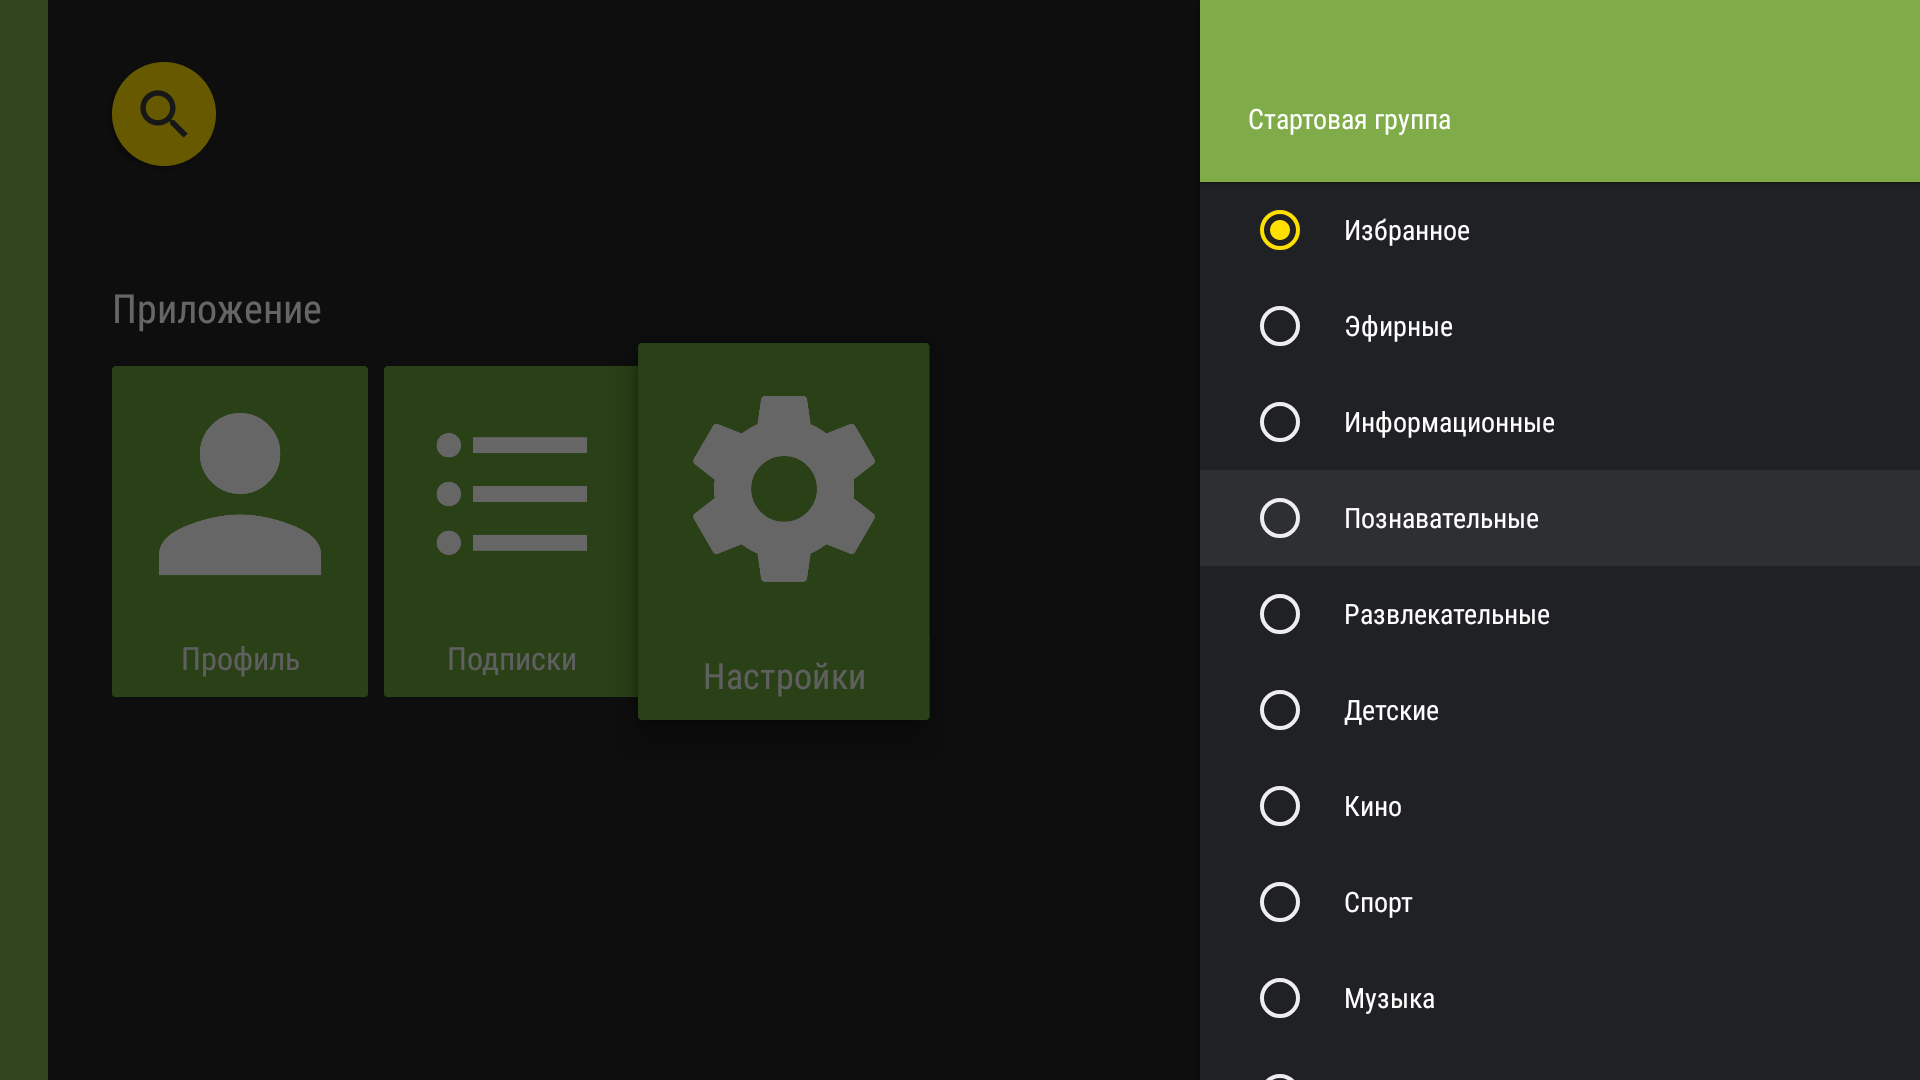
Select starting channel group: available channel groups list. - The starting group has been selected.
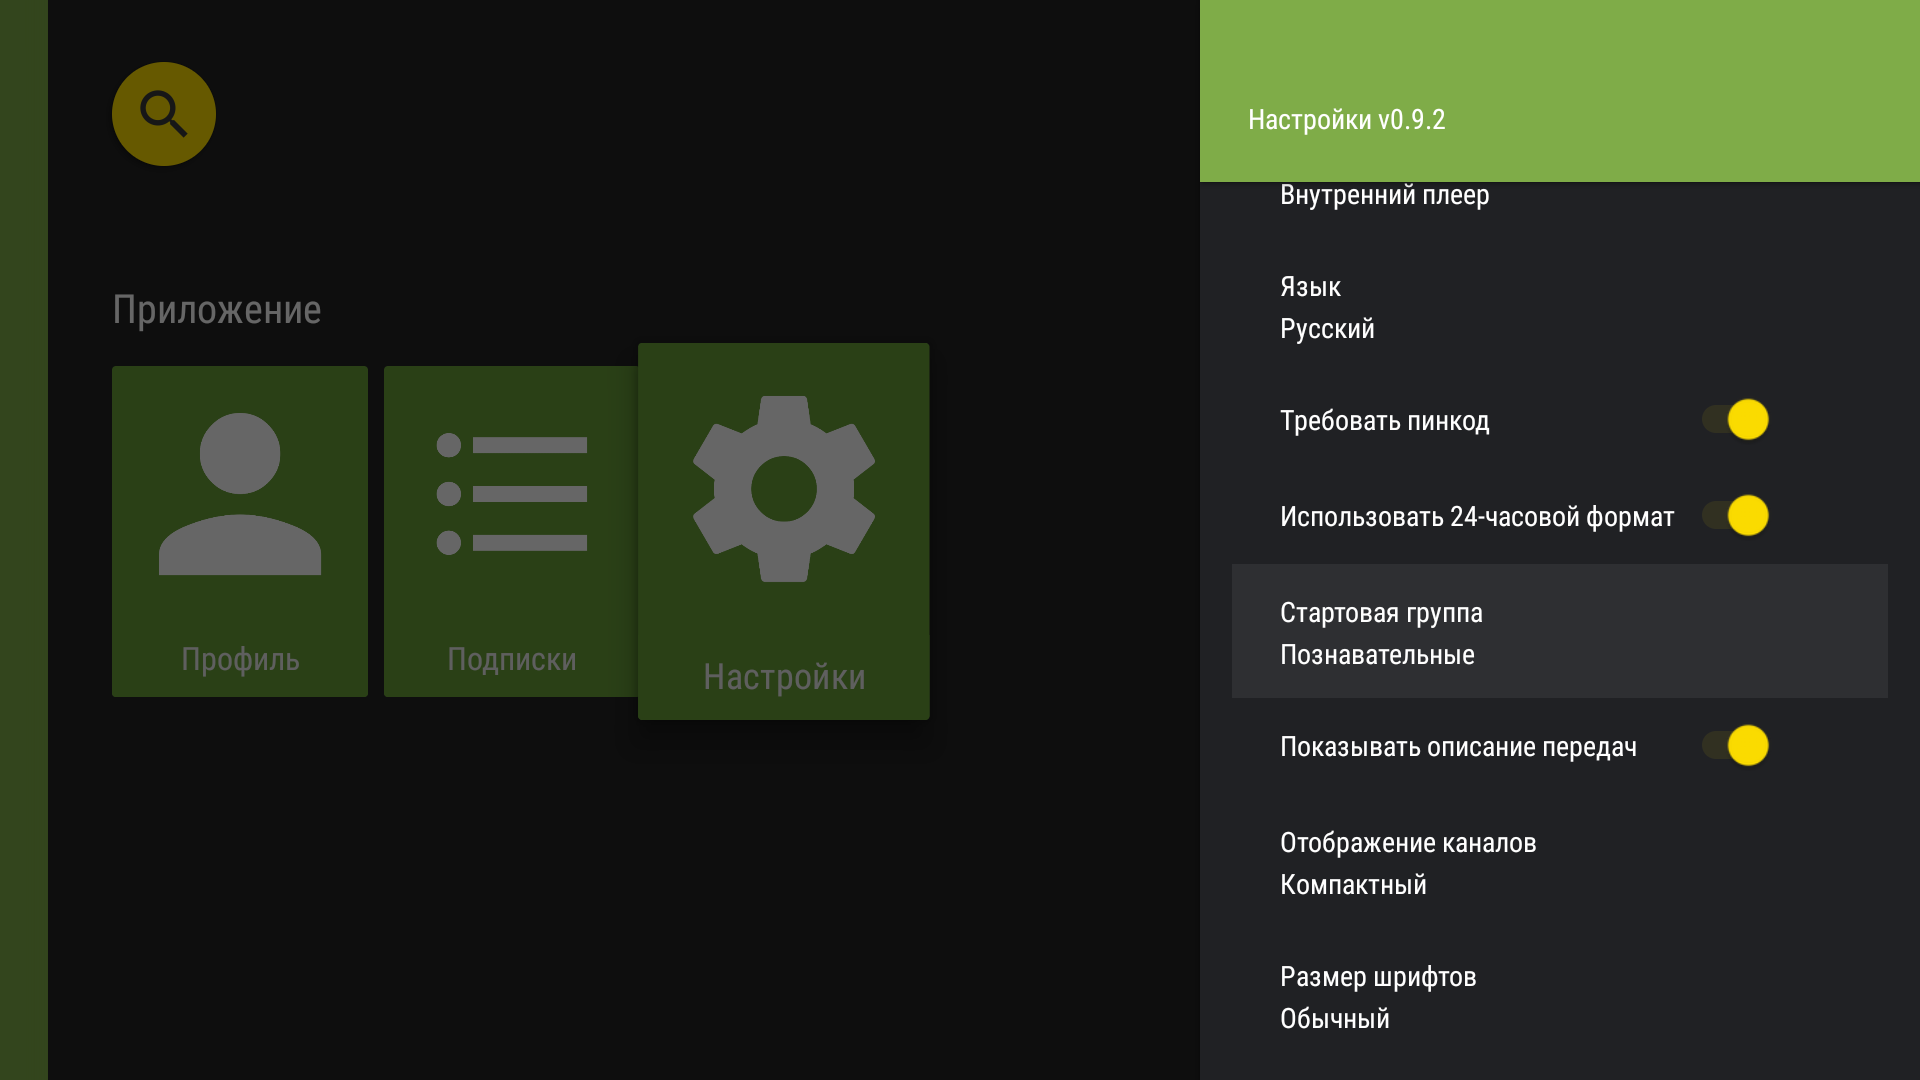
Select starting channel group: selected starting channel group.
Programme description display settings
- Select “Settings” from the app menu.
“Settings” in the app menu. - Under “Application”, turn off “Show EPG description” to hide programme descriptions.
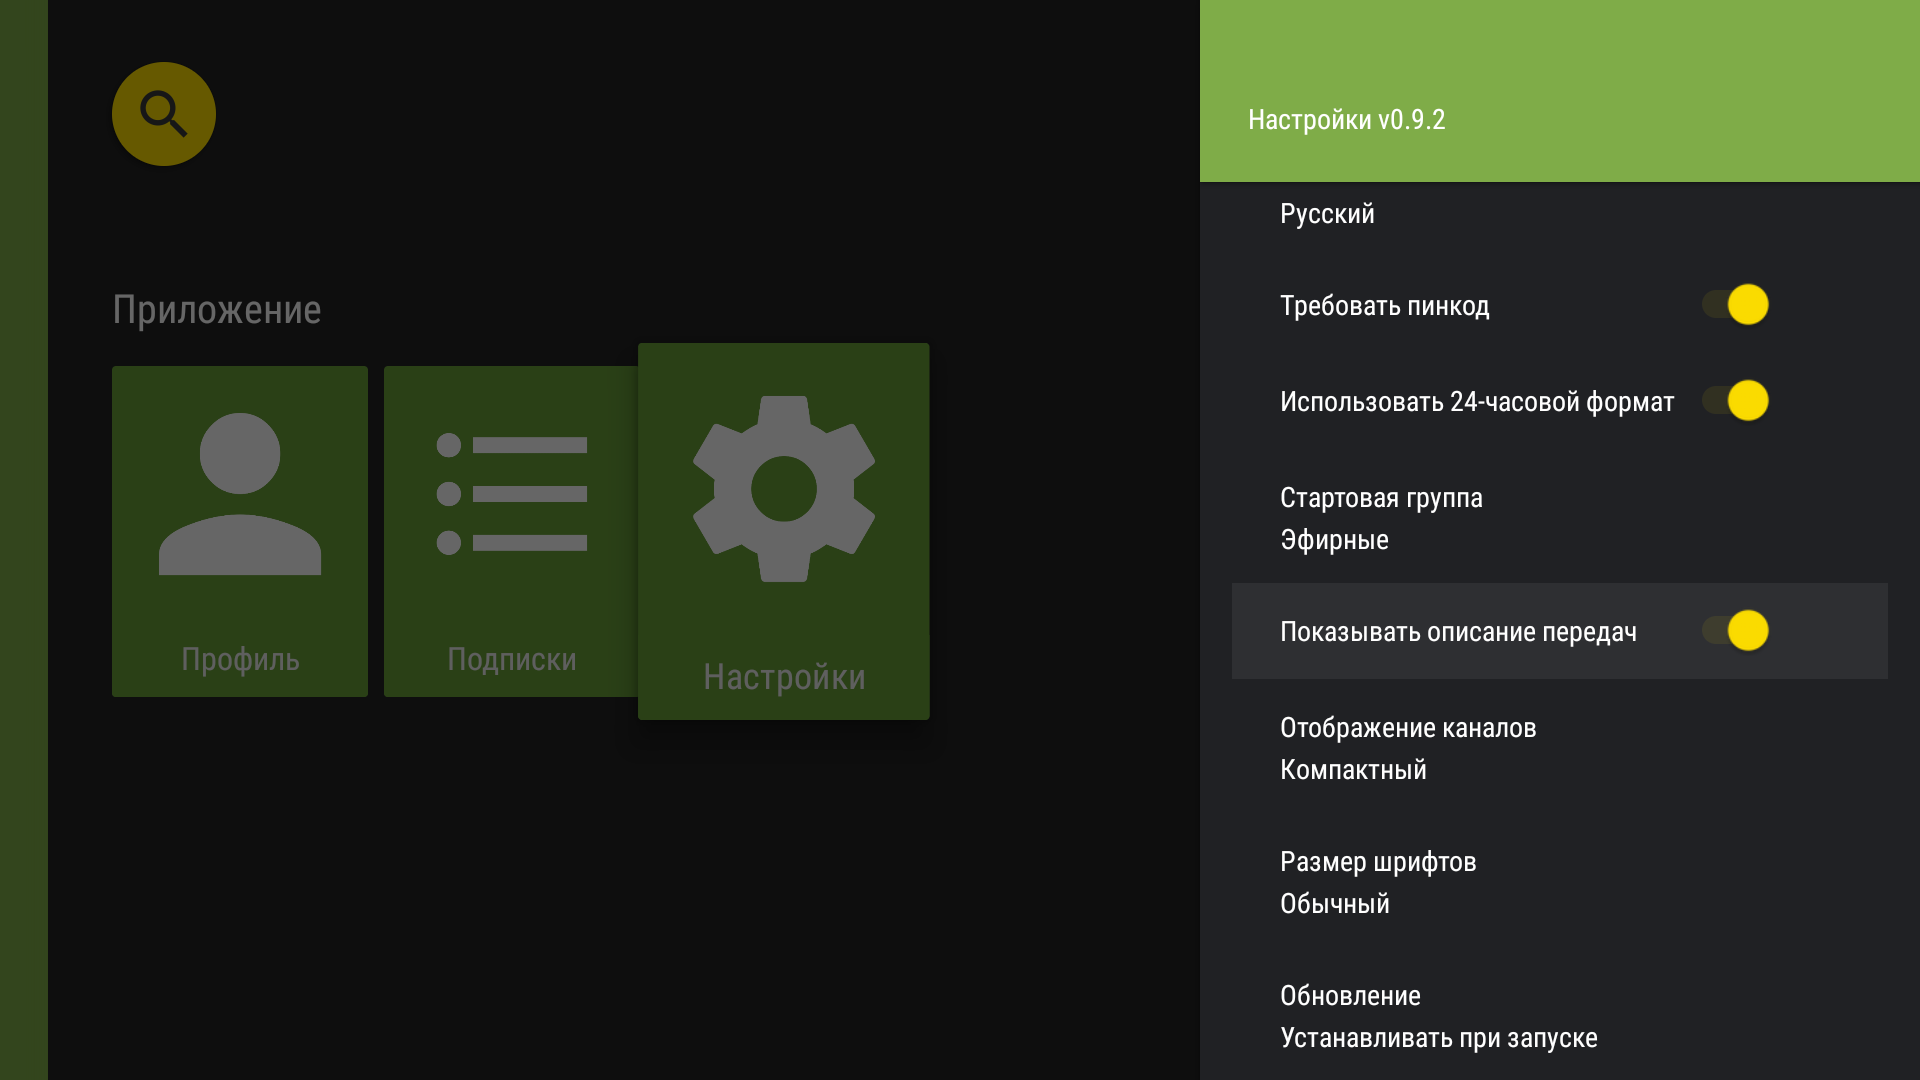
Programme-description display toggle.
Channel display
- In the app menu, select “Settings”.
“Settings” in the app menu. - Under “Application”, select “Channel view”.
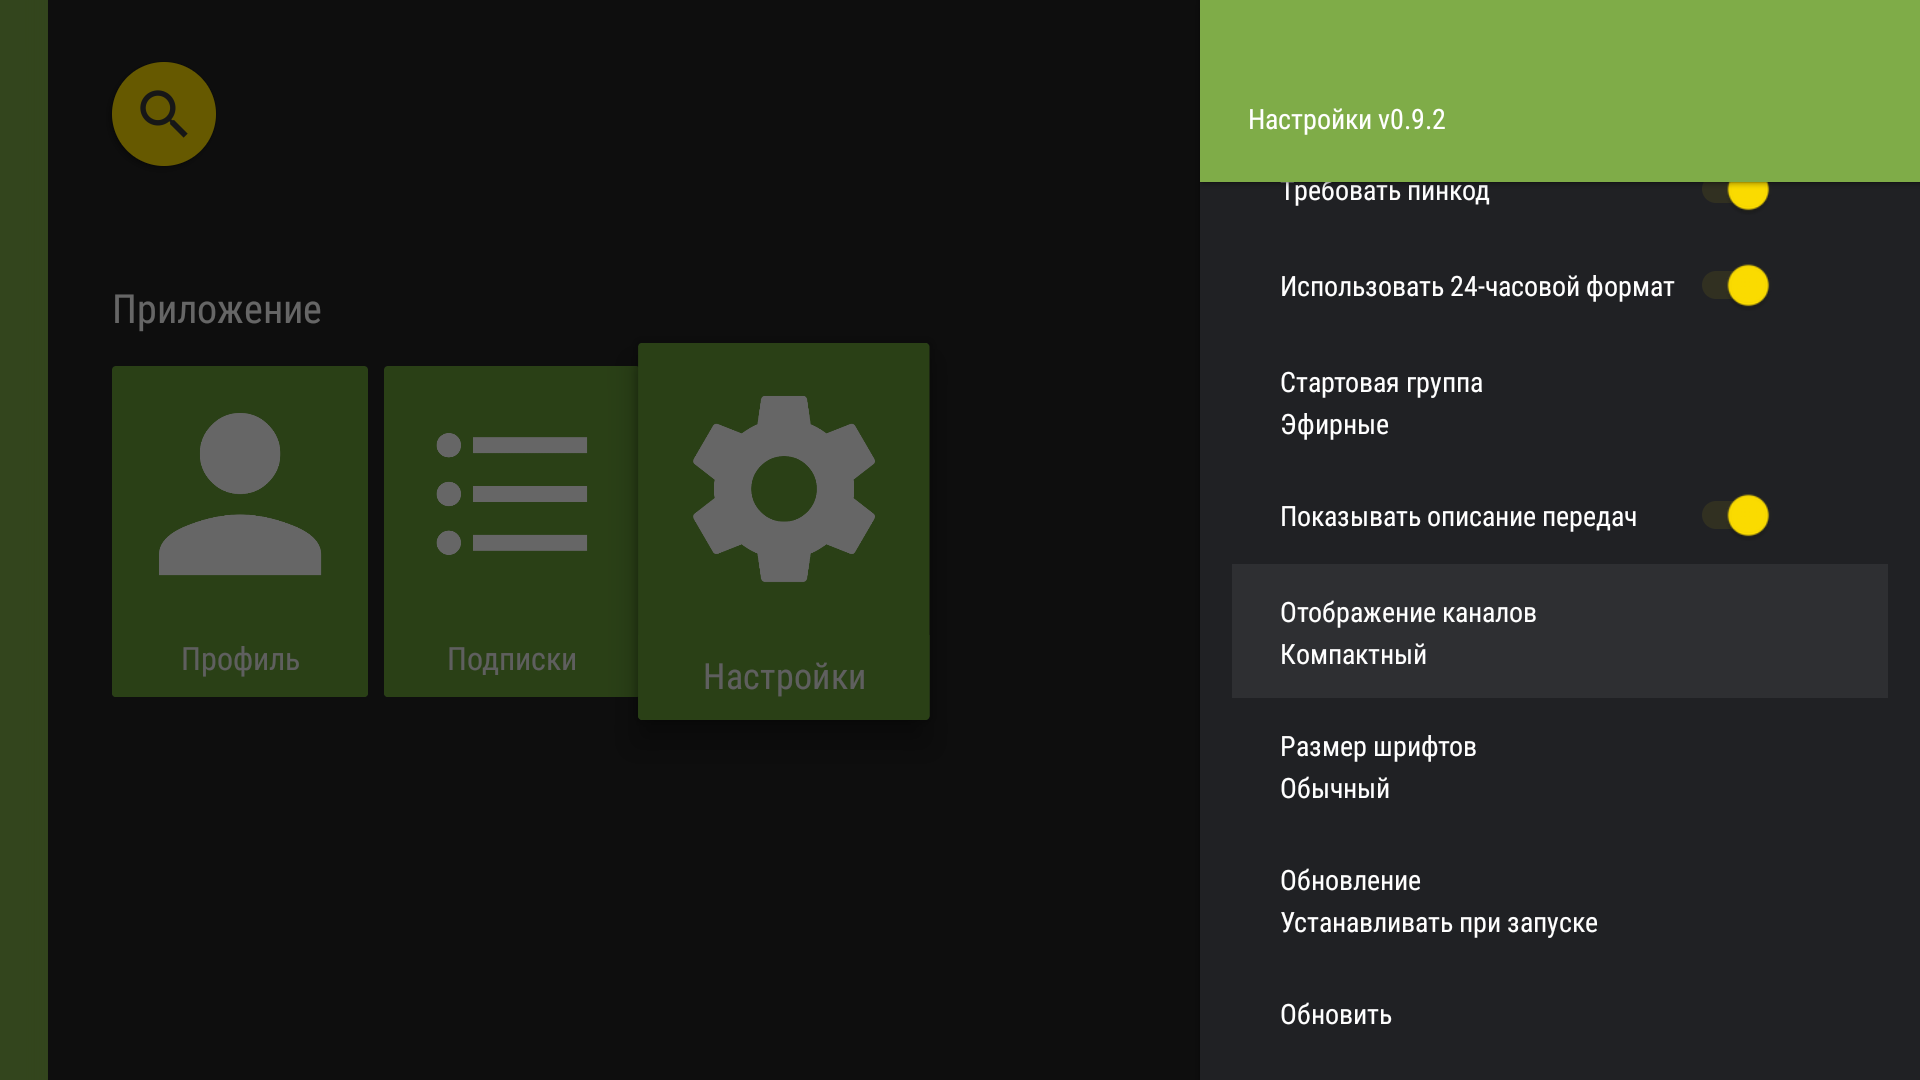
Choose the channel-list layout. - Select the required channel layout.
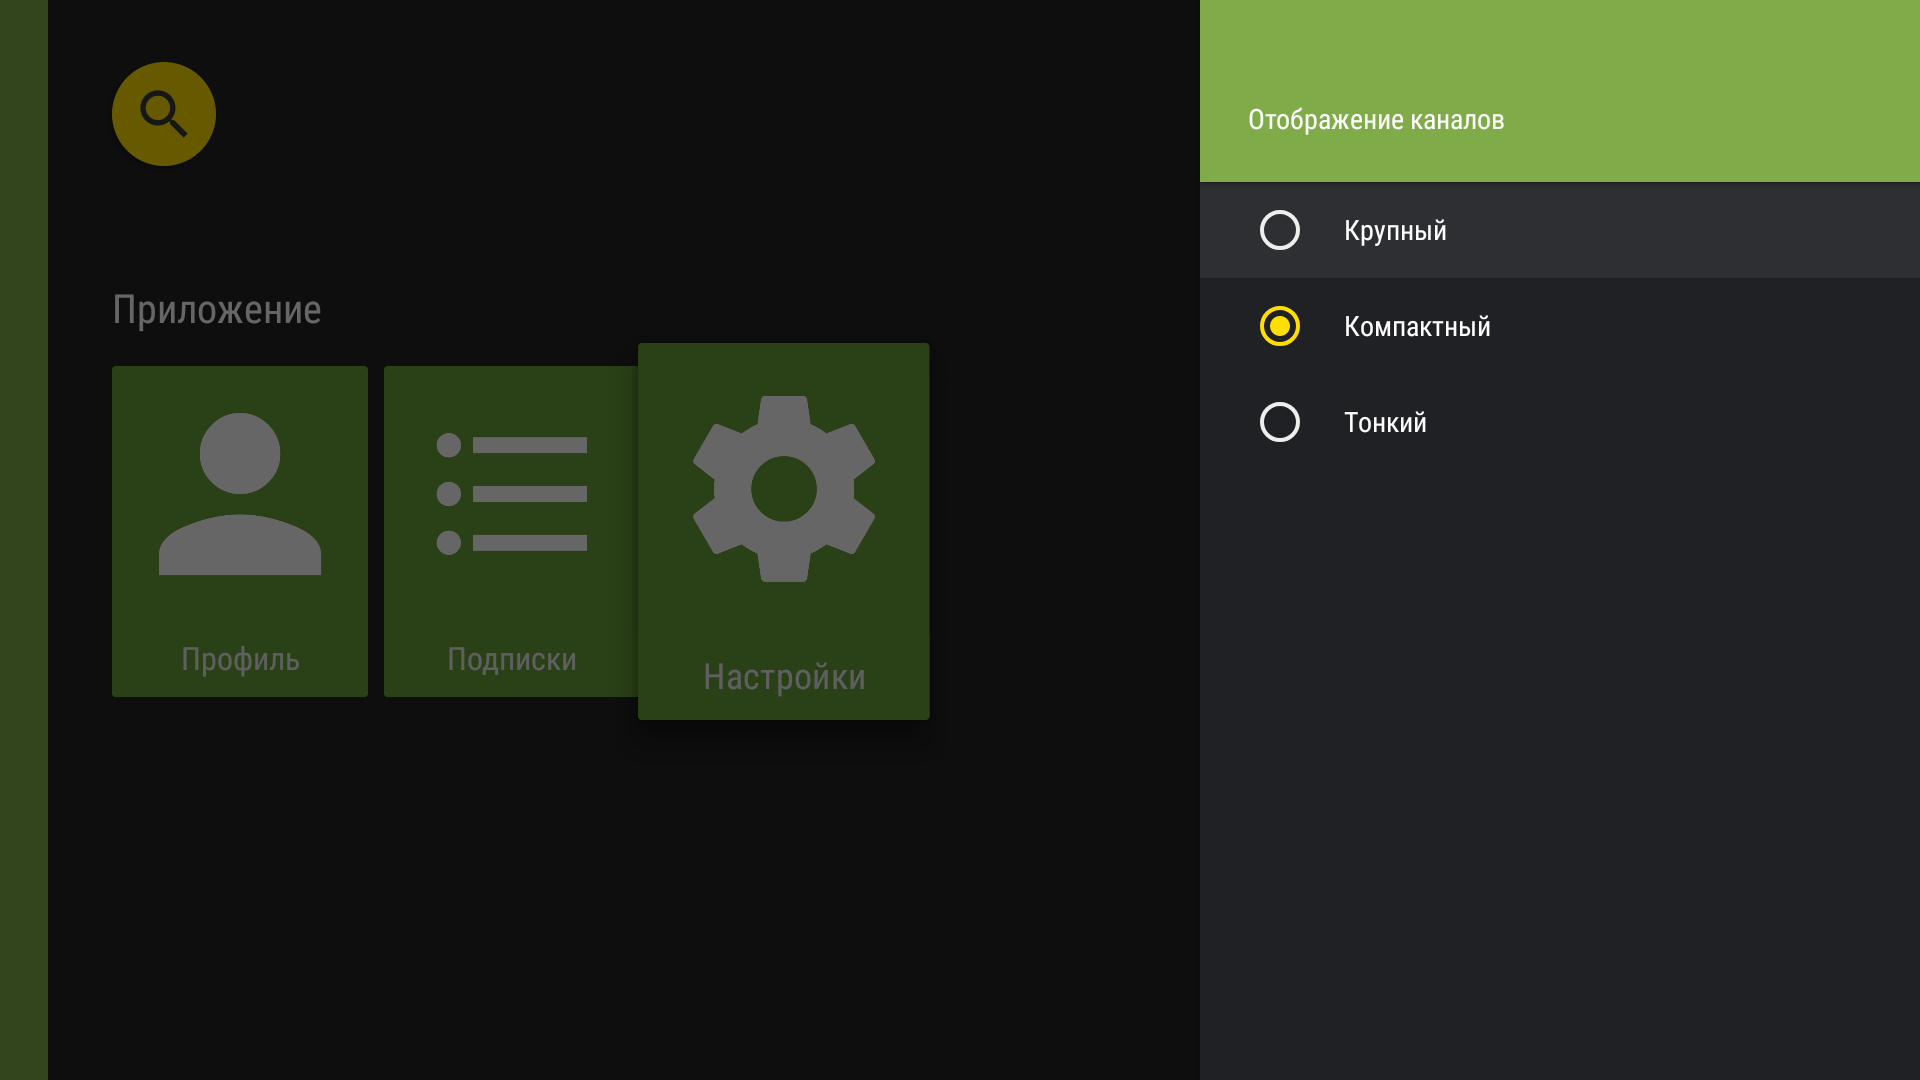
Channel display: channel display selection menu.
Select priority audio track
- Select “Settings” from the app menu.
“Settings” in the app menu. - Under “Playback”, select “Audio track”.
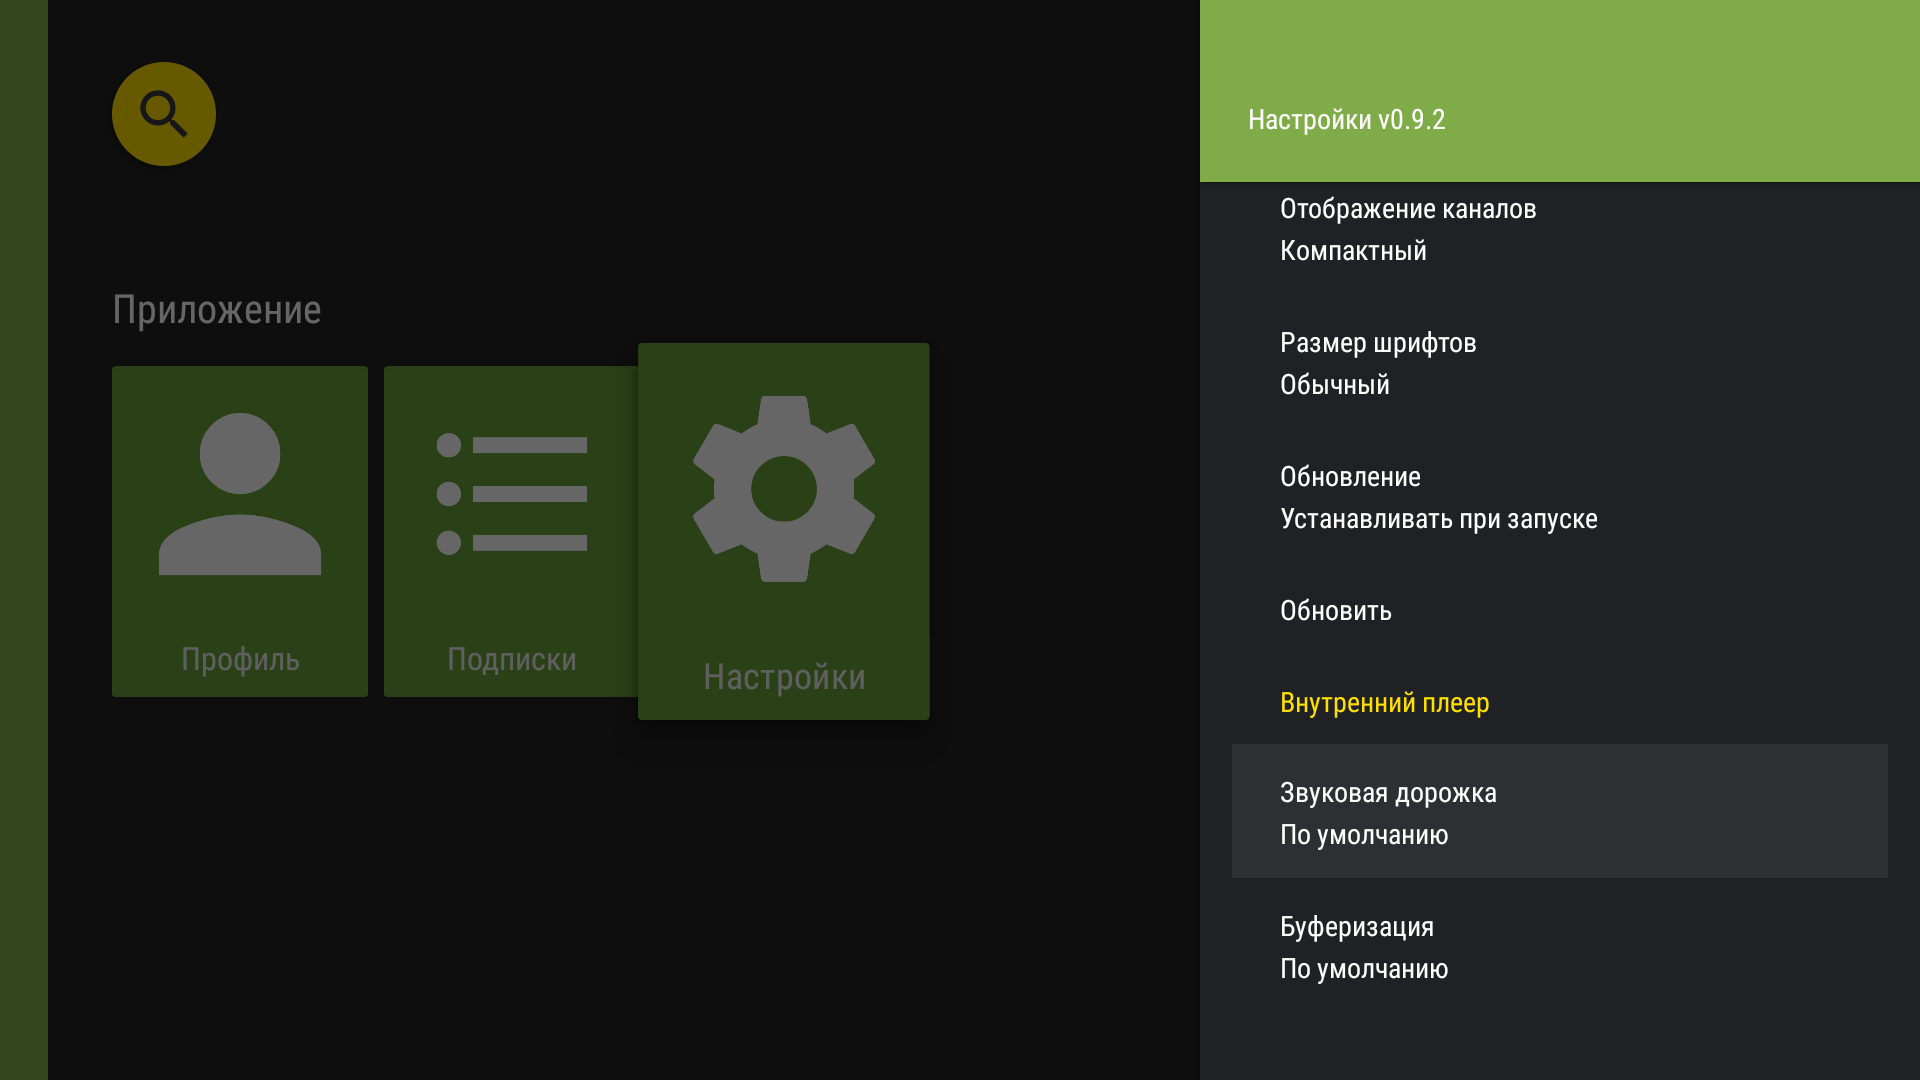
Preferred audio-track setting. - Choose the preferred language.
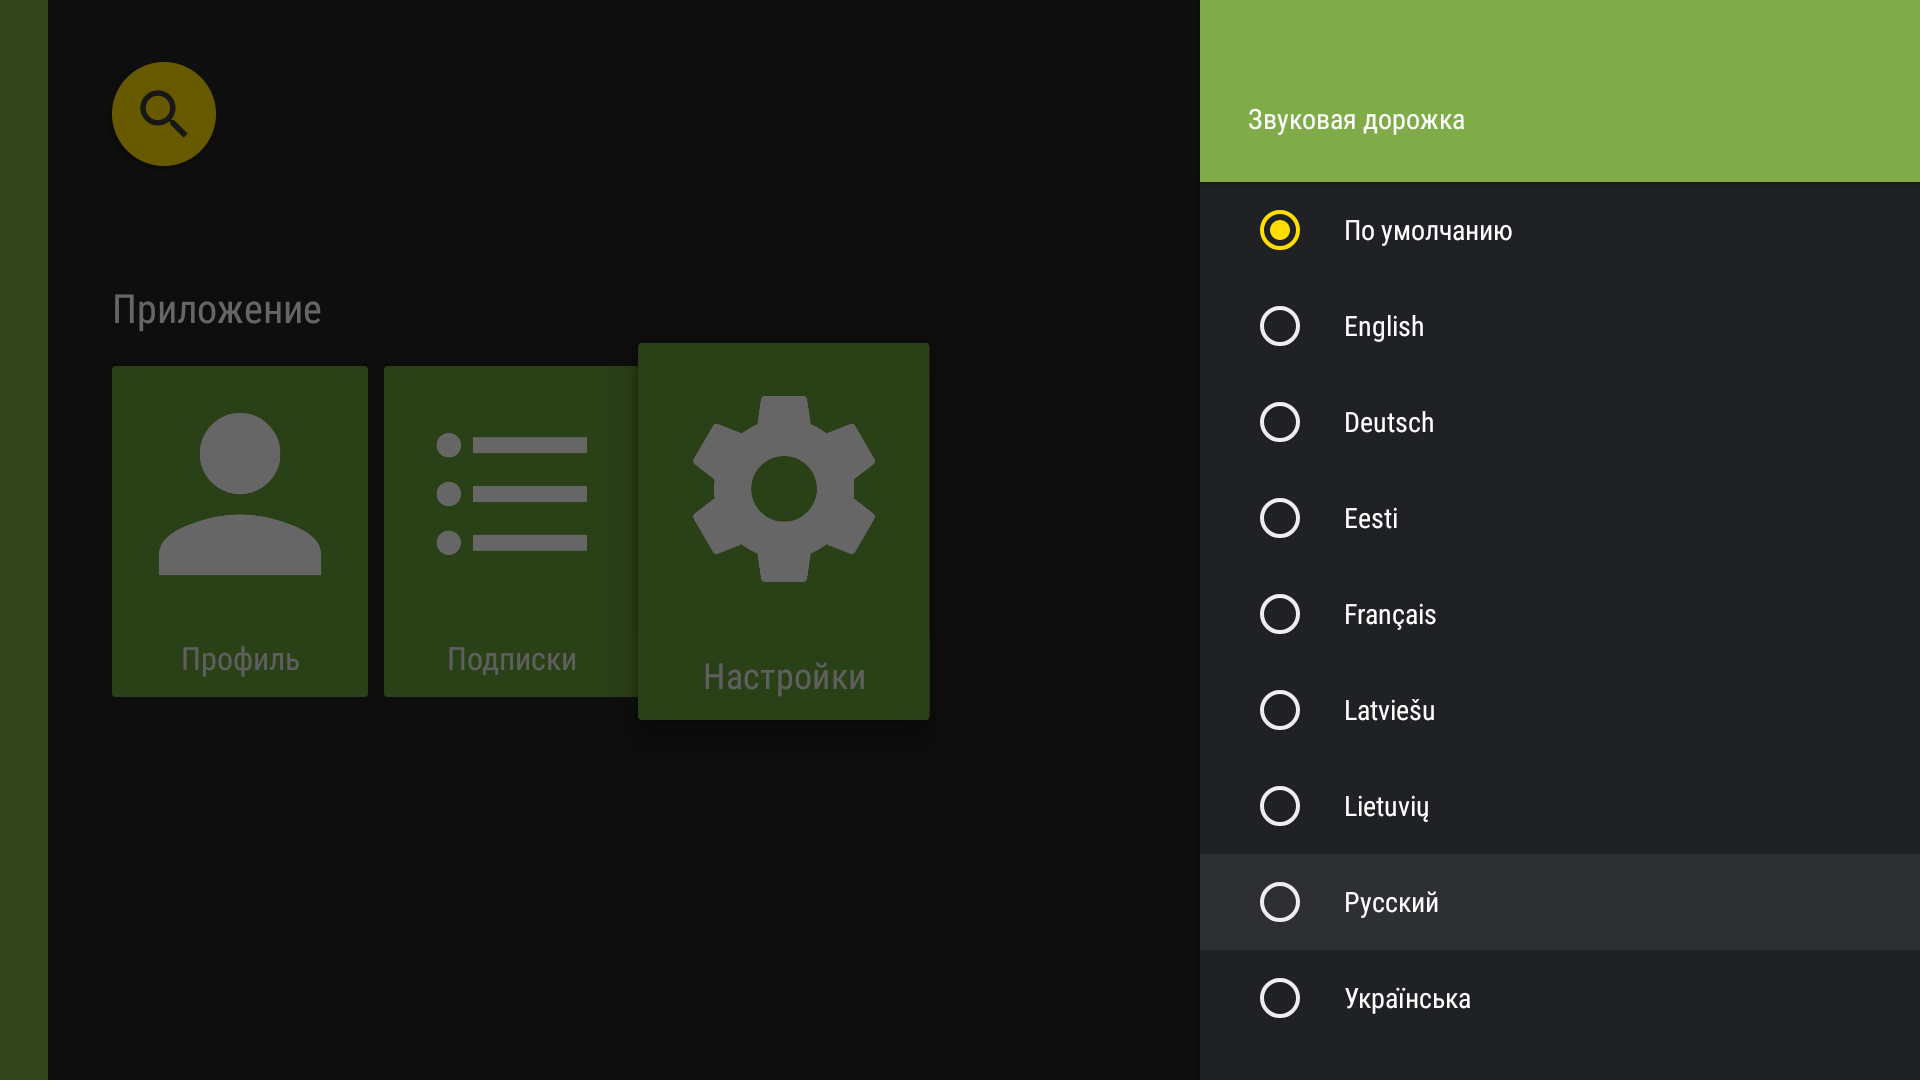
Languages available for the preferred audio track. - The app will prefer that language whenever the corresponding track is available for the channel.
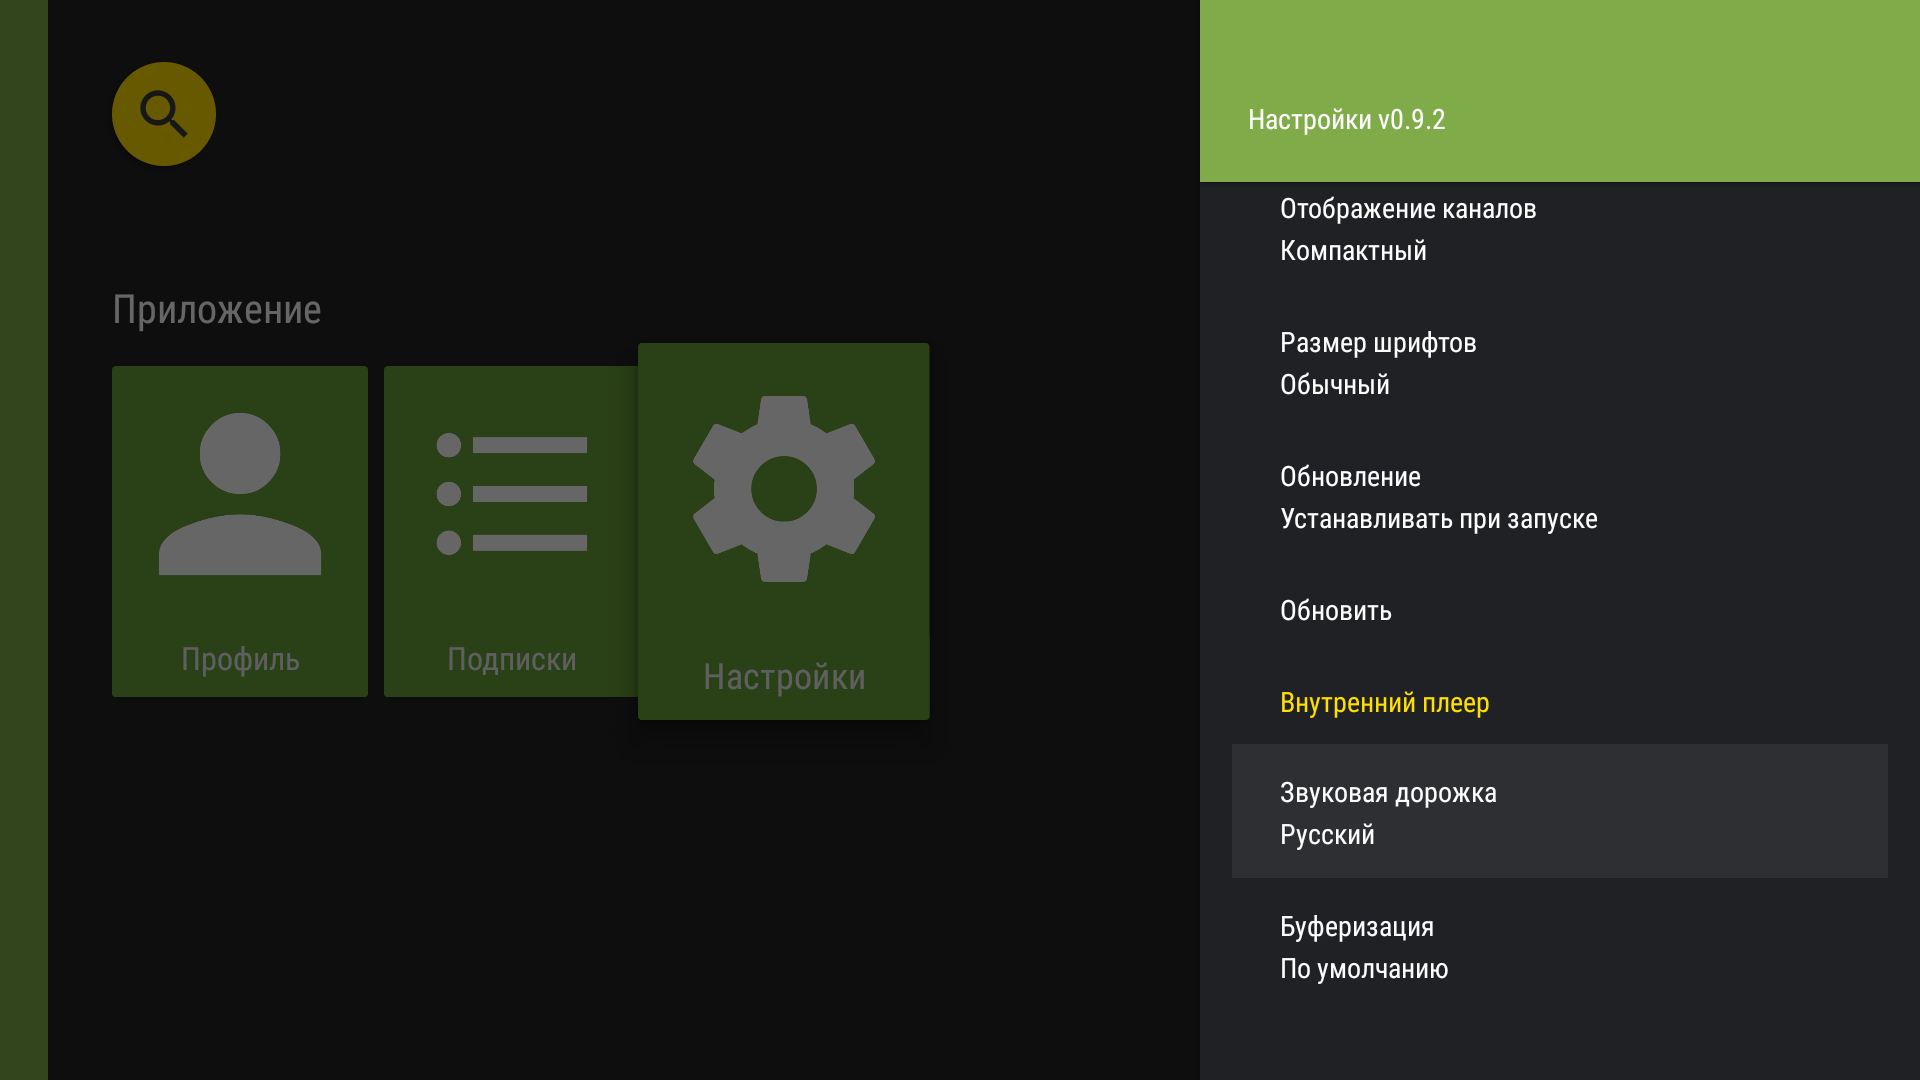
The selected language appears in the “Audio track” row.
App updates
- Select “Settings” from the app menu.
“Settings” in the app menu. - Under “Application”, select “Update”.
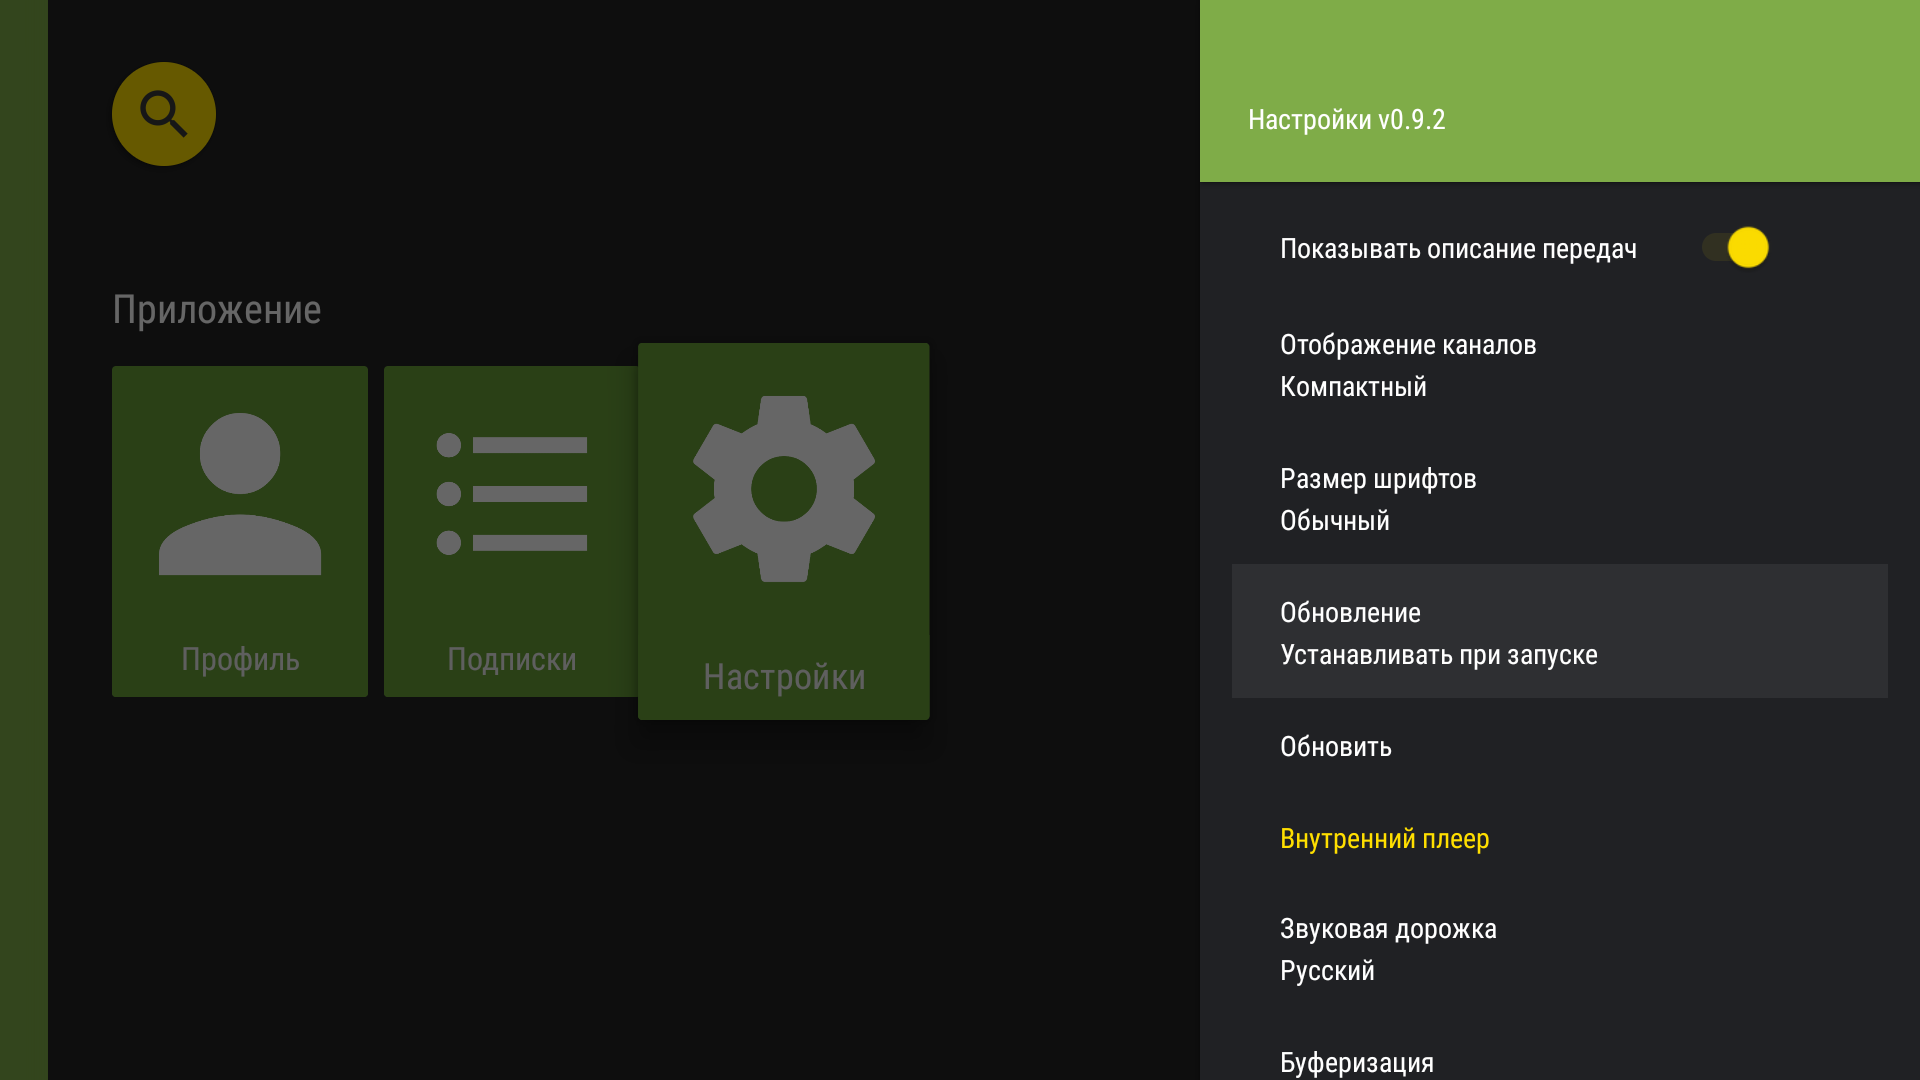
App-update setting. - Choose “Install on start” to start the system update flow the next time the app opens, or “Notify on start” to receive a notification without starting installation.
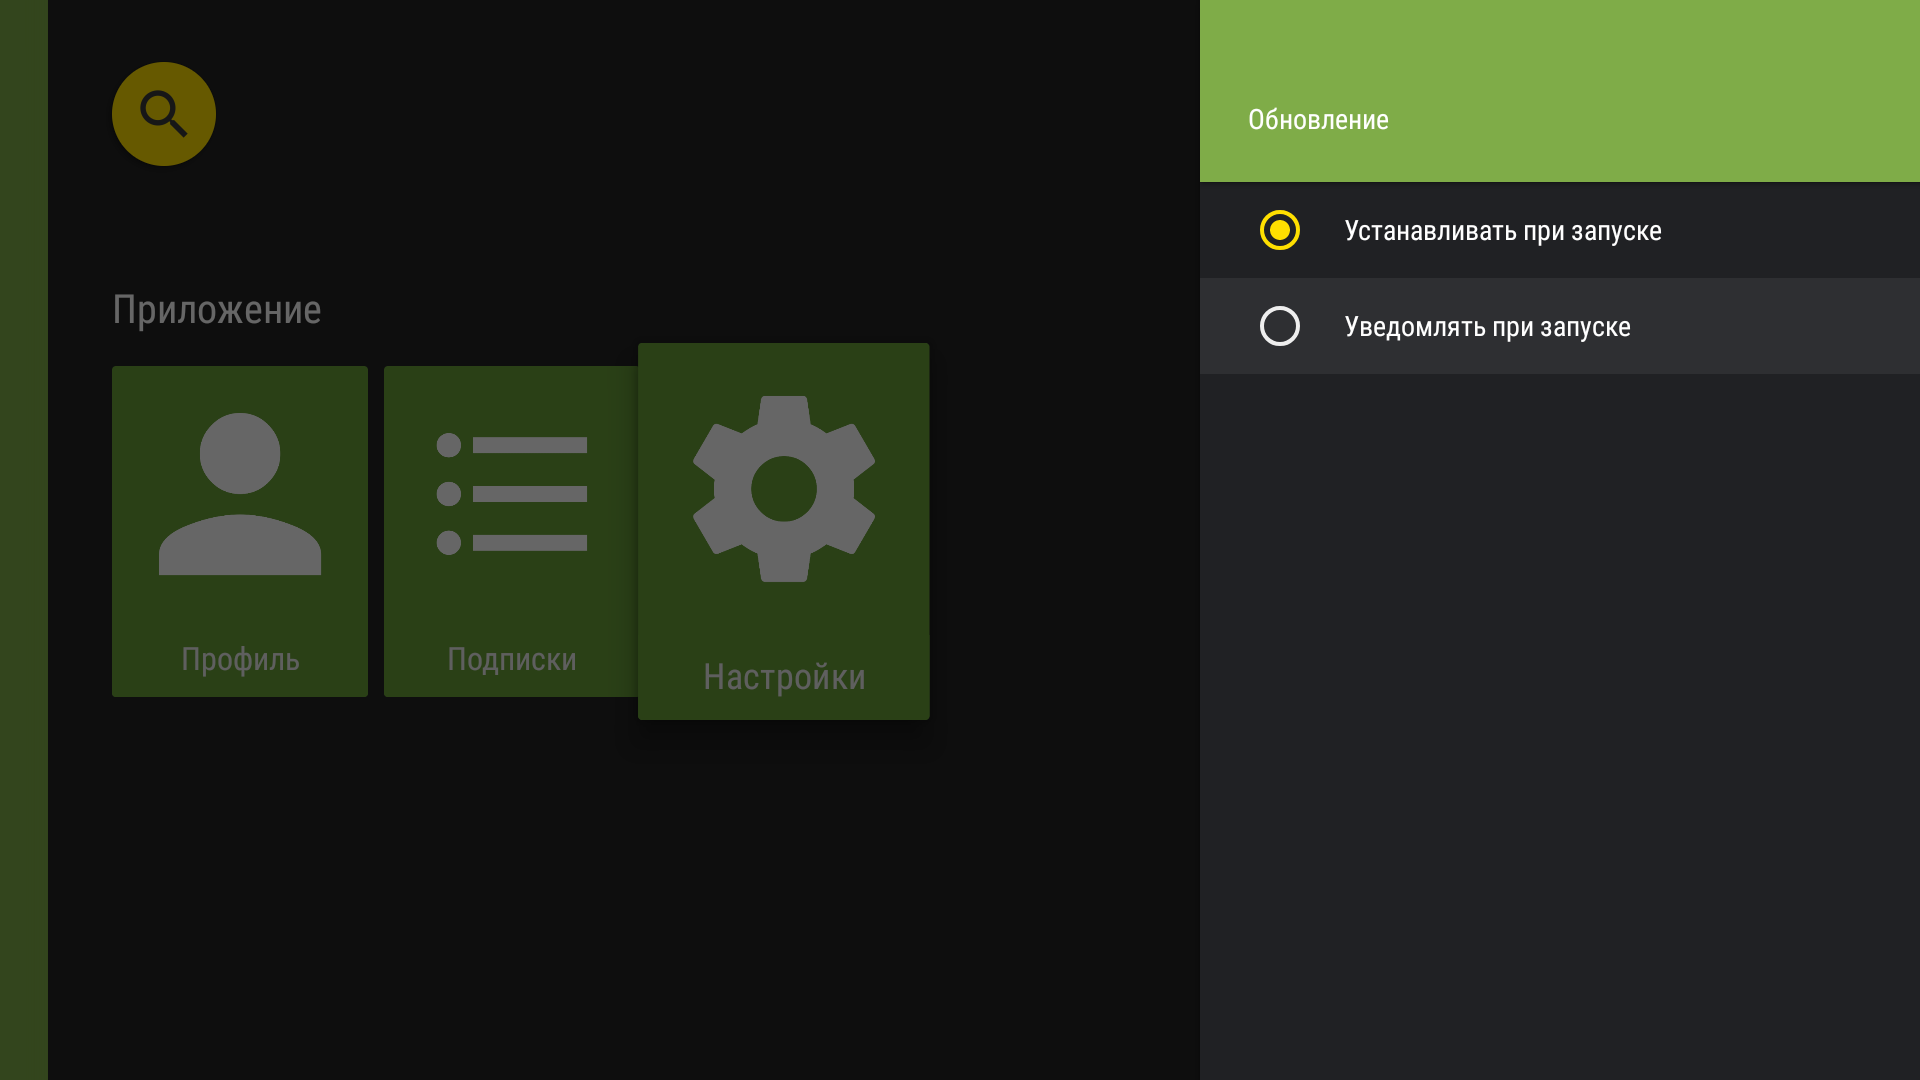
Update modes used when the app starts. - Confirm that the selected option is shown in the settings. To check manually, select “Check update”.
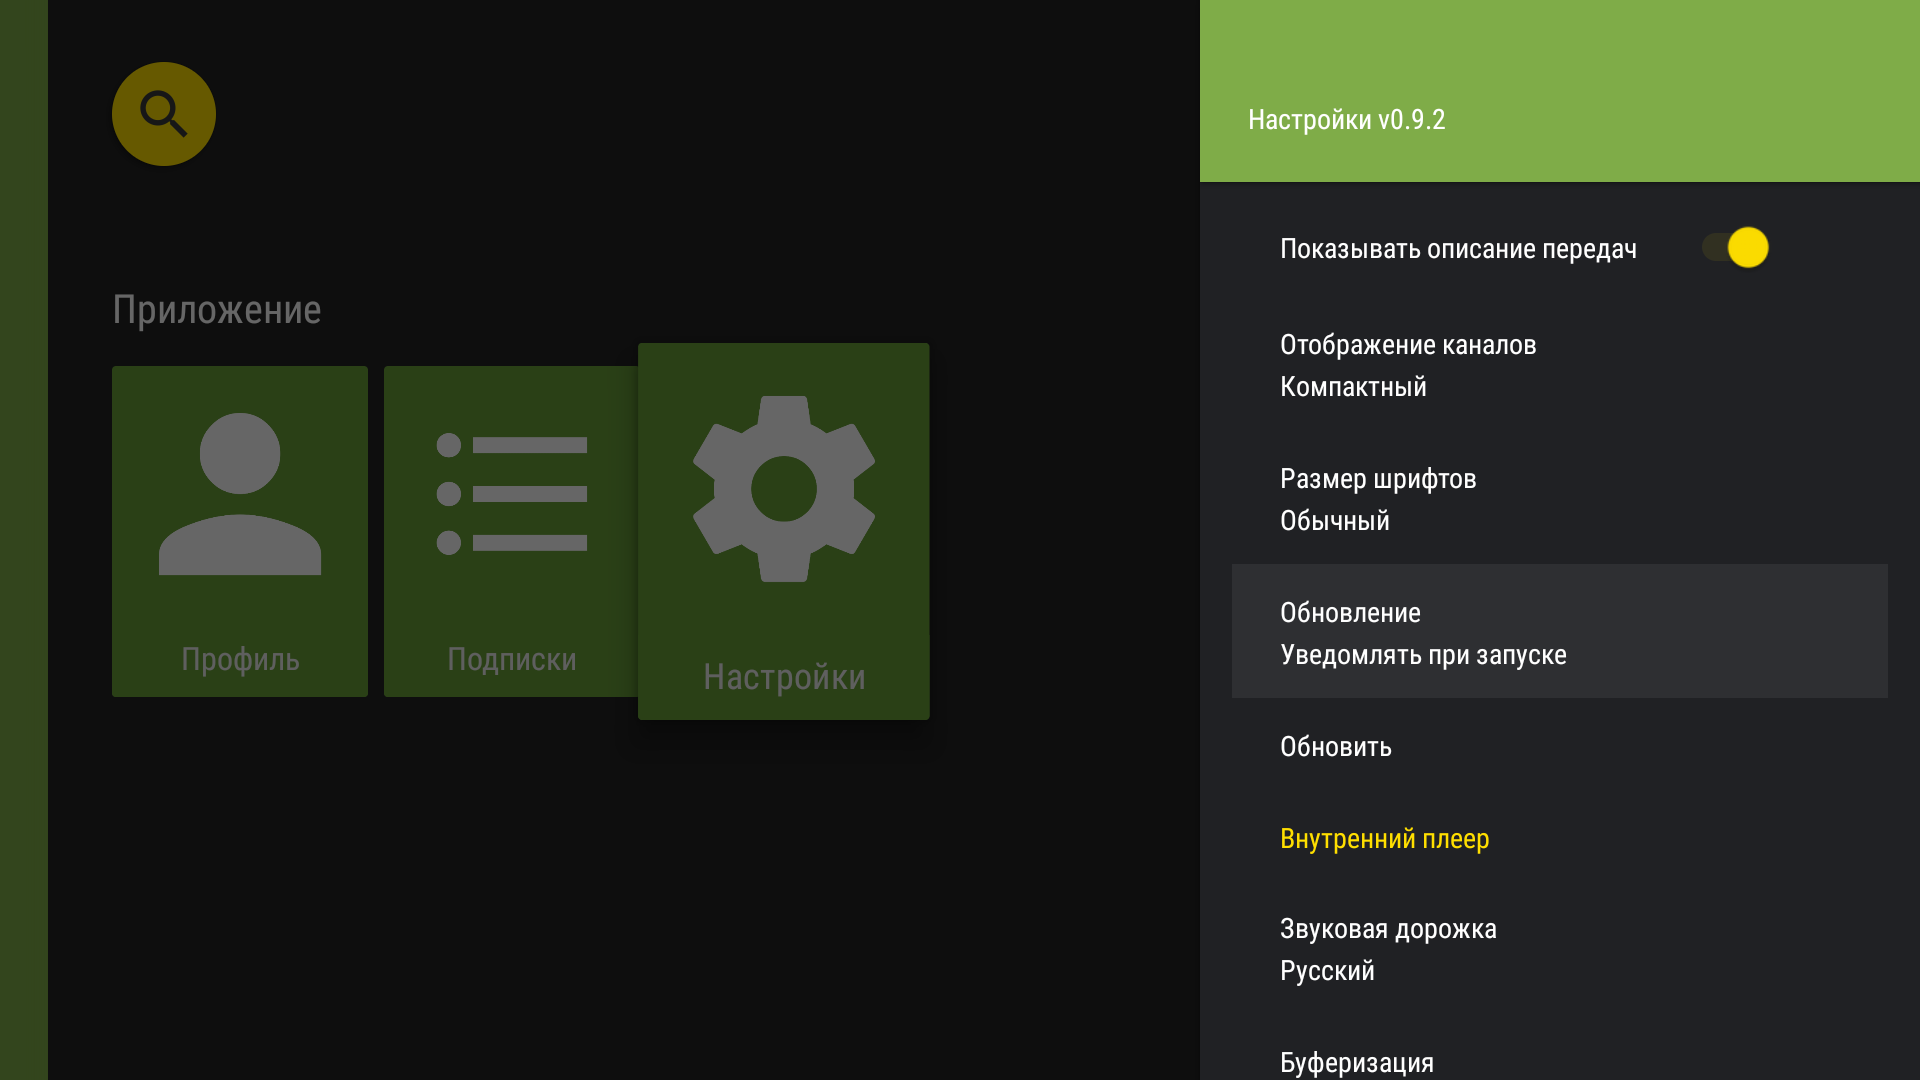
The selected update mode appears in the settings panel.
Buffering
- Select “Settings” from the app menu.
“Settings” in the app menu. - Under “Playback”, select “Buffering”.
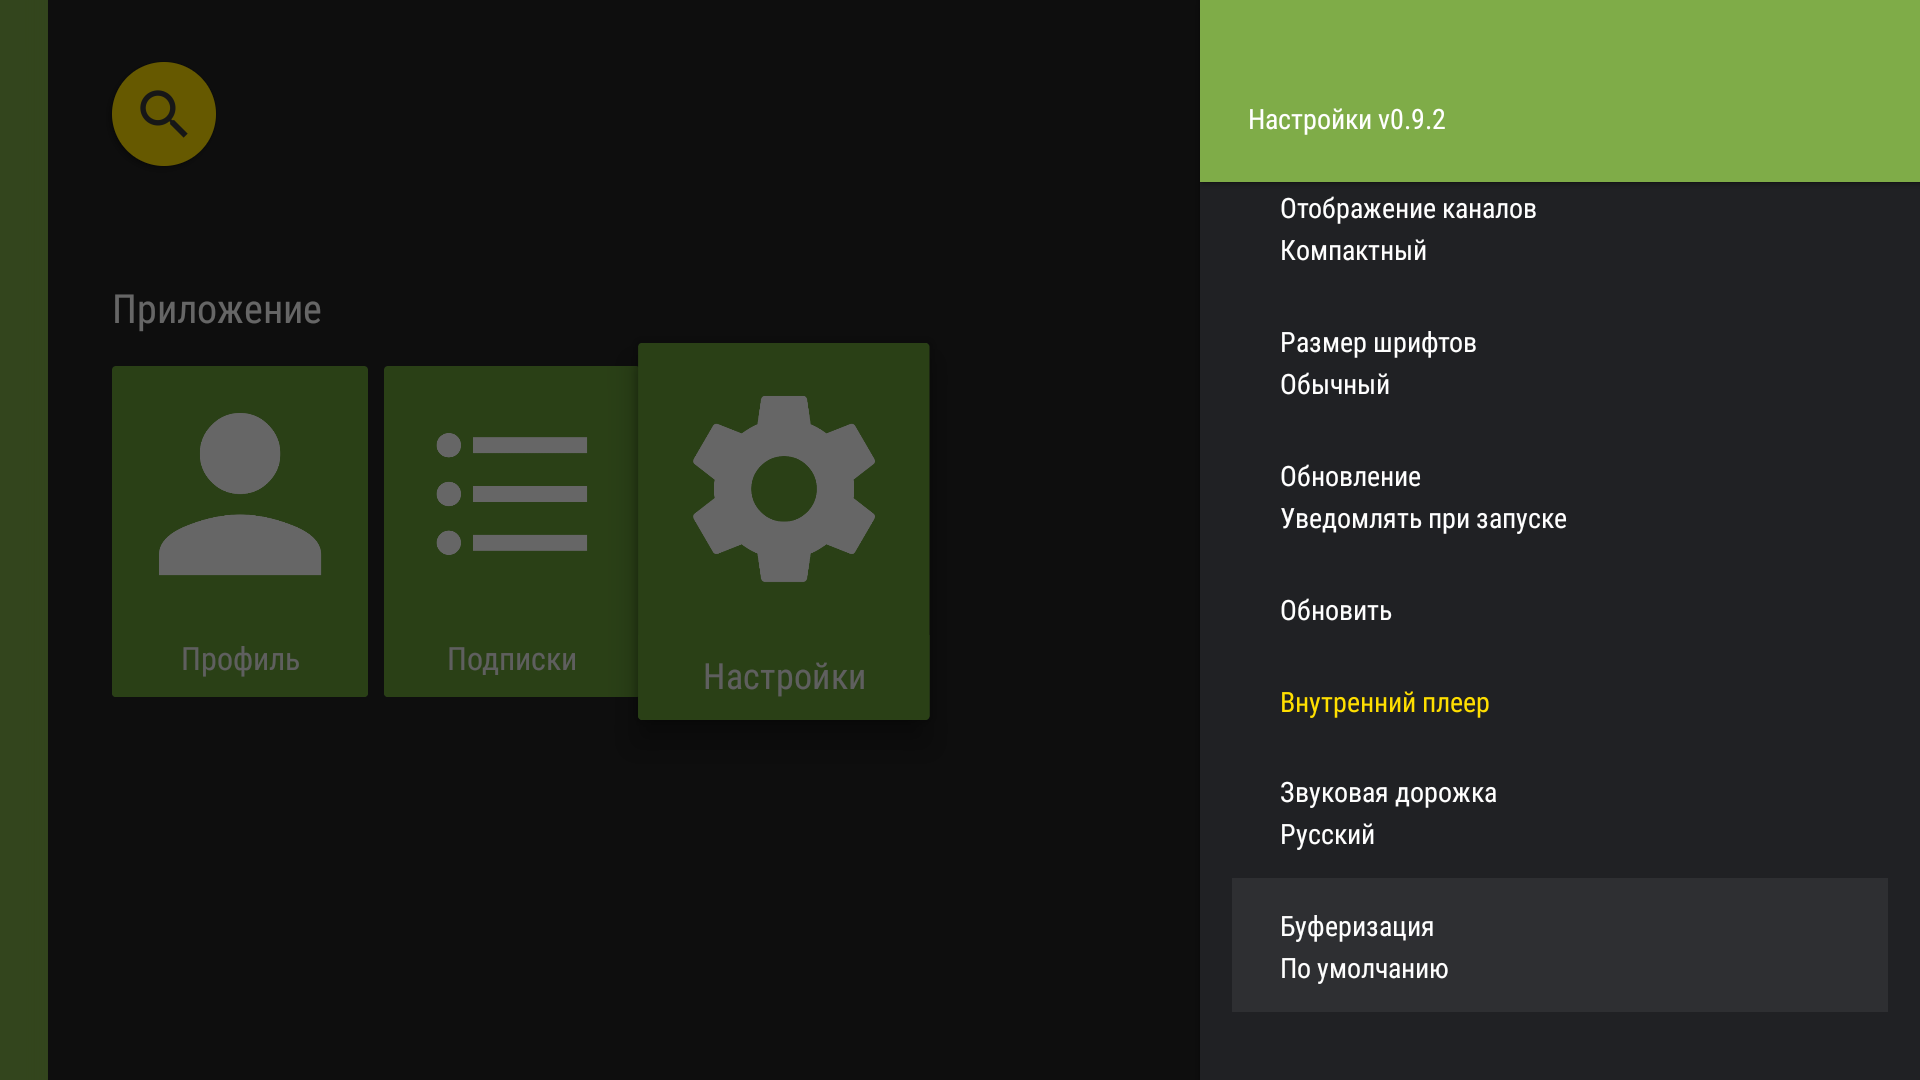
Internal-player buffering setting. - Choose “Default”, “1 sec”, “1.5 sec”, “2 sec”, “2.5 sec”, “3 sec”, “5 sec”, “8 sec”, “10 sec”, “12 sec”, or “15 sec”.
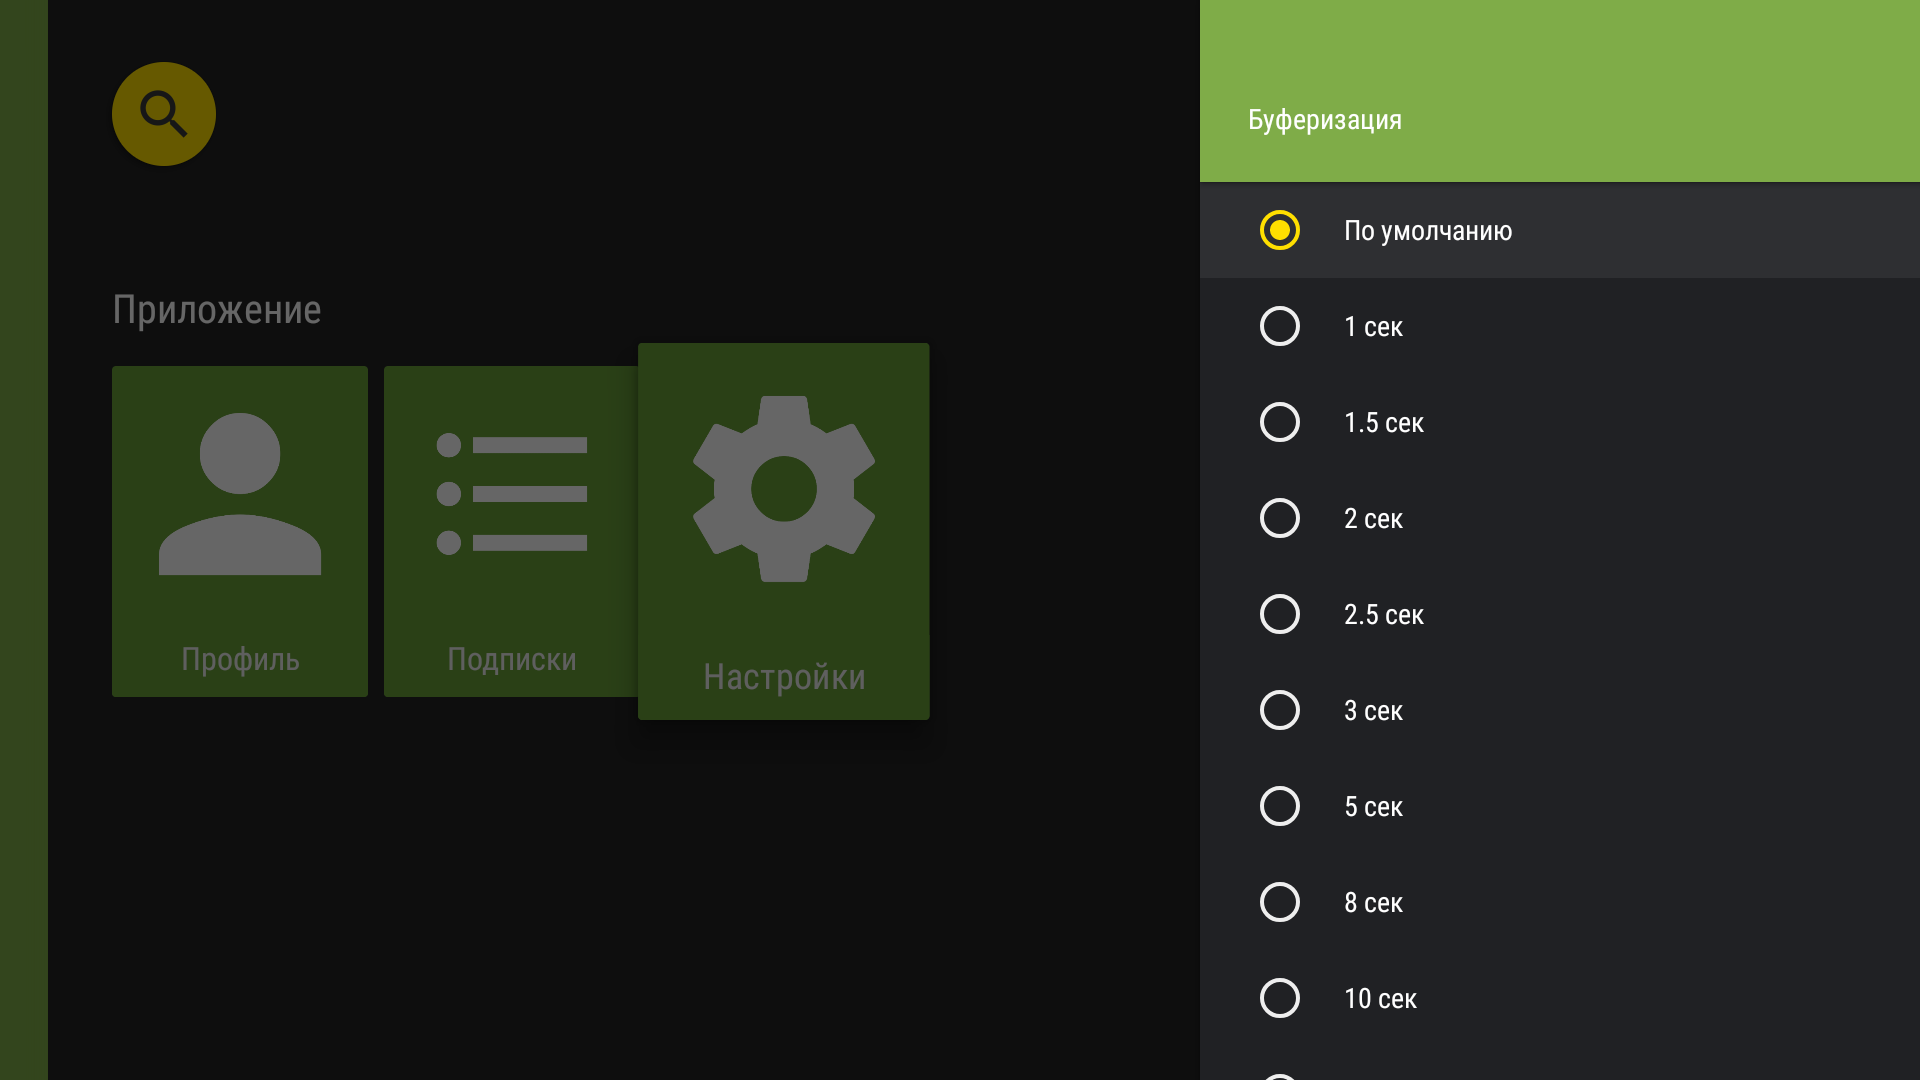
Available buffering durations.
Watching channels, the programme guide and catch-up on Android TV
Watching TV channels
- In the app menu, select a group of channels.
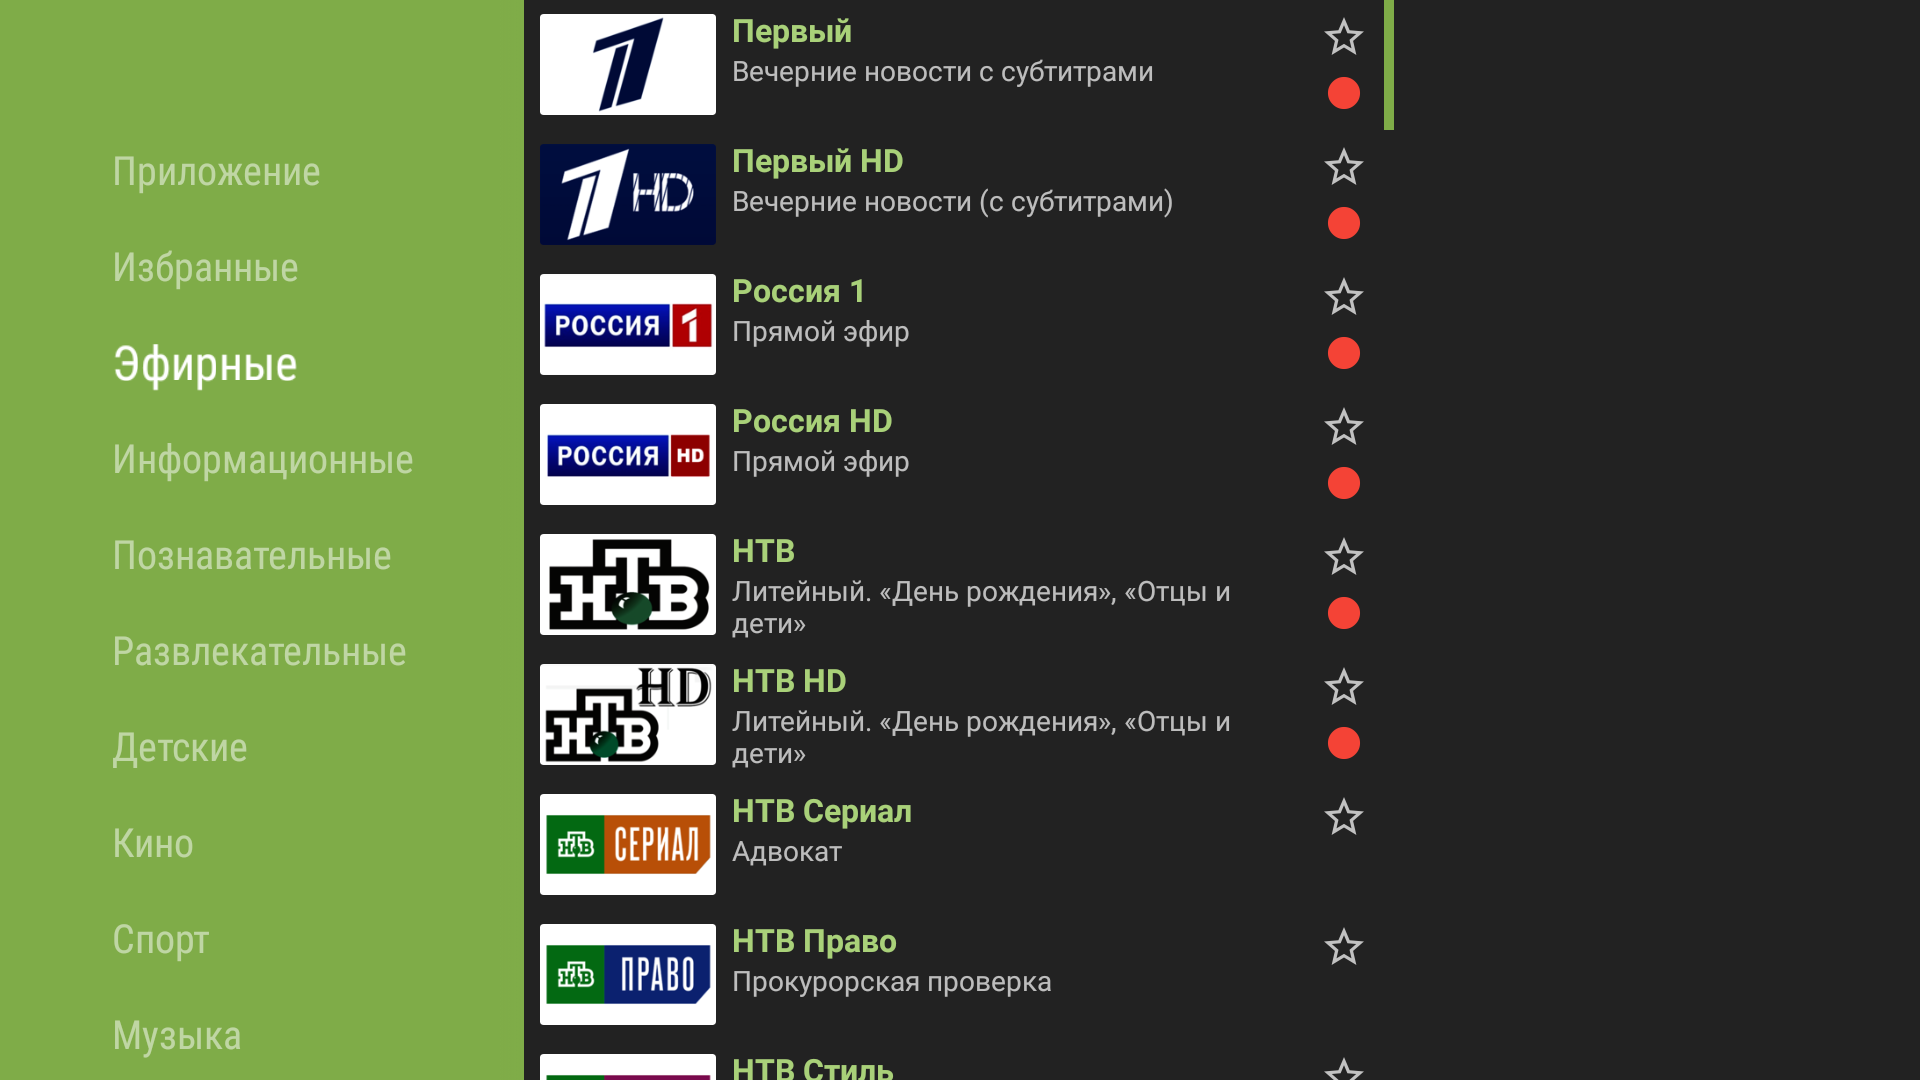
Watching TV channels: channel group selection in the app menu. - The selected group opens. Highlight the channel you want to watch.
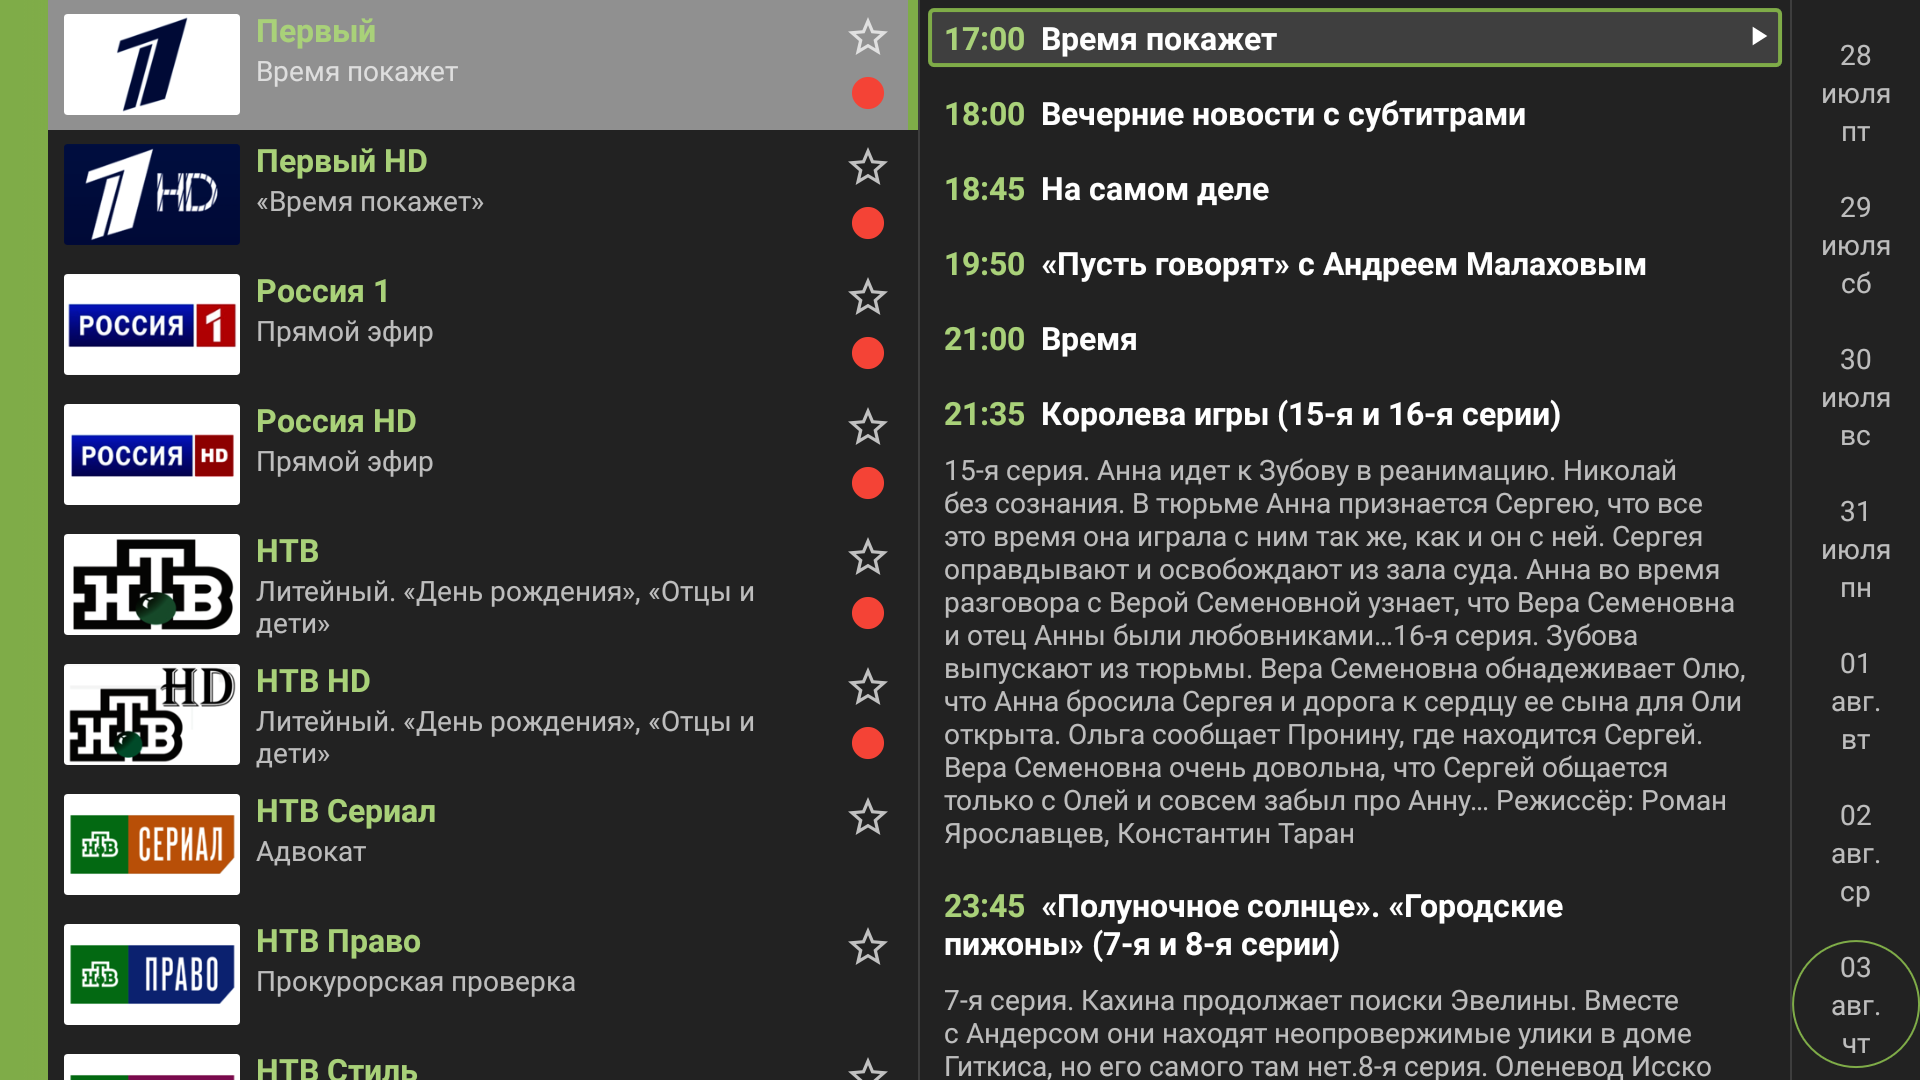
Watching TV channels: selected group channel list. To play the channel, press “OK” on the remote control.
- To open the channel menu, hold “OK” for three seconds, then select “ON AIR”.
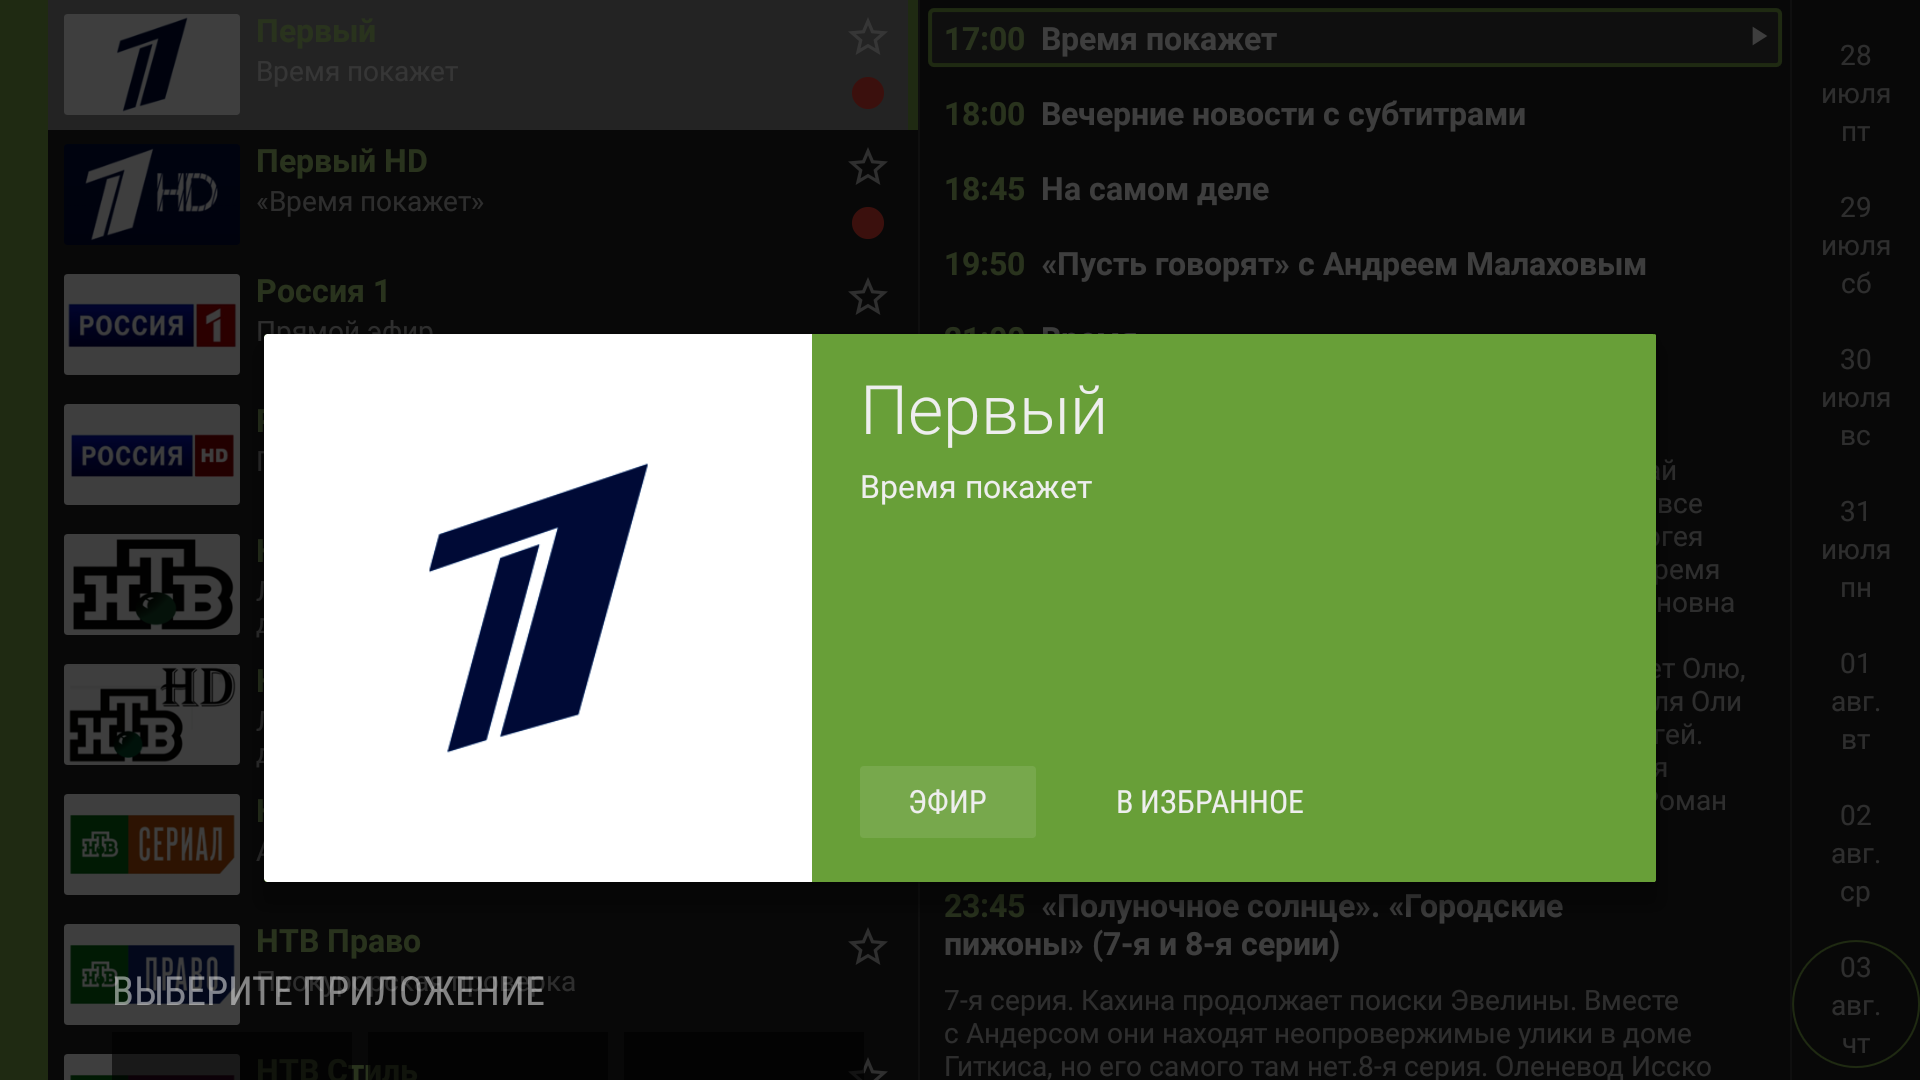
Watching TV channels: channel playback from the channel menu.
Viewing the programme guide
- In the app menu, select a group of channels.
Viewing the programme guide: channel group selection in the app menu. - The selected channel group opens. Select a channel.
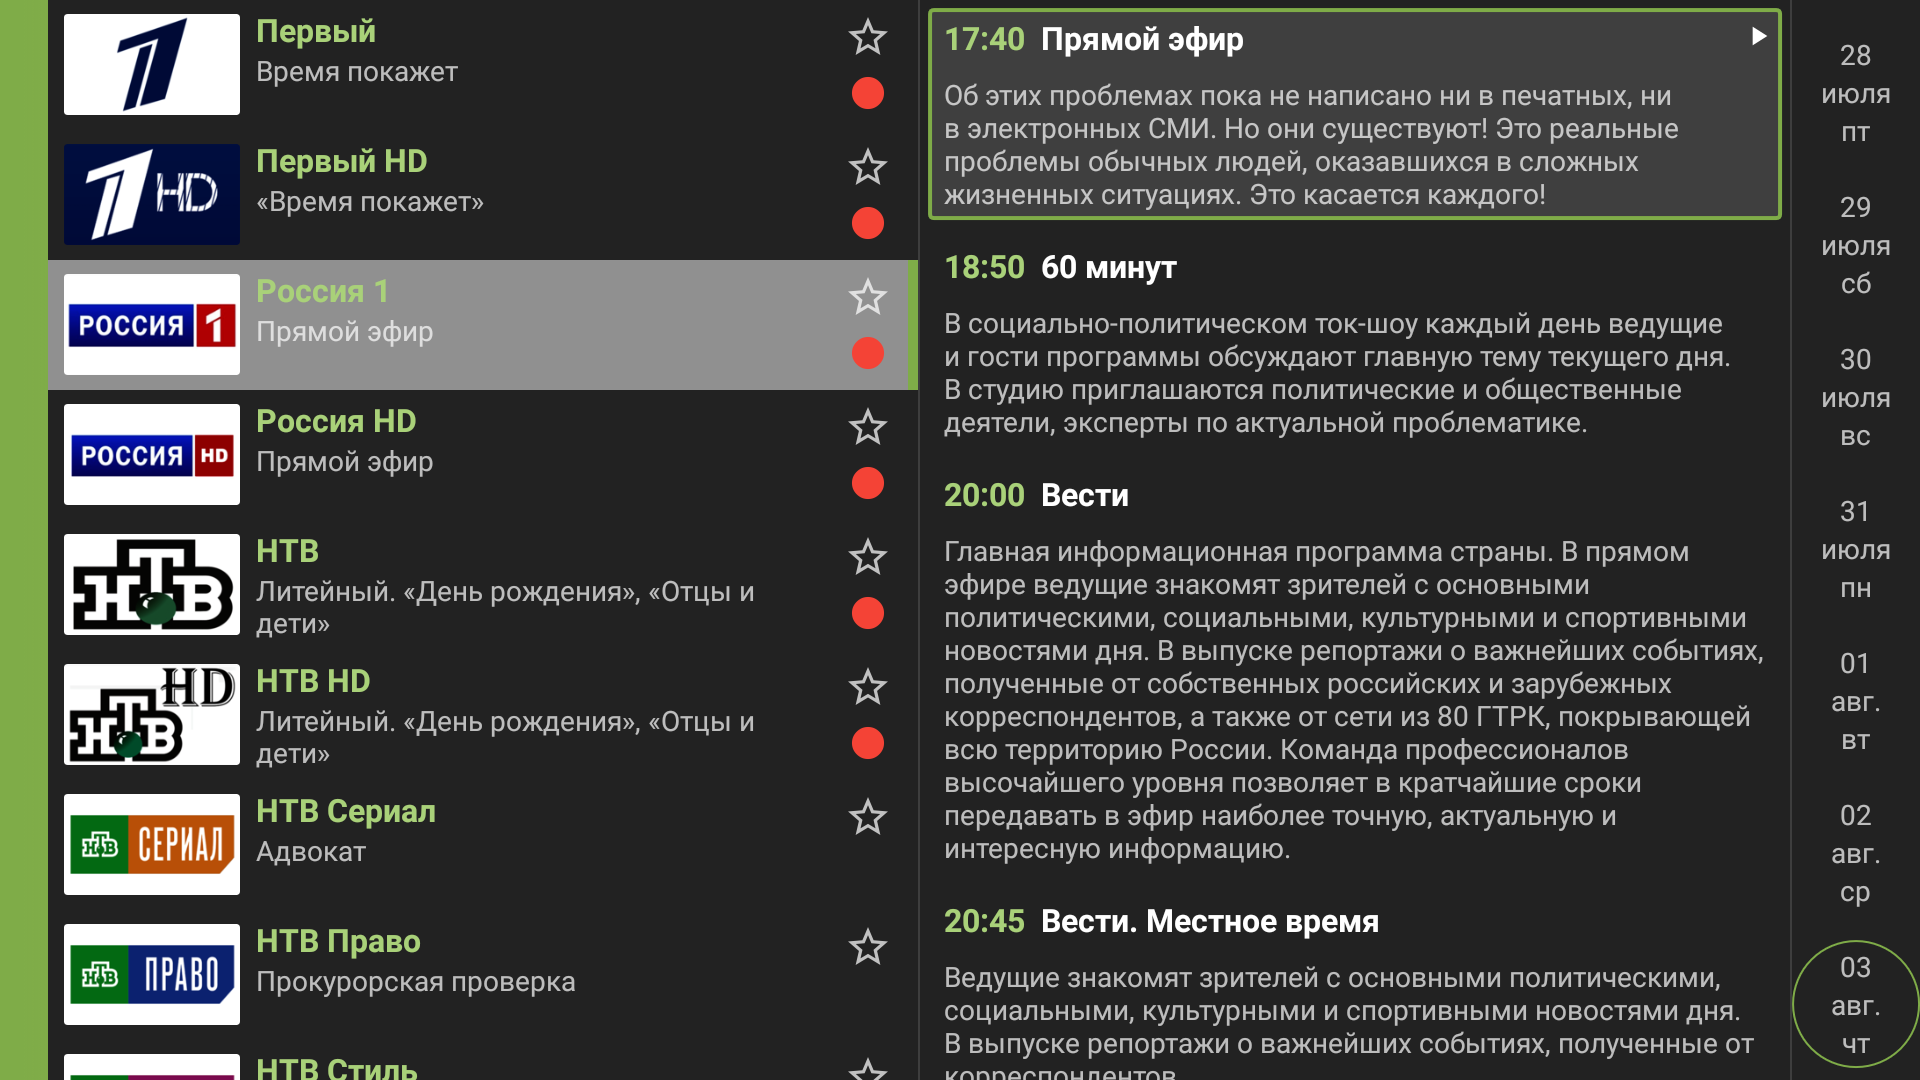
Viewing the programme guide: selected group channel list. - Open the programme guide.
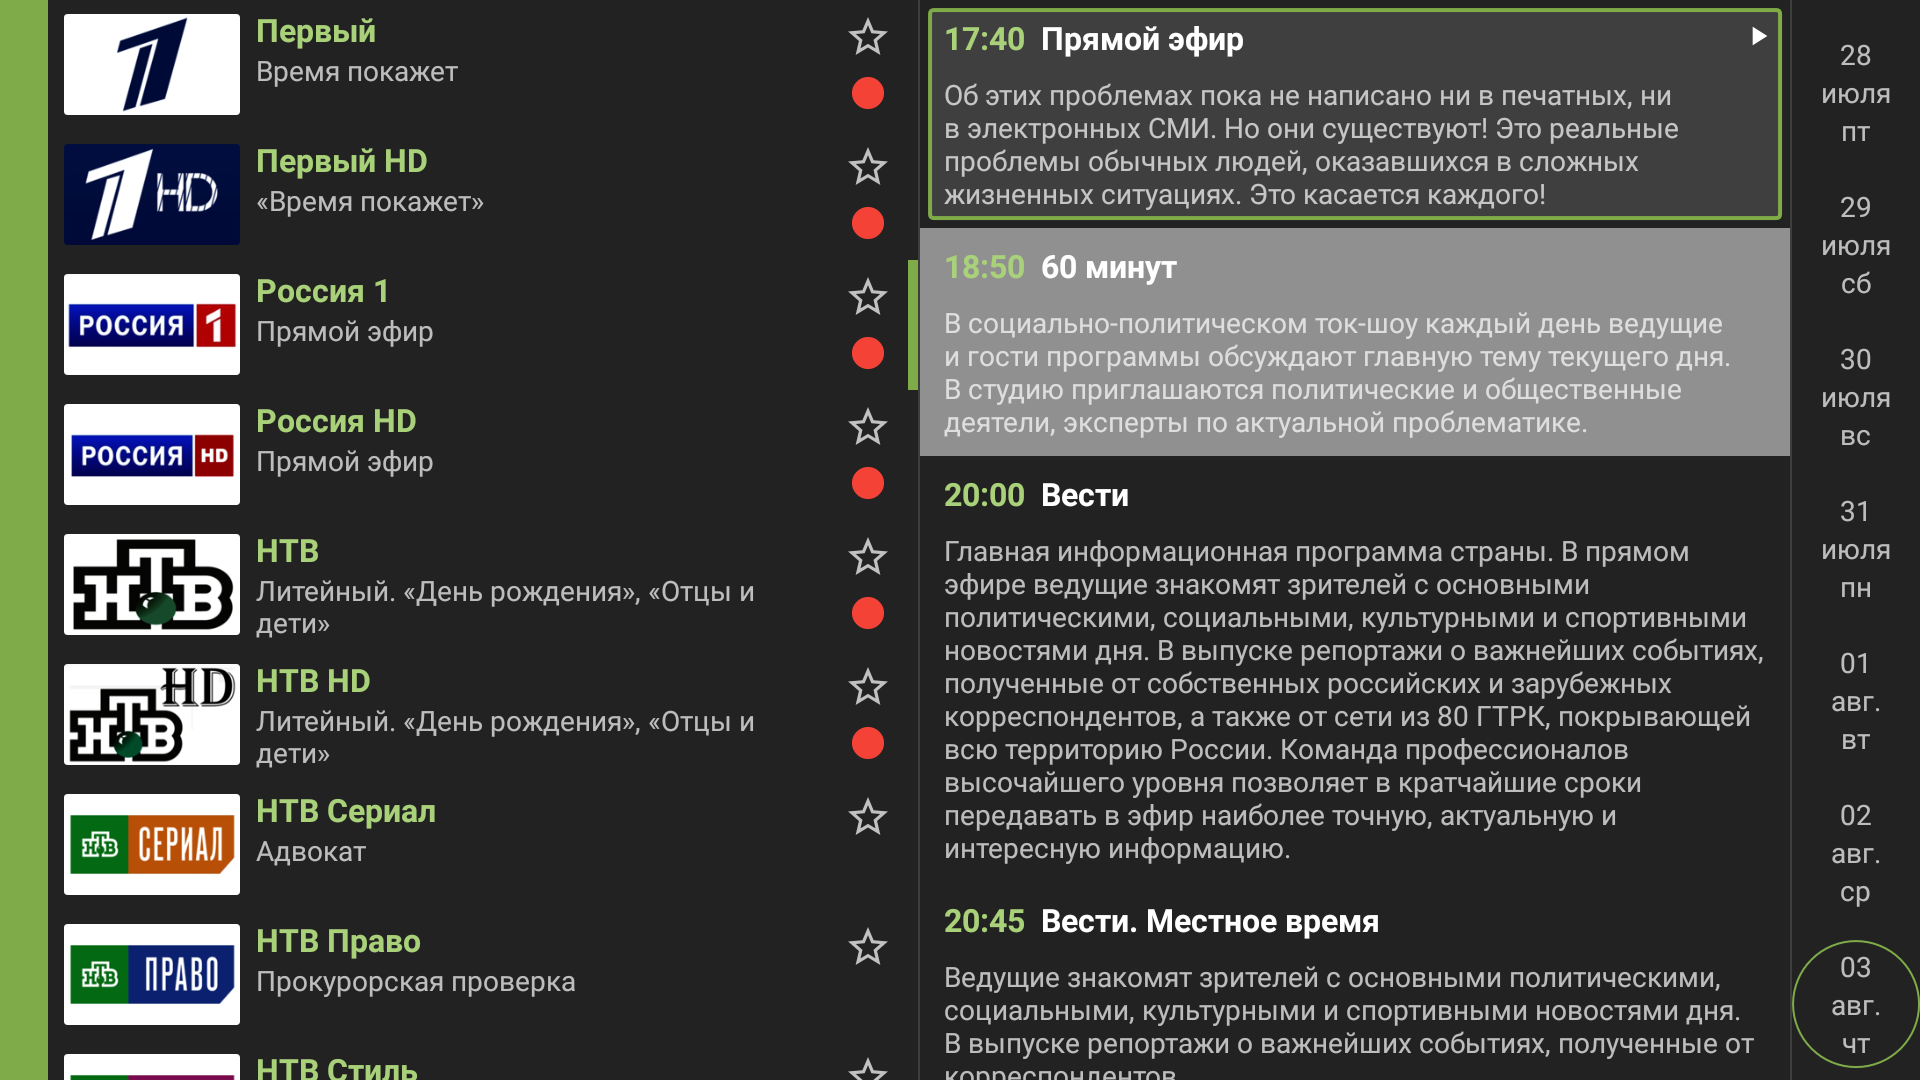
Viewing the programme guide: programme guide menu entry. - Select the required day in the programme guide.
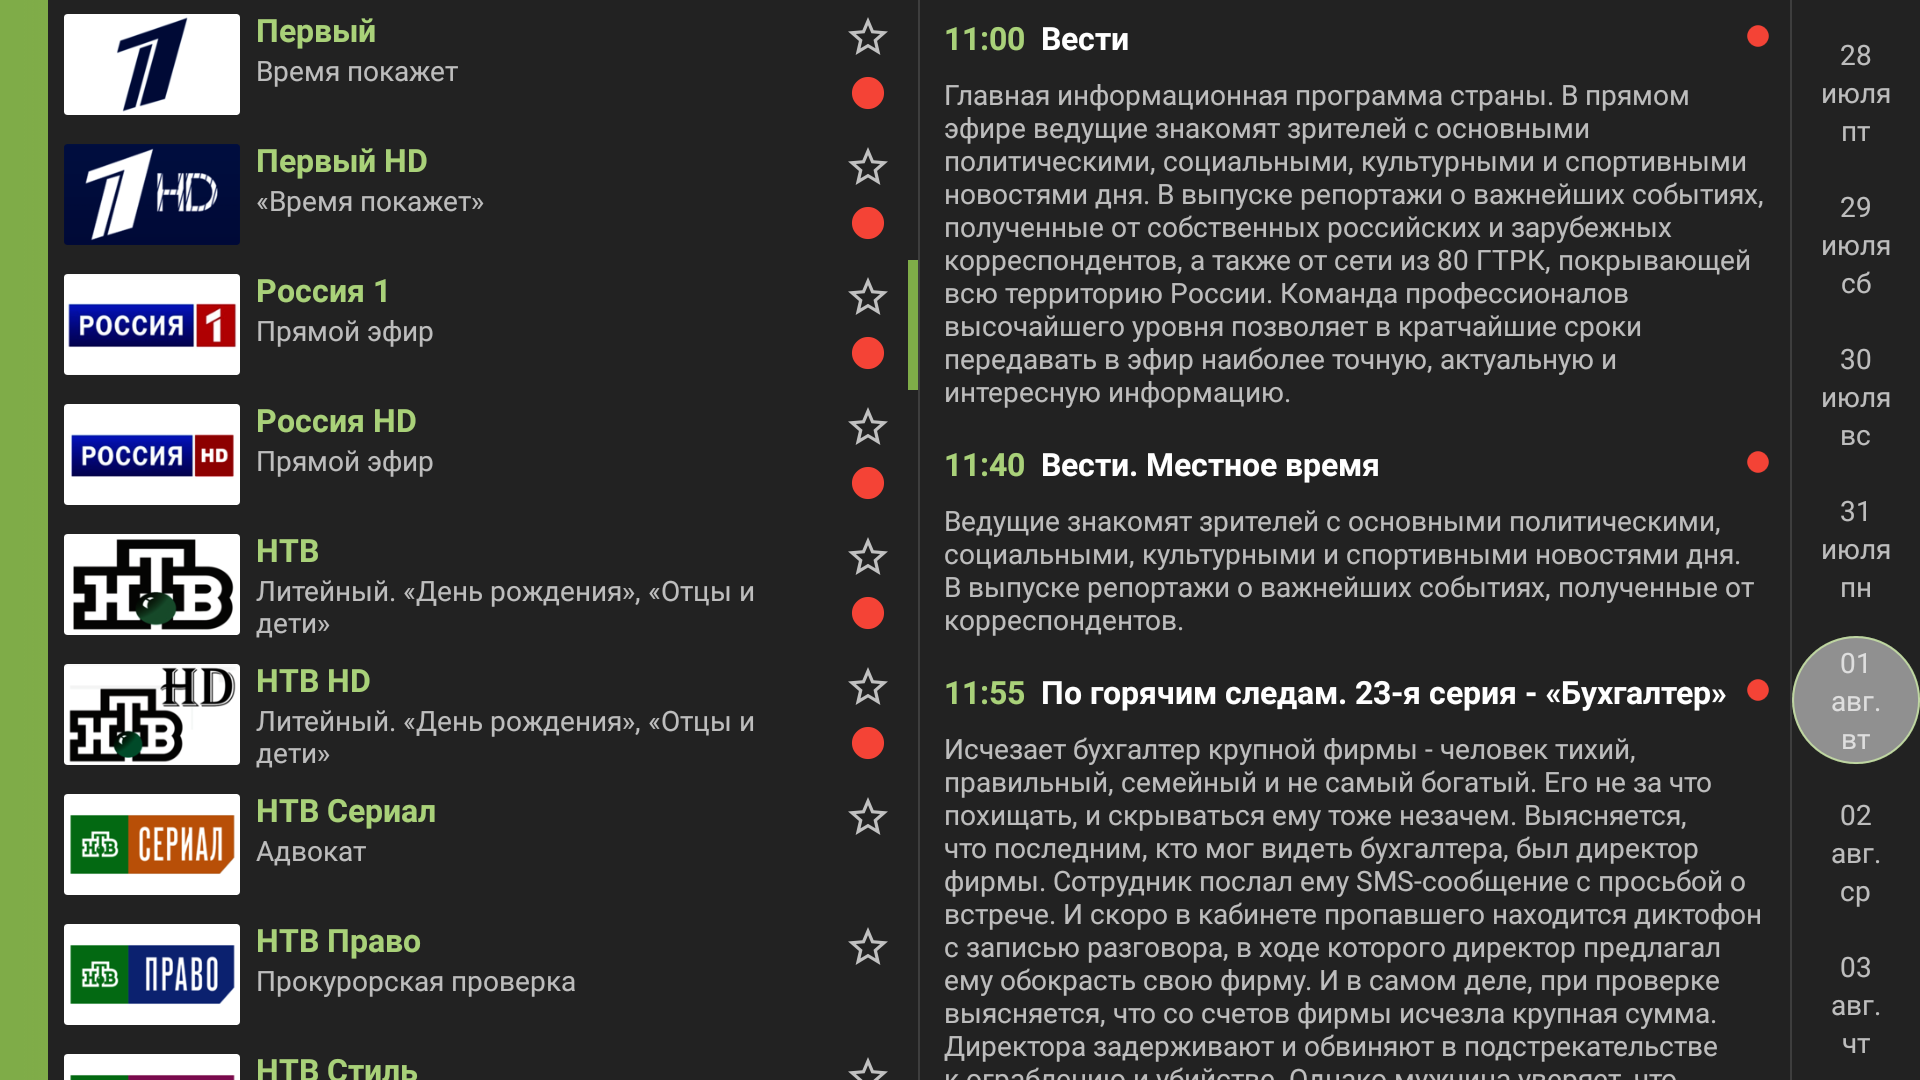
Viewing the programme guide: day selection in the programme guide.
Viewing the catch-up archive
- Recorded programmes are available on channels marked with
 .
.
Open the programme guide to browse catch-up recordings.
Viewing the catch-up archive: catch-up archive icon on a channel. - Select the desired day.
Viewing the catch-up archive: day selection in the programme guide. - Find the required programme and select “Play”.
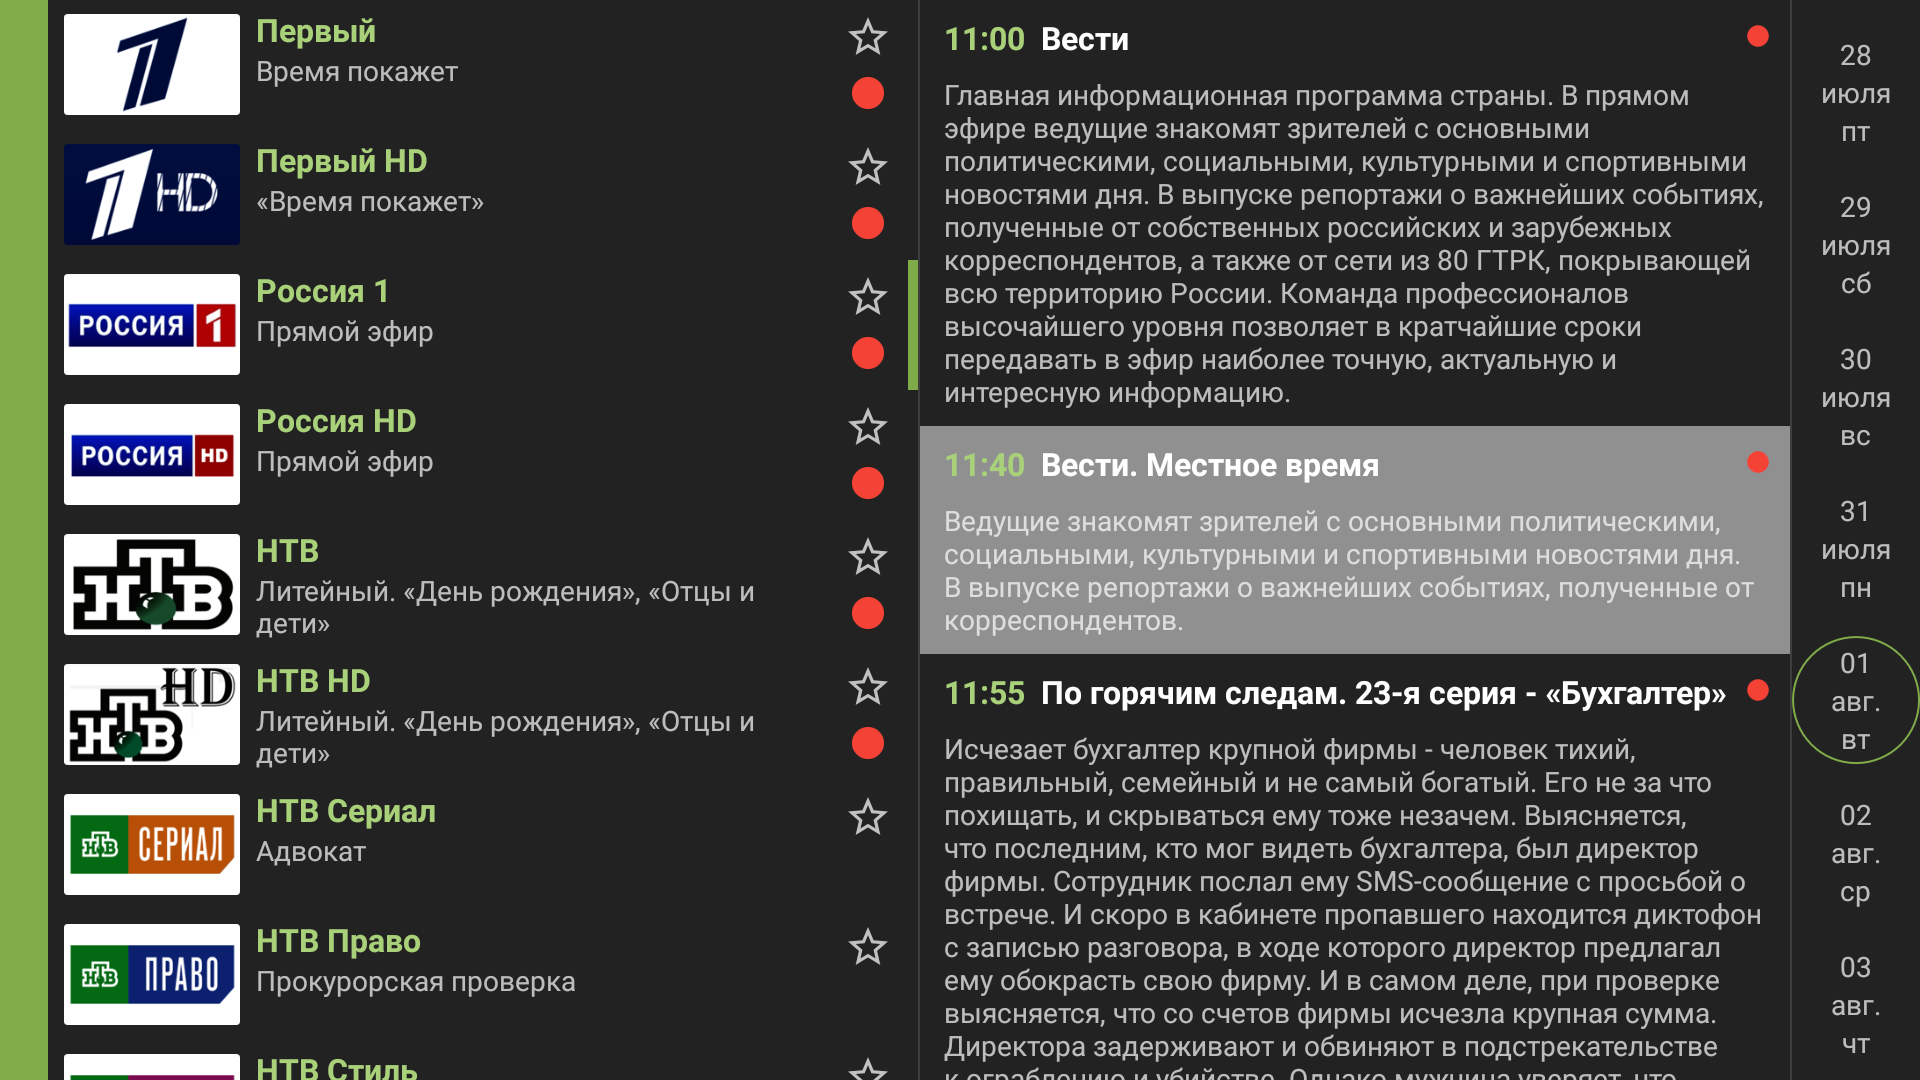
Viewing the catch-up archive: programme selection from the catch-up archive.
Android TV favourites
Creating a favourites list
- In the app menu, select a group of channels.
Creating a favourites list: channel group selection in the app menu. - Highlight the required channel in the list.
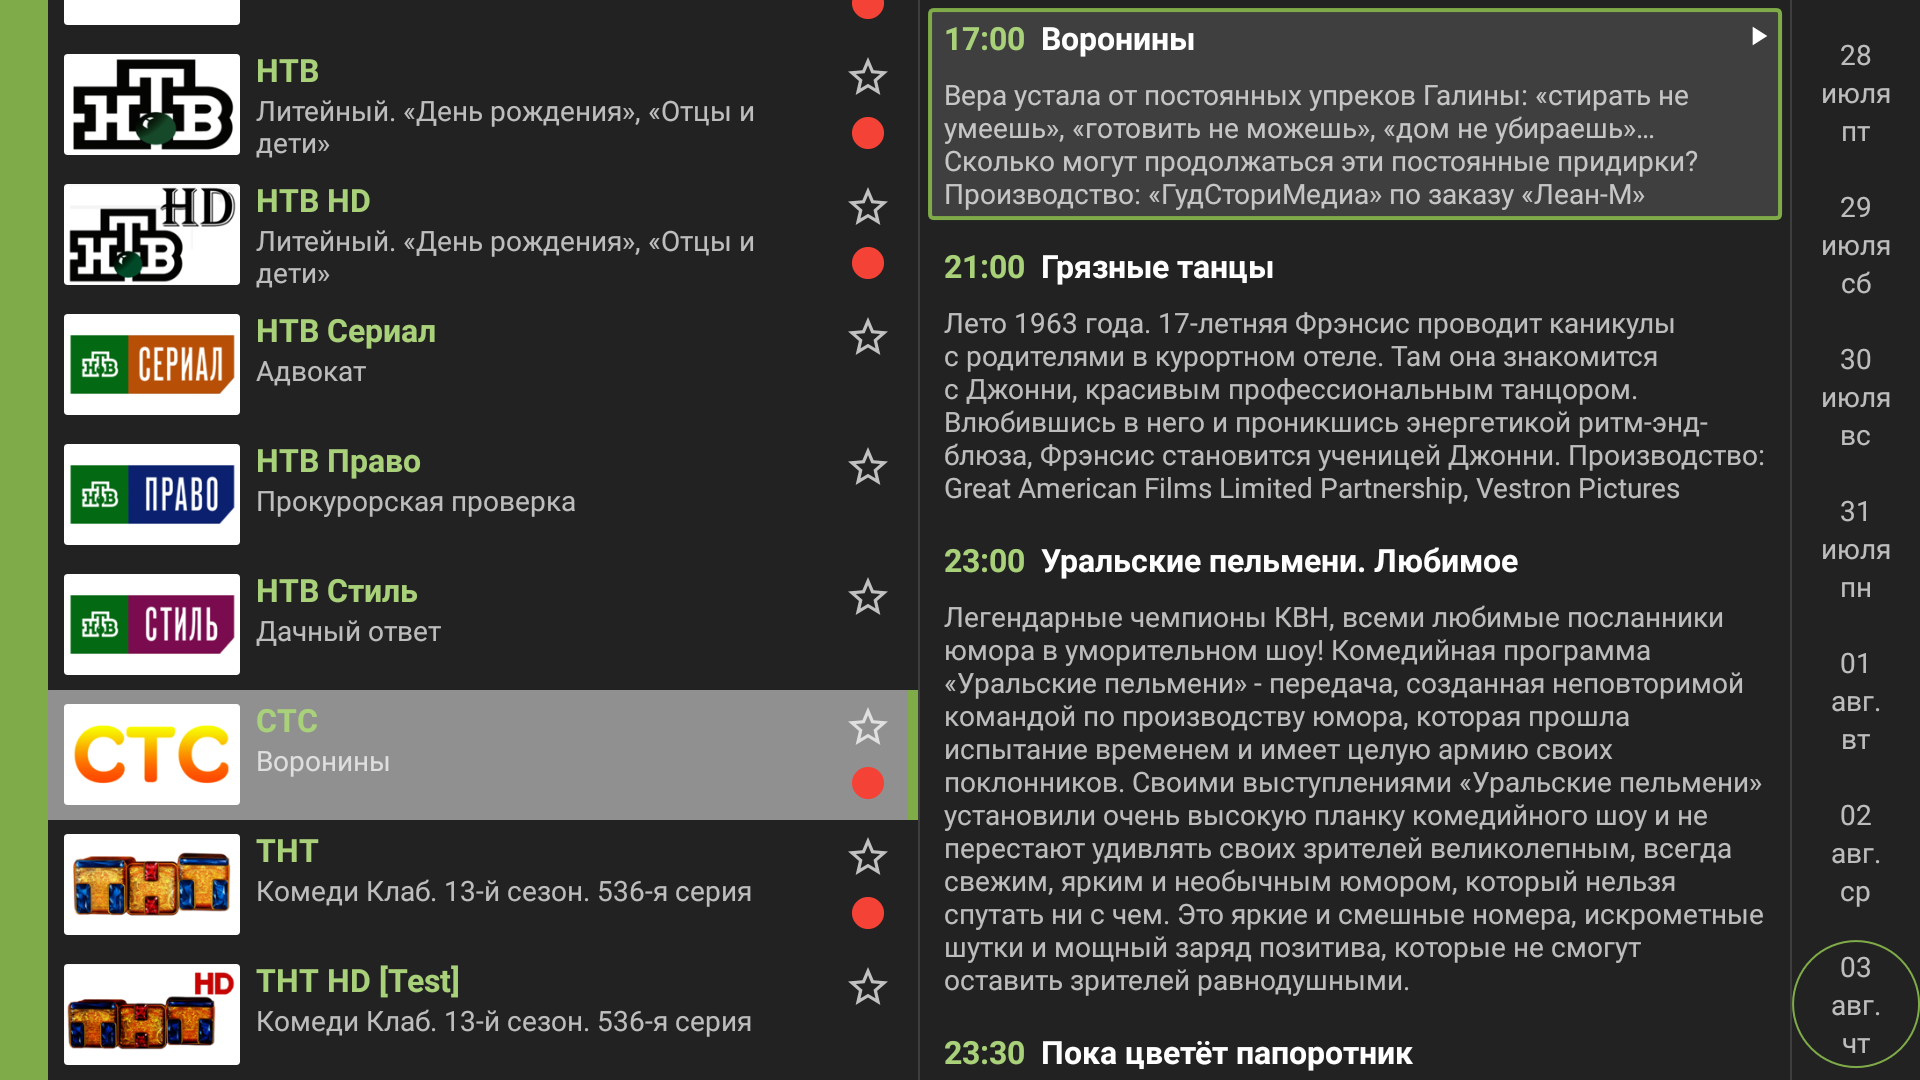
Creating a favourites list: channel selection in the list. - Hold “OK” for three seconds, then select “ADD TO FAVORITES”.
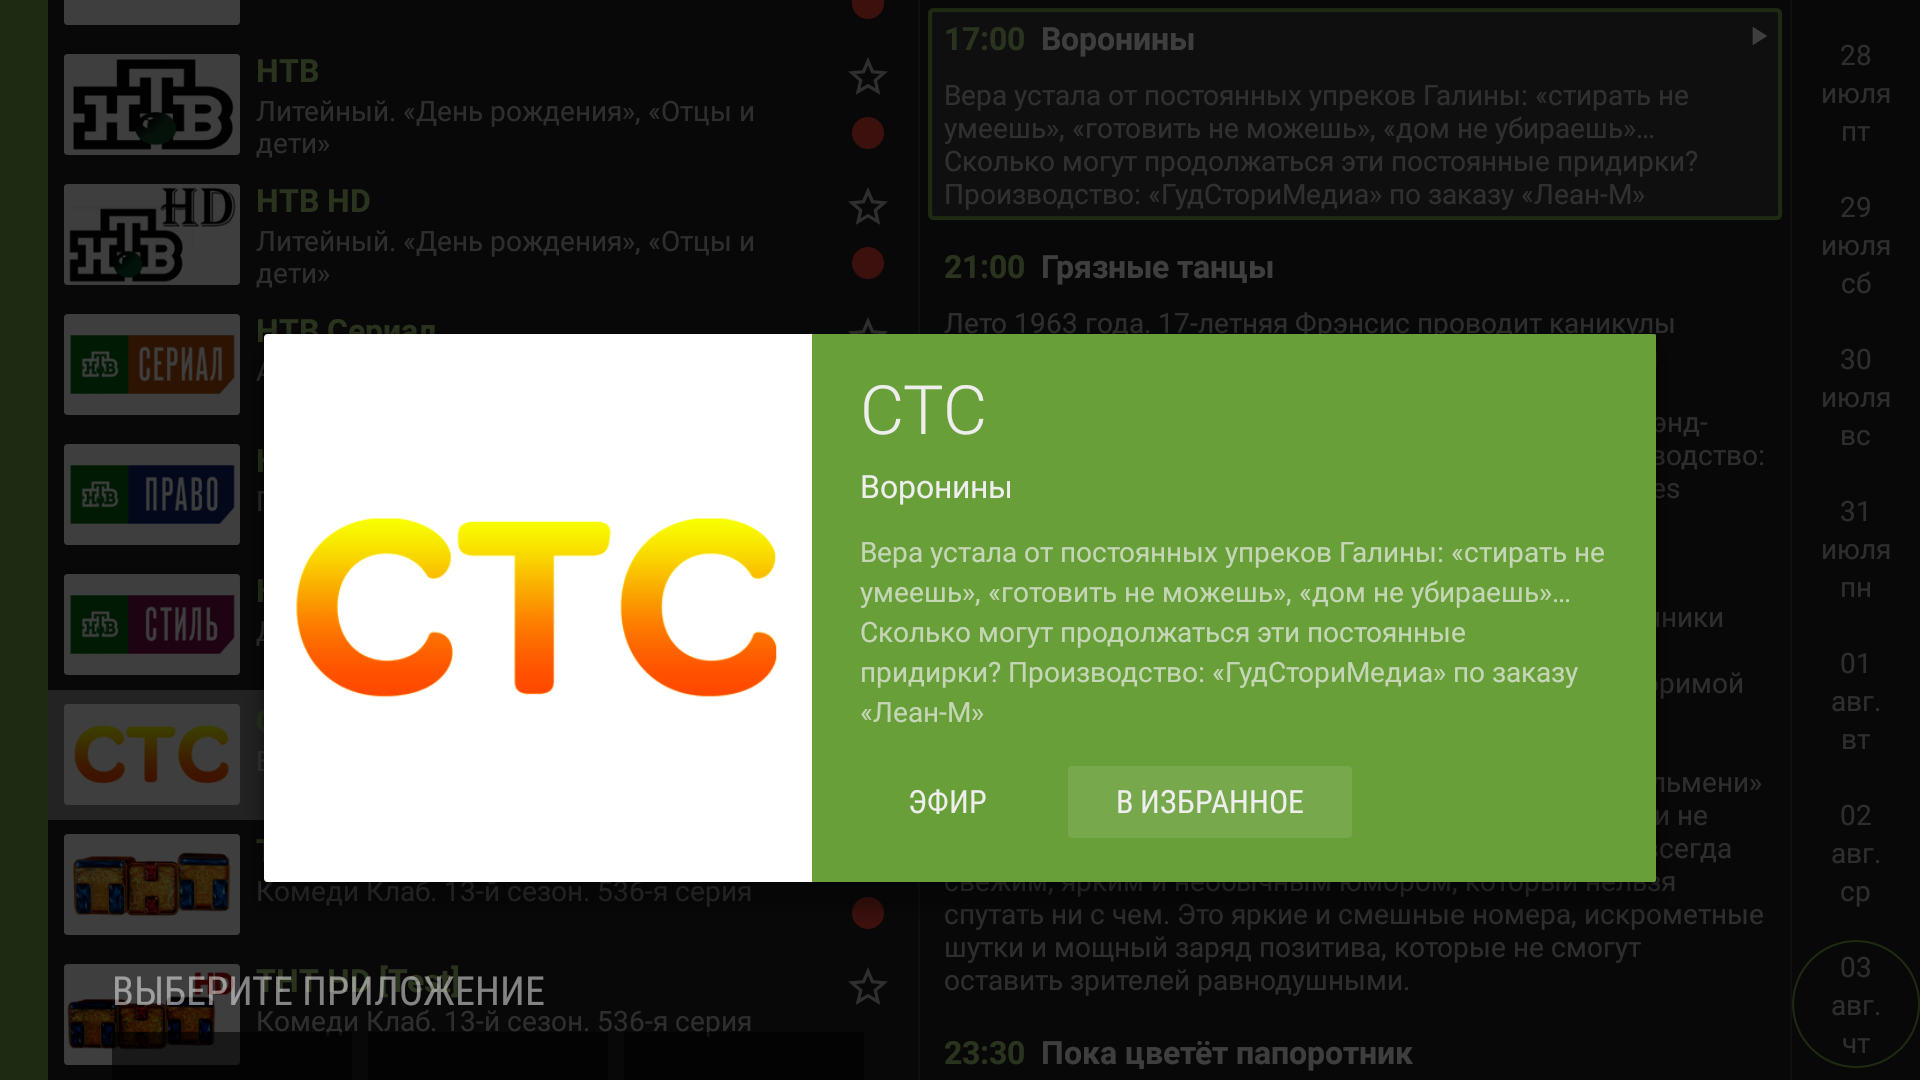
Creating a favourites list: channel context menu after holding OK. - Close the menu.
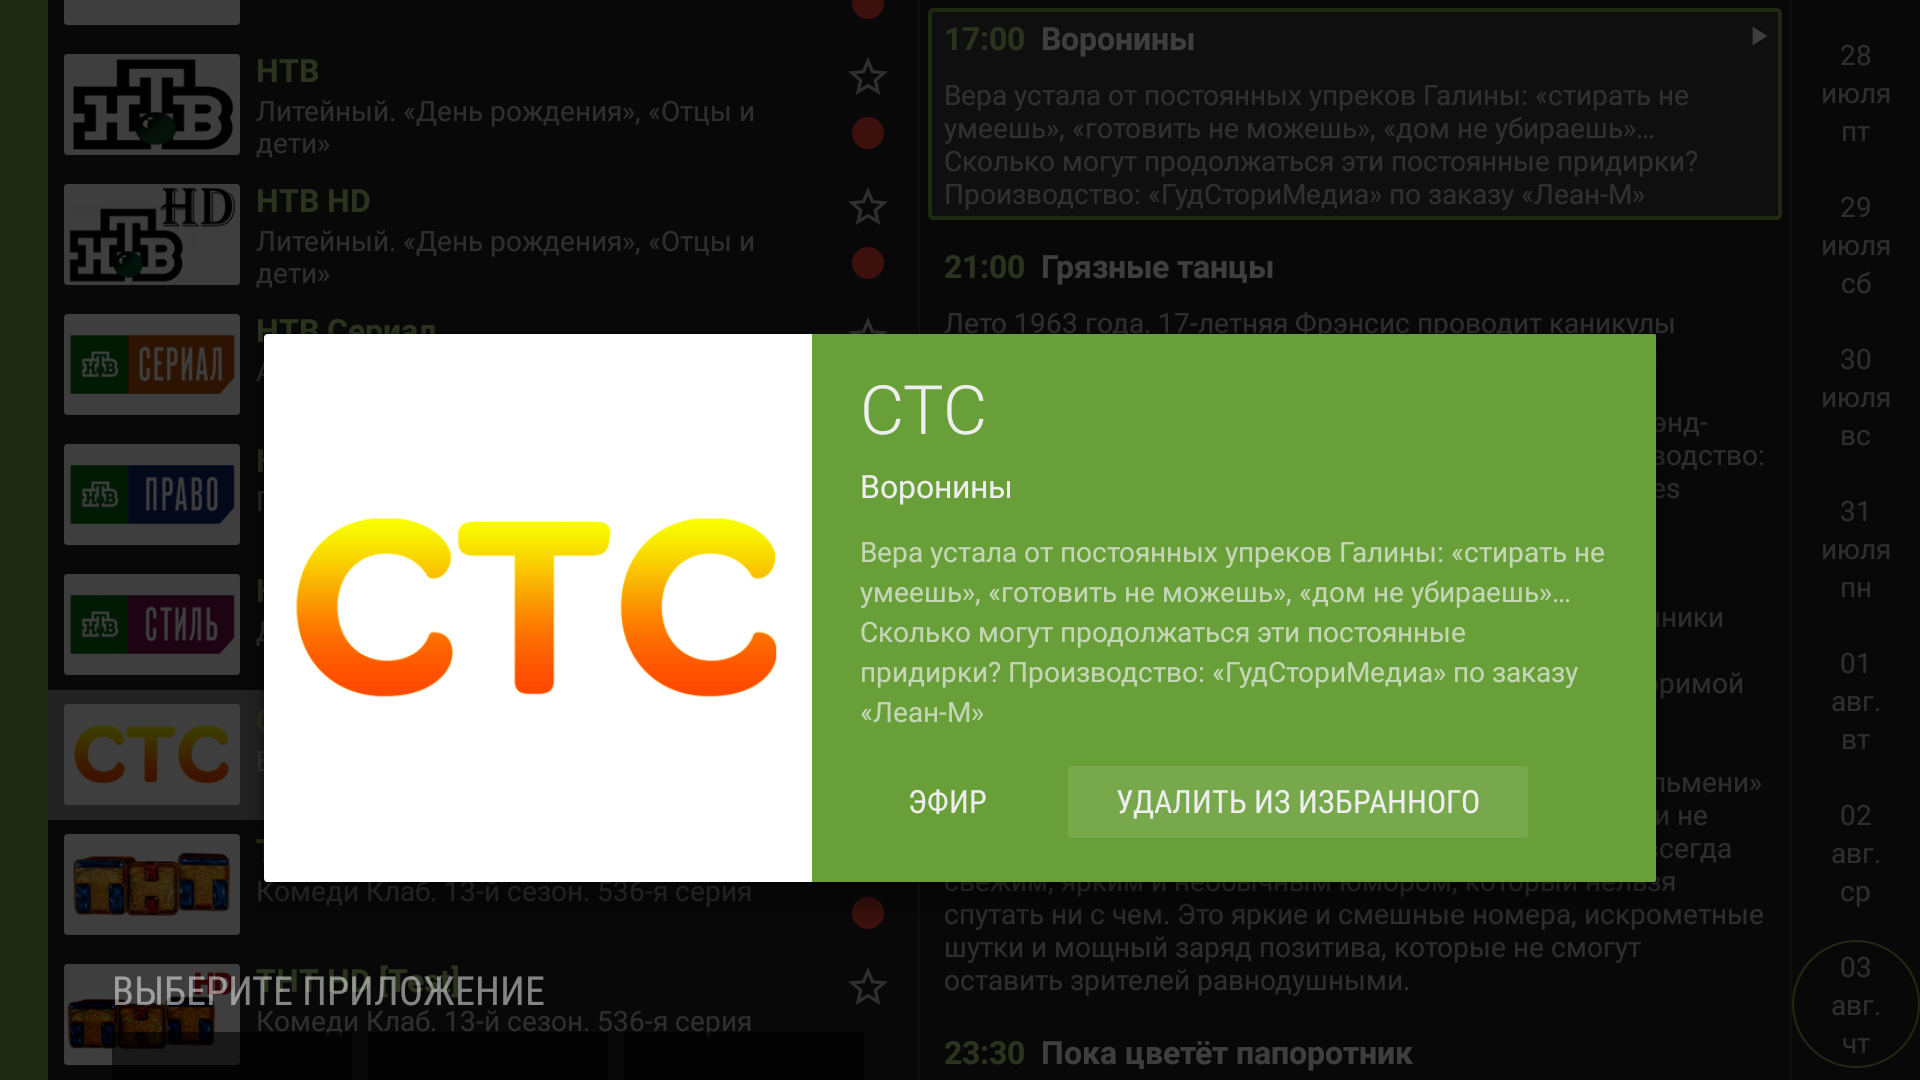
Channel context menu after adding the channel to Favourites. - The favourites icon
 beside the channel turns yellow, confirming that the channel was added.
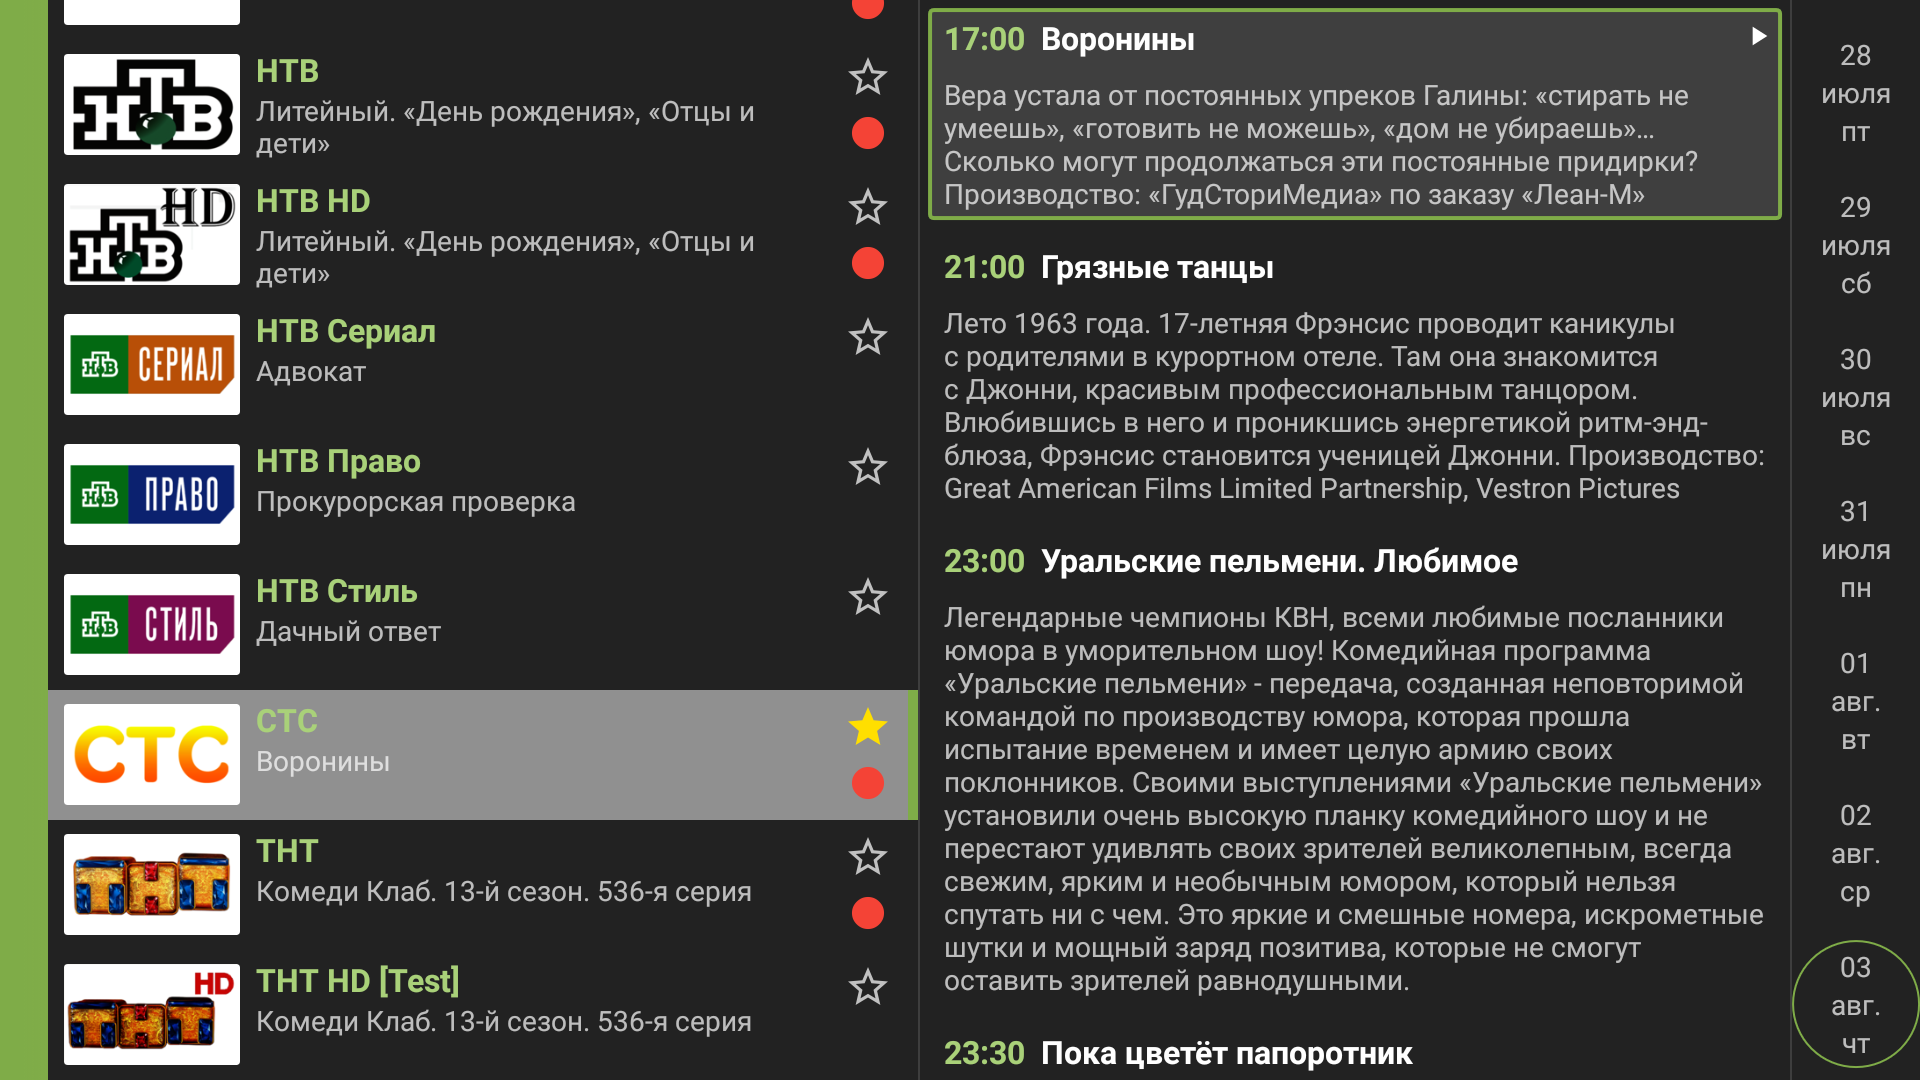
Creating a favourites list: marker beside a favourite channel.
Sorting the favourites list
- In the app menu, select “Settings”.
“Settings” in the app menu. - Under “Service”, select “Favorite channels”.
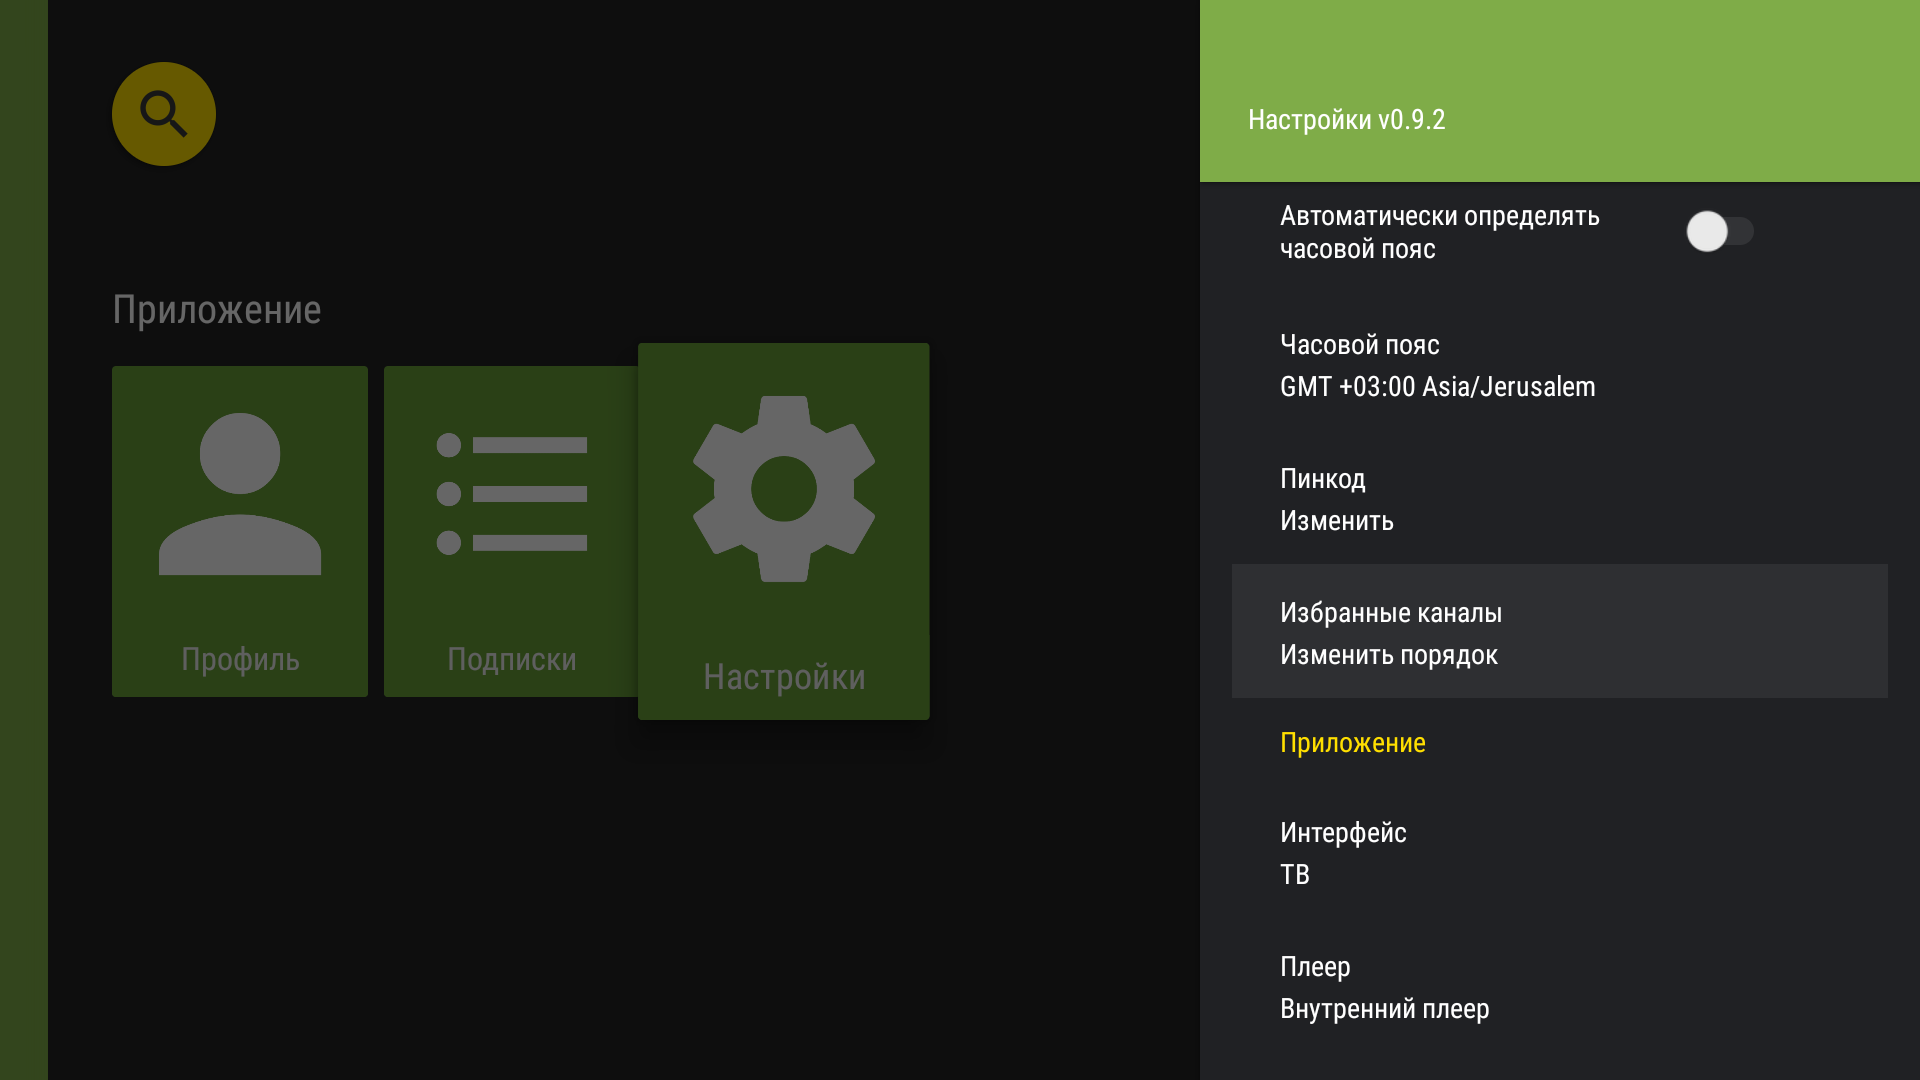
Reorder command in Favourites settings. - The list of favourite channels opens.
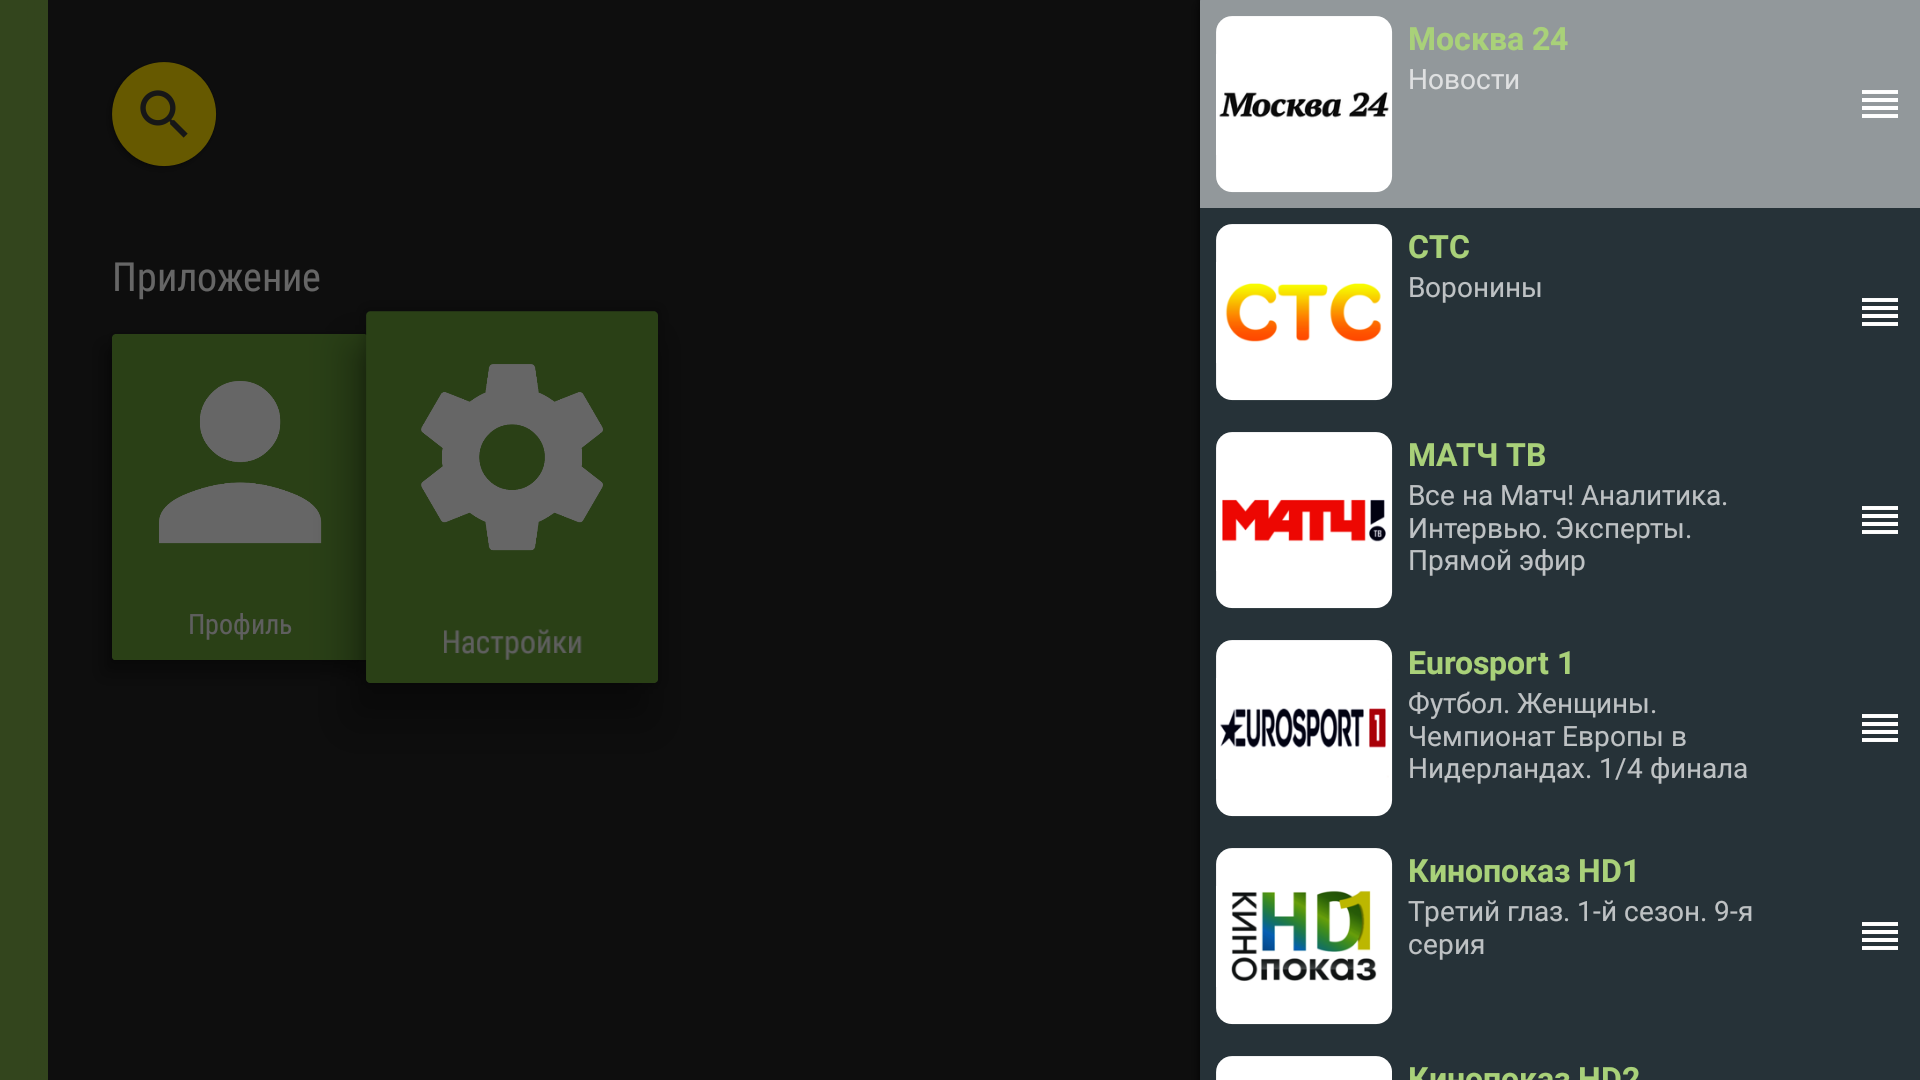
Move handles appear beside channels in reorder mode. - Select the channel you want to move.
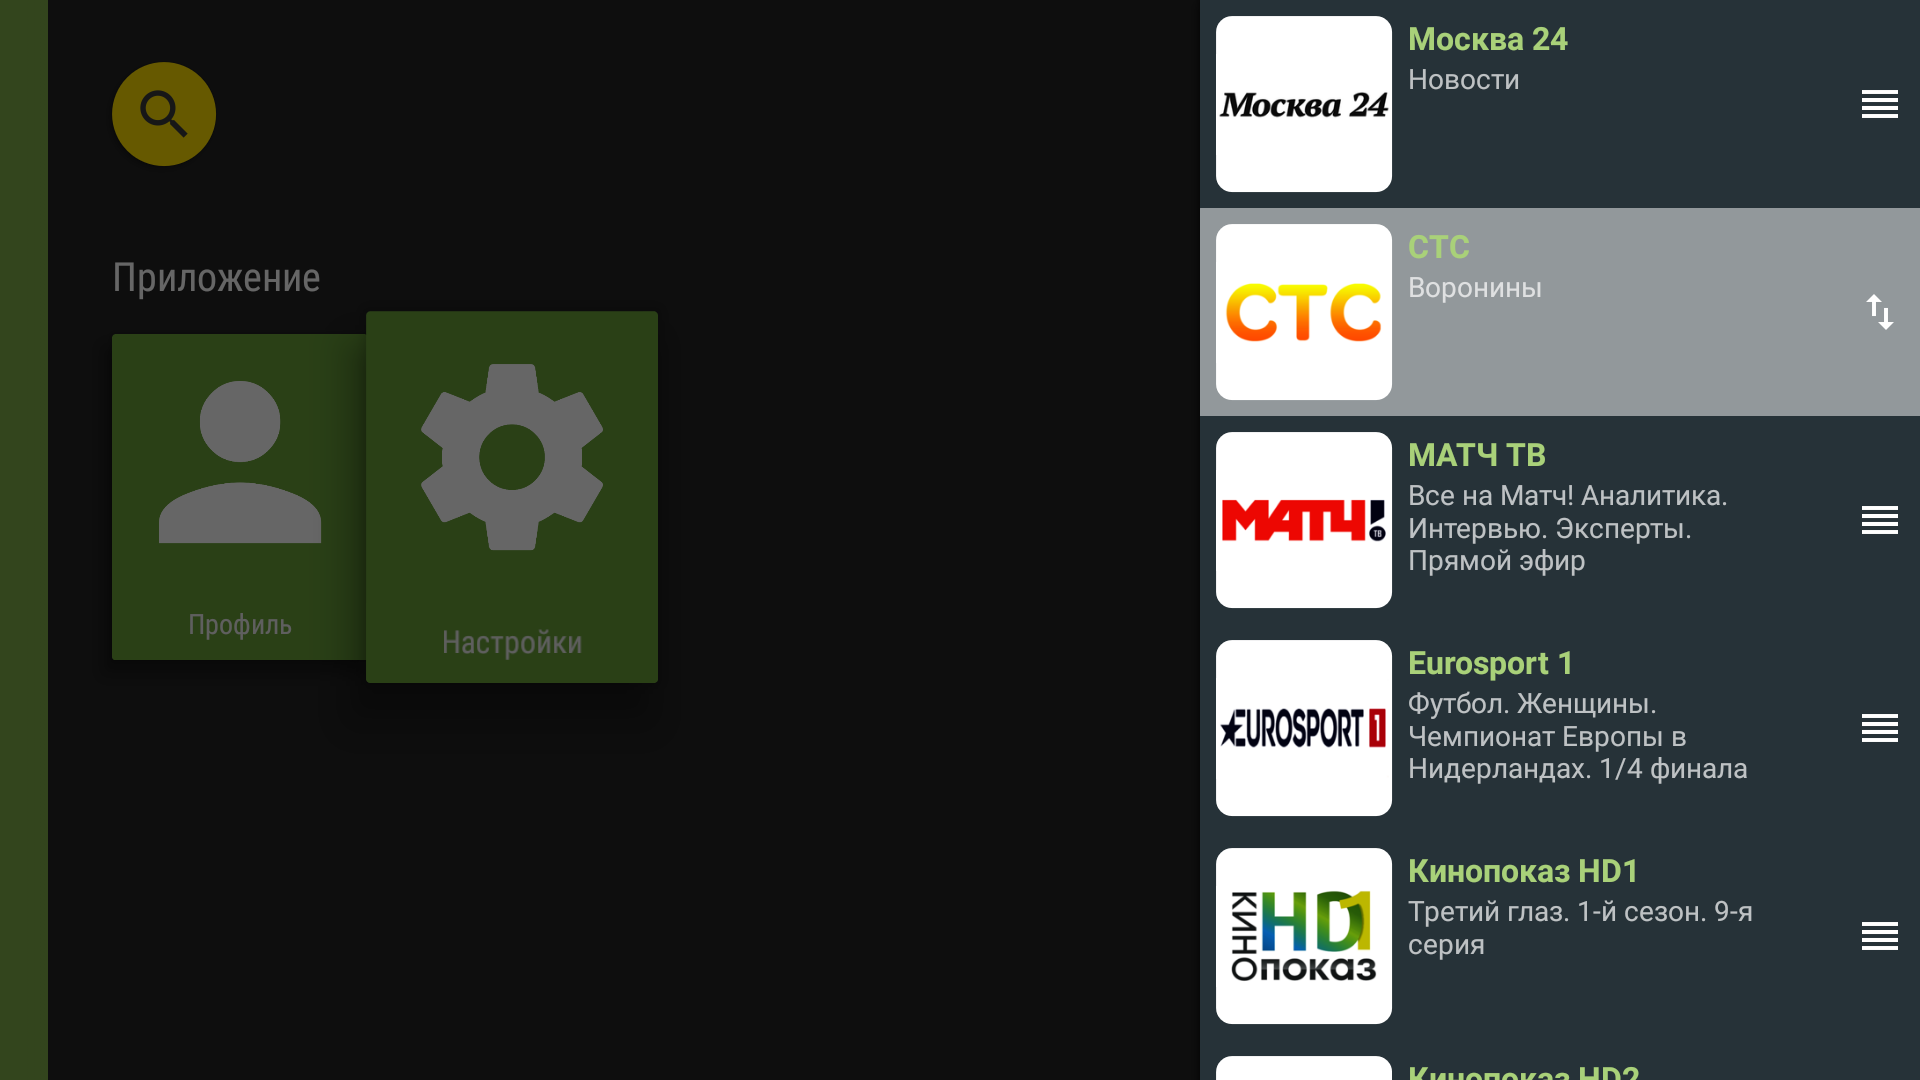
Selected channel in Favourites reorder mode. - Move the channel to the required position with the “Up” and “Down” buttons.
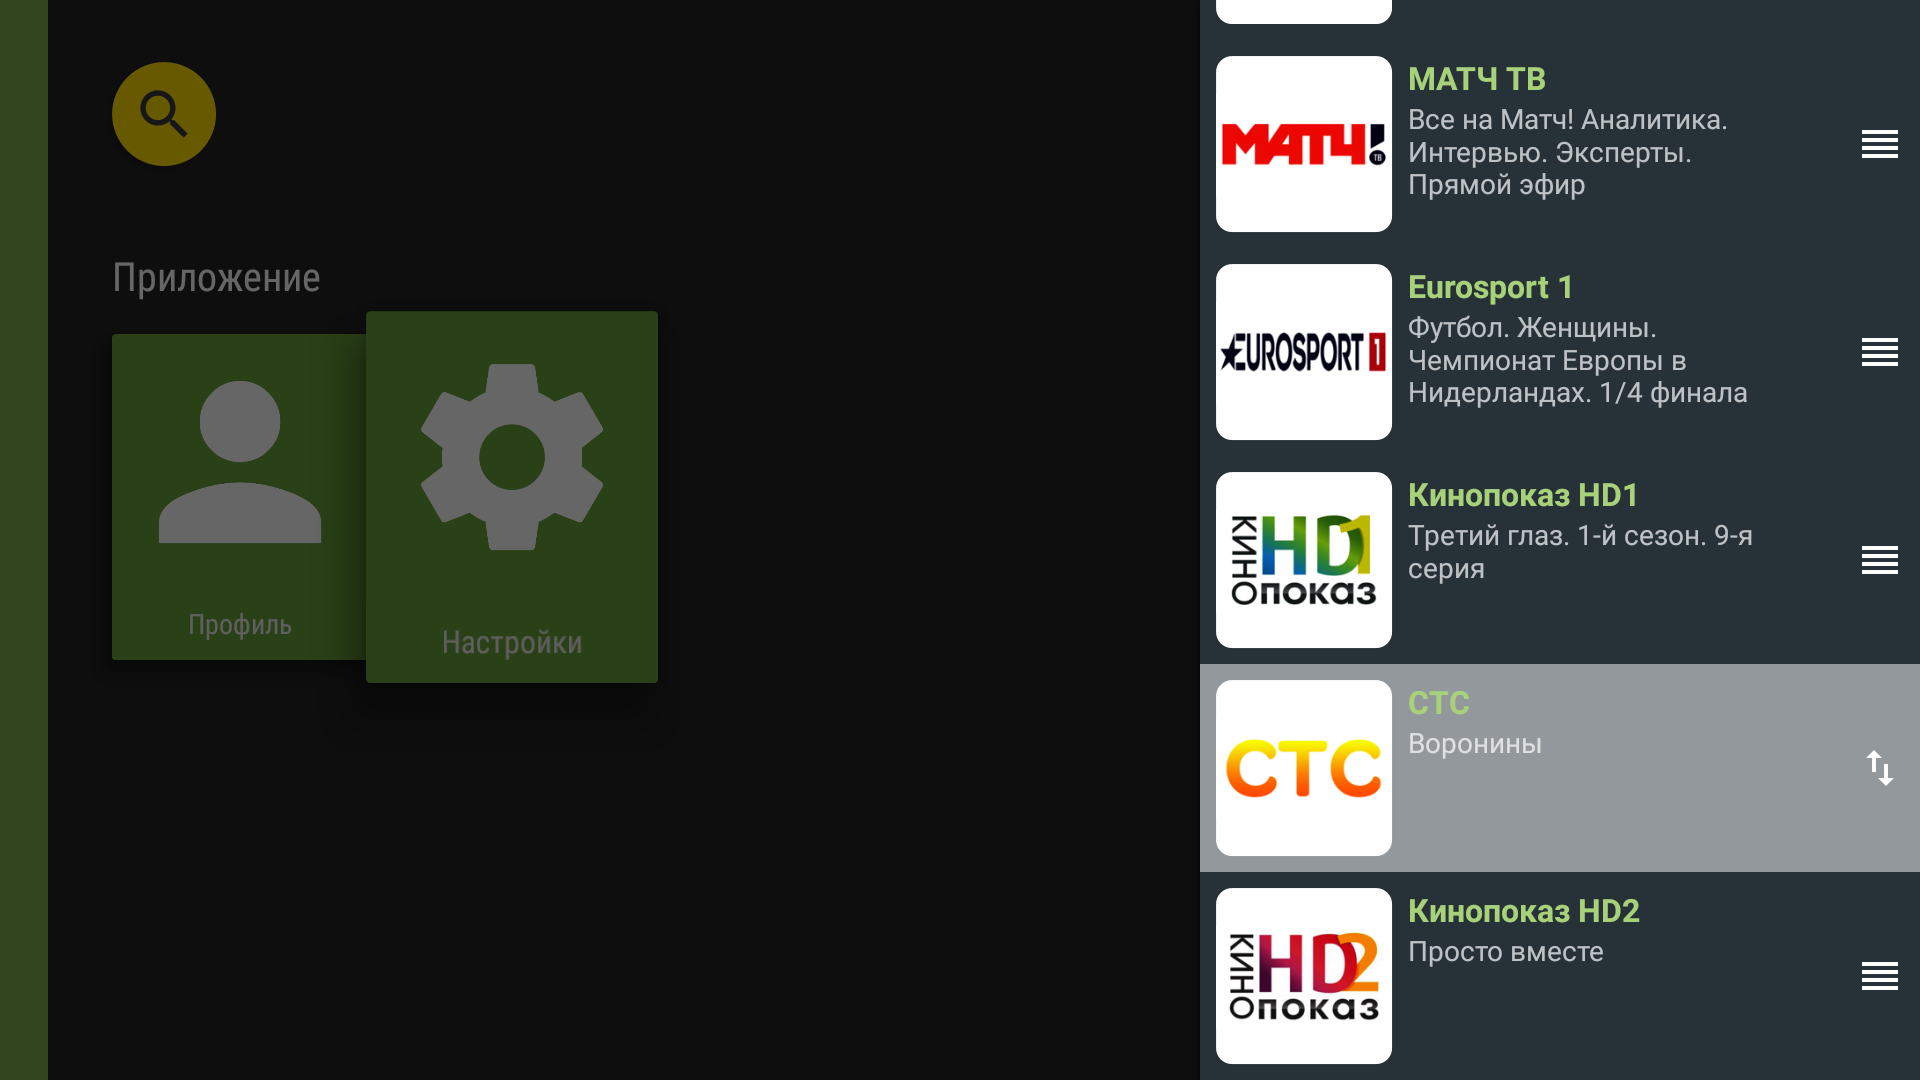
Moving the selected channel to a new position. - Press “OK” to confirm the channel’s new position.
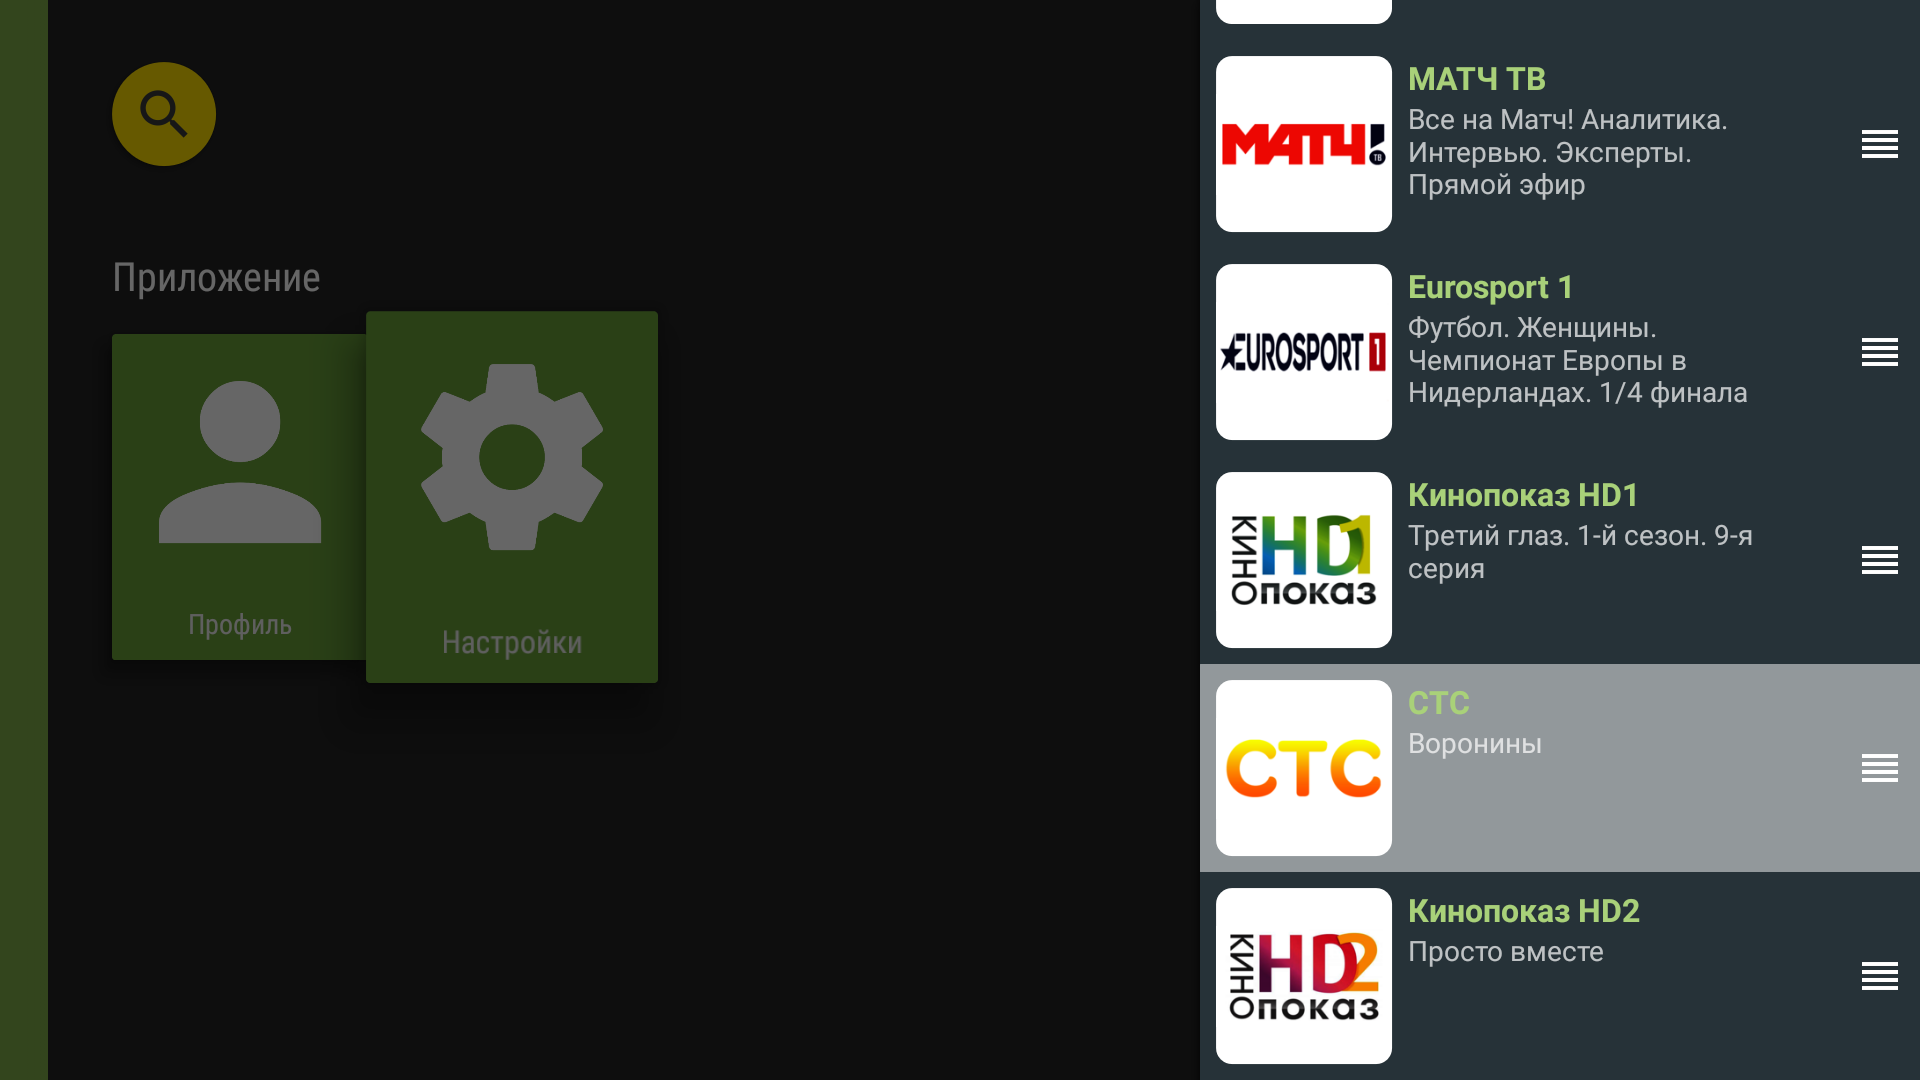
New channel order after confirmation.
Android TV playback controls
Viewing the programme guide
- During playback, open the controls.
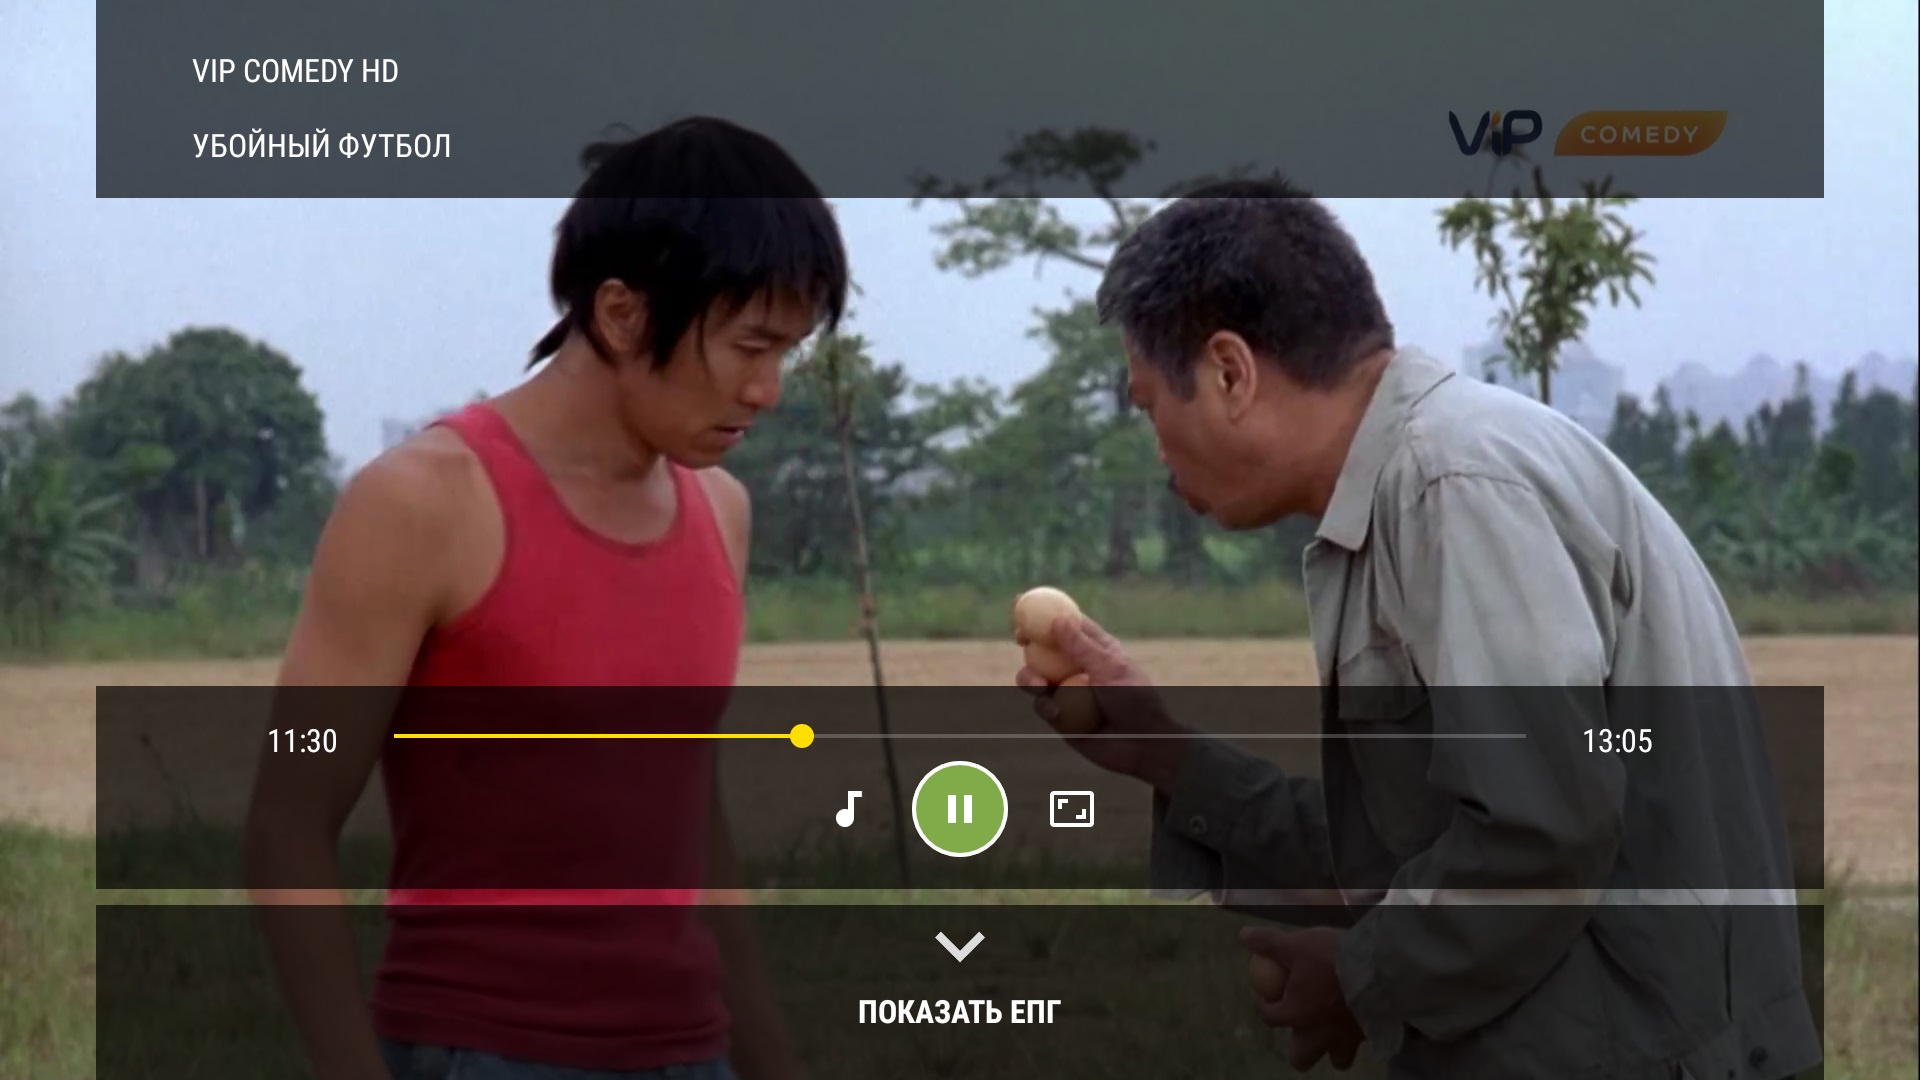
Playback controls with the EPG button. - Press “Down” on the remote control. The programme guide opens.
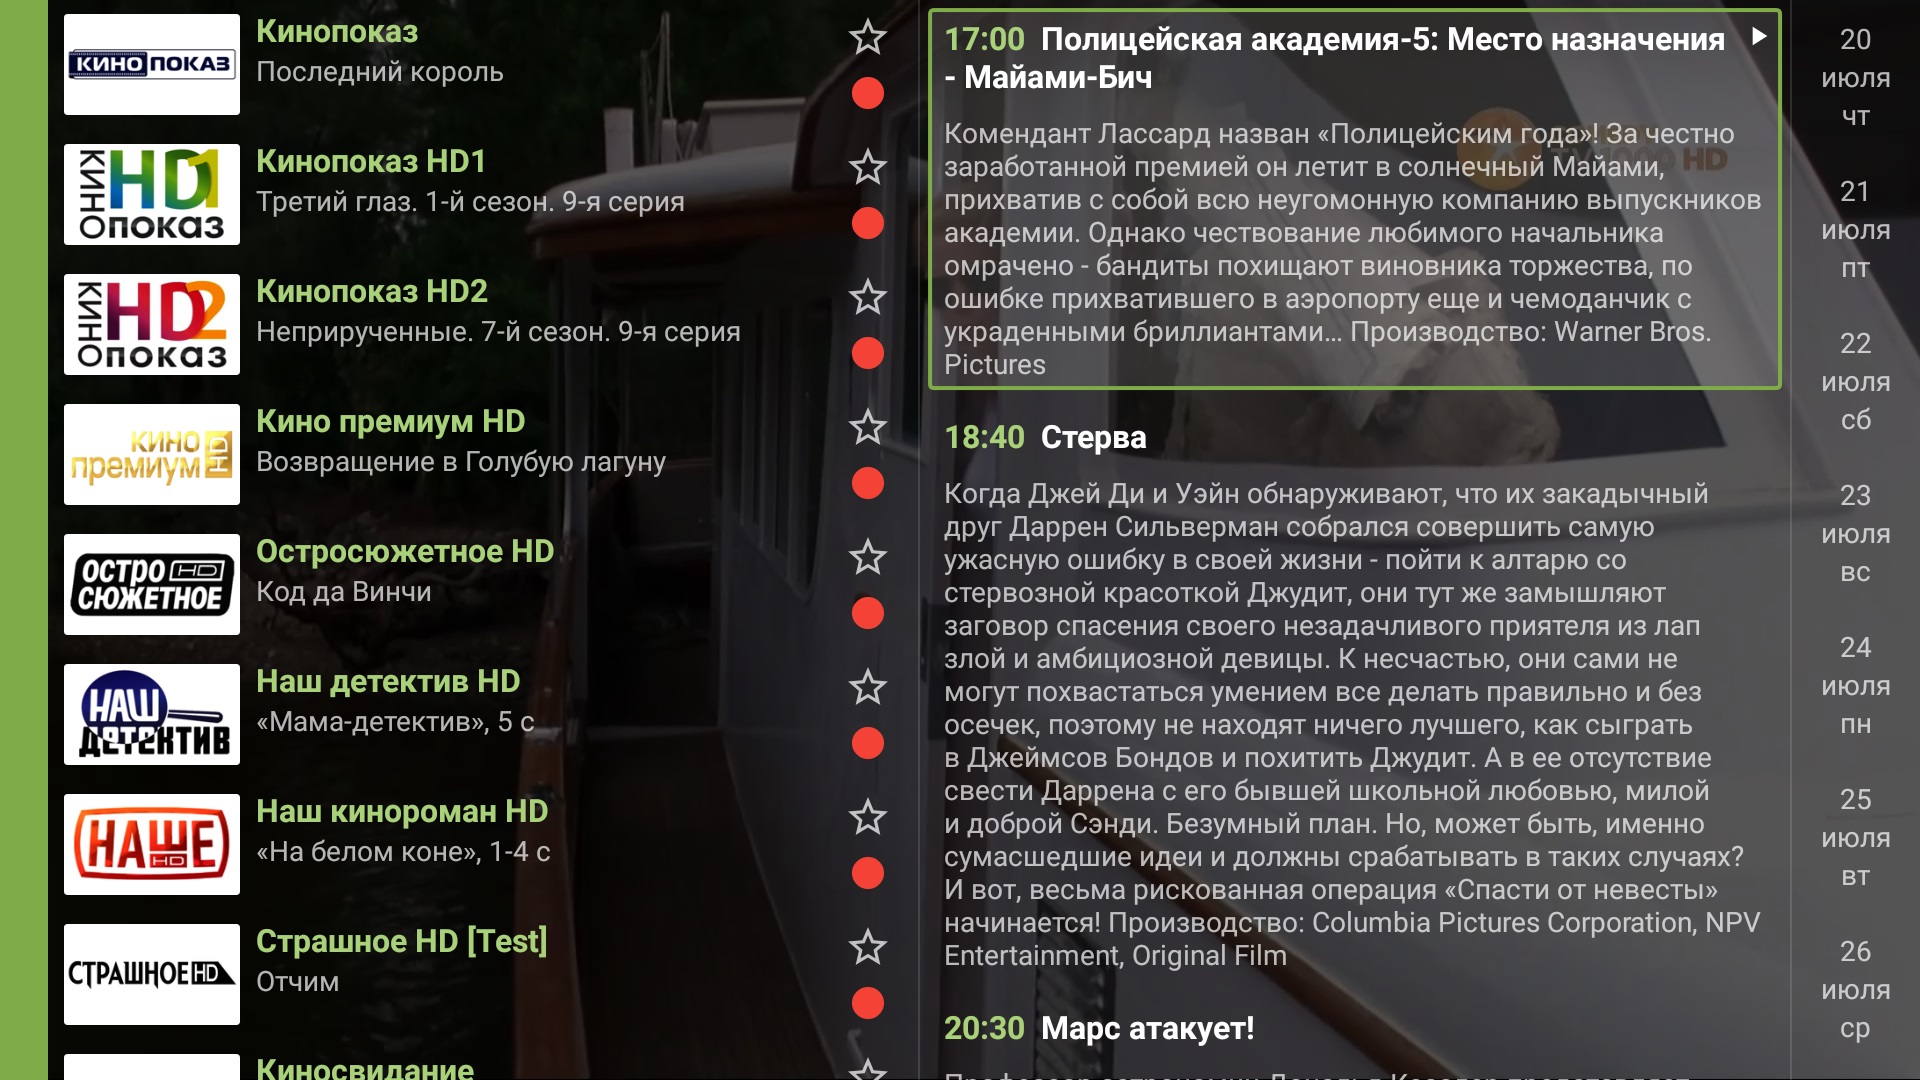
The programme guide is open over the channel list.
In the menu that opens you can:
- select another channel category;
- select another channel to watch;
- view the programme guide for the selected channel and day;
- play a programme from the catch-up archive.
Use the “Left”, “Right”, “Up”, and “Down” buttons to move through the menu.
Select audio track
- In the playback menu, select .
Playback control panel with the audio track button. - The audio track selection menu will open. Select the desired audio track.
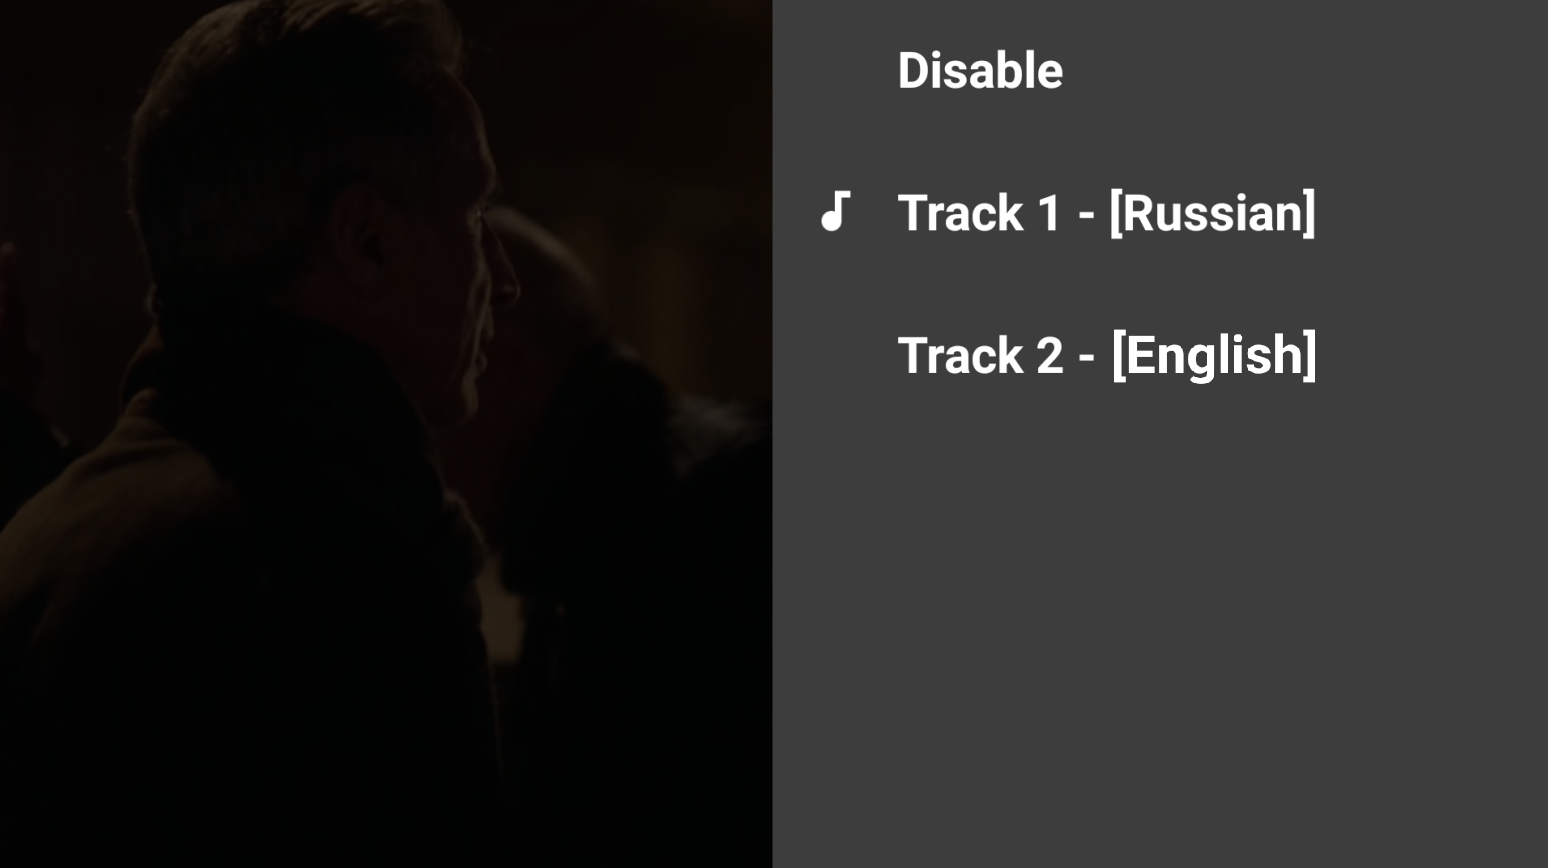
Select audio track: audio track selection menu.
Select picture format
- In the playback menu, select .
Playback control panel with the picture format button.
Select repeatedly to cycle through the available formats.
Rewind and pause live TV
On channels with catch-up, you can rewind live TV after the programme has been running for more than five minutes, or pause playback.
- Press “OK” to open the information panel. Press “Up” to focus the timeline, then use “Left” and “Right” to rewind.
Playback control panel with the time bar for rewinding and pausing. To pause playback, select
. - You can also rewind live TV without the information panel: during playback, use “Left” and “Right”.

The timeline indicator shows the selected playback position.