About VLC Records
VLC Records is a desktop player for watching TVClub IPTV and recording live or archived programmes.
Versions are available for Windows XP and newer, macOS 10.6 x86_64 and newer, and Ubuntu Linux x86.
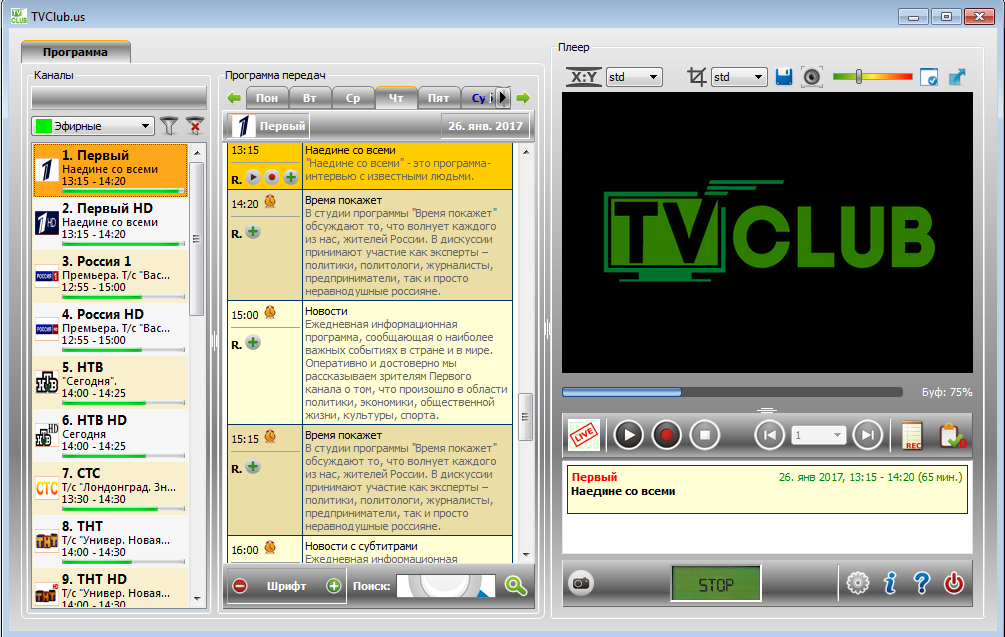
Player view
Main features
- live TV viewing and recording;
- EPG, the electronic programme guide;
- two-week catch-up archive for most channels, with viewing and recording;
- recording scheduler;
- parental control;
- recording time limit;
- watch-later list;
- screenshots.
Download the player
Last installer update: 20.10.2017.
- Windows: EXE installer for Windows x86.
- macOS: DMG image for macOS.
- Linux DEB: amd64 package and i386 package.
- Linux RPM: x86_64 package and i386 package.
Installing VLC Records
Windows installation
- Download the Windows installer.
- Open the downloaded file.
- Select the installation language and click “OK”.
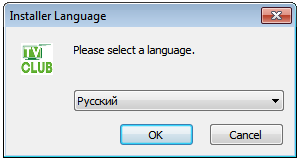
Selecting the installation language. - Select the installation folder and click “Install”.
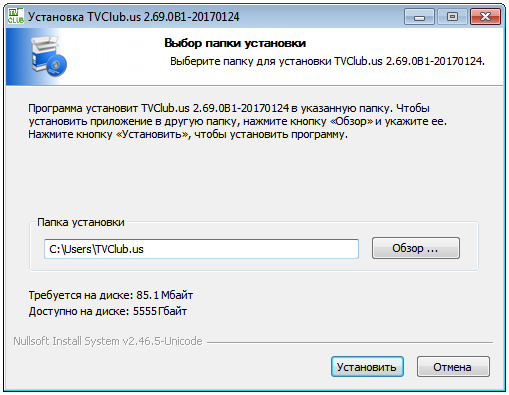
Selecting the installation folder. - Wait for the installation window to open.
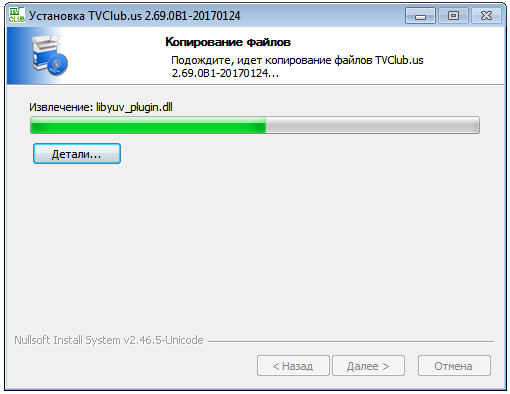
Installation progress. - Click “Finish” to complete the installation.
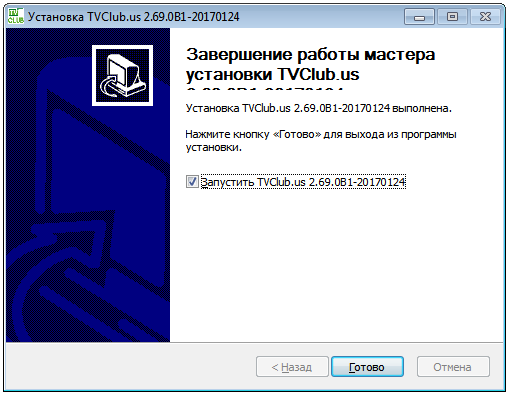
Finishing installation. - In the initial setup window, read the notes, enter your login in “Subscription”, enter your password in “Password”, and click “Save”.
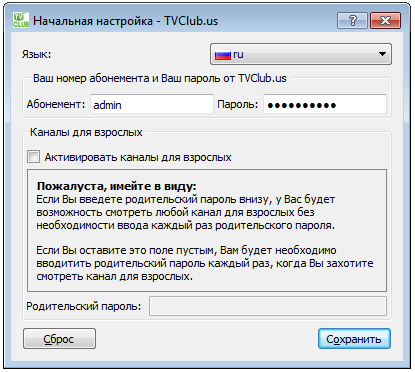
Initial setup.
Important: login and password are case-sensitive.
If you want adult channels to appear in the list, enable them with the checkbox. If the parental password is entered in the field below, these channels can be watched without entering the parental password again.
macOS installation
Open the DMG file and drag the application to the Applications folder. Settings are stored in the user home directory: ~/.TVClub.us.
Ubuntu installation
Double-click the DEB package to open Ubuntu Software Center. Click the install button: Ubuntu will add the required libraries and create a launcher entry.
To start the app, press the Windows key, type the beginning of the app name, and choose the icon. You can also pin VLC Records to the left launcher. Settings are stored in ~/.TVClub.us.
Settings
Open settings with the  button in the app interface.
Main settings
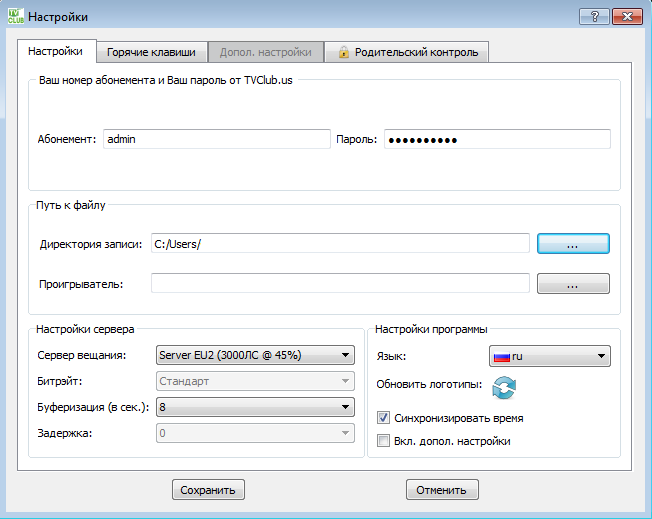
This tab controls login and password, recording directory, external VLC player path, streaming server, buffering, language, logo refresh, time synchronisation, and advanced settings.
If playback is unstable, increase the buffering value. After changing the language, save the settings and restart the app.
Hotkeys
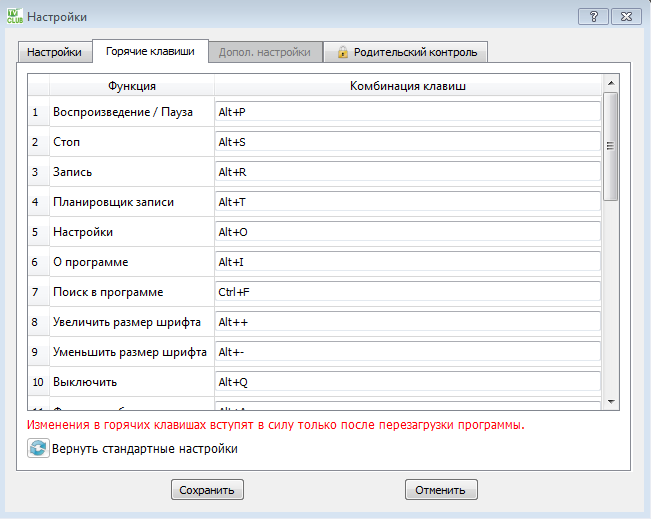
To change a hotkey, select the command with the mouse and press the new key combination. If the row turns red, that combination is already used by another command. Use the button at the bottom of the tab to restore defaults.
Advanced settings
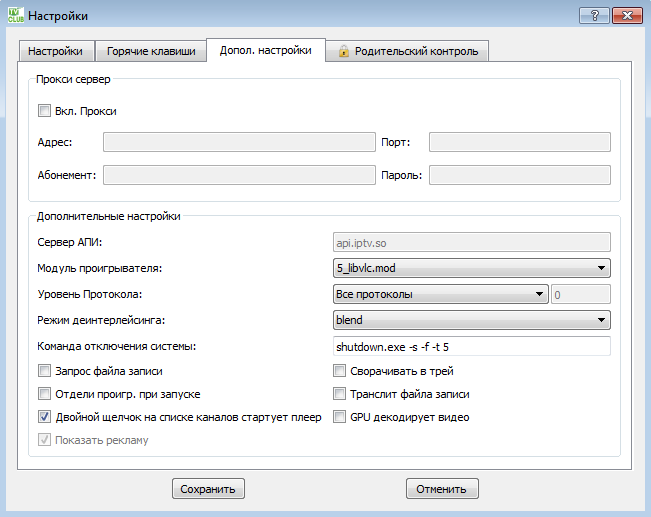
This tab includes proxy server, API server, player module, logging level, shutdown command, source-file name prompt, detaching the external VLC player during recording, double-click playback, tray minimisation, filename transliteration, GPU video decoding, and deinterlacing mode.
If you are not sure what a setting does, do not change it. This is especially important for the player module and logging level.
Parental control
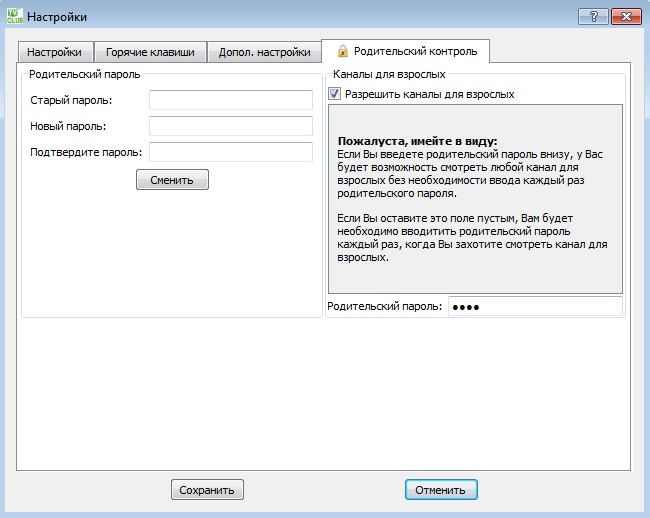
On this tab you can change the parental password and choose whether adult channels are shown in the channel list. To save only parental-control settings, click “Save and exit”; this button does not save other settings.
Interface overview
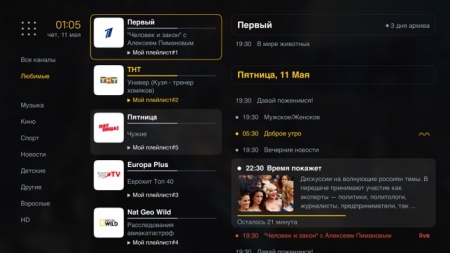
The channel list is on the left, with favourite channels above it. In the top-left area you can switch between live TV and the video library when this option is available.
The centre shows the programme guide for the selected channel and day. The top of the guide has day-selection buttons and week navigation. The search field at the bottom searches the currently shown programme guide.
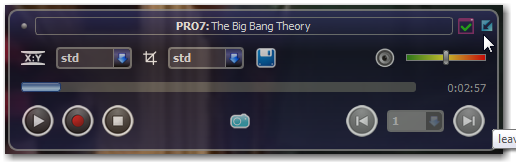
Player controls are in the top-right area. Below them are playback buttons and a small information panel. The screenshot button is below the information panel and is also available in fullscreen and mini-interface modes.
The bottom-right corner contains settings, information, help, and exit buttons.
Additional features
Favourite channels

You can add up to 10 channels to favourites. Right-click a channel in the list and choose “Add to favourites”, or move the channel into the favourites area.
Clicking a favourite icon starts that channel and opens its programme guide. To remove a channel from favourites, click its icon and choose delete.
Archive
The archive is available for most channels and lets you watch programmes missed during the last two weeks. Choose a channel, day, and programme time.
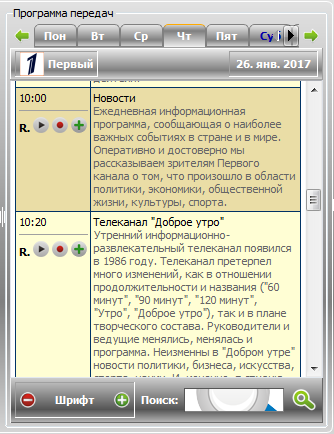
Click the play button in the programme guide to start watching. Archive playback supports seeking forward and backward, so you can jump to the needed moment.
Recording scheduler
Open the scheduler with the  button or the alarm-clock icon in the programme guide.
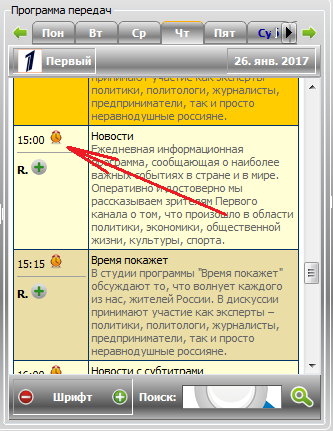
The “Recording scheduler” window opens after clicking the button.
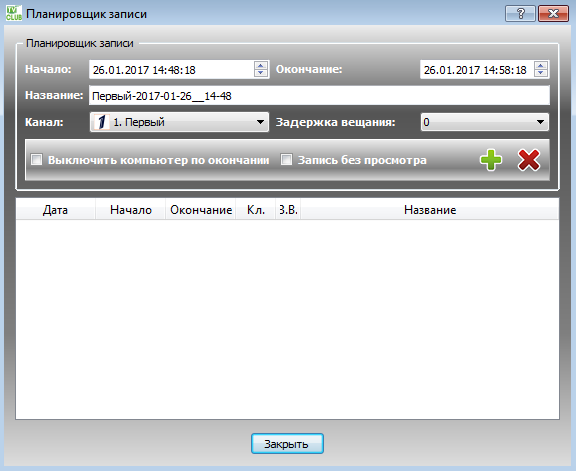
The window shows the list of programmes selected for recording. To add a programme, choose a channel, start and end time, set the output filename, and click the Add button  . “Record without viewing” records in the background. “Shut down the computer when finished” works after all scheduled recordings are complete if the shutdown command is configured.
To edit an added recording, double-click it in the list, change the fields at the top, and click the Save button . To remove it, click the Delete button  . VLC Records validates the recording parameters when a new item is added.
Recording time limit
Note: this is not the recording scheduler.
The timer stops recording automatically after a selected period. It is available while recording a live programme or an archived programme. In these cases the recording button changes from  to
to  .
.
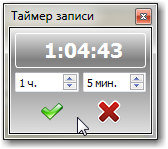
Select the recording duration and click  to activate the timer. You can close the dialog afterwards; the countdown continues.
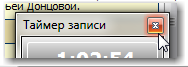
When time runs out, recording stops automatically. Click the record button again to change the timer, or click to disable it.
Channel-list filter
The channel-list filter narrows the list by the entered text. To open it, click the button in the top-right area of the channel group.
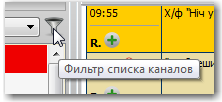
Enter the filter text.
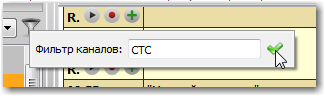
After applying the filter, only channels whose names contain the entered text remain visible. The filter button changes to  . Apply an empty filter to deactivate it.
Watch-later list
The watch-later list stores programmes you want to watch later. To add a programme, click  in the EPG window. The number in the bottom-right corner of the button shows how many programmes are in the list.
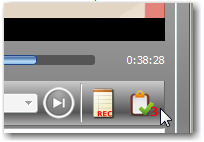
Click the button to open a window with all saved programmes. From there you can play or record any item, or start recording the full list.
Remove a programme from the list with  .
.
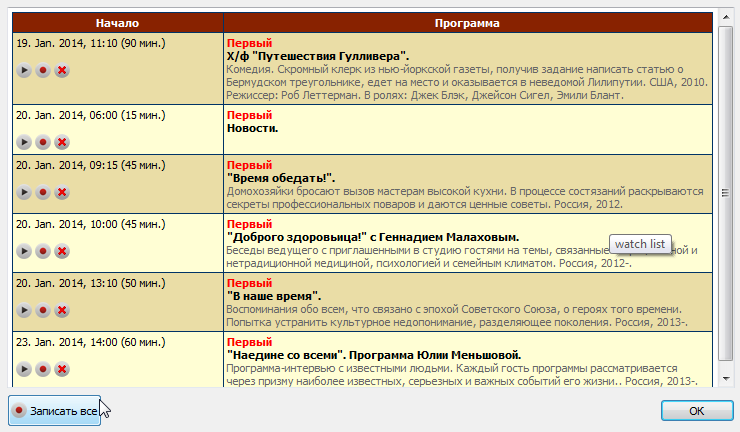
Please note: the watch-later list is available only for archived programmes. Programmes whose archive retention has expired are removed automatically. Programmes not archived yet can also be added; play and record buttons appear as soon as the programme enters the archive.
Video context menu
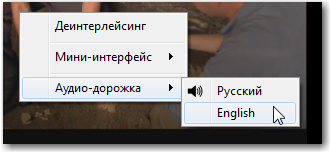
The video window has a context menu. Open it with a right-click inside the video window. The menu lets you enable or disable deinterlacing and choose an audio track when one is available.
Mini interface
Mini-interface mode shows only the player window. This is the only mode where “always on top” is available, which is useful when you work with a document while watching news. Switch to this mode with  or through the context menu.
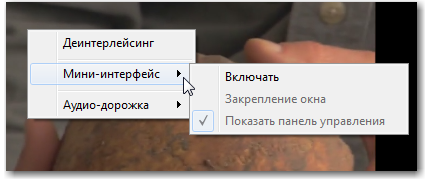
In mini-interface mode, the context menu can enable “always on top” and show or hide the additional control panel. You can leave the mode through the context menu or with the button on the additional panel.
Fullscreen mode
VLC Records supports fullscreen mode. Enable it with a double-click on the player, the fullscreen hotkey, or the blue button shown below.
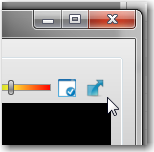
In fullscreen mode, mouse movement shows the additional control panel. It has the same functions as the panel in normal view and stays visible while the cursor is inside it. When the cursor leaves the panel, it hides after a short delay.
You can move the panel anywhere on the screen. Place the cursor over the move symbol at the top of the panel.
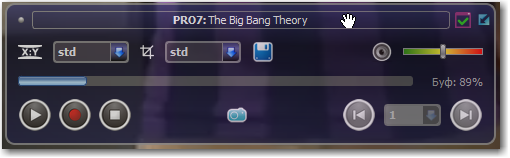
The cursor changes to a hand. Hold the left mouse button, move the panel to the required position, and release the button.
Return to normal mode the same way: double-click the player, use the fullscreen hotkey, or press the button shown below.